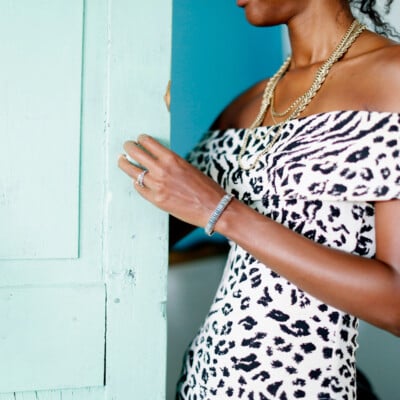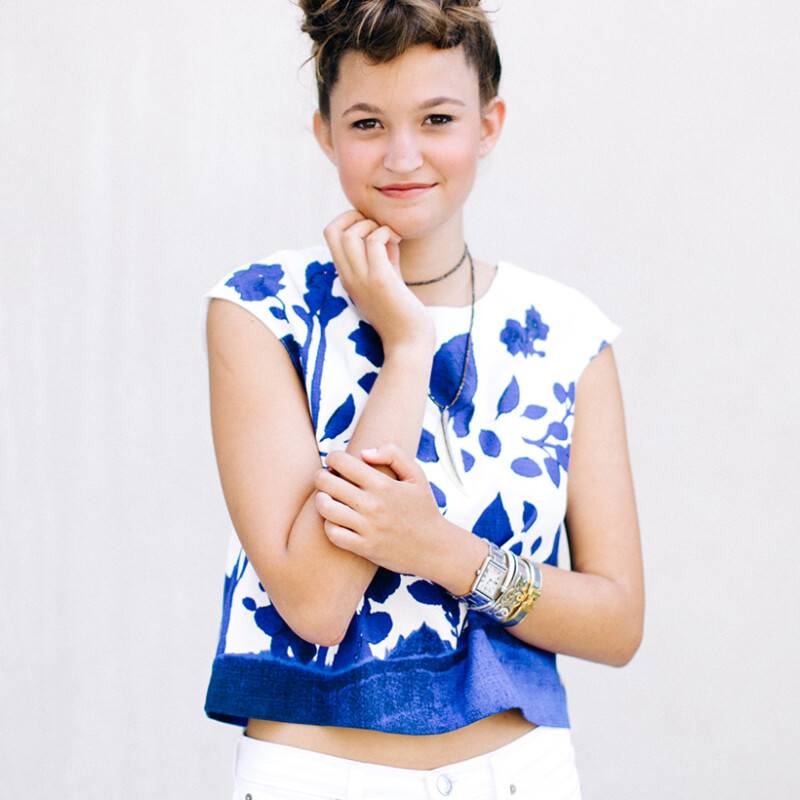
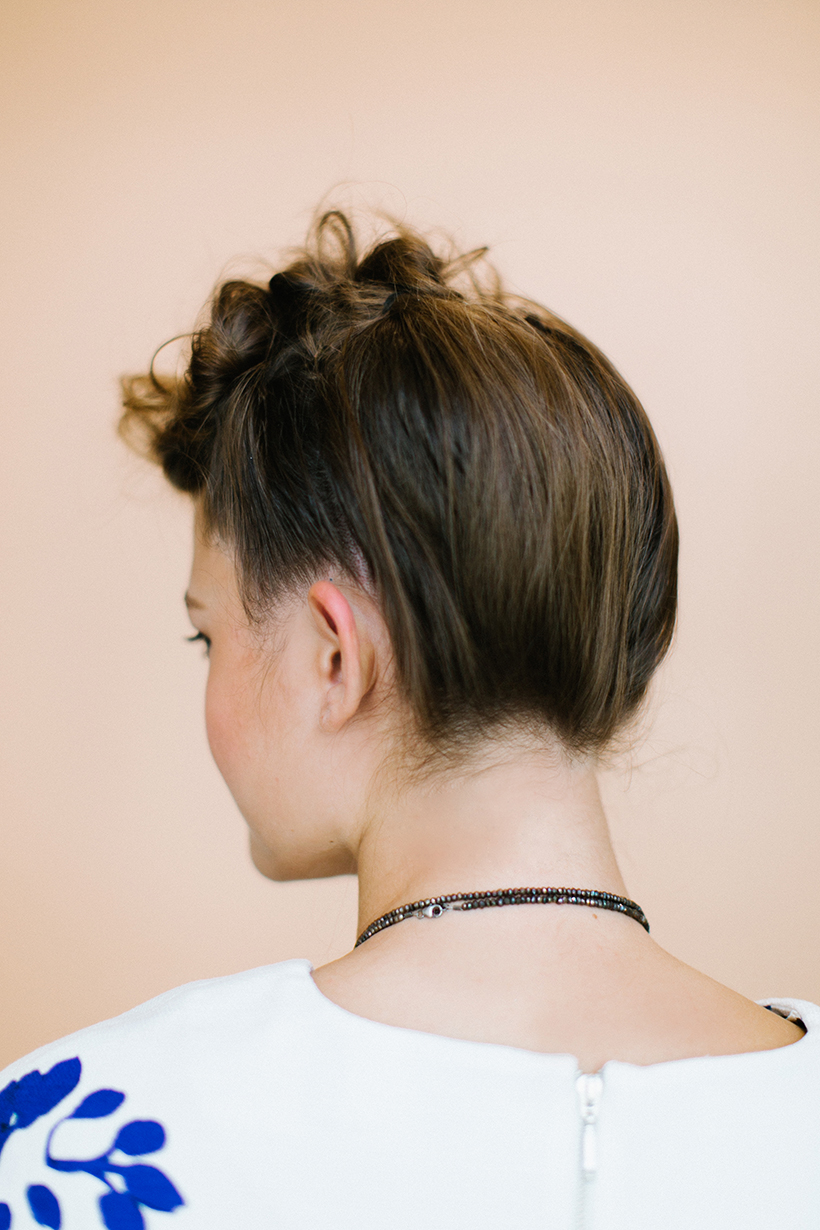
 When our photographer showed up for our most recent shoot with an intern who looked like this, we simply had to figure out a way to get her in front of the camera. We were already working with senior stylist Erica Rae of ROAR Salon on several fun looks for fall, but we put her on the spot and asked if she could come up with something fun and summery for Claudia. “Oh yes. I’ve got something,” she said confidently. We couldn’t wait to see what she would do with Claudia’s wavy shoulder-length hair and in a matter of minutes, Erica twisted and pinned it into this amazing 1950’s inspired look. She recently attended a workshop focused on f/w 15 runway looks and one of her favorite takeaways was the beehive: “I took what I learned at the workshop and built on this look — instead of the traditional beehive, I’ve added a bit of a ‘twist’.” The final look is made modern by purposefully messy texture and loose construction. Read below to discover Erica’s technique for creating some serious rock-a-billy vibes this summer:
SUPPLIES:
Blow dryer
Bobby and hair pins
Clear rubber bands
Clips
Texture product
Comb
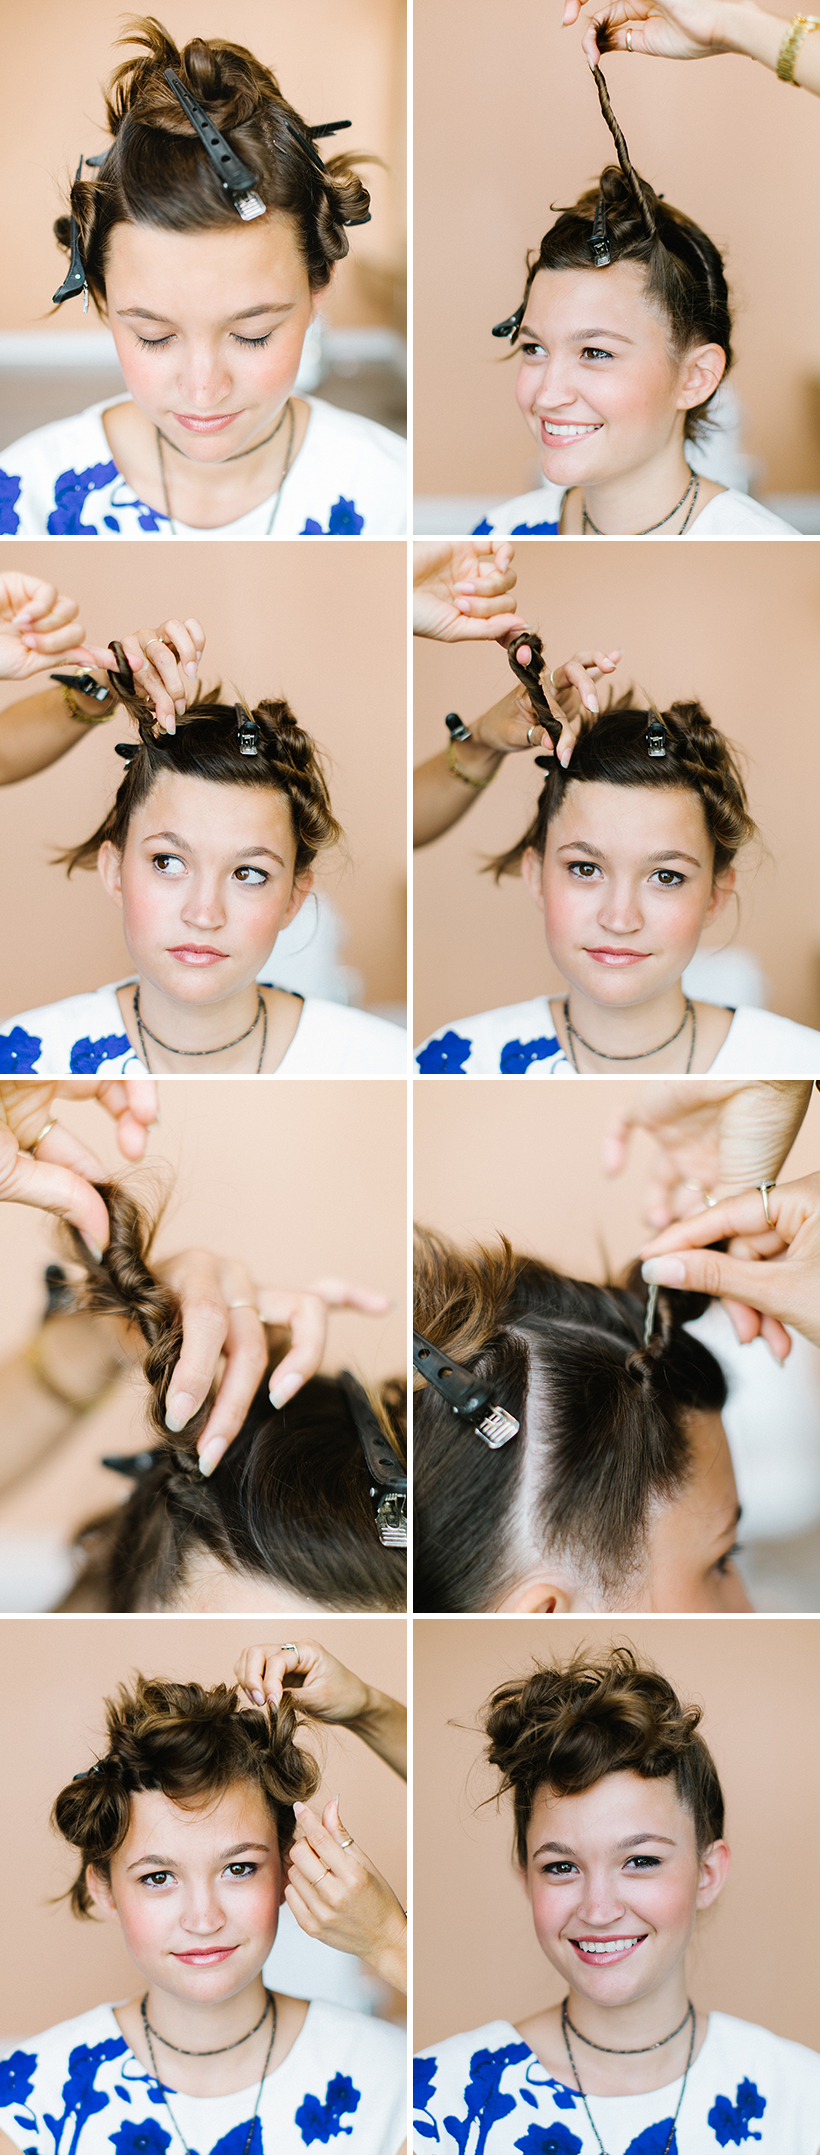
ERICA’S DIRECTIONS:
- Section hair into 5 sections. Clip hair the crown section away, then follow by clipping each side. Section the back into two sections by making two sections in the back. Your partings don’t need to be perfect.
- Start with the front right or left section. Grab the entire section and twist the hair in an upward direction towards the front of your hairline. Use your temple as your guide to twist towards.
- Once you have twisted the hair all the way to the ends, place your index finger about halfway between where your scalp and ends meet. Bring ends down to the scalp and continue twisting the hair while keeping your finger in place.
- Once you have finished twisting the hair, secure it in place with a clear elastic rubber band.
- Secure the twisted pony tail to the scalp with a bobby pin. Use your temple as a guide for where to pin. You can choose to hide or expose your bobby pin. I personally prefer not to show the bobby pins by tucking the pins into the base of the twist.
- Repeat steps 2-5 on the opposite side then work your way to the crown section.
- When finished with the crown move on to the back sections. Repeat the same steps but this time twist the hair in an upward direction. You don’t want to expose any parting that were made during your sectioning. Twist the hair or over direct the twists to hide any parts. Focus on twisting each section towards the front sections. You want to be close to the hair line.
- Once you have secured all your twisted pony tails you can then start to pull the twists apart. You might have to add more pins to re-secure your twisted pony “knots.” You can also hide any exposed partings by pinning each section to one another. I would recommend not exposing these bobby pins.
- Build on you look. Check out your silhouette, it shouldn’t look too perfect or balanced. Think of a disheveled “Beehive.” This look is meant to look lived in.
- WORK IT.
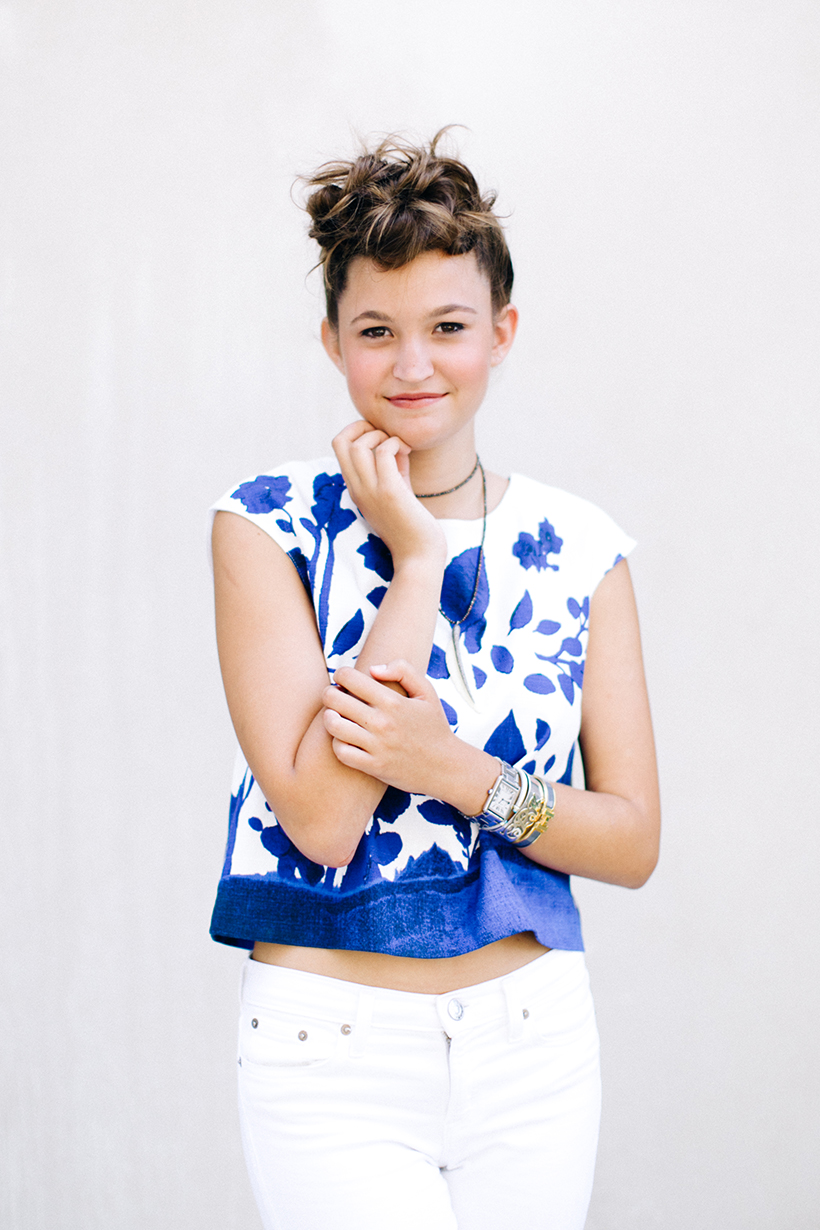
Erica’s Pro Tip: Carry extra pins with you. You can MOD–ify this look by pinning the twists in different spots. You might prefer to wear this look further back — you can easily change the entire look by doing so!
photographed by kristen kilpatrick