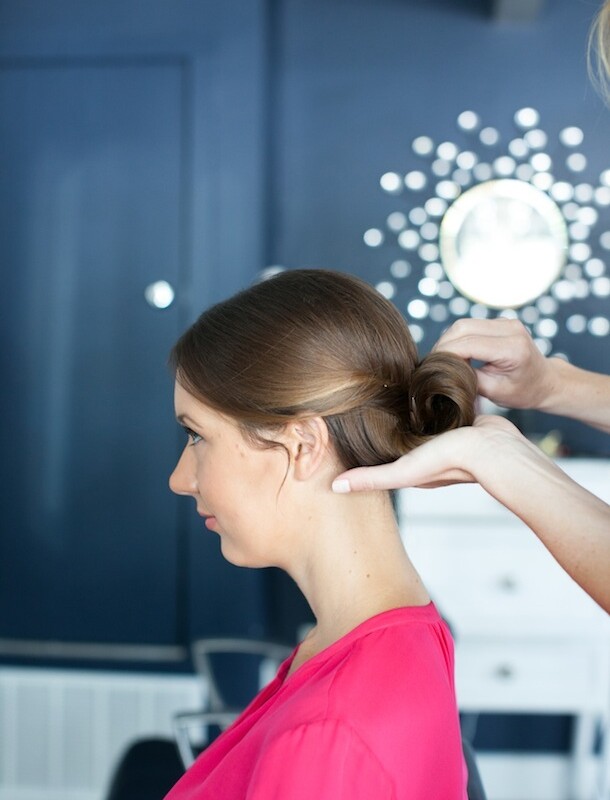

A couple of months ago, we chopped a good 5 inches off Camille’s hair to give it a fresh and healthy boost for summer, taking it from long-and-layered to medium-with texturized ends. Many of the updo tutorials we’ve done in the Pretty Simple series thus far have been great for long-haired ladies, so with Camille (and many of you) in mind, I created this style for a fun option that doesn’t requires cascades of long hair. I started doing this look on myself while I was growing my hair out, and fell in love. It’s super easy, and gives the impression that you’ve got locks for days! Fast enough for a weekday morning, yet elegant enough for a special occasion, it can be achieved in just a few easy steps…

![]()
- Start with hair that’s slightly teased at the crown and at your natural part for volume. Using hair from the ear forward, twist a small section of hair back and around your head.
- Use bobby pins to secure the twisted hair. No need to hide the pins — they’ll be covered up!
- Repeat with hair from the ear forward on the opposite side. Criss-cross the twisted section over the first one.
- Use a comb tease all hanging hair in order to help it stay together.
- Gather all hair in the back and begin rolling it onto itself, similarly to rolling it onto a curler.
- Once it’s all rolled up and over the twisted sections, tuck any stray hairs and pin generously to secure in place. Spray all over.