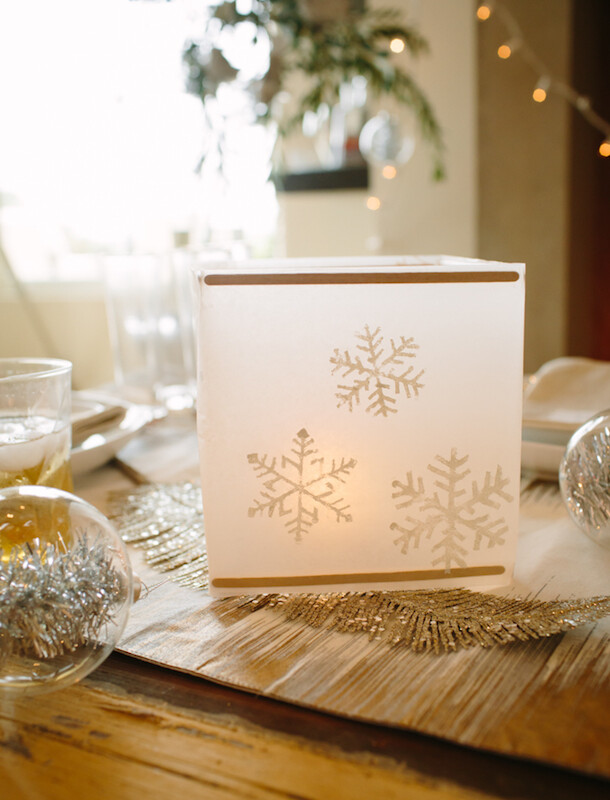

Remember the waxed paper snowflake lanterns that donned the table at our snowed-in dinner party? Lots of you went out to your local West Elm stores last month to learn how to make your own, but for those of you who weren’t able to, we promised to share the step-by-step tutorial here! With Christmas in less than a week, this project is simple enough to squeeze in just in time for the big day, and might be just the decorative element that your holiday table needs. Best of all, these lanterns fold flat for easy storage, so you can reuse them year after year! Keep reading for the instructions…

![]()
- 1 roll waxed paper
- ruler
- scissors
- white acrylic paint
- snowflake stencils
- sponge brush
- spray adhesive
- 5.5-inch wooden sticks

![]()
- Measure and mark 24″ on waxed paper, and cut.
- Fold waxed paper in half and crease. Tear sheet apart by pulling along crease. Paper should tear easily and cleanly. Set one of the halves aside.
- On the other half, position snowflake stencil onto waxed paper and dip sponge brush into acrylic paint. Use one hand to hold stencil in place, and the other to paint inside stencil.
- Continue stenciling down the length of the waxed paper. Once all snowflakes have been painted, carefully remove stencils. Allow to dry 10 minutes.
- Spray adhesive along top and bottom edge of waxed paper.
- Place 4 sticks in a row, 1/4-inch apart, along top and bottom edges of waxed paper. Position sticks 1/4-inch from top and bottom edges.
- Spray adhesive all over waxed paper and wooden sticks. Carefully place second sheet of waxed paper on top of the first sheet of waxed paper. Press and smooth to remove wrinkles.
- Cut excess waxed paper off end so there is only 1 inch of paper past the last two wooden sticks.
- Fold over the 1-inch end of waxed paper and crease. Spray adhesive as pictured.
- Fold over waxed paper so it creases between every two sticks to create four panels. Press end panel onto folded adhesive flap on end. Set on lit tea light or votive candle to create glowing lantern.