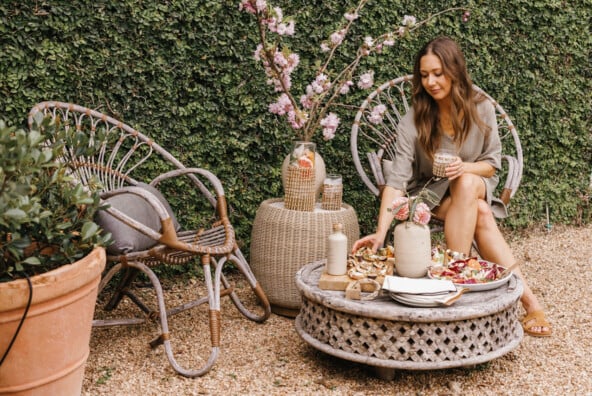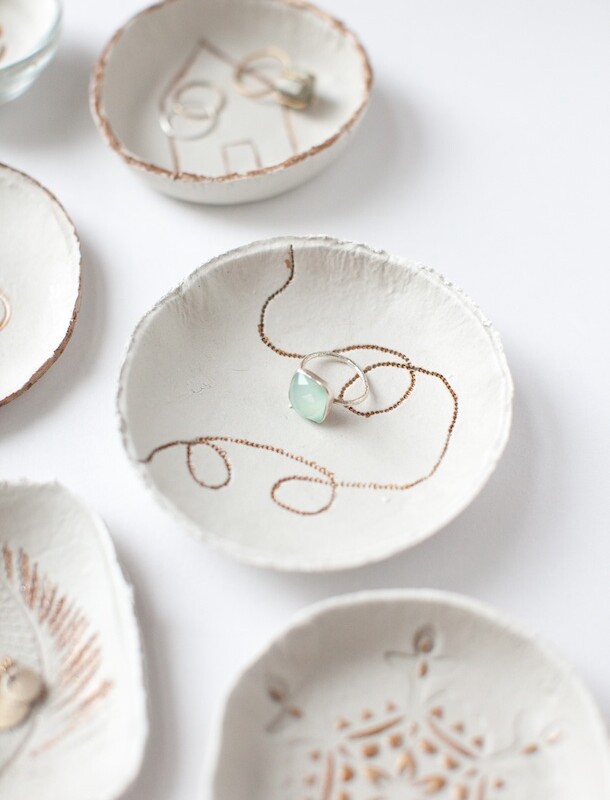

Anyone else shocked that the holidays are right around the corner? Claire here, and this year I’m vowing to not find myself in an end-of-the-year frenzy, so I’m getting a head start on my gifting. From hostess presents to party favors, my list seems to get longer each year. These do-it-yourself clay bowls are good for nearly everything… a catch-all by the door, a jewelry holder near the sink, or a vessel for Halloween candy, they can always be put to use! Since this is a small scale project that everyone can enjoy, I invited a few girlfriends over for a fun afternoon of bowl-making, bites and sips. Keep reading to see how to make your own!


![]()
- Prang DAS Air Hardening White Clay
- rolling pin
- bowls in all shapes and sizes
- knife
- sponge
- small items with which to make impressions (lace, leaves, stamps, jewelry, stencil)
- gold leaf paint
- paint brushes
![]()
- Tear off a chunk of the white clay and knead with hands until soft. Roll with rolling pin until 1/4″ flat.
- Place a bowl upside down on the flattened clay. Cut with the knife around the edges, leaving a perfect circle.
- Stamp/imprint into the clay circle, pressing carefully and firmly.
- Remove stamp.
- Place imprinted clay circle in the bowl, and mold to the shape of the bottom as pictured. Dip your fingertip into the dampened sponge and smooth any rough edges or cracks in the clay.
- Leave in the bowl to harden overnight. Once dry, use a knife to loosen the clay and pop out of bowl. With the paint brush and gold leaf paint, accent parts of your clay bowl with a metallic touch.