
Claire here, and I couldn’t be more excited to present to you all my latest project! Two weeks ago I asked for your suggestions on which pouf I should make, and though I loved them all, I took little bits of inspiration from each one to create a design that’s truly original and unique. After some trial and error, a few heated altercations with my sewing machine, and some painted details, I made a pouf that adds interest to my home. Curious to learn how to make your own? Keep reading for instructions and a downloadable template!


![]()
- downloadable templates A, B, C1, C2 + diagram
- sewing machine
- 2 yards canvas
- 5 lbs polyester fiber fill
- sewing pins
- tape
- scissors
- fabric paint
- paint brush
- pencil
- ruler
![]()
- Download and print pouf templates. Arrange templates by referring to diagram and tape together.
- Lay your fabric out on a flat surface and place template on top.
- Use a pencil to lightly trace each template piece onto canvas. Repeat until you’ve traced 6 times.
- Cut each piece out, being careful to cut just inside of the pencil line.
- Use pencil and ruler to hand draw decorative pattern on each panel. I made rows of triangles 2″ wide and 1″ tall.
- Use fabric paint to fill in triangles.
- Once dry, take two panels and lay one on top of the other, painted sides out. Pin them on one edge.
- Sew the pinned edge, leaving 1/4″ between the edge and the sewn line.
- Repeat this process with the other 4 panels, sewing one side of each pair, painted side facing out.
- Leaving a slight opening on the bottom of one seam, sew edges of each pair together to form the shape of your pouf.
- Stuff the pouf with polyester fiber fill using the unstitched opening. You can fill with old sheets/rags in the center and line with polyester fiber fill to save some money and give it a more structured look.
- Once it is filled to your satisfaction, sew the opening closed. This is tricky, but can be done with a machine, or you can hand stitch the opening closed.
- Fray edges by pulling out some of the loose strings, this can be done quicker by rubbing a needle back and forth against the top of the edges.
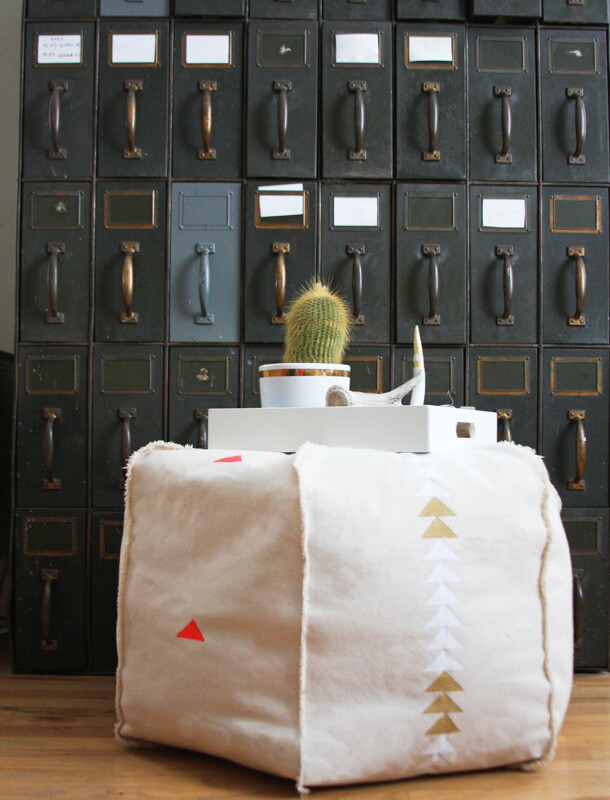
- Position and fluff accordingly. You now have a delightful pouf to use as a footrest, coffee table, or fun decor piece to add a pop to your living room!
**note: since cover is not removable, spot clean only.

*photos by Claire Zinnecker for CamilleStyles.com