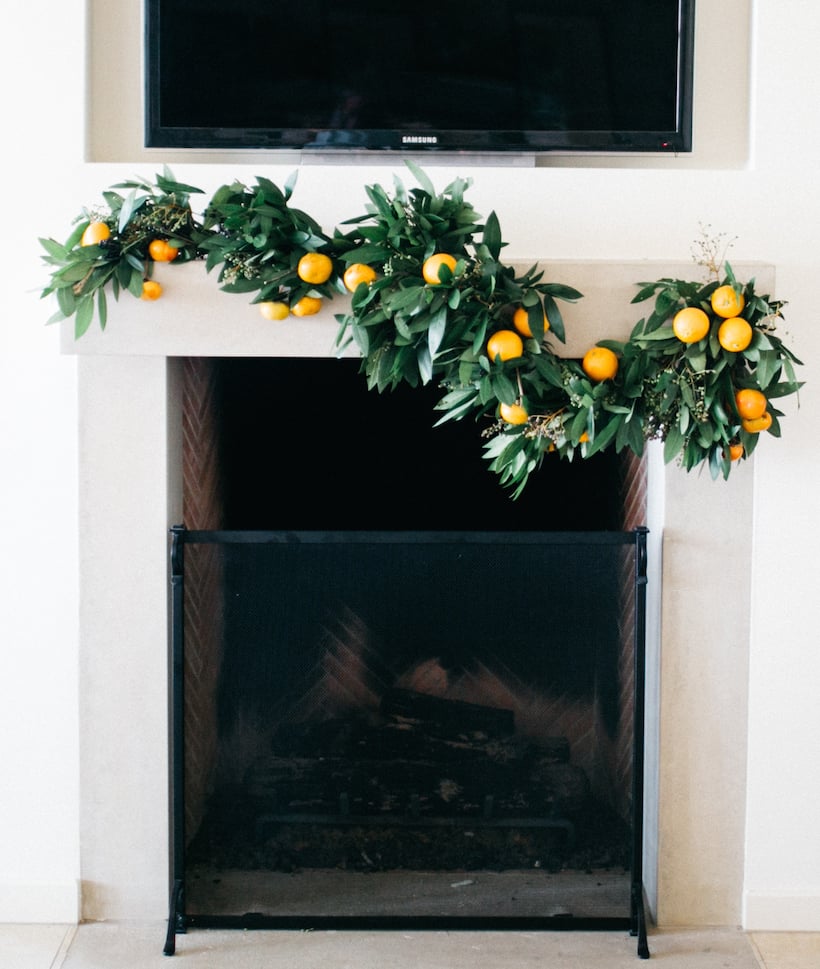
It’s almost time to deck the halls, and this year, we’re loving the look of a super lush greenery garland down the center of a table or around a doorframe or mantle. Since the holidays are all about infusing your home with handmade details, today we’re getting tricks of the trade from one of our all-time favorite floral designers, Margot Blair Floral, for how to create our very own winter fruit and greenery garland. Scroll down for her gorgeous creation and the easy-to-follow DIY details…
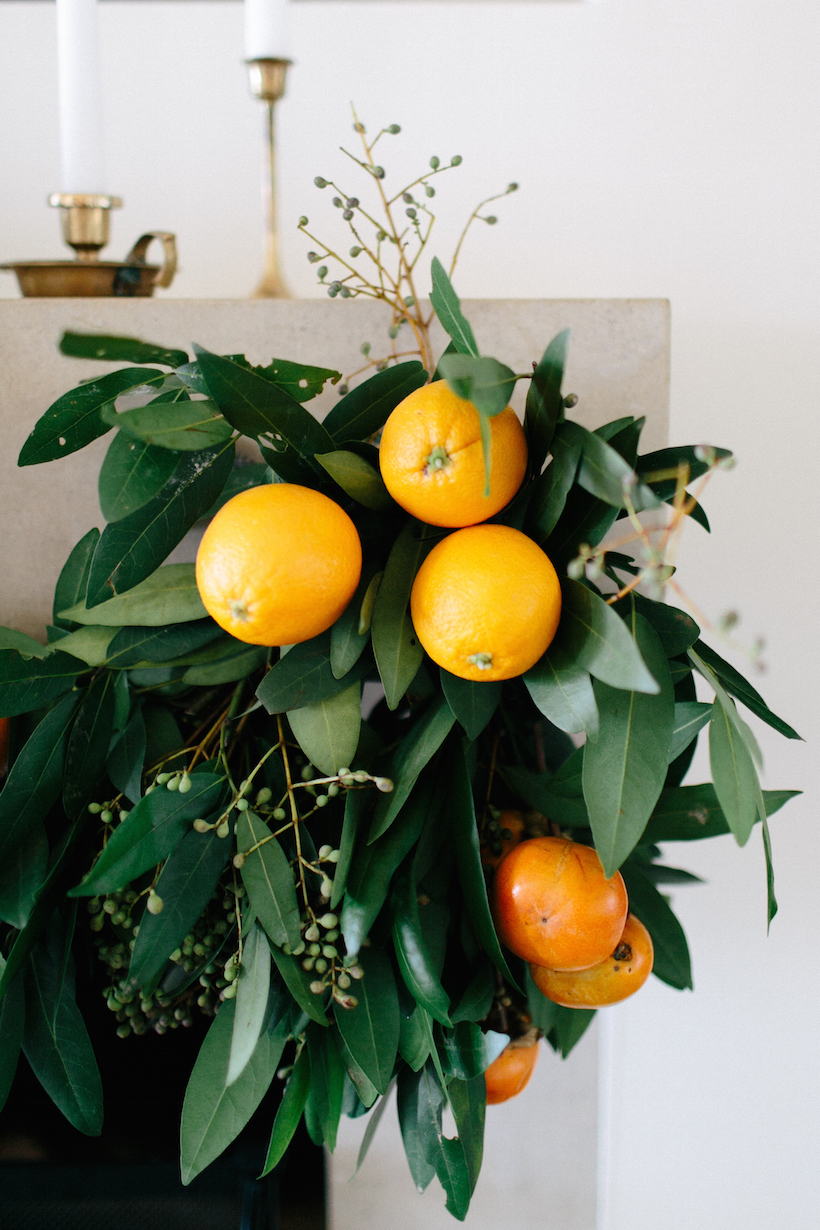
From Carly: Long before the days of pumpkin spice lattes, my youthful years were each spent in eager anticipation of the first signs of fall. Growing up in Texas meant that I usually had to wait much longer than most. But sure enough, that crisp breeze would eventually come, the leaves would all change to various shades of wonderful, and my days would become filled with the cheers of high school football and the constant smell of citrus and cloves simmering on the stove. All these years later, I’m happy to report that my love affair with fall has not faded. I still find myself getting giddy about sweaters and doing everything I can to snuggle into the season, capturing the scents and sights that I’ve always found so cozy. My profession has certainly helped in this regard, as fluffy wreaths and garlands never seem to be in short supply. Add in a few bright pops of seasonal fruits and berries, and my childhood self smiles happily in approval. As I am convinced that there is no human on earth that doesn’t share my excitement (and if they don’t, then that won’t be the case for long), below you’ll find a step-by-step tutorial for how to make your own fall garland, complete with those pops of citrus, sure to give you a little slice of happiness that only the season can bring.
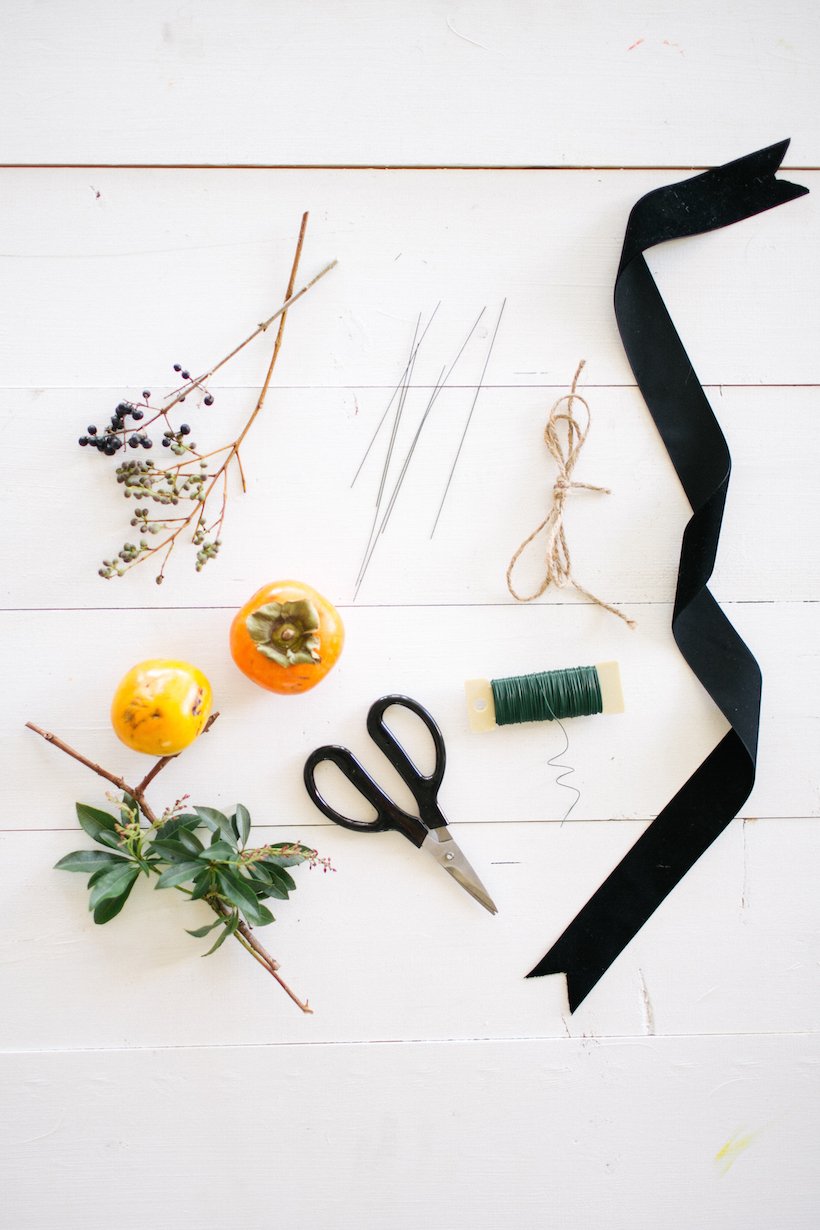
Supplies:
- Straight wire and a spool of baling wire, both 24 gauge for easy twisting
- Roll of twine
- Floral snips
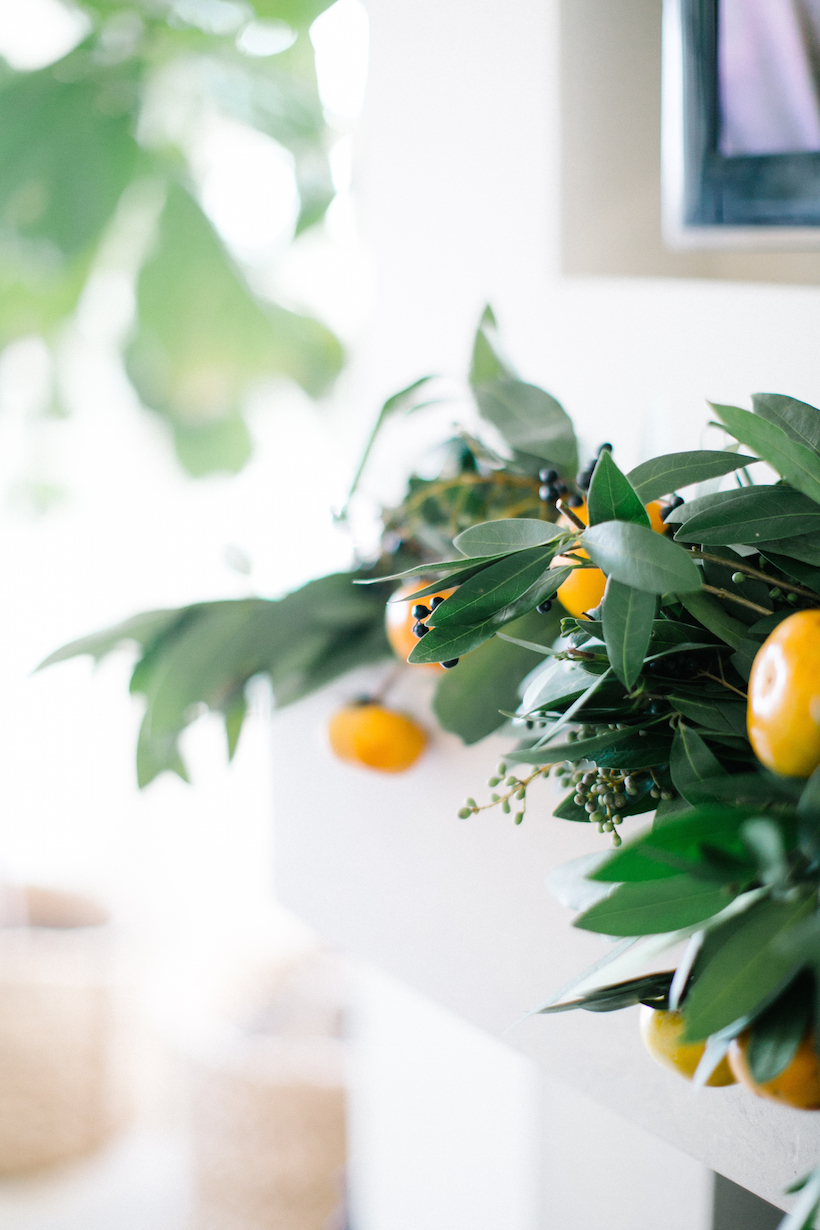
- Choice of greenery and seasonal fruit. We used andromeda, privet berry, and persimmons, as well as bay laurel and oranges (the black ribbon was just for fun)
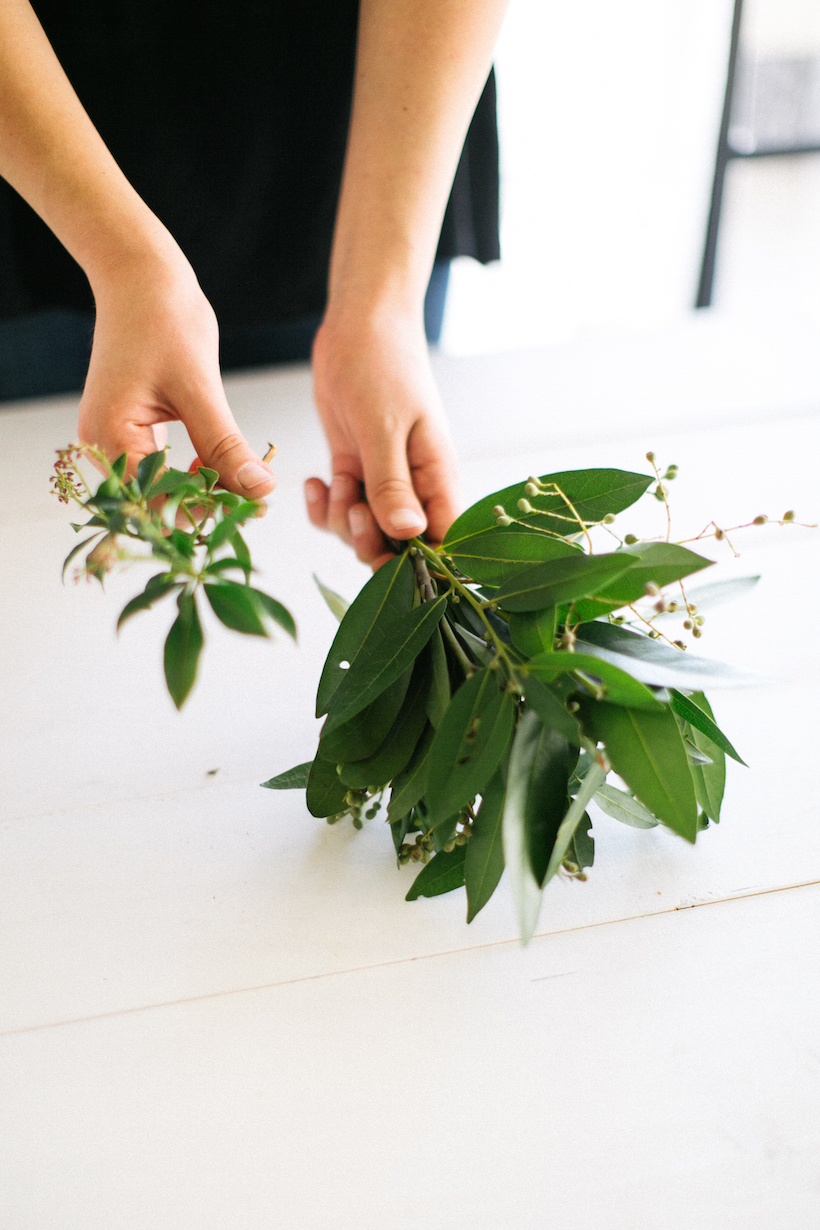
Step 1:
Cut your desired foliage into manageable pieces, about 6″ in length, and use these to create individual bundles. Using a wide variety of foliages in differing textures will give you more control over the final shape, as this will keep each bundle from becoming either too rigid or too floppy, unless, of course, that’s what you’re going for. We used a fragrant mix of bay laurel, privet berries, and andromeda foliage, but feel free to use whatever you have on hand, even if you find it in your yard! Once you’ve achieved your desired shape and fullness for the individual bundle, secure it using a piece of your straight wire, winding it around the stems a few times and then twisting the two ends together like a twist-tie. After you have all of your bundles made (more bundles = longer garland), you’re ready to start putting everything together.
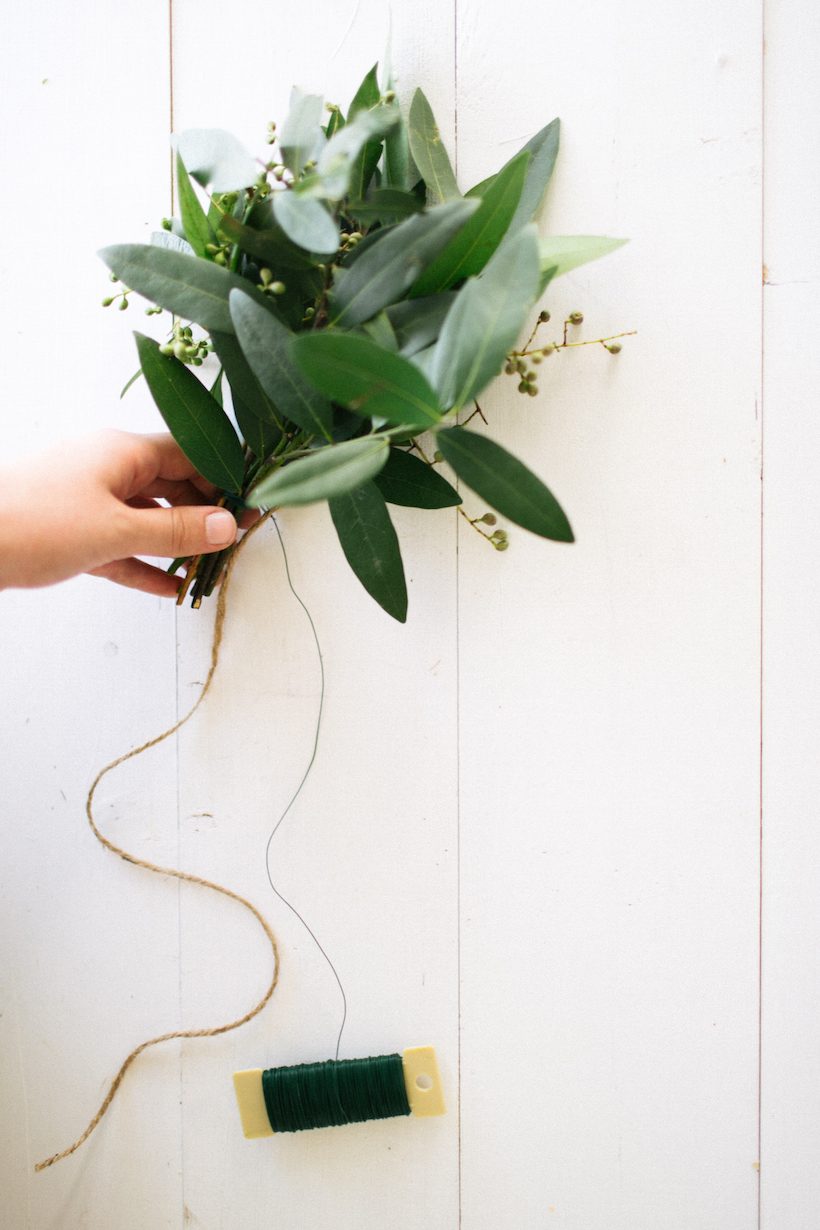
Step 2:
Cut a piece of twine to the length that you want your final garland to be. Next, take one end of the twine and secure it to your spool of baling wire. You can do this by taking the end of both the twine and wire side by side and together tying them into a single loop… then pull tight! This step might take some practicing, but once you’ve got it you can breathe easy because it’s smooth sailing from here. Next you want to grab one of your bundles (I recommend choosing one of your prettier ones so that the ends of your garland are nice and manicured), and place it at the end of your twine, so that the the knot that you just made is at the back of the stems. Leaving the twine stationary, wrap the baling wire around both the twine and the stems together, going around several times, and thereby attaching the bundle to the twine. Make sure to wrap it nice and tight, but don’t cut the wire once you’re done. Now take your second bundle and use the foliage of it to cover the stems and wire where you’ve just attached your first. Wrap the still attached wire around the stems of the second bundle the same way as you did with the last, and continue this process down the length of the garland until you only have one bundle left (again, make sure this last one is pretty!). Instead of attaching this last bundle the direction you’ve been going, you’re going to flip it around so that it is stems-to-stems with the one before it. Do your best to hide each bundle’s stems in the foliage of the other, and now wrap the wire between the leaves to attach the last bundle securely while being carful to not crunch your beautiful handiwork.
Step 3:
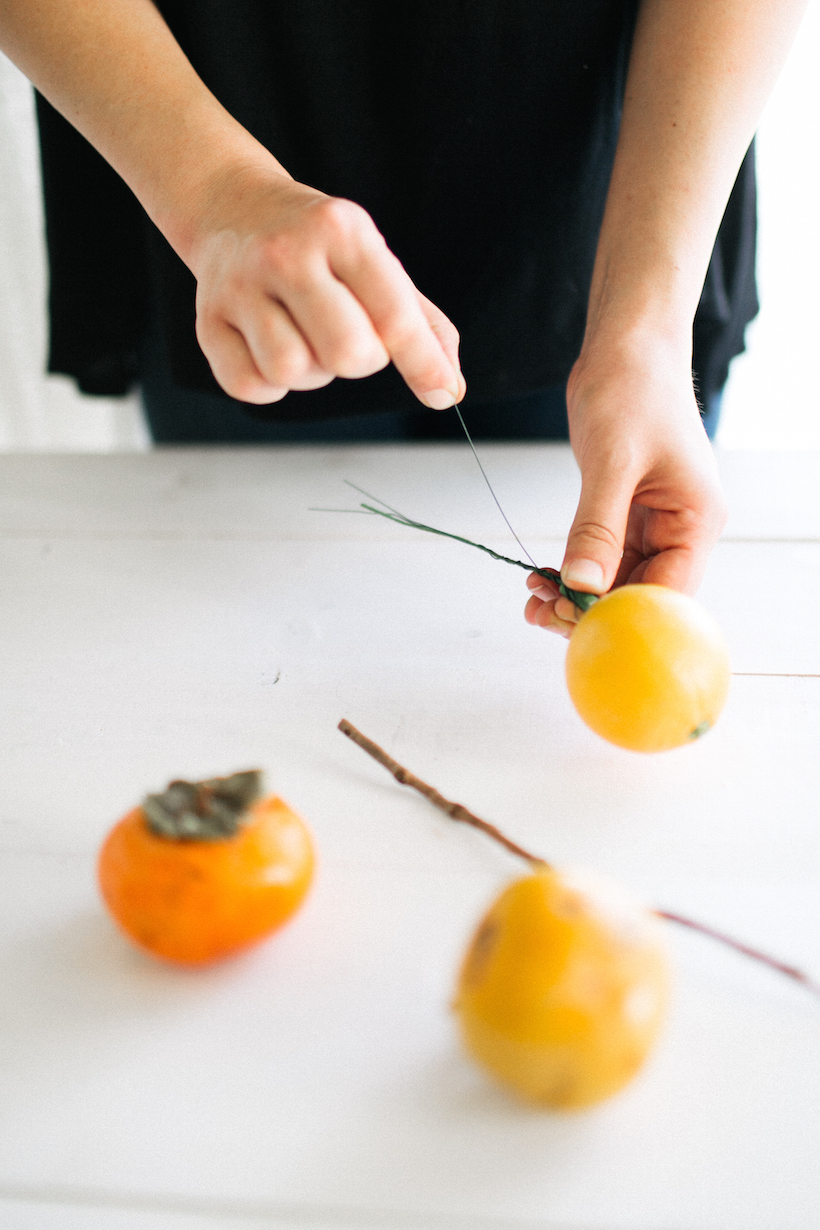
Now you’re ready for the fruit! Citrus is a great option here because it’s not quick to spoil and the peel offers a sturdy surface for the wire to grab on to. Plus, when it smells that good, it’s really hard to go wrong. To wire the individual fruits you’ll need two pieces of the straight wire per. Take one piece of wire and insert it horizontally through the center of the fruit, about 1/4 of the way up from the end. Do the same thing with the second piece of wire, going in at a perpendicular angle to the first, in effect creating an “X” at the bottom of the fruit. Now bend all four wire points down towards the end and twist them together to create one large wire. If you have floral tape on hand, you could wrap it around the wires at this point, but it’s not a necessity.
Step 4:
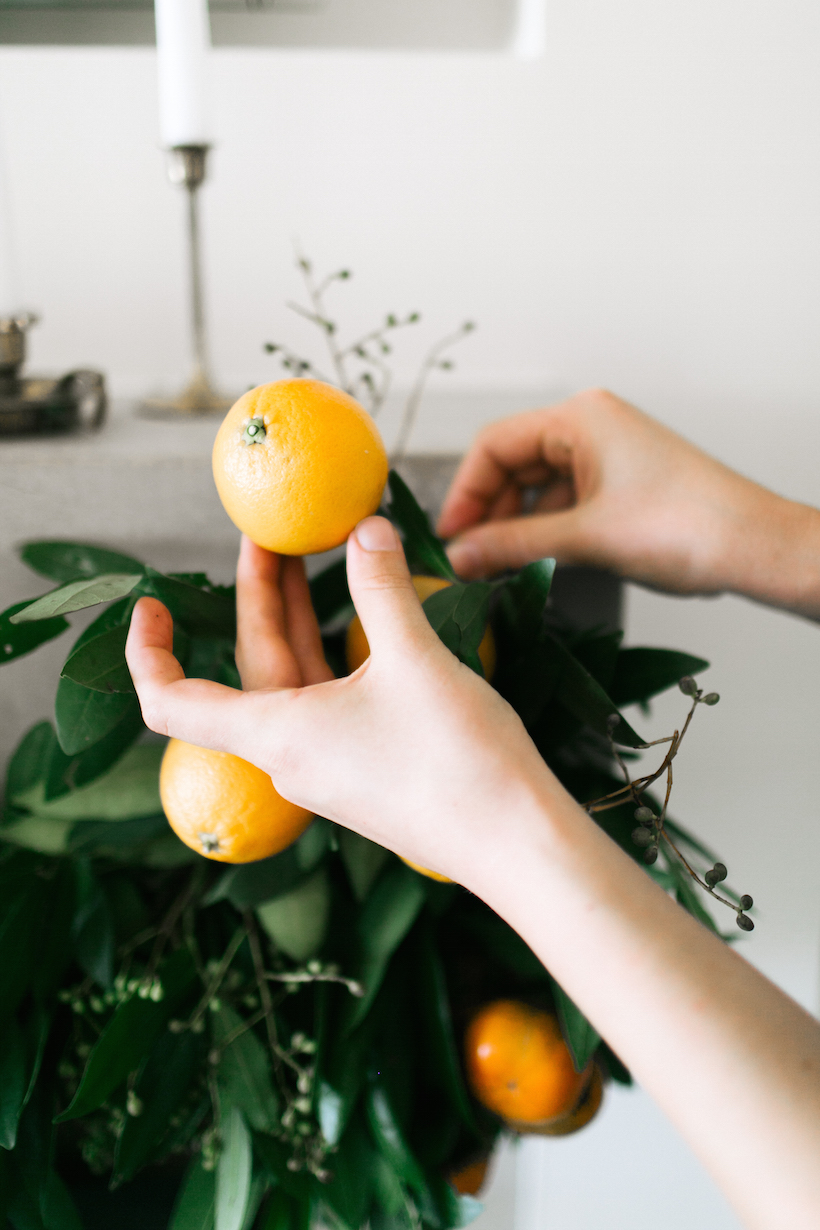
Once your garland is hung, go through and place your citrus, wrapping the long wired ends around the garland to secure them in place. Some people prefer to spread the fruits evenly throughout, while others choose to group them together at key places. There is no right or wrong way! But if the end result makes you happy, then my job here is done.