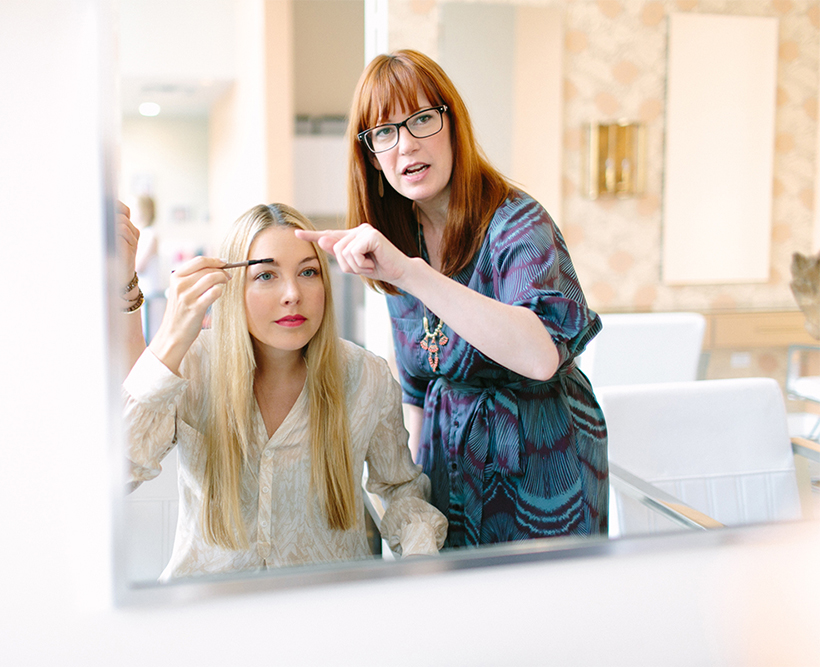
 In case you’ve been living under a rock, brows are back in a MAJOR way this fall. We’re talking full, youthful, wild, amazing brows. Think Cara Delevigne, or better yet — a young Brooke Shields. After over two decades of tedious eyebrow grooming, those of us with naturally full brows are especially stoked to step away from the tweezers. We met up with makeup artist Nisa Nicole at ROAR Salon to learn her secret technique for creating perfectly bold brows. “In my opinion, the brows are the most important feature on the face,” states Nisa. “They can balance out features, change your look and make you look really put together if they’re groomed properly. Small adjustments to color, width, and shape can make all the difference when putting your best face forward. Brows are my favorite thing to educate my clients on — I’m kind of obsessed — but in a good way!” When we were thinking of models for this particular look, we knew exactly who we wanted: our friend and founder of the dreamy online beach shop Ambhasaa, Rebecca Gaddis. With her model-esque bone structure and long blonde hair, we couldn’t wait to see how she would look with strong brows. Read on to see how Nisa transformed Rebecca’s look completely with intensely awesome eyebrows:
SUPPLIES:
To achieve this look, you’ll need a brow brush or “spoolie” (it looks like a mascara wand), a brow pencil or a shadow, and some clear brow gel. Here is a two in one by MAC. And this is a good set with powder by Anastasia.

DIRECTIONS:
In choosing a color to fill in your brows, you need to look for a shade or two lighter than you brow hair. If you match you brow hair then it will end up looking too dark, our goal is for them to look fuller, not darker.
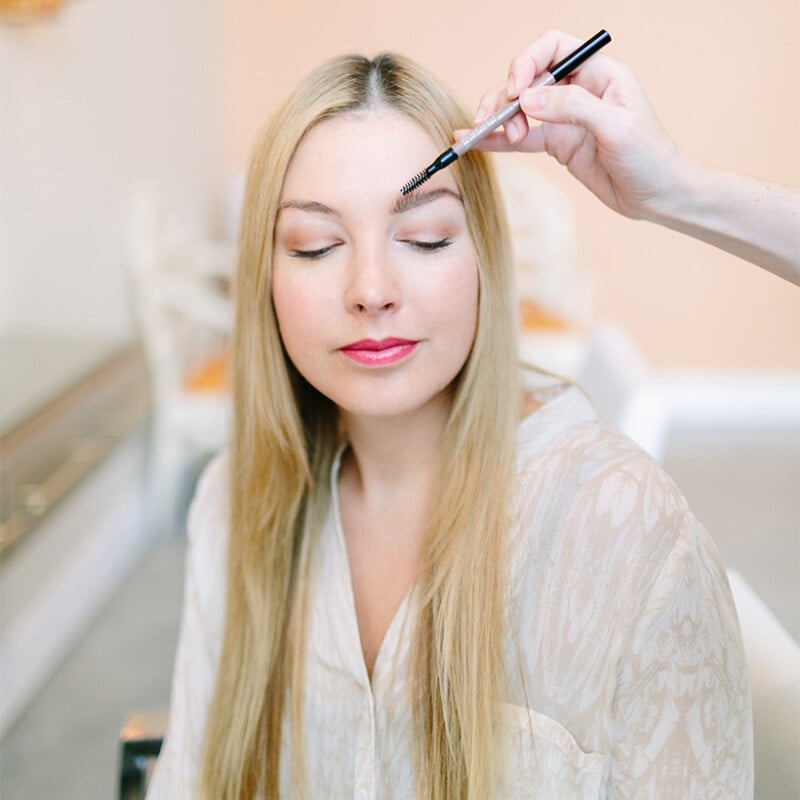
- First you want to brush your brows straight up.
- Then with your pencil, start at the top line of the brow. Tip: a sharp pencil or slanted makeup brush works best.
- Using small quick strokes that mimic the hair, start to fill in the space in between the hairs. The flicks should be in the same direction as the hairs: straight up and in closest to your nose, up and over for the arch and down for the outside of the brow.
- Bring the color just outside of the natural line of the brow.
- Once you are finished with the top line, go back and fill in the rest of the brow with the pencil. Be light handed when working in the thickest part of the hair.
- At this point you should have a larger brow than when you started. You can either leave the bottom line for a more natural look or perfect that line with the pencil for some drama.
- When you are finished, give your brows a brisk brush through with the spoolie. Tip: if you go outside of your natural line too much, go back in with a q-tip and concealer to “erase” any mistakes.
- Use the gel to brush brows up and set them in place (clear mascara works perfectly).
Using the handle of a makeup brush, Nisa has a handy way of determining the correct shape for your brows:
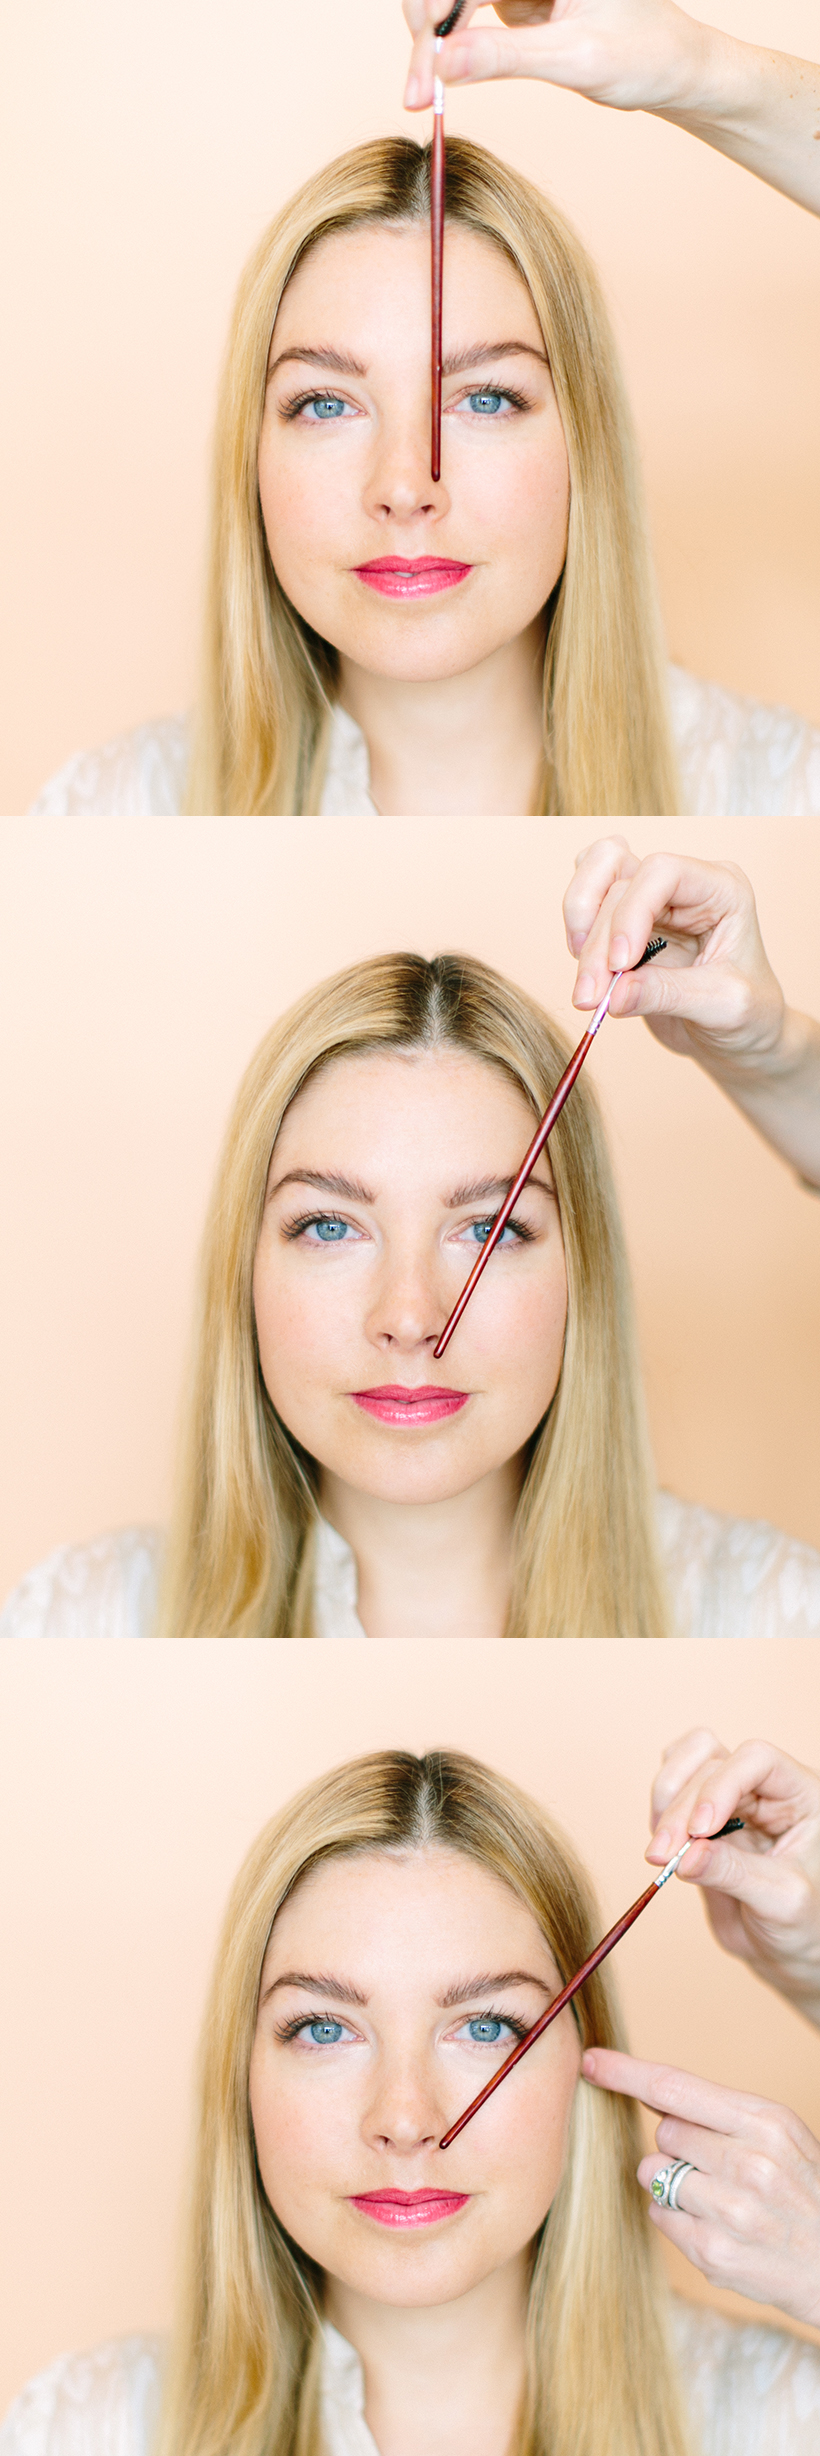
- Measure straight up from the inside of your nostril (using the outside part of your nose will make your brows too far apart!) This is where your brow should start.
- Measure from the outside part of your nose over your pupil and this is where your arch should be. (There should be a gradual line from the inner corner up to your arch.)
- Measure from the outside of your nose out to the outer part of your eye and this is where your brow should stop.

photographed by kristen kilpatrick