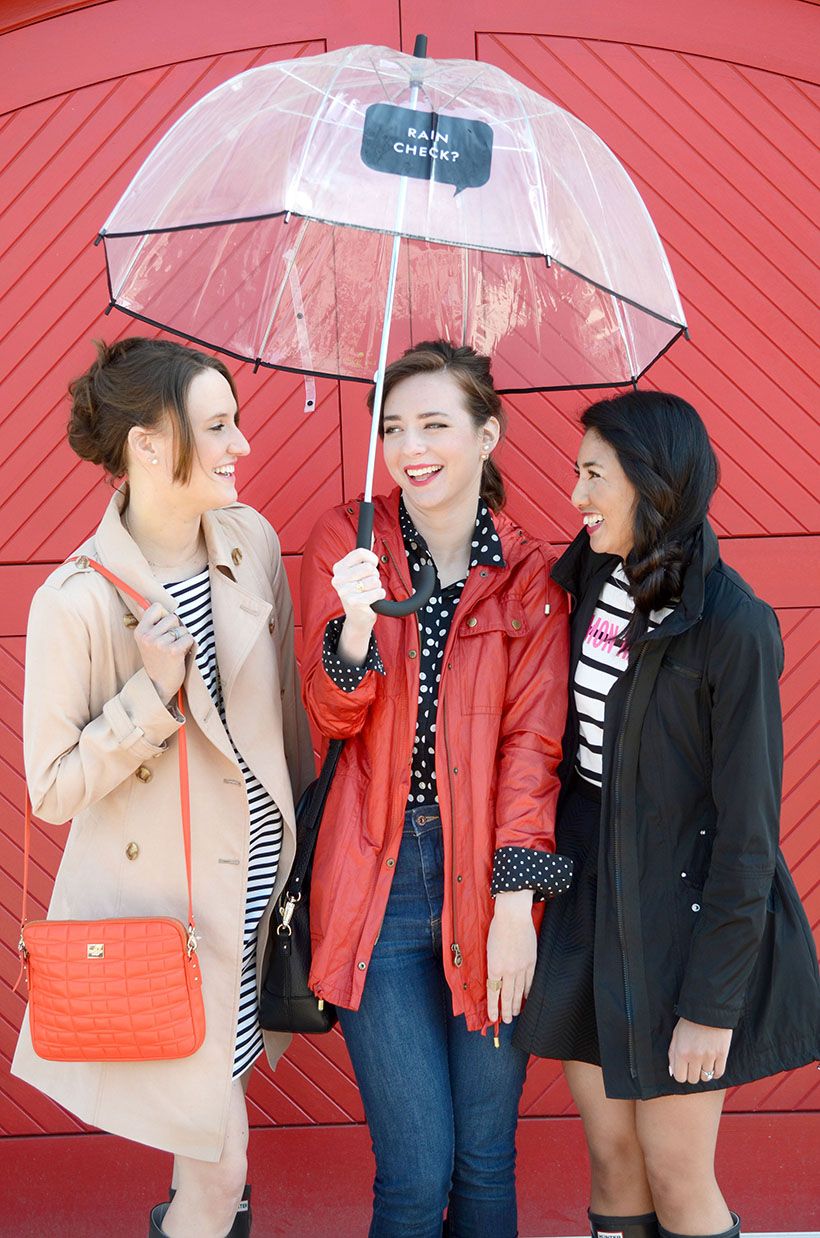

hair and concept by maritza buelvas of beauty for bloggers, photographed by cassandra monroe, modeled by katie niemiec of one little black blog, additional styling and modeling by rach dulay of rd’s obsessions and emily charron of isn’t that charming
We love the flowers brought by April showers, but if you have even a bit of natural curl in your hair… well, rainy days can be just plain scary. All too often we end up throwing our hair in a top knot and declaring defeat. And while you might not want to spend hours flat-ironing your hair on a steamy morning, there’s no reason you can’t sport great hair on a wet day. We met up with beauty expert Maritza Buelvas to learn her fix for rainy day frizz: a genius ponytail braid that looks great in any weather. Blogger Katie Niemiec was kind enough to lend us her head full wavy locks to model this technique created by Martiza. “I wanted to design an easy to re-create faux braid that could survive a little bit of rain and humidity, not require any full-on maintenance and still look chic,” says Maritza. “This style is adaptable to most hair lengths–but it works best for longer hair like Katie’s.” Read on to discover how to create Maritza’s faux braid. This look is so cute we may not be able to save it for a rainy day!
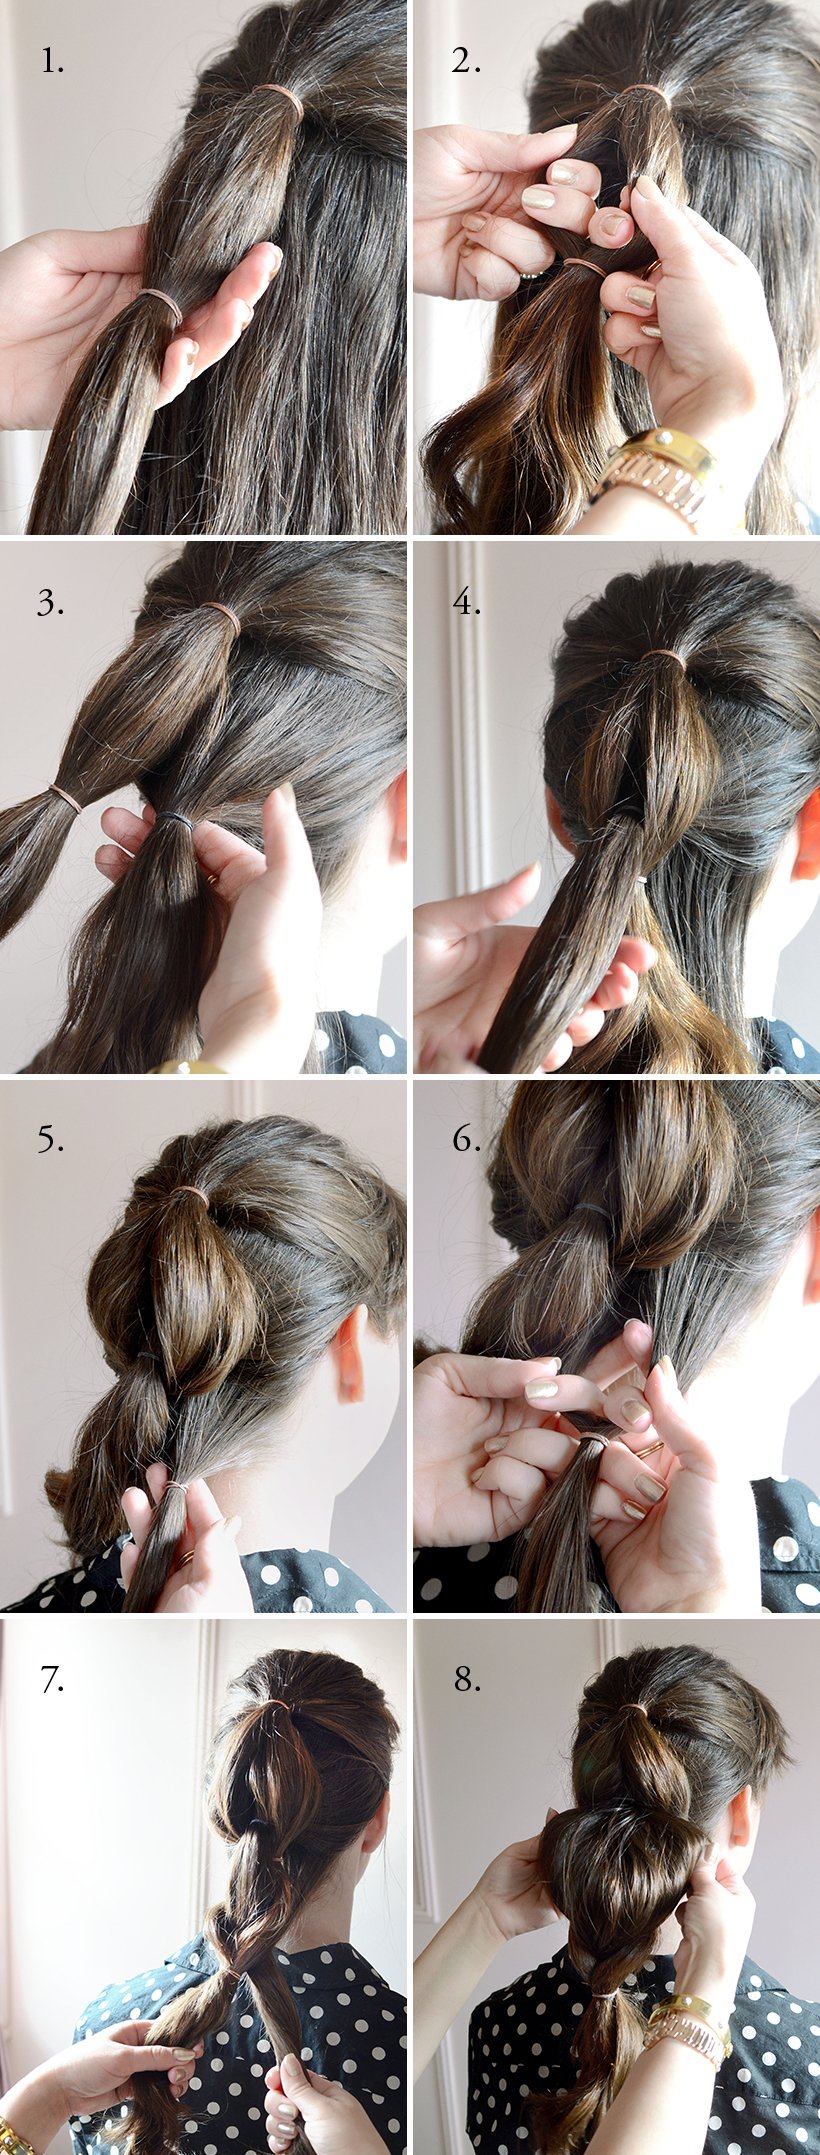
DIRECTIONS:
- Form a small ponytail at the crown of the head by gathering just the sides of the hair and tying back with a small rubber band. Place another rubber band about three inches down this newly formed ponytail.
- Prep hair between the two rubber bands by creating a small gap with your fingers–you’ll be pulling hair through this gap using hair from underneath.
- Create a second ponytail underneath your first ponytail by lining up the placement of your rubber bands as demonstrated in the photo.
- Thread the second ponytail through the center of the first and pull through as discussed in step two.
- Create a third ponytail using the remaining hair underneath.
- Create a gap in this lastly formed ponytail.
- Pull through the ponytail that rests up top underneath this time, as demonstrated here.
- Start puffing out the hair by tugging at the sides of each ponytail section. Note the hair that’s gathered between each rubber band will automatically rise upwards when you pinch hair outwards–making your hair look puffy and fuller–giving the appearance of a faux braid.
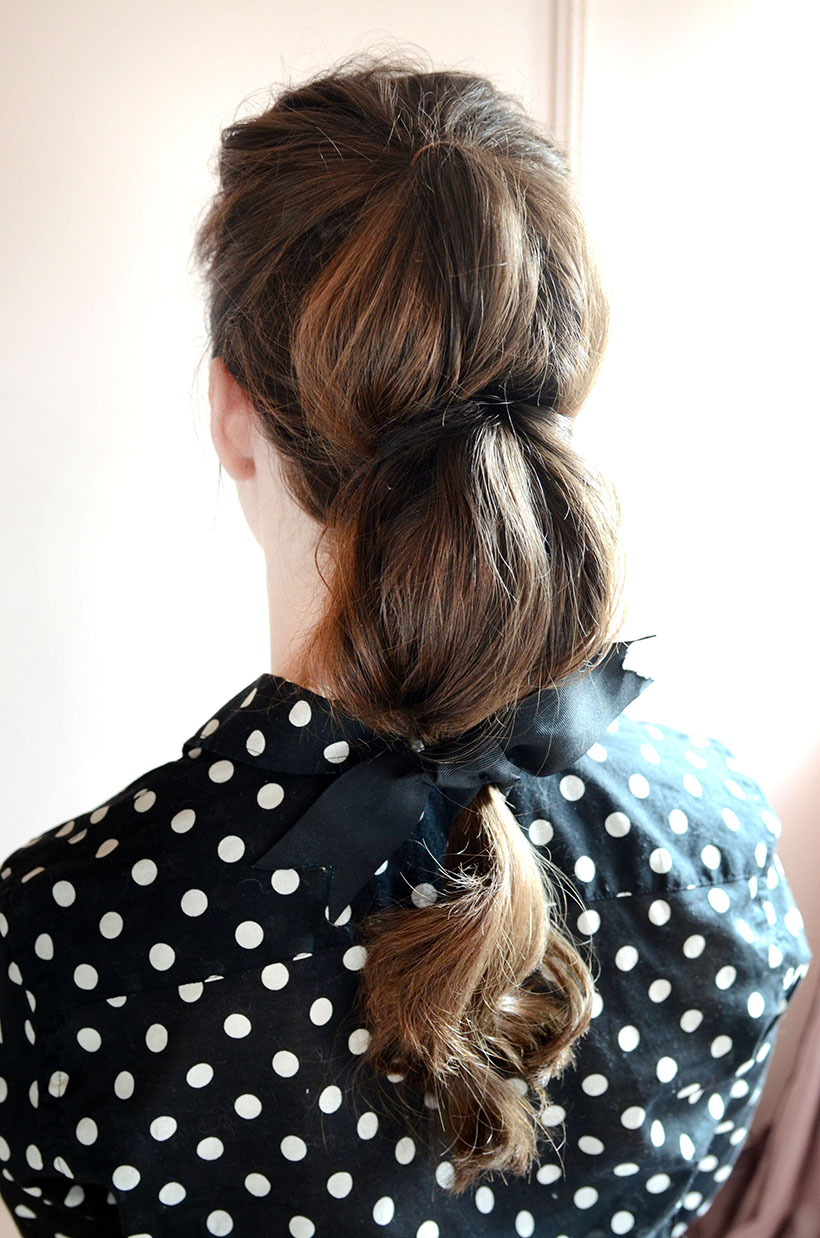
Maritza’s Pro Tip: “Use anti-humidity hair spray to set this style,” she recommends. “If your faux braid falls a little limp, pinch and pull in between your rubber band sections to add lift to areas that may have fallen flat. Bonus: Taking this style down at night is a breeze–just snap off each rubber band by cutting each band with a small scissor.”