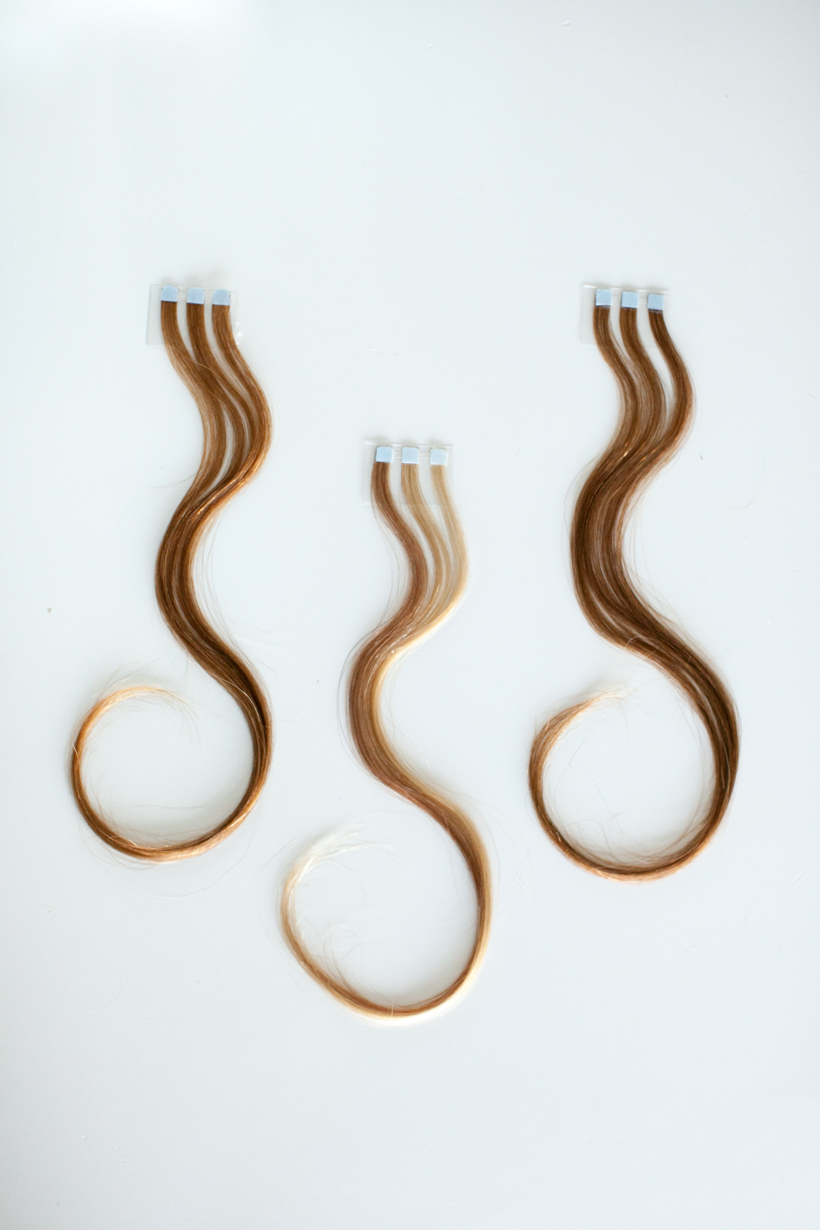
 Confession: I’m a hair color virgin. It’s not that I’ve never wanted to color my hair: in junior high, I fantasized about Gwen Stefani’s platinum blond, and I’ve had more than one episode of thinking about going really dark and dramatic. But the color I’ve tossed around most consistently through the years is adding streaky golden highlights that send an, “I’ve been hanging on the beach all day” kinda vibe. The only prob? I have a feeling that once I start, I’ll be hooked for life, and the last thing I need to add to my beauty maintenance routine is an every-six-week commitment. Enter a new-to-me product by Balmain called ColorFlash extensions — a (literally) 5-minute, no-risk way to have your stylist add streaks of color to your hair using tape-in hair. I asked stylist Lauren Philips of Sabia Salon to show me how it works… and since the application can last for 1 day or up to a month (you decide when to take them out!) you can go subtle or go bold — no risk required.
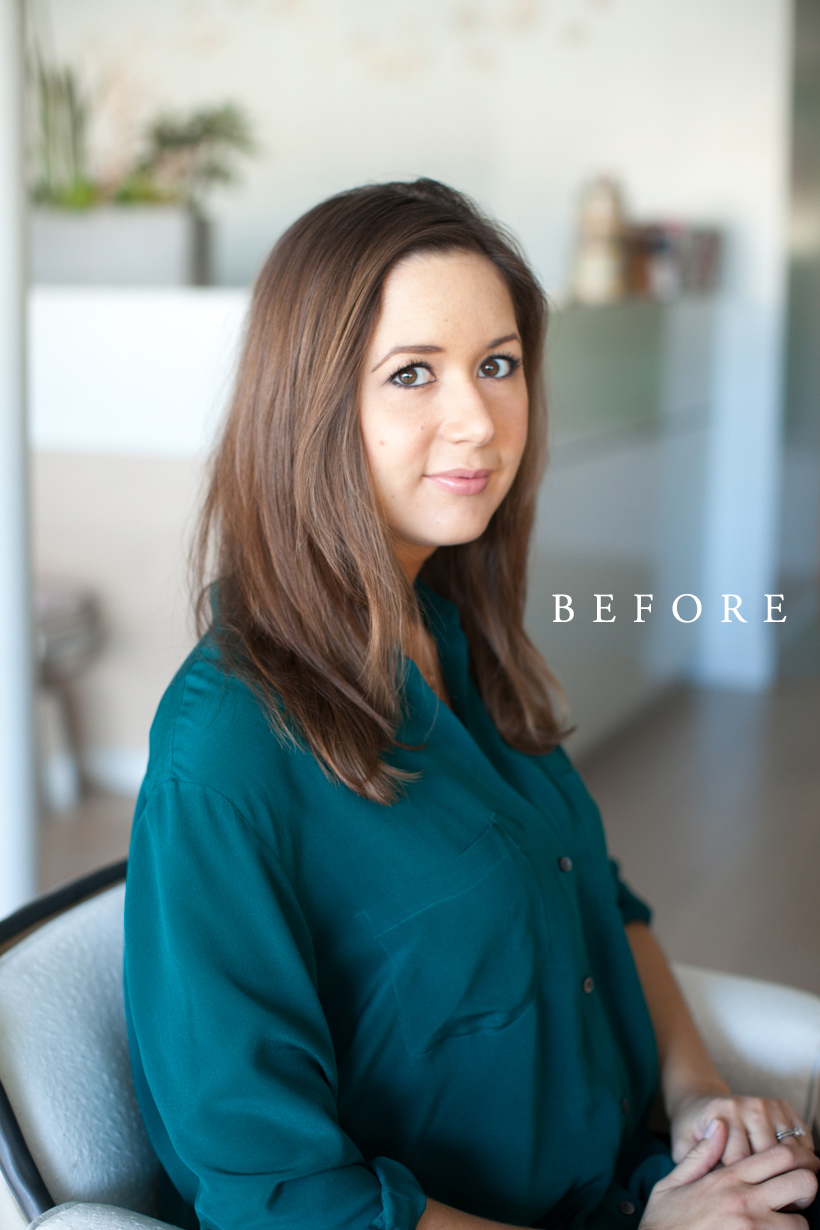
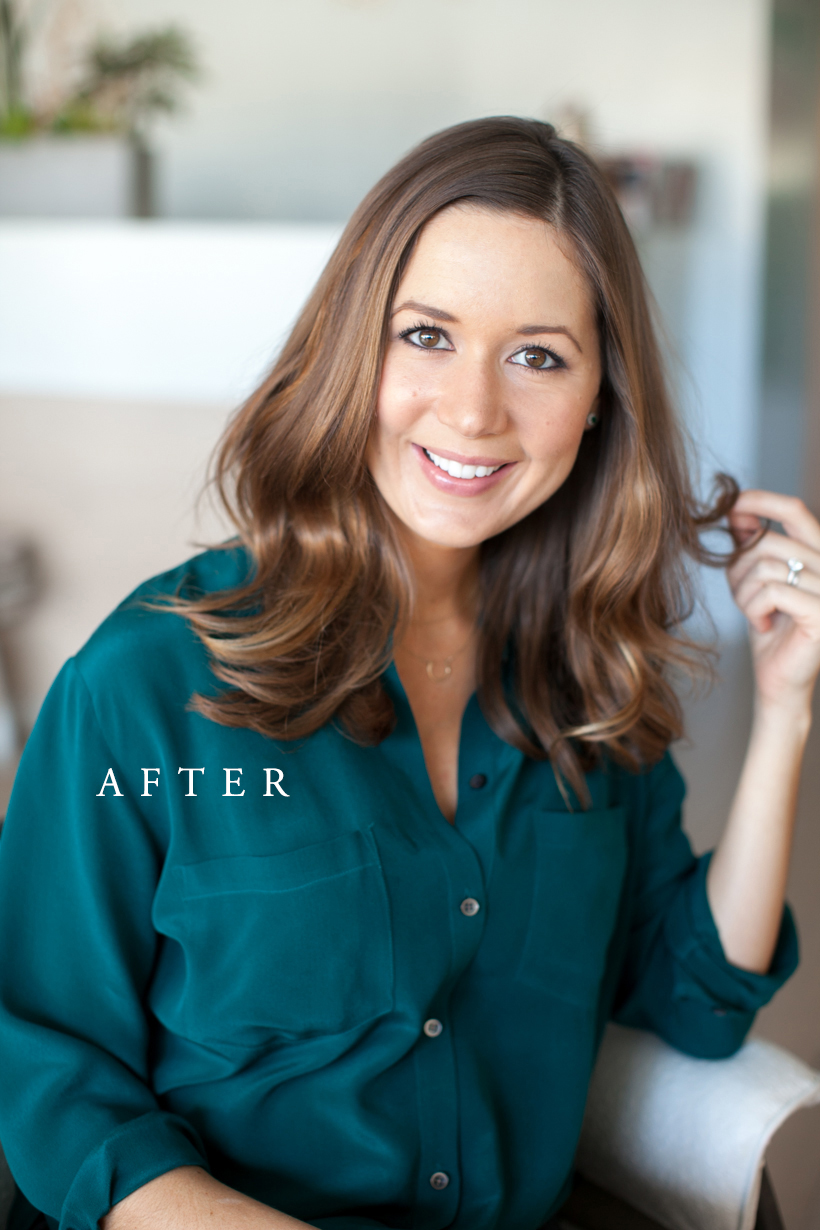
“It’s a great way to play with color without using any chemicals or committing to change,” says Lauren. “It’s also fast — you can add highlights, fun colors, and fullness to your hair in less than 30 minutes.” For those who want to experiment with extensions at home, Lauren says clip-ins make a great alternative. “Simply backcomb the hair just a bit at the root and clip in a few inches below your part for the same look. Balmain makes great ones in every color imaginable.” Read on to watch my transformation from brunette to sunkissed streaks:
SUPPLIES:
- Balmian hair extensions (either tape-ended or clip-in)
- sectioning clips
- 1″ curling iron
- pin-curl pins
- finishing spray
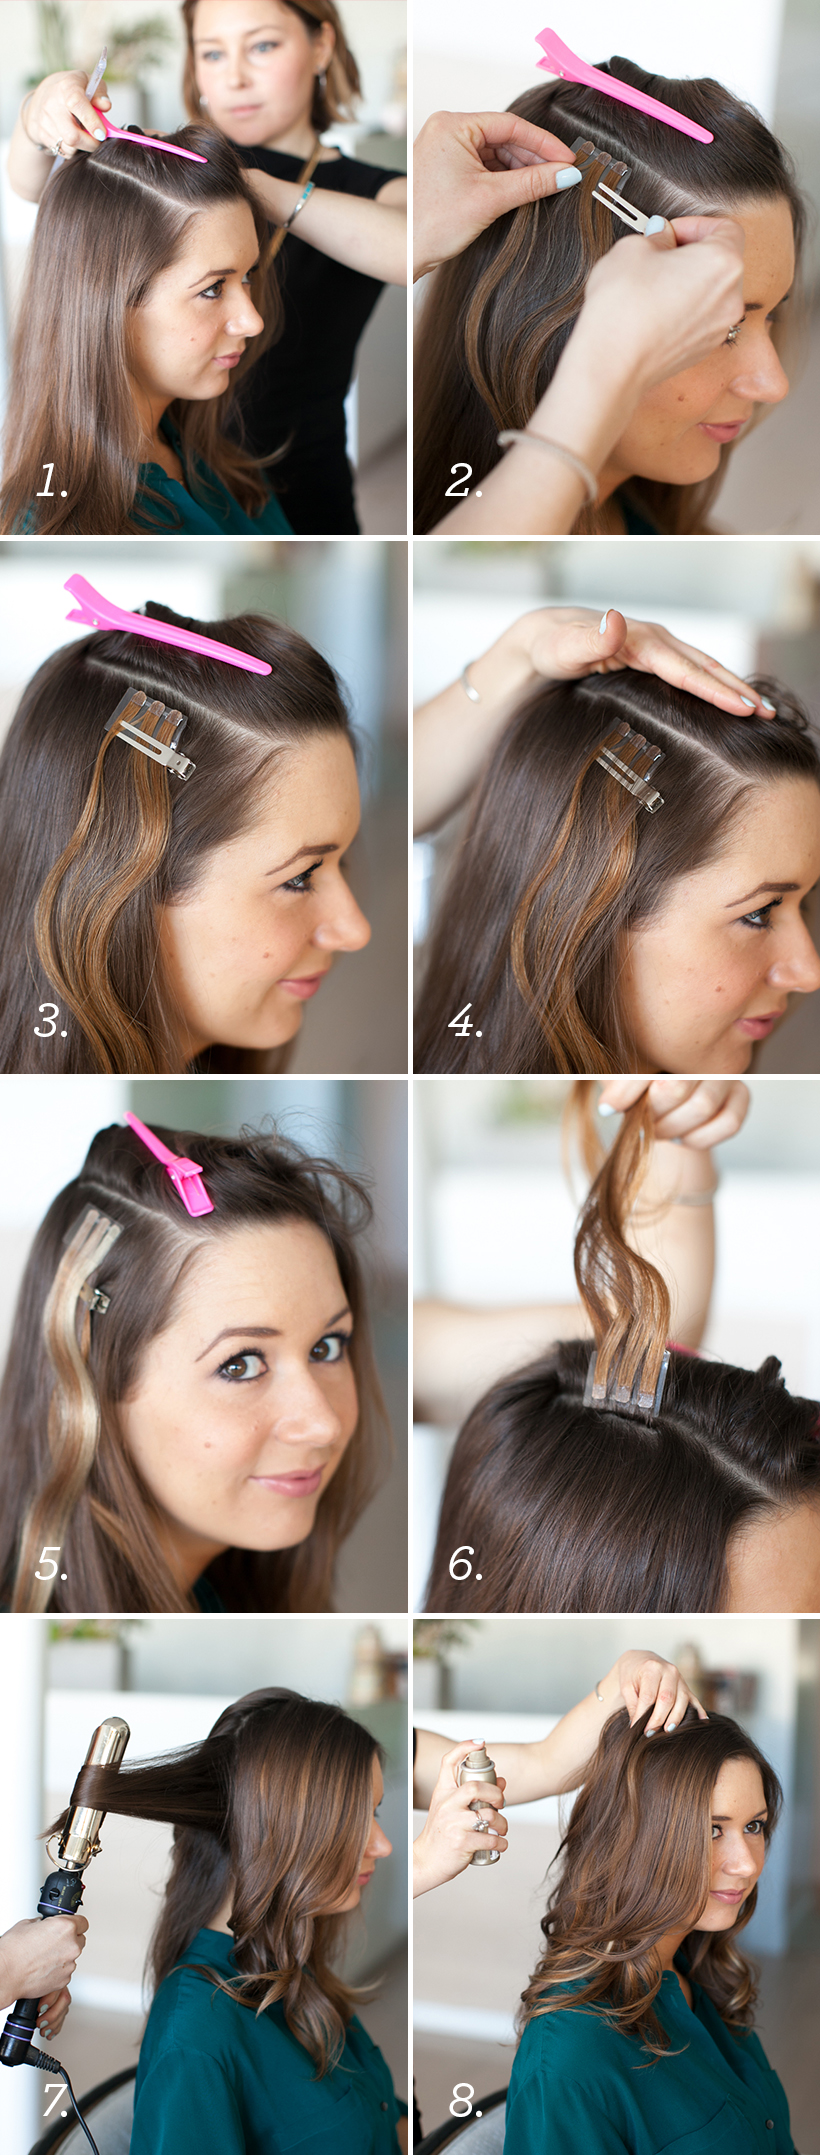
LAUREN’S PRO STEPS:
- First I sectioned Camille’s hair using large sectioning clips. Then I decided on where the flash extensions should be placed based on her haircut and the texture of her hair.
- Next, I secured the extension in place with a pin curl clip.
- I double checked to make sure the placement was correct and that the extension seam wouldn’t show regardless of how she wears her hair.
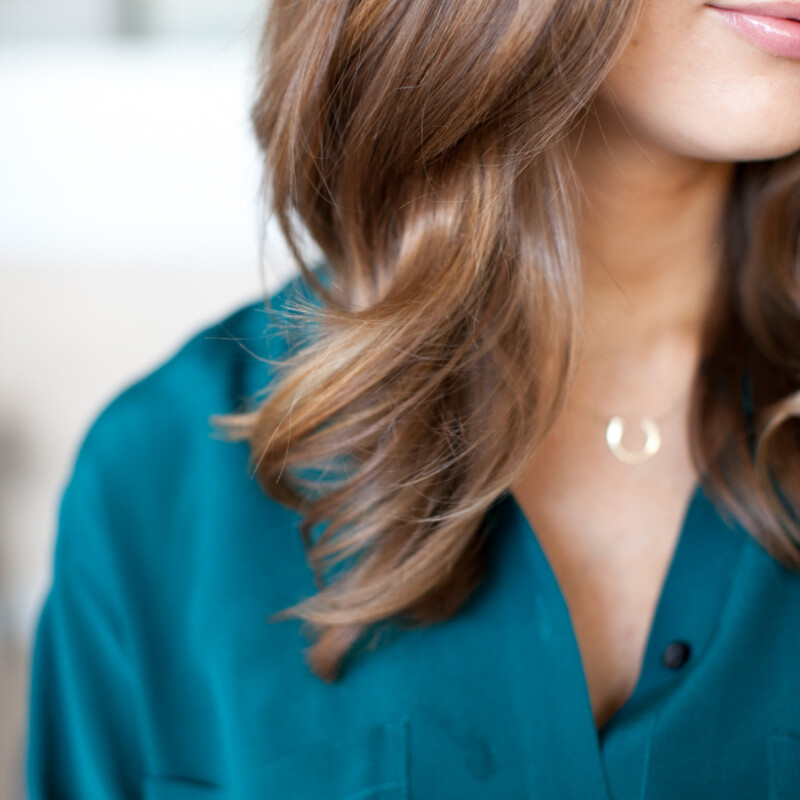
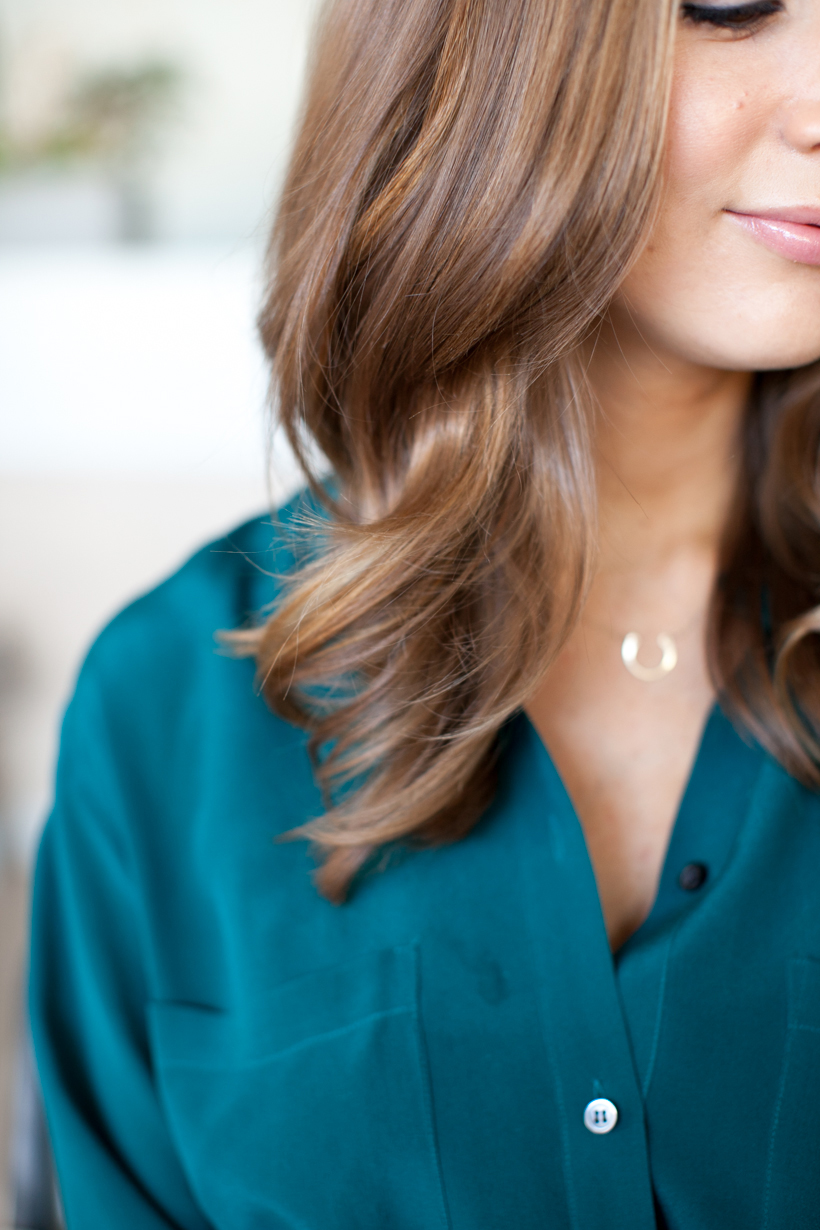
- We decided on this placement so that the color would peek through and appear to be sunkissed hi-lights.
- Next, I placed a thin layer of her hair between the two layers of extensions and pressed them together, forming a hair “sandwich”– this completely conceals the extensions’ seams.
- I then peeled off the plastic support piece the extension is attached to. I repeated this process with extensions on both sides of her face.
- Finally, I blended her natural hair with the extension hair by using a large barrel curling iron. It’s always good to match the style of the natural hair with the extension hair — we decided on waves for this look.
- I set with hairspray and she had instant highlights and fuller hair!
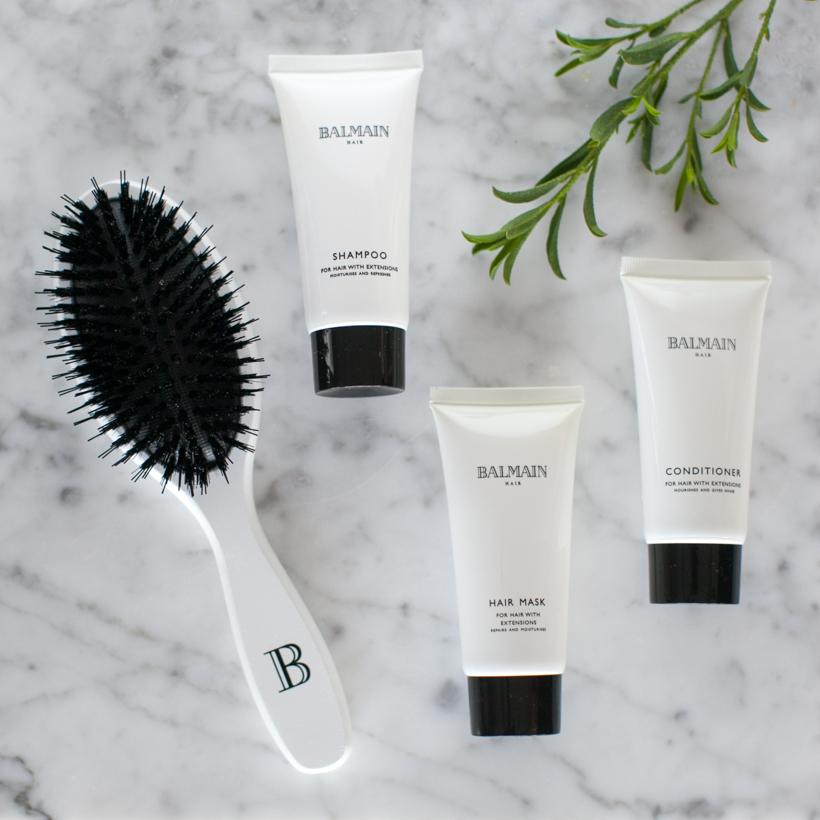
Lauren’s Pro Tip for Extension Removal: For removal, rub oil (I use an Argon oil, personally) but olive or coconut will do. Apply it right on the bond and let it sit for 5 minutes. Then simply peel the two sandwiched extensions apart and wash the hair thoroughly.
EXTENSION MAINTENANCE SUPPLIES: