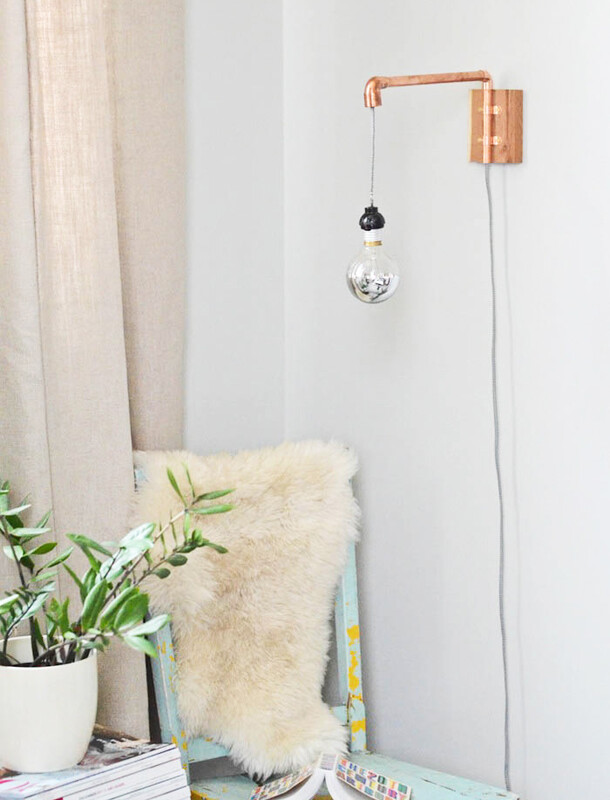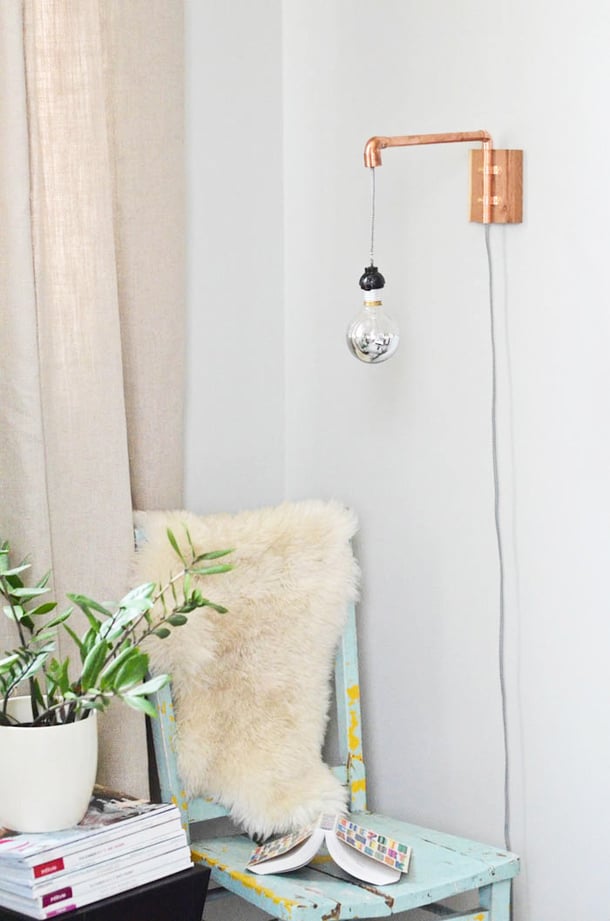
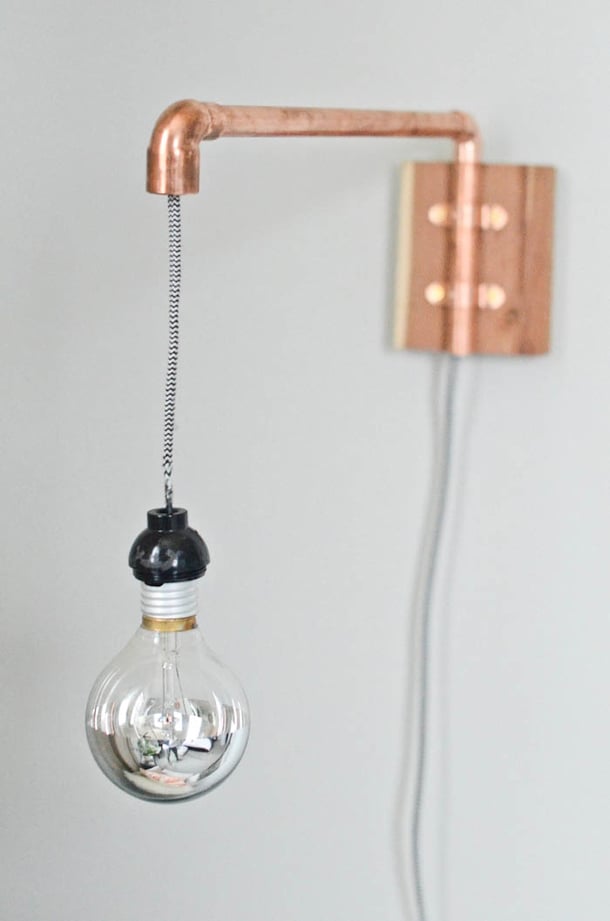
Hi, my name is Claire, and I’m a lighting addict. If there’s one home accessory I can’t get enough of, it’s a good light fixture… but of course, this addiction often comes at the expense of my poor wallet. Today’s fun and seriously easy project will add interest to any room that’s needing some extra light. The swiveling sconce design is simple and fully customizable, and all the materials you’ll need to recreate it can be found in one quick trip to the hardware store. Keep reading below to see how I did it!

![]()
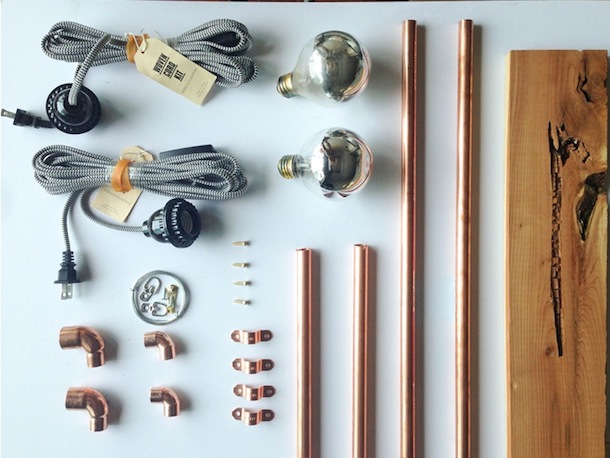
*note: pictured above are the supplies to make two sconces because I made a one to go on either side of my bed, but below I’ve listed out the supplies required to make just one.
- 2′ long x 1/2″ dia. copper pipe
- 1/2″ copper elbow — qty 1
- 3/4″ x 1/2″ copper reducing elbow — qty 1
- wood screws #6x 5/8″ — qty 2
- 1/2″ copper tube strap — qty 2
- 1 Hole D-Ring Hanger — qty 1
- 10 lbs Professional Picture Hanger — qty 1
- cloth cord set (I got mine at Urban Outfitters, but Sundial Wire is another good source)
- chrome globe light bulb (also available at Home Depot)
- approx. 4″ x 12″ piece of wood
- jigsaw (many Home Depots let you rent these or cut in store)
- metal cutting blade for jigsaw
- hand sander
- cordless drill

![]()
- Using the jigsaw with a metal blade, cut your copper pipe to one 1 ft. piece and one 5 in. piece.
- Cut wood to be 4.5 in. long. This will become your sconce back plate.
- Attach the d-ring hanger to the back of the wood piece.
- Center your 5 in. pipe onto the wood back plate, put the copper straps (2) on the pipe as pictured. Drill holes, screw in screws, securing the 5 in. pipe to the wood back plate.
- Take apart cloth cord set.
- Remove wire from socket.
- Weave the cord through the 5 in. pipe.
- Add the then the 1/2 in. copper elbow and the 1 ft. pipe as pictured, and continue to feed the cord through.
- Lastly, attach the 1/2″ x 3/4″ elbow and pull cord through.
- Rewire the socket and screw in light bulb. I chose to leave off most of the plastic casing that we removed from the bulb in step 5 for aesthetic reasons. (note: it has been brought to my attention that if the plastic casing is left off, electrician’s tape should be wrapped around the threaded silver part for shock prevention. Safety first!)
- Nail the Perfect Picture Hanger hook into the wall, hang sconce and enjoy!


