


 You guys know that I’m not usually one to post big, complicated-looking desserts, but I do think that it’s a good idea to have one or two showstopping tricks up your sleeve for those times when you volunteer to make your mom’s birthday cake or really need to get on your friend’s good side before asking her for a huge favor (kidding… sort of.) Of course, complicated-looking does not necessarily mean that a dessert must actually be difficult, and this ice cream cake is a perfect example of one that looks impressive but is really just a few simple steps of softening store-bought ice cream, spreading it in a pan and then freezing it before adding the next layer. Don’t believe me? How about if I told you that this was the first ice cream cake I’ve ever made. Seriously. And yes, I have been gloating a little bit. The idea for this cake started taking shape when we took a field trip to the best ice cream shop in the world…
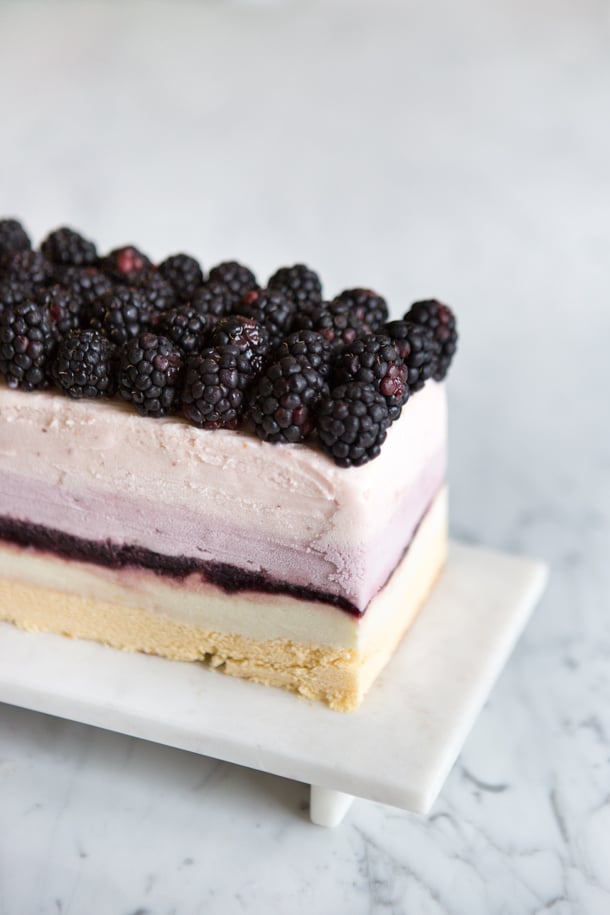
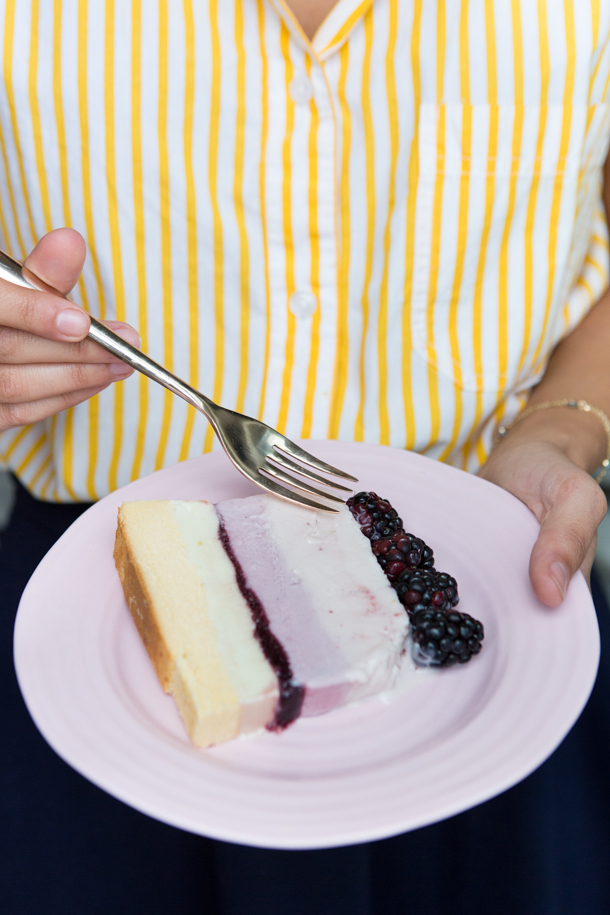
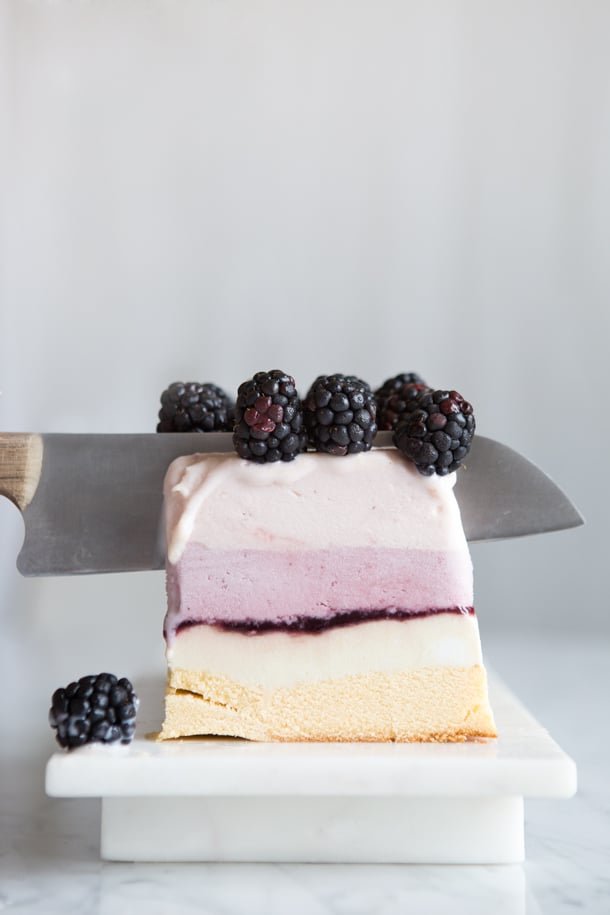 After sampling an inordinate number of mouthwatering flavors, I knew I couldn’t leave Lick empty-handed, so I chose 3 flavors that I thought would make a really delicious combo: Strawberry Basil, Coconut & Avocado Curd, and Blackberry, Lime & Basil. Then I started my intensive ice cream cake research as I made the call on whether to add: a layer of cake? Or how about chocolate? Or maybe a sprinkle of chopped pecans? Really the options are endless, and this recipe could be adapted to whatever combo you dream up. I ended up settling on a pound cake layer bottom, followed by layers of ice cream and blackberry jam, all topped by a crown of fresh blackberries. The result is a combination of the best birthday-cake-and-ice-cream flavor you’ve ever taste, all in one luscious bite. Keep reading for the step-by-step instructions, and don’t be afraid to mix it up and get creative!

 Summer Berry Ice Cream Cake
*serves 12
Ingredients:
- 3 pints high-quality ice cream (I used Strawberry Basil, Coconut & Avocado Curd, and Blackberry, Lime & Basil, all from Lick. Use whatever flavors you love, but don’t cheap out: this is the time to break out the good stuff.)
- 1/4 cup jam, in a flavor that coordinates with your ice cream (I used blackberry)
- 1 frozen all-butter pound cake (you could also make your own in a loaf pan, but… I kept it old-school and used Sara Lee)
- 1 pint fresh berries
Instructions:
- Spray a 10 x 5-inch loaf pan with cooking spray and line with parchment, leaving an overhang on all sides. Coat parchment with cooking spray, then line with plastic wrap, allowing an overhang on all sides. Do your best to smooth out the plastic as much as possible, as this will result in a smoother surface on the finished cake. Spray the plastic wrap with cooking spray.
- Remove 1 pint of ice cream (this will form the top layer) from the freezer and transfer to a bowl. Let sit for a minute or two, then stir with a spoon to loosen up the consistency so that it’s spreadable (you don’t want it melted, just soft.) Spread in an even layer on the bottom of the loaf pan. The more even you get it, the straighter your “layers” will be in the finished product. Transfer pan to the freezer, and freeze until firm, at least 2 hours.
- Remove the second pint of ice cream from the freezer and allow to soften in the same way. Spread in an even layer on top of the first layer, then return to freezer for 2 more hours. Next, spread a thin layer of jam across entire surface of ice cream and allow to freeze for at least an hour. Remove the third pint of ice cream from the freezer, allow to soften, then spread in an even layer on top of the jam. Return to freezer and freeze until firm.
- Take the pound cake out of the freezer and, using a very sharp knife, slice the cake into 3 long horizontal layers. Reserve two of the layers for another use; you’ll only be using one of them in this cake. Depending on the size of your pound cake, you may need to trim a couple inches from the side of the cake to make it fit in your loaf pan.
- Remove pan from freezer and top with the cake layer. Lightly press it into the ice cream to make sure it “sticks,” then cover cake with the plastic wrap overhang. Freeze until firm (cake can be made 3 days in advance.)
- When you’re ready to unmold the cake, wrap a damp, hot towel around the entire pan, and use a sharp knife to loosen all around the edges. Invert onto a serving platter, remove parchment paper and plastic wrap, and trim edges for a neater appearance. Top with berries and freeze until ready to serve.
*photos by Molly Winters


This is an impressive and beautiful dessert, and I think it would be absolutely perfect for a summer birthday! Thanks to the clear instructions you provided, I might give it a try this weekend.
Genius! Oh, I can’t wait to experiment with different ice cream flavors!!
wow what an ice cream cake! looks too good to eat.. definitely perfect for summer. yum!
This is seriously the perfect summer dessert- can’t wait to try the recipe!
This cake makes me so so happy 🙂
this looks delicious!
Wow, SO PRETTY! Love this.
looks good! never thought of three layers with fruit spread in between – if you covered it in meringue it would make a very impressive Baked Alaska!
So easy and so beautiful! Love the look of all the layers especially with the jam and fresh berries!