
The third and final craft maven to grace our Thanksgiving DIY mini-series is none other than Jenny Batt of Hank & Hunt. If you think this is your first introduction to Jenny’s talents, think again — this crafty mama is the genius behind some of the most loved DIYs in the blogosphere (see for yourself!), so we couldn’t be more excited to have her sharing these super sleek wood napkin rings with us today…
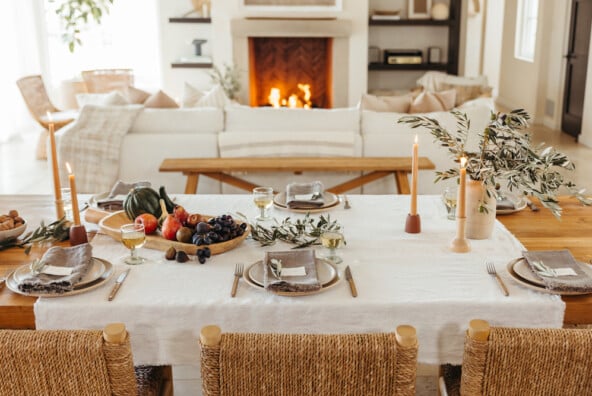
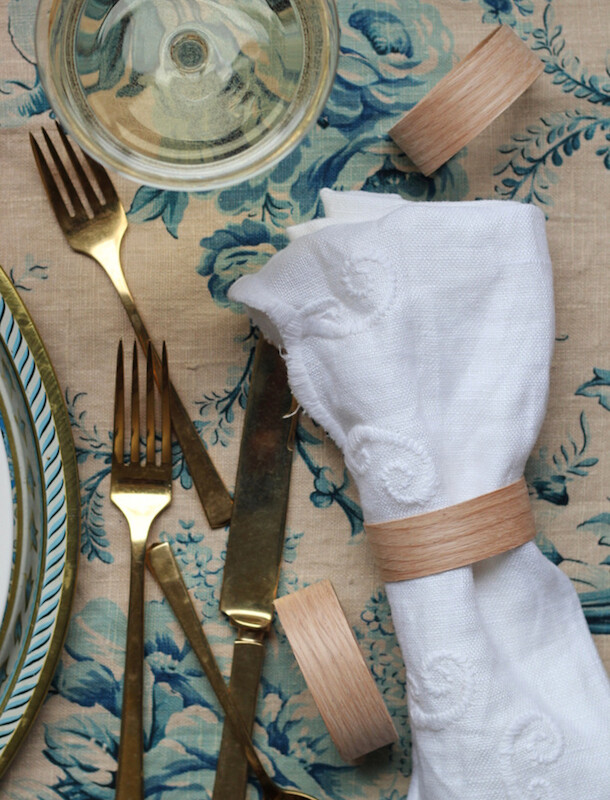
I love setting the Thanksgiving table… so much so, that I start gathering goodies for each place setting long before the holidays! I’ve been searching high and low for some simple wood napkin rings — something modern and simple that goes with my gilded pieces — but have totally struck out. So I decided to make my own using iron-on veneer edging! This DIY is so easy that anyone can create a sleek set of napkin rings in time for Thanksgiving next week…


![]()
- Wood Veneer Edging (http://www.homedepot.com/p/
EDGEMATE-13-16-in-x-25-ft-BL- Retail-P-G-Oak-Red-657659/ 202843397#.UopsWCd2E40) - Iron
- Scissors
- Ruler
- Sandpaper

![]()
- Cut wood veneer into 2 sizes of strips. Qty 8 – 6 ½” and Qty 8 – 8 ½” Heat iron to top setting, dry. Place old cloth on top of ironing board.
- Lay 6 ½” strip on top of 8 ½” strip, aligned at the top and with glue sides facing each other. Place iron on top of strips and iron only the area covered by the 6 ½” strip. Hold about 10-20 seconds until glue melts. note: do not iron the uncovered edge of the 8 ½” strip or the glue will melt onto your iron.
- Moving quickly before the glue cools, coil strip into a ring with the longer edge overlapping on the outside. Hold down flat, shaping the bottom into a flatter section and letting the dome form an even semi circle, shaped like a “D”. Let cool until hard, about 30 seconds. Be careful, the strip will be hot. Use a dowel or the edge of scissors to hold down if needed.
- Iron inner bottom of ring, hold until glue melts, about 10-20 seconds. Repeat by ironing from the other side. Remove iron, hold and let cool.
- If you have any open ends, they can be touched up by heating points with the iron carefully as shown, placing on cloth and holding closed until cool. Be careful not to touch, it is super hot!
- Lightly sand any stray bits of glue or edges down with a small piece of fine grit sandpaper. Wipe off dust with a clean cloth and get ready to set your table!