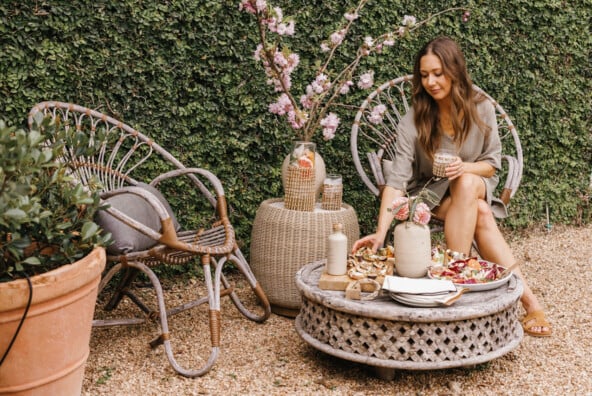

Claire here, and even though this time of year is all about winding down and soaking up the sun, it’s hard to believe how fast the summer’s whirling by. So for this month’s installment of Transformed, I set out to create something that would force me to catch my breath and relax: a do-it-yourself hammock! Earlier this week, Kate and I woke up early and took a trip out to The Greenbelt to snap up these photos, but I’m planning on suspending the hammock in my backyard to enjoy it all summer long. This design is super easy to recreate, and best of all, can be fully personalized by incorporating different lace and trim details… keep reading for the full tutorial!


![]()
- muslin 2.5 yards (the bolt should be about 44″ wide)
- 1/4″ x 100′ all purpose clothesline
- (2) 3/8″ anchor shackle
- (2) 1/4″ spring link
- sewing machine
- thread (white or off white)
- tape measure
- scissors
- pins
- (2) 5′ length chain (choose a chain with a weight load limit that suits your needs)
![]()
- Cut a 1.5″ x 44″ strip of canvas.
- Lay muslin out on flat surface. Pin canvas strip along the 44-inch edge of the muslin, 2 inches in (as pictured).
- Sew around edges of canvas strip. The heavier material will add support.
- Use a tape measure to mark three spots along the 44-inch canvas strip, 11 inches apart. Cut a 1-inch rectangle at each mark, and sew around the edges of each rectangle.
- Fold muslin over so canvas strip is folded in half as pictured, and sew along the edge to create the loop for the rope.
- Cut 4 pieces of rope to 8 feet each (you may burn the edges of the cut rope to prevent fraying). Feed one piece of rope through the opening of the loop and pull out of first square as pictured. Loop second piece of rope from first square to second, etc.
- Tie the ends of each 8-foot piece of rope as pictured.
- Gather the ends of all 4 tied ropes and tie a bow line knot with them around the anchor shackle.
- Repeat steps 1-8 on other end of muslin.
- Make it your own! Add lace, fringe, or paint for some “flare” (used some lace scarves and upholstery trim on mine!)
- Use spring links to connect chain or rope to anchor shackles on each end, and suspend in your desired location.