I tend to have a love hate relationship with foam rolling. You may hate it when going through the movements but I promise your body will thank you. You can use foam rolling before or after any workout. I tend to use it as a restorative tool to help increase mobility, blood-oxygen levels, and relieve soreness and tightness when I have had a long week of teaching, working out and running around with my son. I recommend aiming to use a foam roller three times a week for five – ten minutes at a time.
*photography by Molly Winters; tutorial and demonstration by Marnie Duncan of MOD Fitness; outfitting by Outdoor Voices

Thoracic Spine (upper back)
This is one of my favorite foam rolling exercises because it helps improve your posture and restore mobility through your back.
- Lie on back, place foam roller mid-back with feet flat on the floor and knees bent. Place hands behind head for neck support or in a goal post (pictured).
- Start by rolling forward and back from shoulder blades to bottom of ribcage.
- Next, roll from right to left, slightly lifting your shoulder off of the foam roller. Do 4 reps of each. (Do not roll directly on spine.)

Calves (lower leg)
The calves can be overworked in our day-to-day life. Start incorporating a lower leg foam rolling exercise into your morning routine, especially if you wear heels all day.
- Start by sitting on the floor and resting your lower leg (calves) on the foam roller. Place your hands on the ground under your shoulders and cross your opposite leg on top for added pressure.
- Lift your hips off the ground and roll forward and back along the foam roller. Do 4 reps slowly and switch sides.

Hamstrings (back leg)
- Start by sitting on the ground and resting your hamstring (back leg) on the foam roller with opposite foot on floor for balance. Place your hands on the ground under your shoulders for support.
- Lift your hips off the ground and roll forward and back along the foam roller to release your hamstrings.
- Do 4 reps slowly and switch sides.

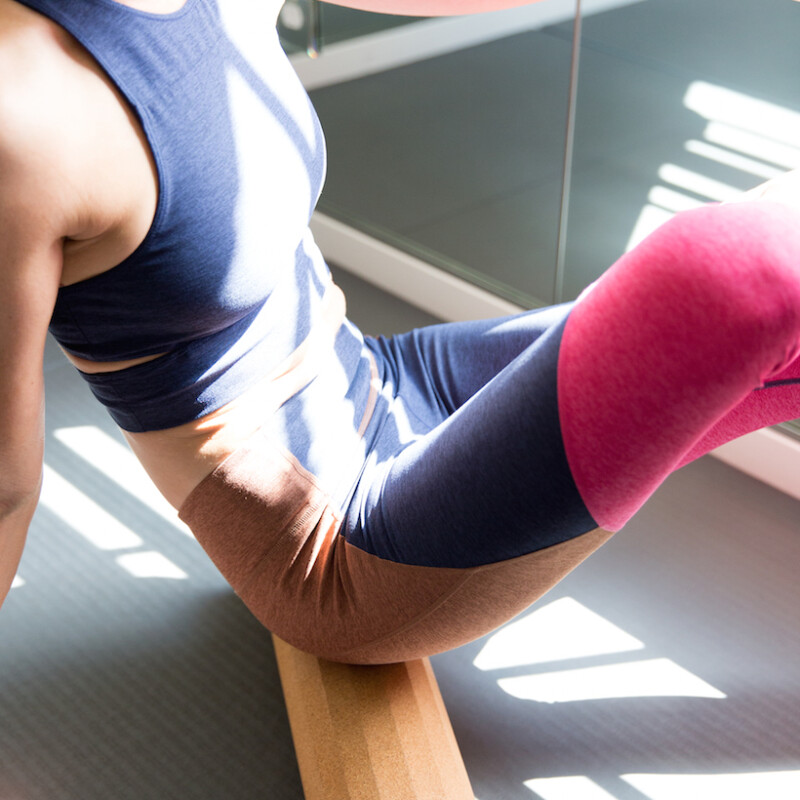
Hips (glute muscles)
Your glutes are one of the largest and most powerful muscles in your body. They’re also one of the hardest muscles to fire which leads to weakness and instabilities in your body. Tight hips can lead to lower back and knee pain. Foam rolling will help with tightness in the hips and relieve discomfort.
- Start by sitting on the foam roller. Cross your left ankle over your right leg and place your left hand on the ground behind your hips for support.
- Shift your weight on the foam roller to target your left glute. Roll forward and back along the foam roller to release your glutes and hips. Do 4 reps and switch sides.

IT band
Your iliotibial band runs along the outer thigh from above the hip to below the knee and is made up of fascia. Foam rolling can be a beneficial tool to help relieve tightness and discomfort and establish mobility in your lower body.
- Lay on your side in a side plank position with your forearm underneath your shoulder and your side leg resting on the foam roller. Cross your top leg in front of your bottom leg for support and balance.
- Roll up and down along your side leg with the foam roller to release your IT bands.

Quadriceps (Front leg)
Tight quads can be the root of lower back, knee and IT band pain. Try stretching out your quads on the foam roller and overtime you will help stabilize the knee and hips.
- Start in a plank position and place foam roller above knees. Place your elbows underneath your shoulders and curl your toes under.
- Point your toes and shift your body forward as you roll back and forth along your quadriceps from the top of your knee to the bottom of your hip.