Happy Thursday! Claire here with the perfect summer kick-off DIY. I don’t know about you all, but I am a plant lover. I have them scattered on my porch, decorating my shelves and still can’t help but keep buying more! What is better than displaying them on a plant stand you made yourself? Better yet, it is made with two of my favorite materials — copper and cement! Get all the details on how I made these simple (and completely customizable) stands below.
![]()
- 3 buckets (2.5 qt., 5 qt., 10 qt.)
- 1/2″ copper pipe (10ft, 8ft, 8ft are the lengths I purchased)
- 16 – 1/2″ copper tube cap
- Husky quick release 1-1/8in tube cutter
- quickcrete
- wooden spoon (or paint stir stick)
- sharpie
- tape
- level
- cup
- glue
- tape measure
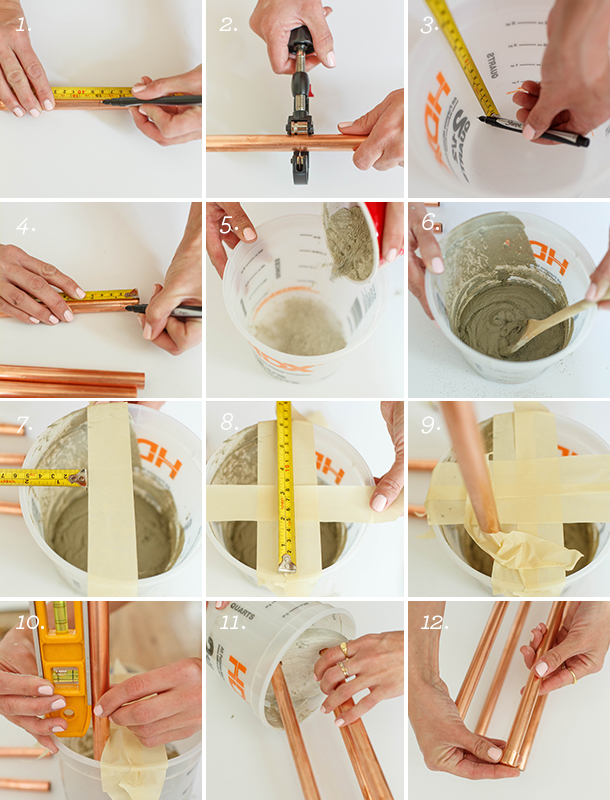 process photos by nicole mlakar
![]()
- Measure and mark desired length of copper pipe legs.
- Use pipe cutter to cut pipe at mark. I cut 4 at 30″, 4 at 24″, 4 at 15″.
- Measure thickness of cement top from bottom of bucket and mark with sharpie. Size of bucket corresponds to length of legs — smallest bucket with shortest legs, etc.
- Measure and mark 1 inch from the end of each copper pipe. This indicates how deep to set the pipe legs into the cement.
- Pour cement (all dry powder) into the bucket, stopping at Sharpie mark.
- Add water slowly while mixing until reaching a smooth, even consistency (an Elmer’s Glue-type consistency).
- Lay two pieces of wide tape along the top of the bucket.
- Repeat, making a tight tic-tac-toe grid as pictured.
- Place a leg in each triangular corner, securing with an additional piece of tape.
- Use a level to make sure each leg is straight.
- Set aside to dry for an hour or more. Once dry, gently ease it out of bucket and sand concrete as desired.
- Use copper caps can balance out any unevenness. Apply glue and adjust until all legs are level.

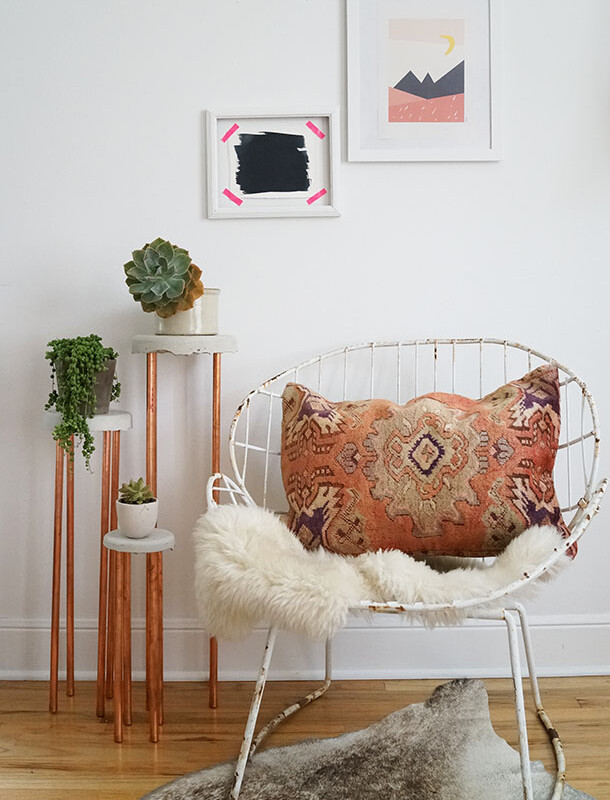



oooooh i have never thought of using copper piping as legs for furniture. absolutely brilliant!
Thanks Molly!
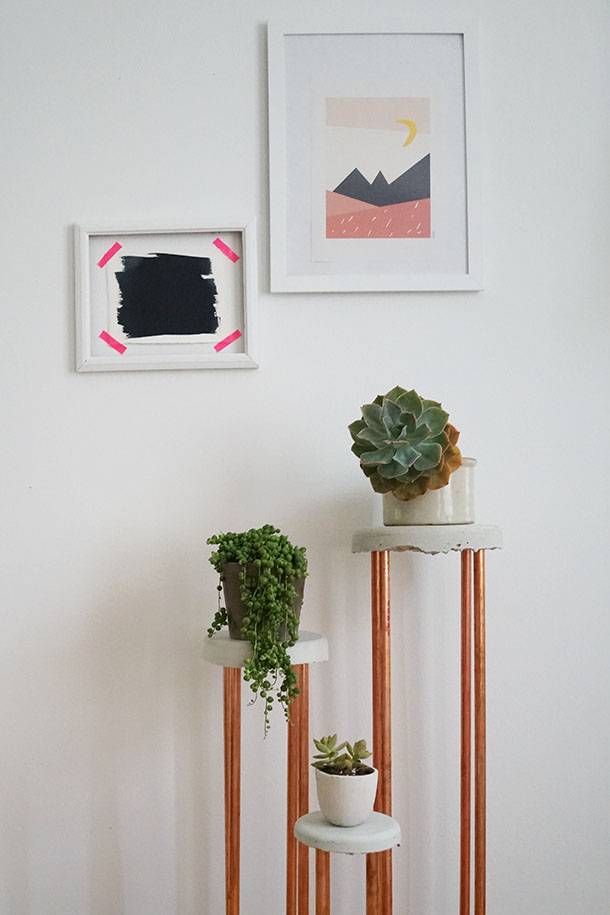
Gorgeous work Claire. As always! Especially love the styling of that last photo.
Thanks Cristina! 🙂
About how much did these cost? I love the look, but I know copper piping can get pricy.
I was wondering the exact same thing. These are truly adorable.
It actually wasn’t too pricey! My 10ft piece of pipe (I cut into 4 pieces for my tallest table) was around $10.00, you can use this same length for the middle size. My 5ft piece of pipe (cut into 4 pieces for my shortest table) was around $8.00. That’s just under $30.00 for 3 sets of legs. The concrete and the buckets were pretty inexpensive so that helped too!
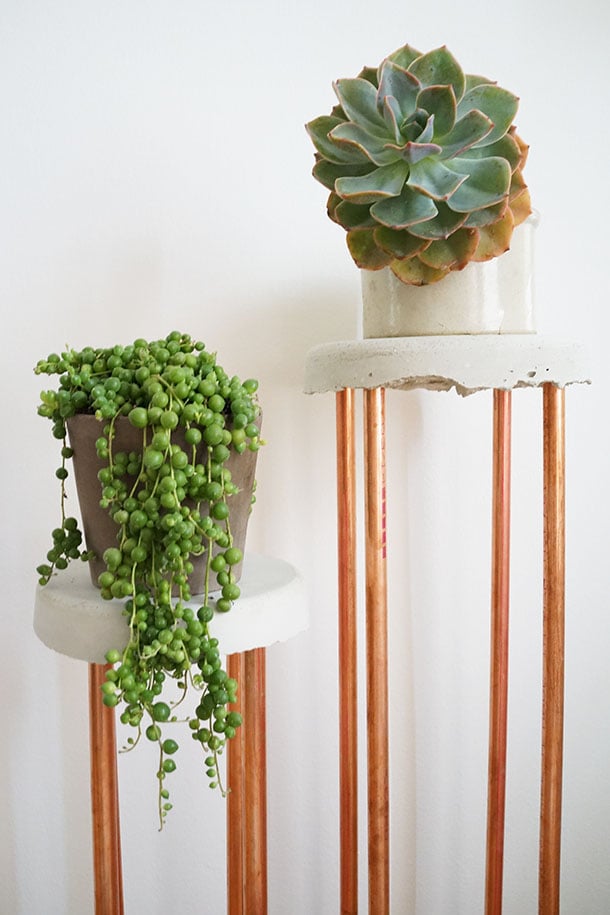
Love this project! Can I ask what kind of plant that is, the one with the little grape-like bulbs? So cool!
It’s called a string of pearls. My grandmother always had them hanging at her house in California, I love them so much!
This is awesome! I’d love to make a desk like this too
These look great, Claire! Your house is looking good 🙂
where did you find your beautiful cushion?
Where is this pillow from??
Love this! May I ask where you got the throw pillow? I love it
What is the diameter of each when finished? Thanks! Love these!
I just tried this doing two stands with 5 gallon buckets and 2.5′ poles. On one stand all the poles pulled straight out once dry; I guess they weren’t deep enough? On the second one, the poles seem fairly secure, but I don’t see any way that the concrete wants to “ease out” of the bucket. I let them stand for a full day. Could it be that that was too lond for the concrete to stand in the bucket?
Any feedback would be greatly appreciated.
Thanks!
Im online trying to buy the stuff on homedepot.com to make this. Do you rememeber what type of copper pipe you used? I see they have options “M” Straight temper hard pipe & “L”? I know nothing about these things so any help would be useful!