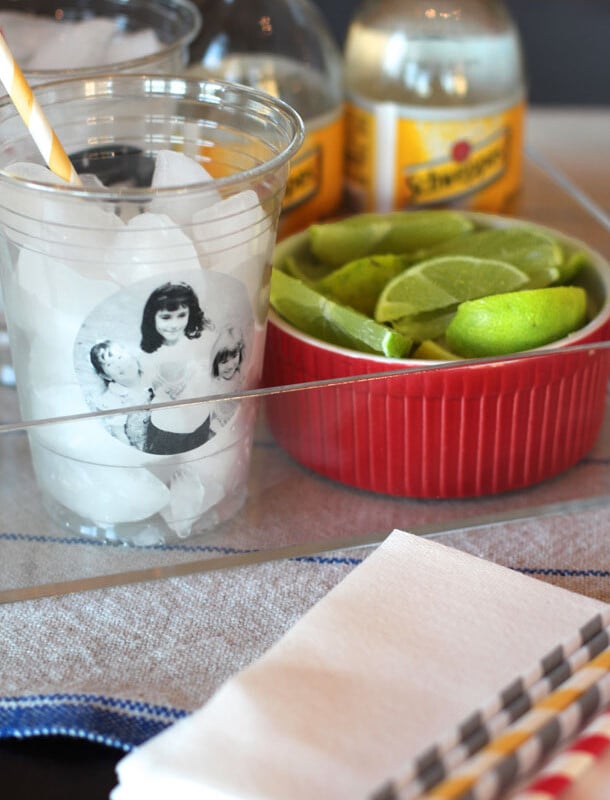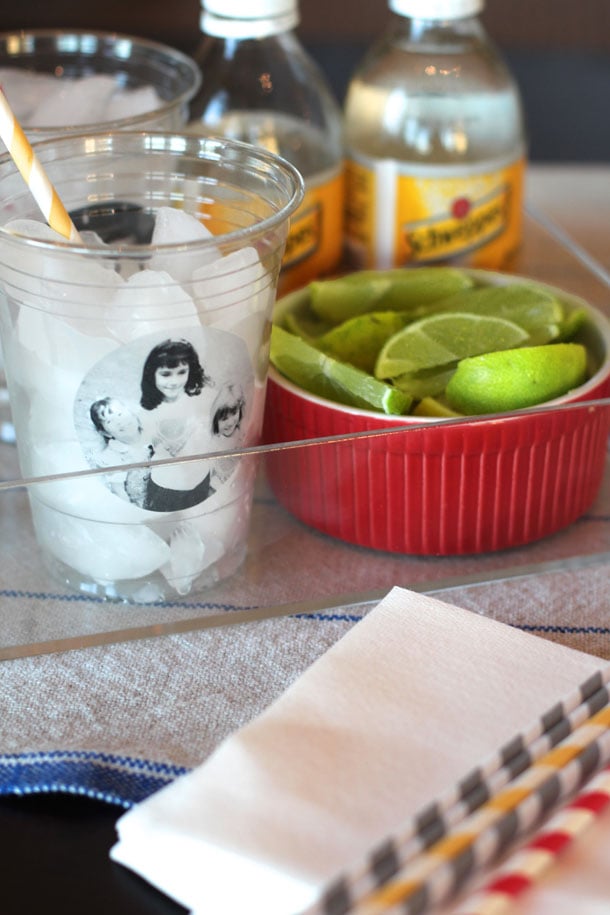
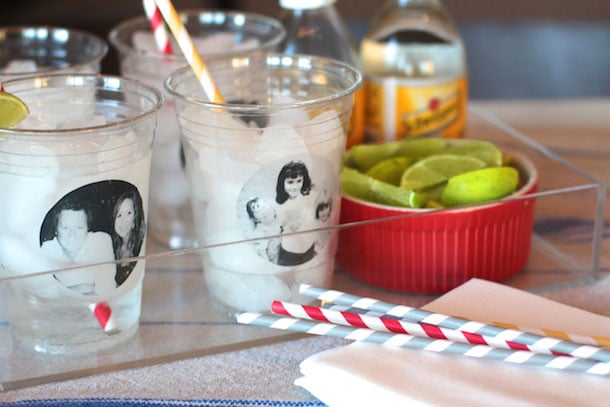
I’ve been known to host the occasional blow-out at my place, and since I don’t have nearly enough glassware to accommodate 30+ guests (nor the time to make runs to the rental company!), I frequently opt to use single-use recyclable cups. Typically I love the clean look of regular clear plastic ware, but when I recently stumbled upon this contact paper photo technique, I thought it might be fun to dress up basic Solo Cups with black and white photos. Camille was kind enough to loan me some of her own childhood pictures for the test run, and I fell in love with the final product — perfect for honoring a birthday boy or girl at the next bash you host! Keep reading to see how it’s done…
![]()
- childhood photos
- clear contact paper
- recyclable Solo cups — I love these clear 18oz Bare cups
- scissors
- bowl of warm water
![]()
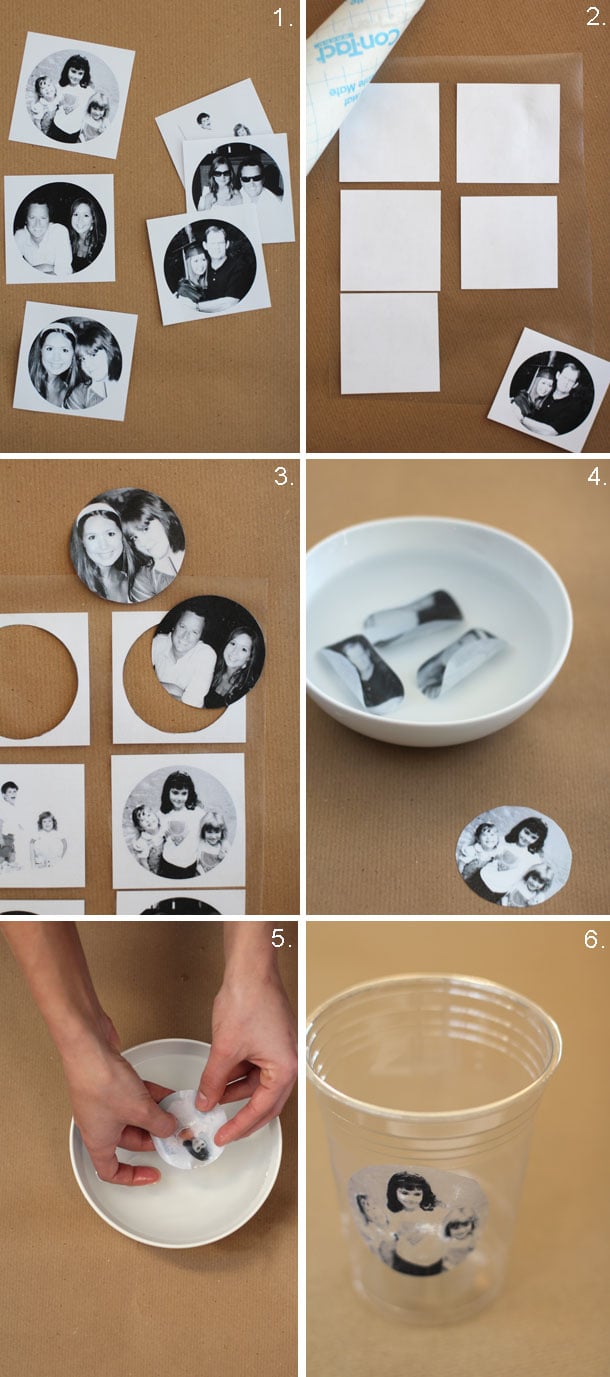
- Print out childhood photos using a laser printer on regular paper. If you don’t have a laser printer, Xerox copies of photos work as well. The higher the contrast of the photos, the better. Cut individually into squares as pictured.
- Peel back off of contact paper and place photos face-down onto the clear adhesive. Firmly rub back of photos to help transfer photos.
- Cut out photos .
- Fill a bowl with warm water, and drop the contact paper-covered photos in. Be sure that photos are fully submerged, and leave for ten minutes.
- Use fingers to gently rub paper off back of contact paper. The photo will have transferred onto the contact paper. Set photo contact paper down with the adhesive side up and allow to dry completely. As it dries, the tackiness of the contact paper will return.
- Adhere photos to Solo cups.
*This post is in partnership with Solo Cup. Thanks for being supportive of the sponsors that help keep CamilleStyles.com your daily destination for lifestyle inspiration!

