*images by She-N-He Photography
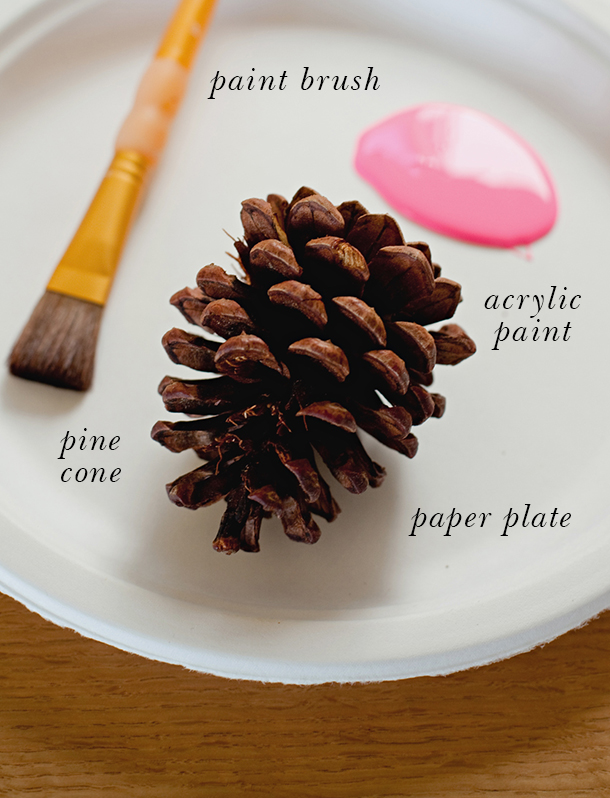
- pine cone
- paint brush
- acrylic paint
- paper plate
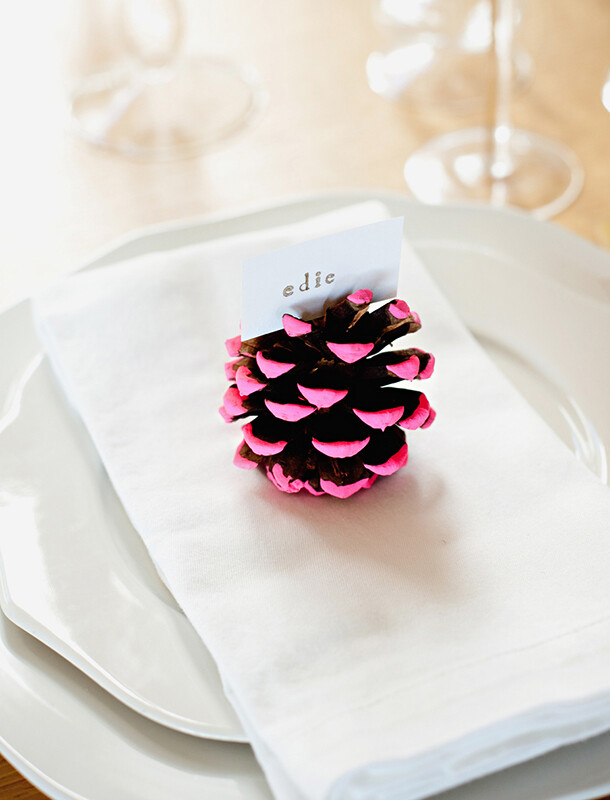
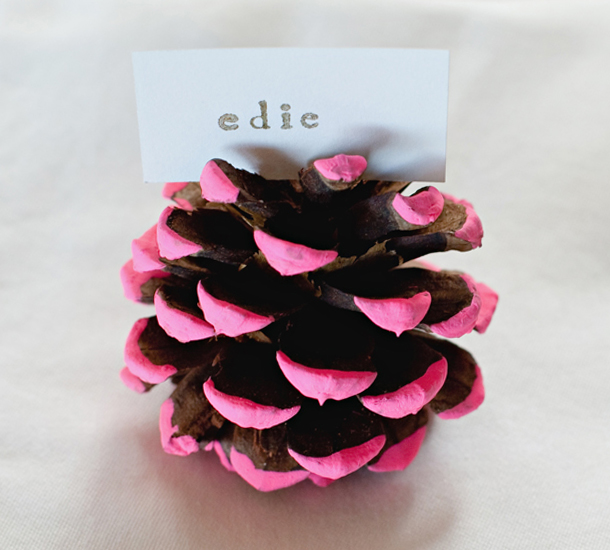
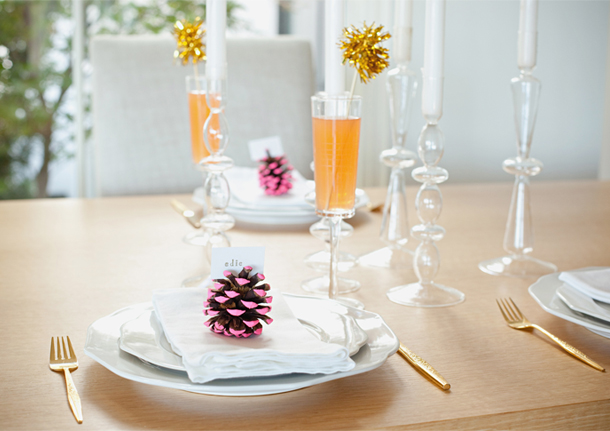
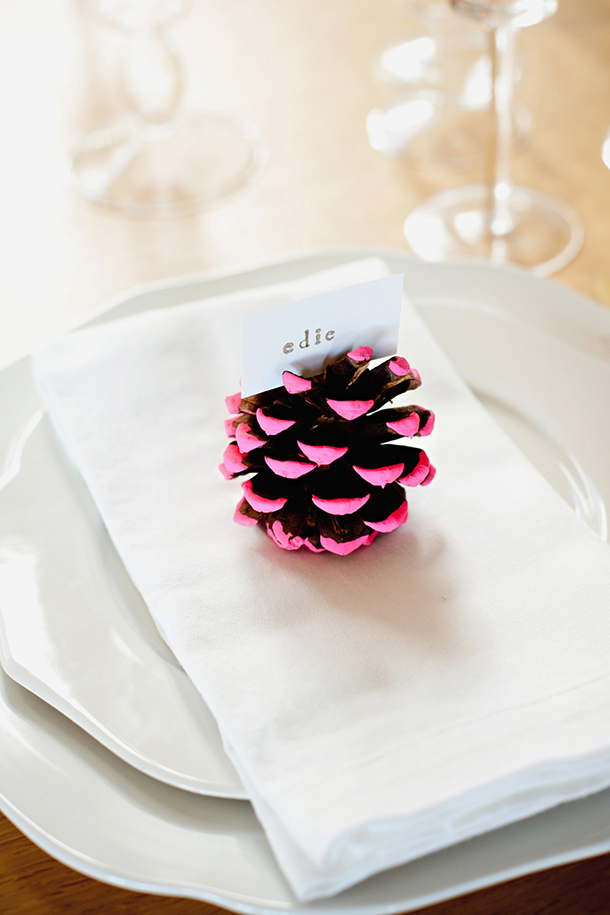
Using the paper plate to protect your table or counter, dab the tip of each prong of the pine cone with paint. For best results, make sure that you’re creating very thick applications of paint. Let dry overnight. Take a paper placecard (Chanel created ours using letter stamps and gold ink) and wedge in between prongs at the top of the cone. You should not need any adhesive for the placecard to stay in place.
Share this Post
Leave a Comment
Comments (105)
Author
Gorgeous! Such a cute idea.
xo,
Ashley
Thanks, Ashley!
These would be perfect for a girly brunch!
That’s just what I was thinking, too, Rachel!
These look fantastic! Such a simple idea but it makes such an impact on the table. I remember making similar pine cone decorations as a kid (usually for Christmas) but they never looked quite like this – probably something to do with the excessive amount of glitter I always used đŸ˜‰
Haha! Yes, I think I may have some glittered pinecones in my past, too. I was in Camp Fire Girls and we did projects like that all the time! This neon pinecone DIY would be fun to do with kids.
I LOVE these! : )
Thanks, Justine!
Aww, I just love these. And they’re so simple!
I know! I wish all of my DIYs were this simple…
I really like this idea. . .could use some glitter tho;p
Yes, Chelsea, I definitely think you could add some glitter to this one. I even saw some “glitter paint” made from very fine glitter at the craft store that I thought about using. You’ll have to post a link to your project here if you finish it!
what a great and easy idea!
xoxo
agnes
đŸ™‚
Thanks, Agnes!
love the pinecone touch for Fall…the pink pops & adds a yummy accent!
D
Thank you D!
LOVE…i want to put a bowl of these on my table for a holiday center piece! Thanks for such a neat idea!
Thanks, Rachel! A bowl of these would be super cool. You could even do them in varied neon shades. Happy (early) Thanksgiving!
What a great idea. I just followed your DYS, bought some neon pink paint and pine cone but the color is turning orange whole drying…any tips? thanks
Sure thing — I would make sure that (first) you’re using acrylic paint and (second) that you’re applying a very thick coat. It should be thick enough to need to dry overnight. I can also give you the info on the exact paint we used. It’s available from Michael’s, the brand is “craft smart” and the color is “Neon Pink”. Here is a link to the product line: http://www.michaels.com/CraftSmart%E2%84%A2-Acrylic-Paint–2oz./cp0396,default,pd.html Hope that helps!
WOW! I have never thought about neon pinecone placecard!! Is so beautiful!
Thank you for sharing!
đŸ™‚
Those are adorable!
Hope they r easy because we plan on making 250 for my wedding.
Well, they’re not so much difficult as they are time consuming. One pine cone has more prongs than you would think! I would definitely enlist the help of some friends if you’re planning on making that many.
me ha encantado, te copio la idea.
besos.
Love this and special that you put the “how to” in, saved to my pinterest . Sheila at House of Cones
easy idea! thanks you!
This looks quite simple to put together! thanks you!
This really look so cute. Lovely.