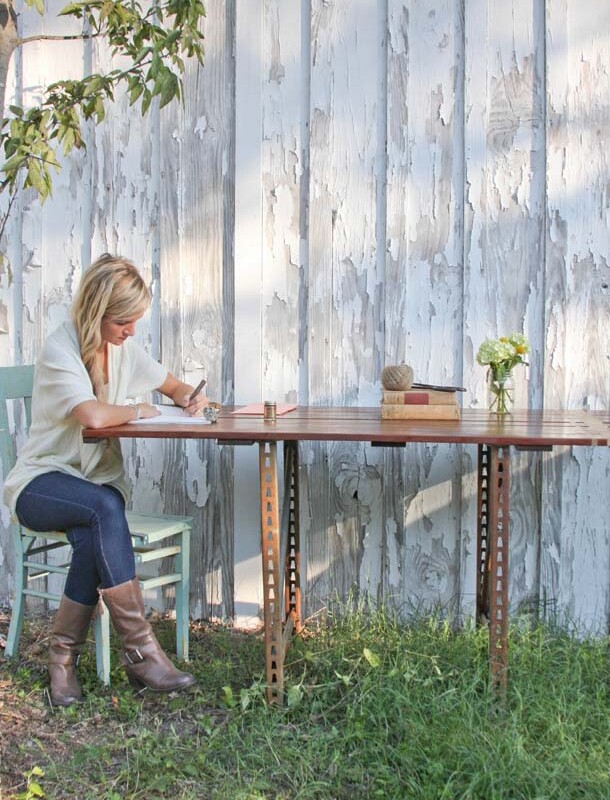
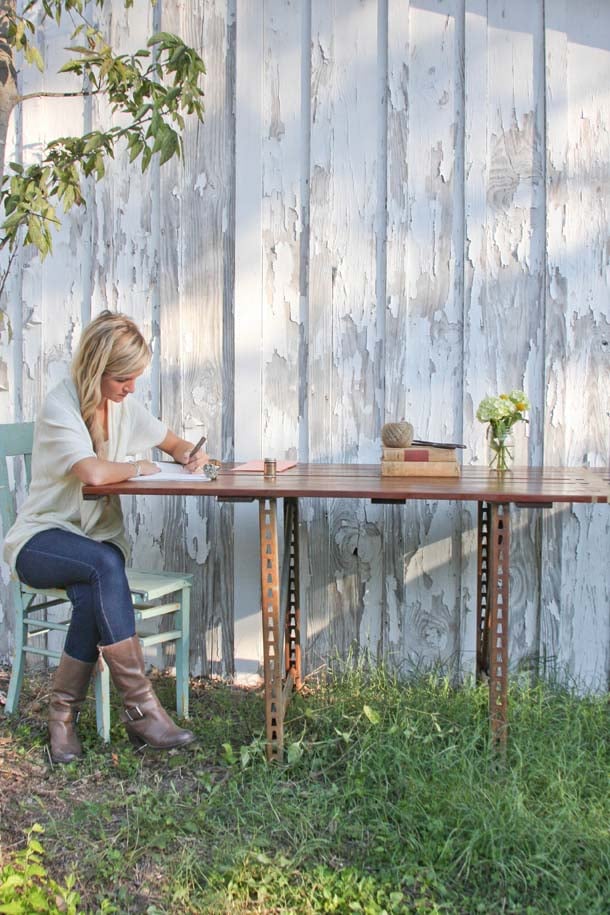
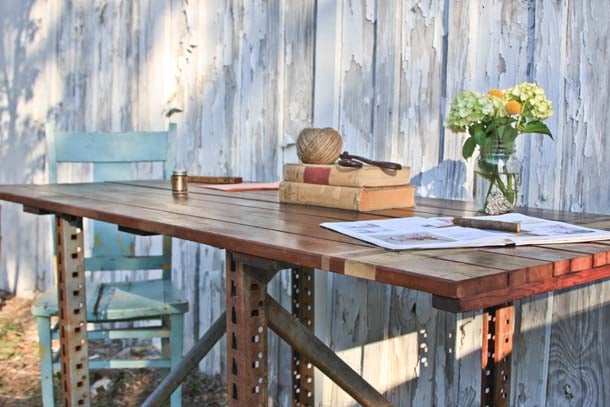
Happy first-day-of-November, everyone! Two weeks ago, I (Claire) asked for your suggestions on which table I should make to convert my formal dining room into a functioning combination workspace/eating area. I was leaning towards a sawhorse style table, but after reading all the enthusiastic responses to the metal base table (option #3), I decided to make one with found materials. After some poking around at a few metal salvage stores, I found some broken scaffolding that I’m quite pleased with! Using an previously found old bench seat — If you didn’t know, I’m somewhat of a reclaimed wood/window/door hoarder — I was able to create this table with very little money, while still adding my personal twist to it (gold stripes, of course!). Chanel and I now have a delightful desk that doubles as a table for meal times… I already can’t wait to add shelves to the room for storing all our DIY supplies! Want to make your own table? Follow the instructions below!
![]()
- wood top (this could be anything from an old door, window, fence, or bench, or follow my instructions here to DIY your own)
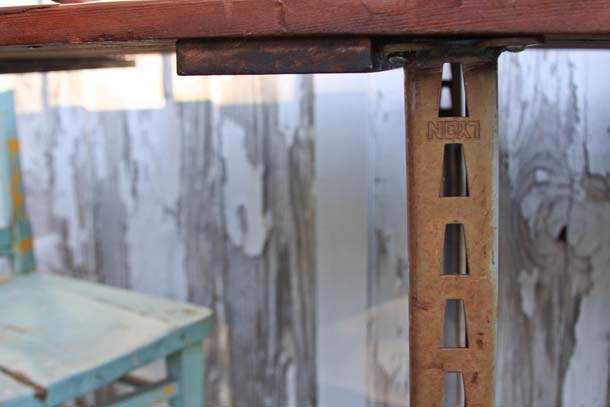
- scrap metal for legs (I talked a guy at the salvage store into selling me some old broken scaffolding, but you can also use old metal fencing, pipes, or wooden sawhorses!)
- sandpaper
- shellac
- paint brush
- painters tape
- gold spray paint
- skill saw
- portable band saw (this is only if you need to cut the metal down)
- welder (again, this isn’t necessary if you don’t want to alter your metal base)
- screws
- drill
- tape measure
- First, sand down your table base to reveal a smooth, clean raw wood.
- Once the top is sanded fully, wipe off to remove sawdust.
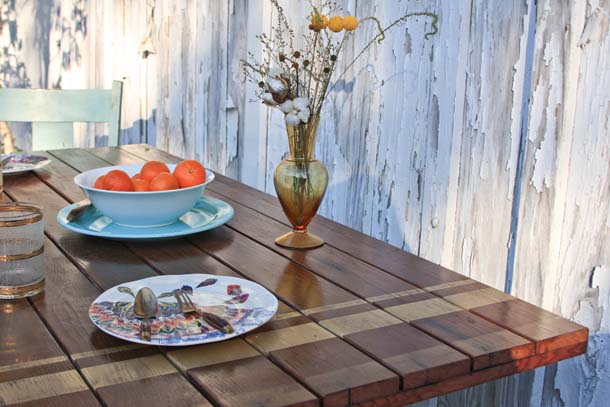
- Tape off where you want the stripes to lay, applying additional tape to protect the wood from the spray
- Spray gold paint and remove tape once dry.
- Apply 2 coats of shellac to the entire top, making sure one coat is finished drying before you apply the second coat. You now have your table top!
- Using the portable band saw if needed, cut down the metal base to the desired height. (some hardware stores might have one and be willing to help you!)
- Lay the dry top upside down, mark where you will attach the legs to the top.
- Drill holes for the screws and screw them in firmly.
- Flip over (add some felt pads to protect your floor) and voila! a brand new table.

*photos by Claire Zinnecker for CamilleStyles.com