
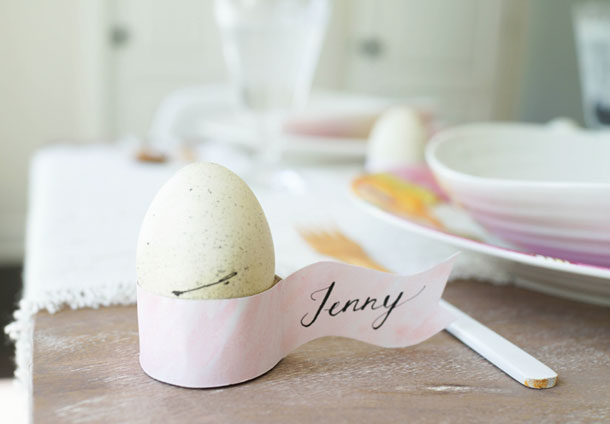
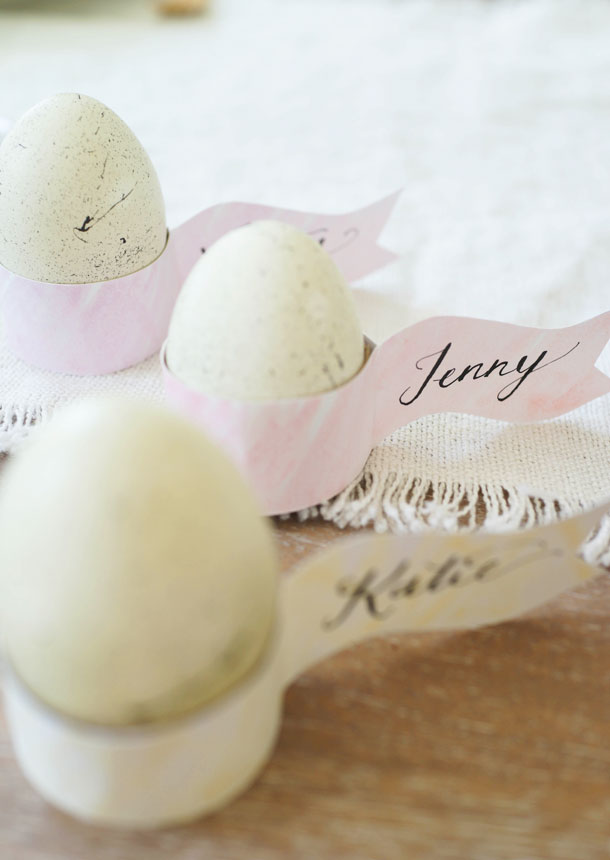
We’re big proponents of the place card — not only does it save your guests a game of musical chairs, but something about it is the perfect cherry-on-top to any place setting design. Above all, I love when a place card is both functional and decorative (remember these?)… and since Easter is all about setting a soft, springtime table, we wanted to create a DIY table element that was perfectly on-theme. This design is super versatile, easy to make, and (shh!) could even be used as napkin rings after Easter. Keep reading for the step-by-step!
![]()
- printable egg-holder template
- watercolor palette
- paintbrush
- scissors or craft knife
- black calligraphy pen and ink or any good inky pen
- paper towel roll
- multi-purpose glue
![]()
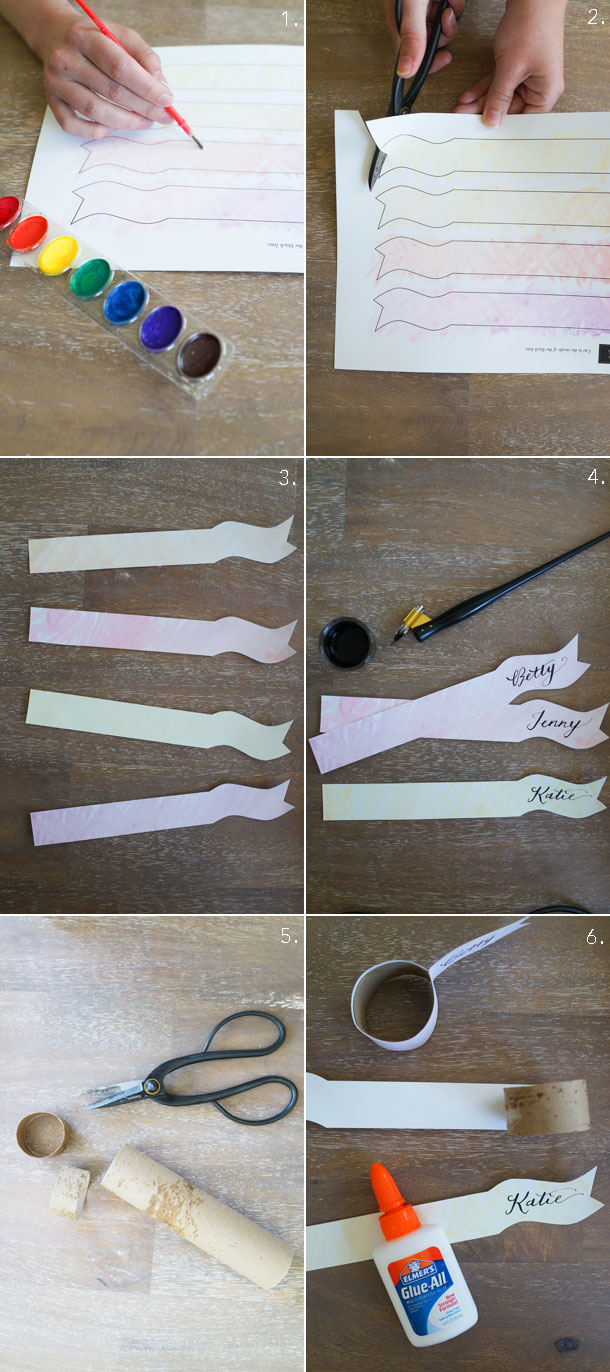
- Print template onto medium-weight white paper. Mix watercolors until you find ideal pastel shades, then liberally make brush strokes on each “flag,” purposely painting outside the lines as pictured. Allow to dry.
- Use scissors or a craft knife to cut out each individual flag.
- When cutting, be sure to cut inside the black lines.
- Carefully write the name of each guest onto the banner end of each strip. Be sure to make extra flags in case you mess any up when writing. Allow to dry.
- Measure and mark 1-inch sections down the length of your toilet paper roll. Cut along each mark to create rings.
- Wrap strips around rings and use glue to adhere. Gently crease banner end so that it floats directly out to the side (rather than wrapping back) as pictured.


