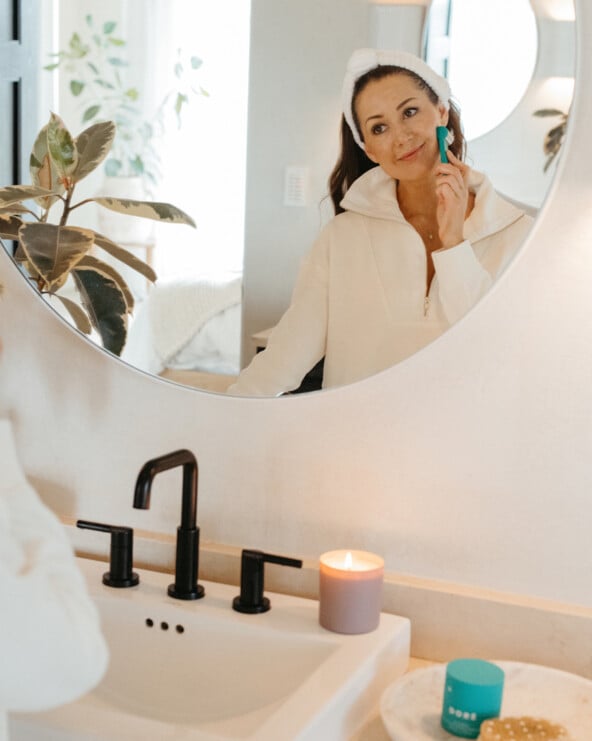

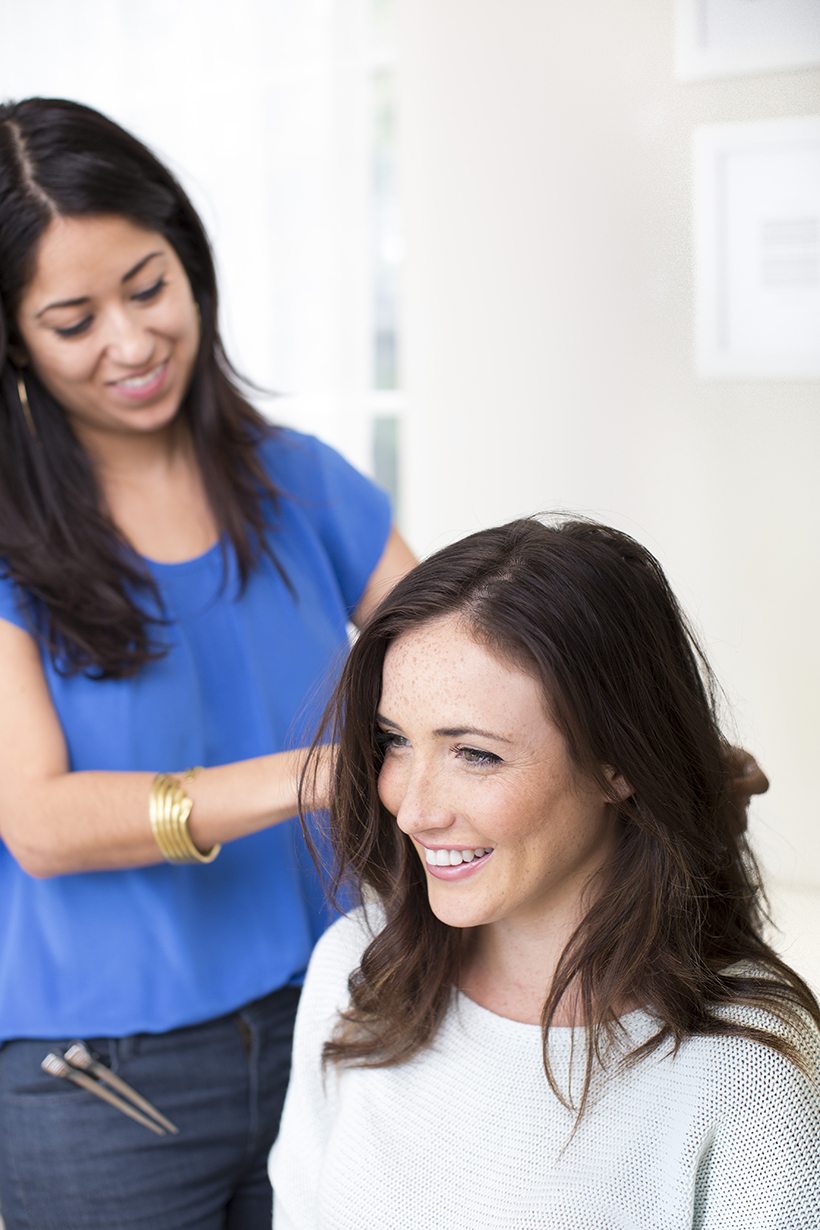
 We’re always excited to see what fun ideas stylist Erica Rae will bring to the next shoot, and when she mentioned a “braided headband” we couldn’t wait to see just how she would create it. Brunette beauty Sarah Contrucci Smith was kind enough to model for us (you may remember her amazing Blue Valentine party from February) and we love how the final look turned out. “I’m a sucker for any style that works well for covering dirty hair,” says Erica. “and this one’s really great because it takes less than five minutes to do. It has an innocent vibe and pairs perfectly with a spring dress.” Read on for Erica’s steps for how to create your own braided headband:
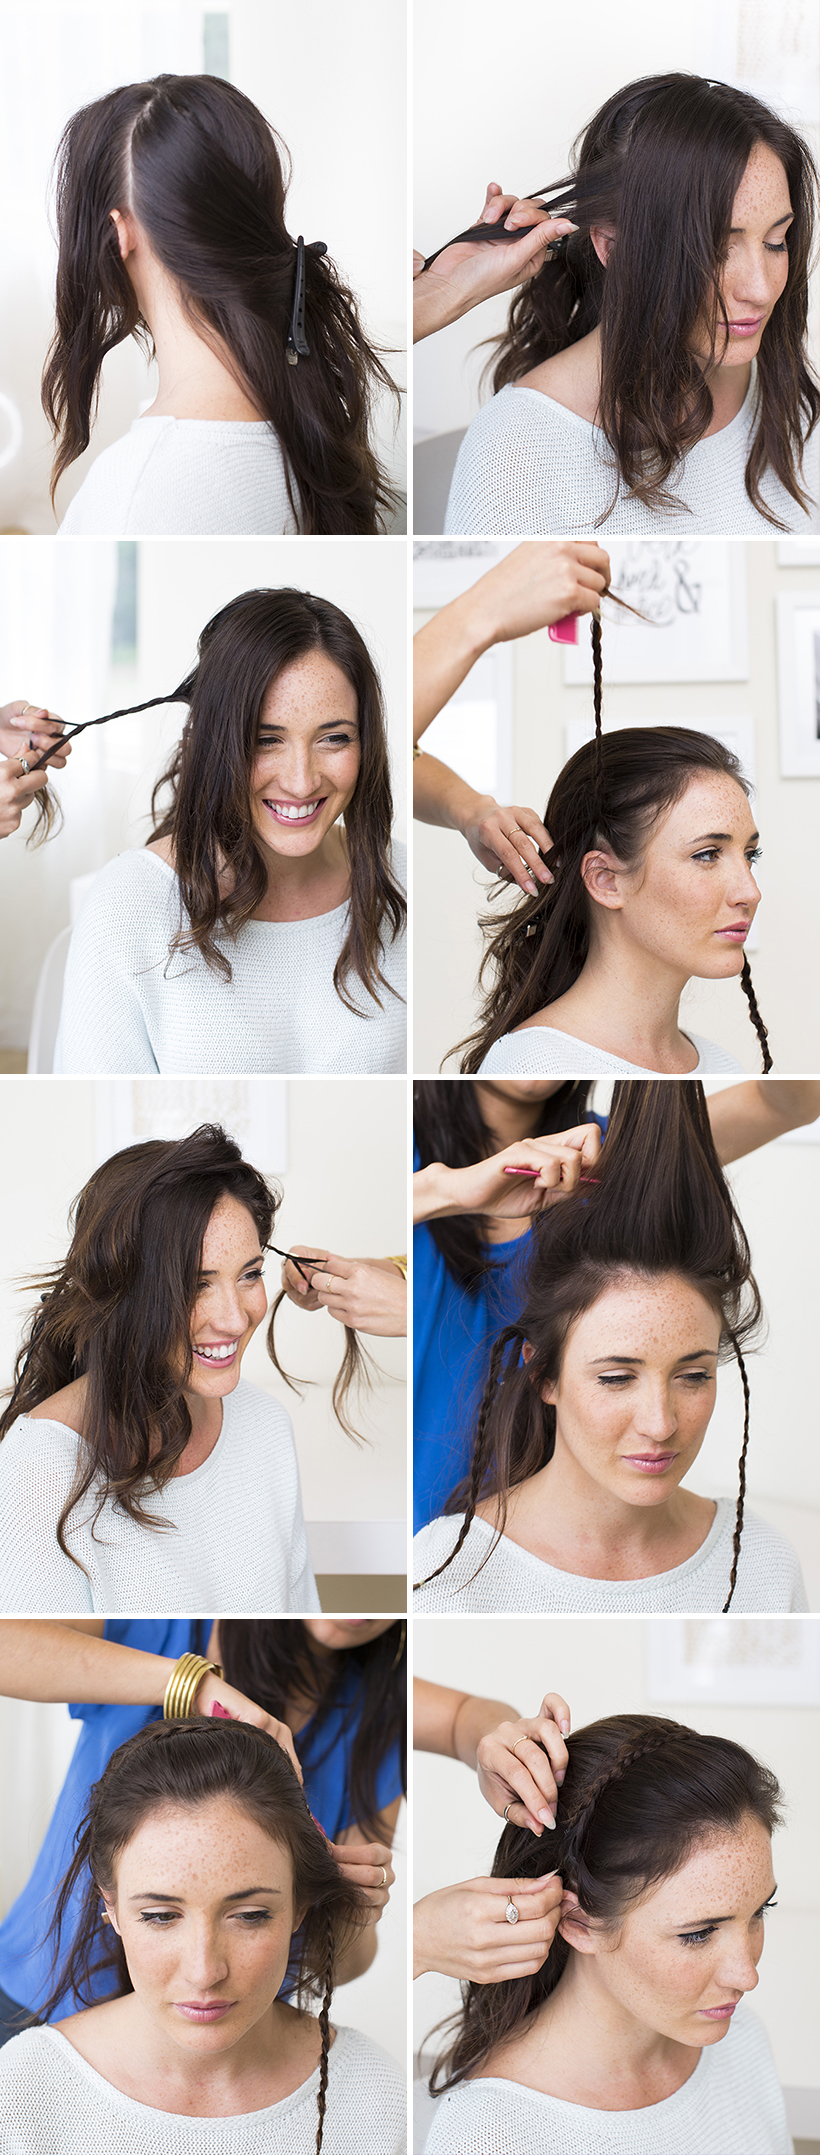
DIRECTIONS:
- Start with hair that has some texture to it, like stated above, it can be a day old dirty (no more than that please), or you can spray a few of your favorite texturizing products in it for the extra body.
- Section the hair from behind one ear to the other ear and clip the hair from the back away.
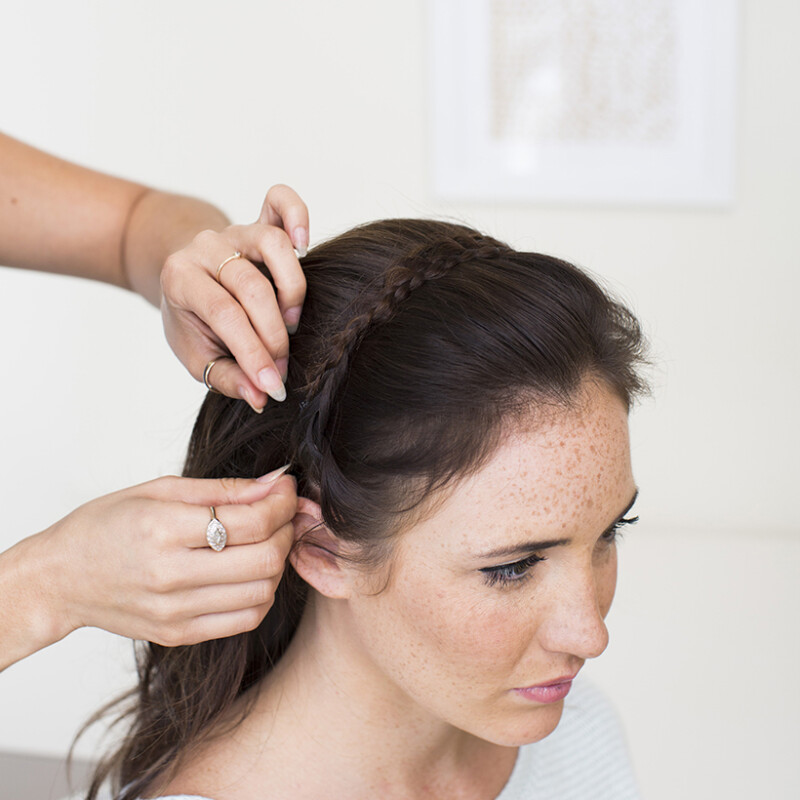
- Start by grabbing a small section of hair (from behind the ear) that’s large enough to make a regular three strand braid.
- Braid the strand all the way to the ends and secure with a small elastic band. Repeat this on the other side.
- Then grab all of the hair that is remaining from the front section and start to backcomb/tease the hair for extra body.
- Lightly smooth that front section and comb the hair back. Try keeping some of the volume and don’t comb out all of the teasing.
- Then take one braid and cross it over the part and pin this section with a small bobby pin.
- Repeat with the braid from the other side.
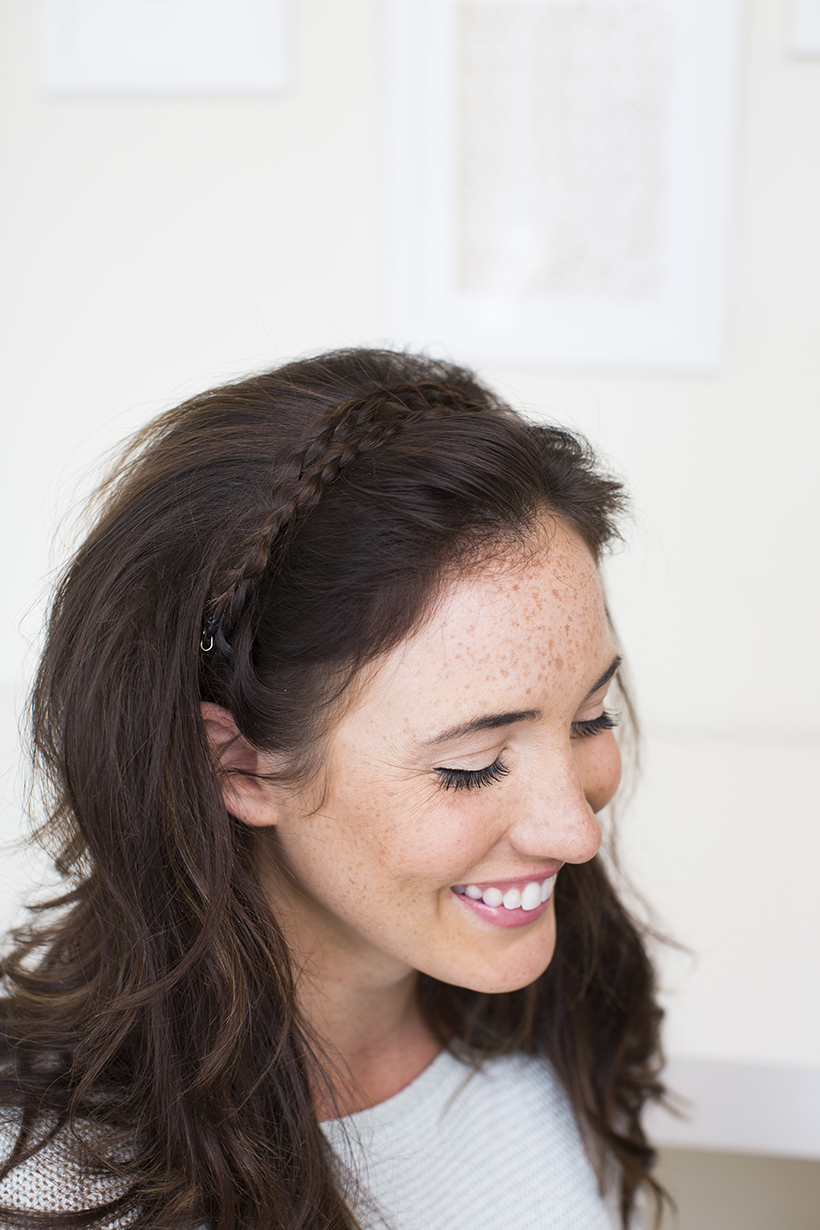
ERICA’S PRO TIP: Once you have this in place you won’t have to do much to maintain it. If necessary you could place an extra (well hidden) bobby pin on the top to keep the braid in place. You can also put the rest of your hair in a high or low pony tail for an even cuter look!
photographed by jessica attie