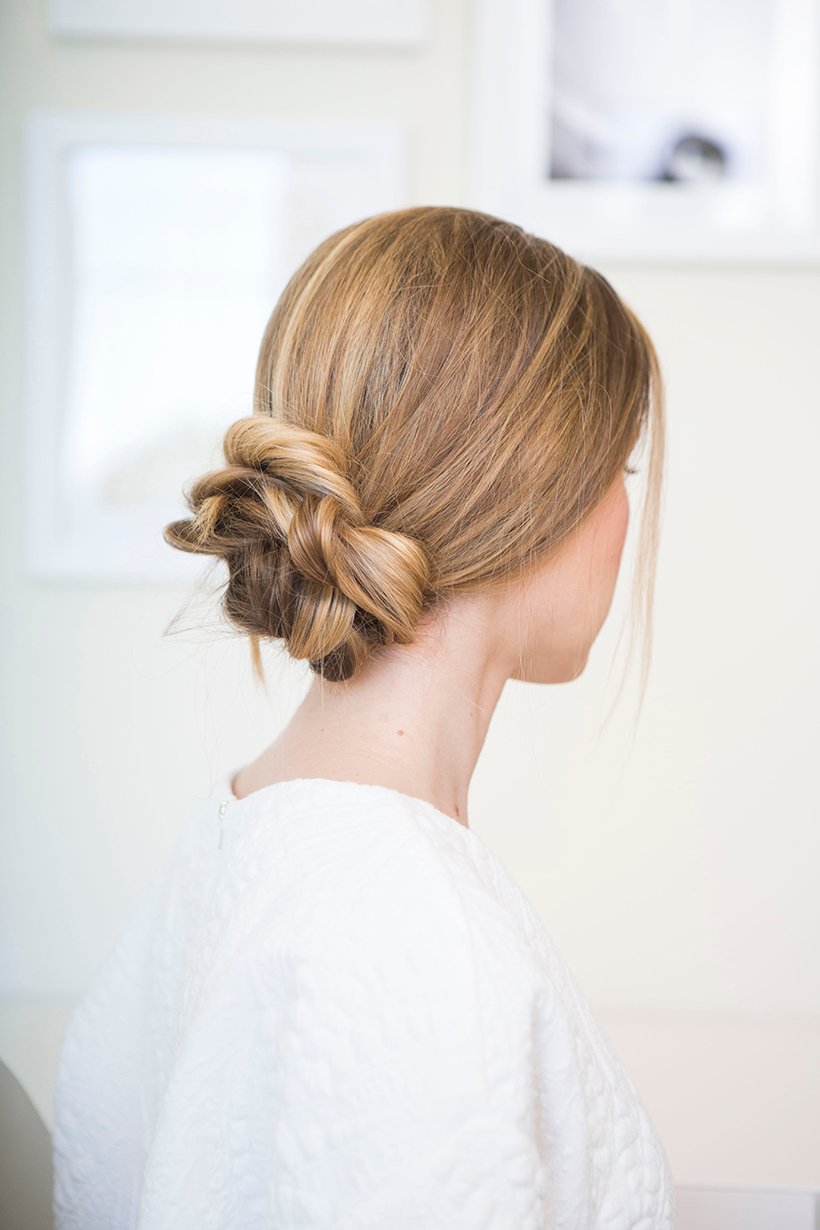
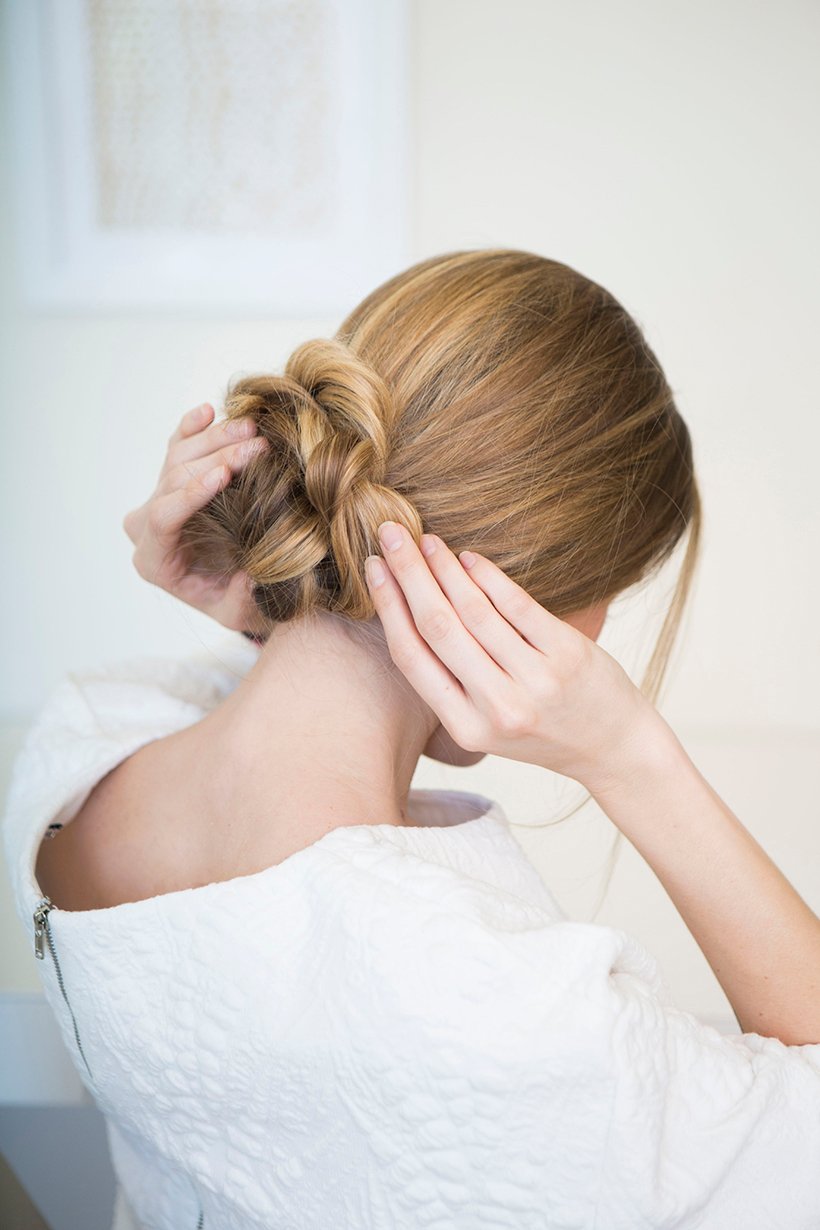
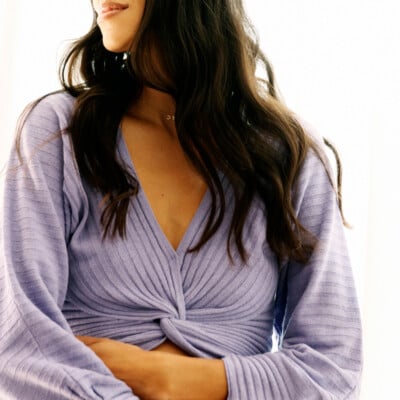
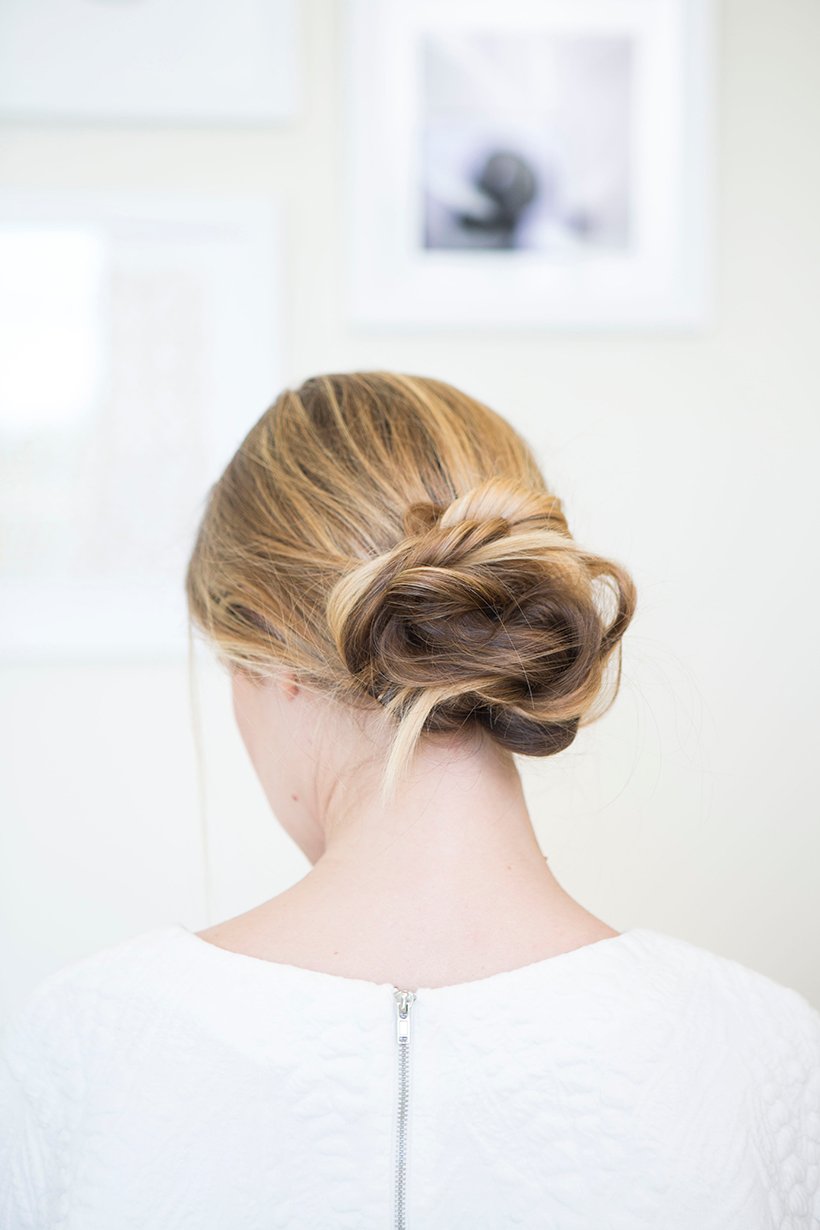
This is a look that we love and have seen all over Pinterest, but when it comes to creating the “effortless” low bun on ourselves, well… things aren’t as easy as they seem. If not executed properly the low bun can just plain sloppy, or worse, like something out of American Gothic. Stylist Erica Rae knows a thing or two about updo’s (she’s been styling bridal hair for years outside of her regular salon practice.) “I’ve had clients bring in inspiration photos of all different types of hairstyles for events, but the low loose bun is THE most requested looks of them all,” says Erica. The key to nailing the look? “Be sure and prep the hair first with your favorite texturizing product,” says Erica. “And start with a ponytail that isn’t too pulled back too tightly for a softer look.” She also has some neat tricks for adding volume to the bun itself. We wanted someone with lots of color dimension to model this look, so we called up our friend and yoga guru Ferny Barceló to stop by and take a seat in Erica’s chair. Read on to discover Erica’s technique for creating the perfect loose low bun:
STEPS:
- Start with a low pony tail, if you have fine hair you might want to prep the hair with your favorite texturizing product.
- Divide the ponytail into four equal sections.
- Take the first section and pin it to the base of your head with a bobby pin that matches the color of your hair.
- Take the second section on the opposite side and do the exact same thing.
- Take the third section and pin this section just above the base of the ponytail.
- Now that you have all your sections pinned, grab the end of any section and create a loop. Once you have your desired fullness from your “loop,” pin the end in place with a bobby pin.
- Repeat step 6 with the rest of your sections. Be mindful of the overall balance of your bun and try to keep all of your loops around the same size.
- Once you have all of your sections pinned you can then tug and pull any sections to create the finished look. You can keep it smooth and polished or pull some loose hairs out and make it a messier look too.
Erica Rae’s Pro Tip: Once you’re finished, like I mentioned before you can pull any baby hairs out and make this look a bit more whimsical. The stray hairs add a touch of softness when photos are taken. You could also change this look quite a bit by leaving some of the pony hanging out instead of pinning it with rest. If you look at photo #7, you can kind of get an idea of what I am talking about. Get creative with this look and just have fun with the pinning. You can choose to finish this look with a bit of hairspray or just leave it natural.
 photographed by jessica attie

