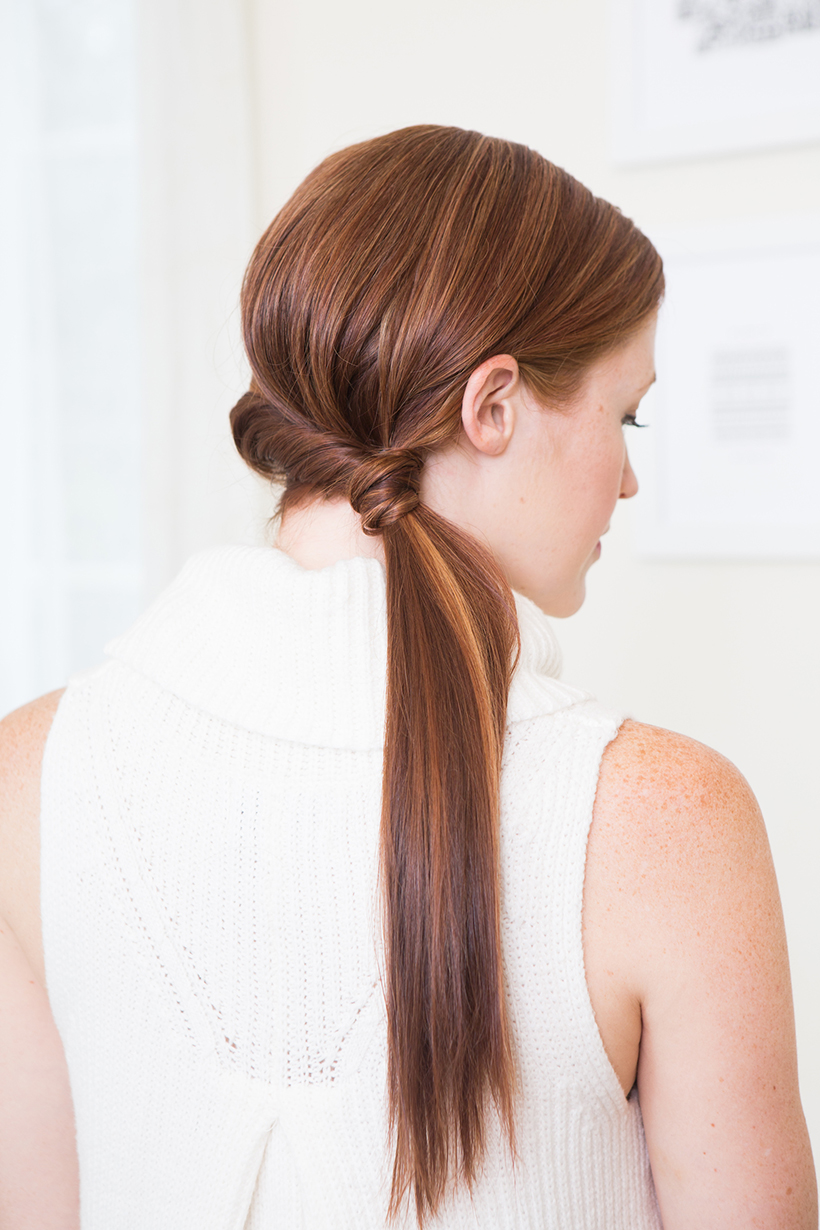
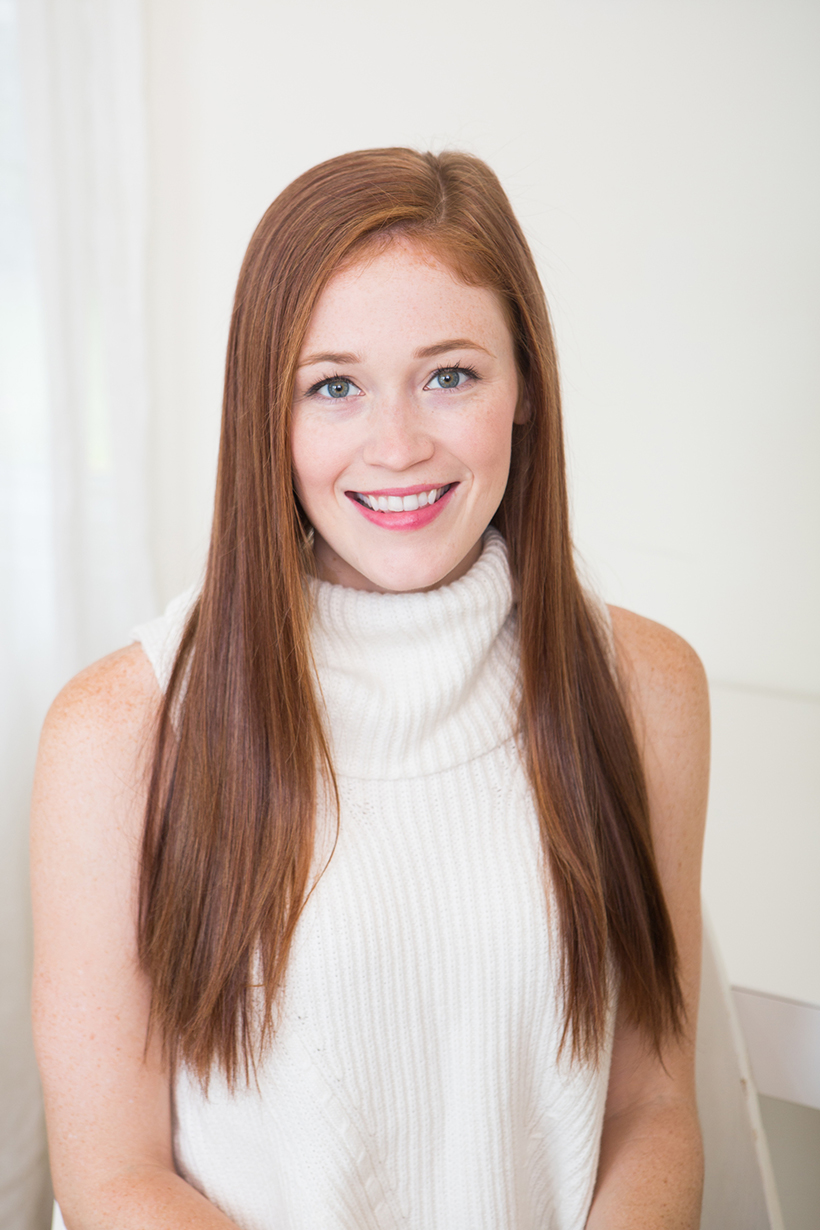
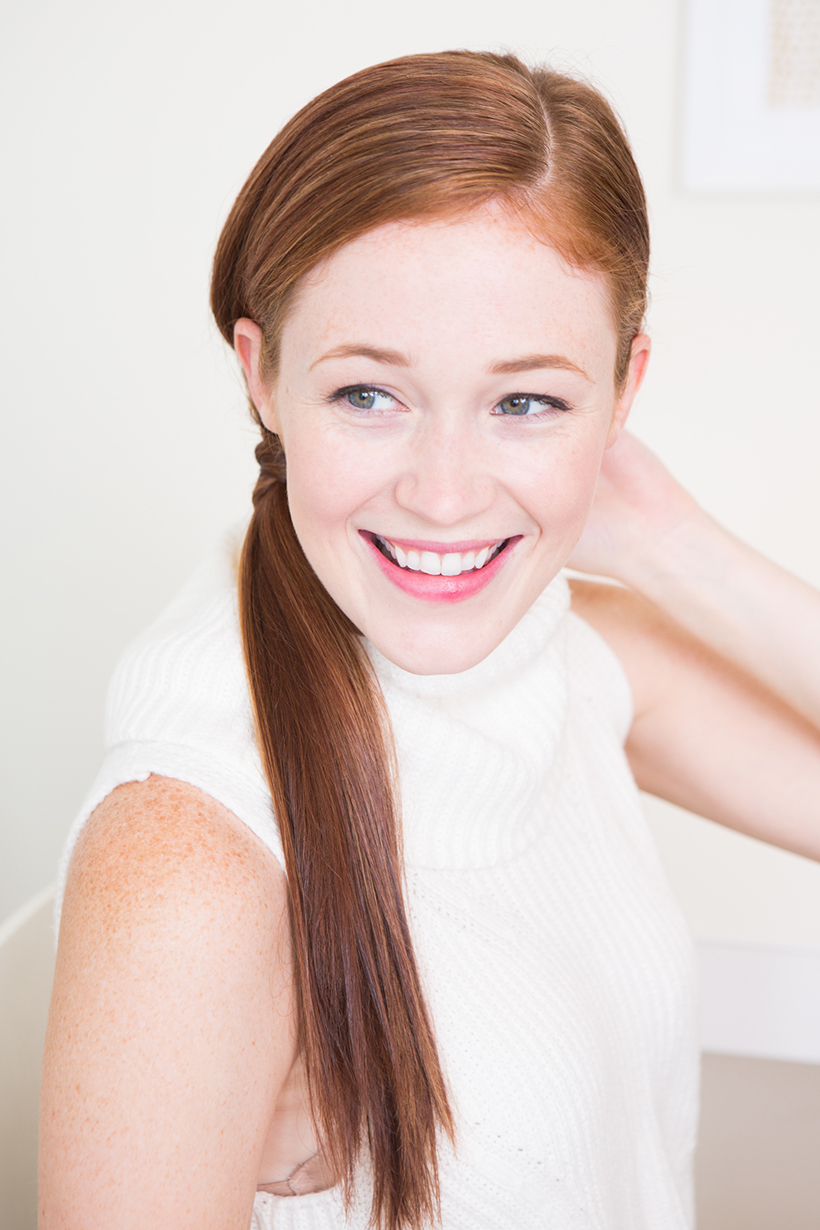
A few weeks ago we held an open call for models on instagram and the response was truly overwhelming. We had so many truly beautiful, stylish readers who were willing to be a part of our beauty tutorial series! It was next to impossible to choose from all the applicants, but reader Taylor Boose (with her gorgeous red hair and flawless complexion) was an obvious YES. We asked stylist Erica Rae to create a look just for look Taylor, and she came up with this very chic twisted ponytail. “Once I saw Taylor’s long red hair I knew that I wanted to create a style that would accentuate both the color and the length,” she says. “This particular look is meant to be worn very sleek and polished, I believe that the smoothness and shine added is what makes this look pop. It’s chic and can be worn with that simple black dress to just about any event. In these photos, it’s paired with a soft sleeveless sweater and as you can see it made her look go from casual to more of a polished look. Still simple, but with just a little more style.” Read on to discover Erica’s technique for creating a sleek side pony:
DIRECTIONS:
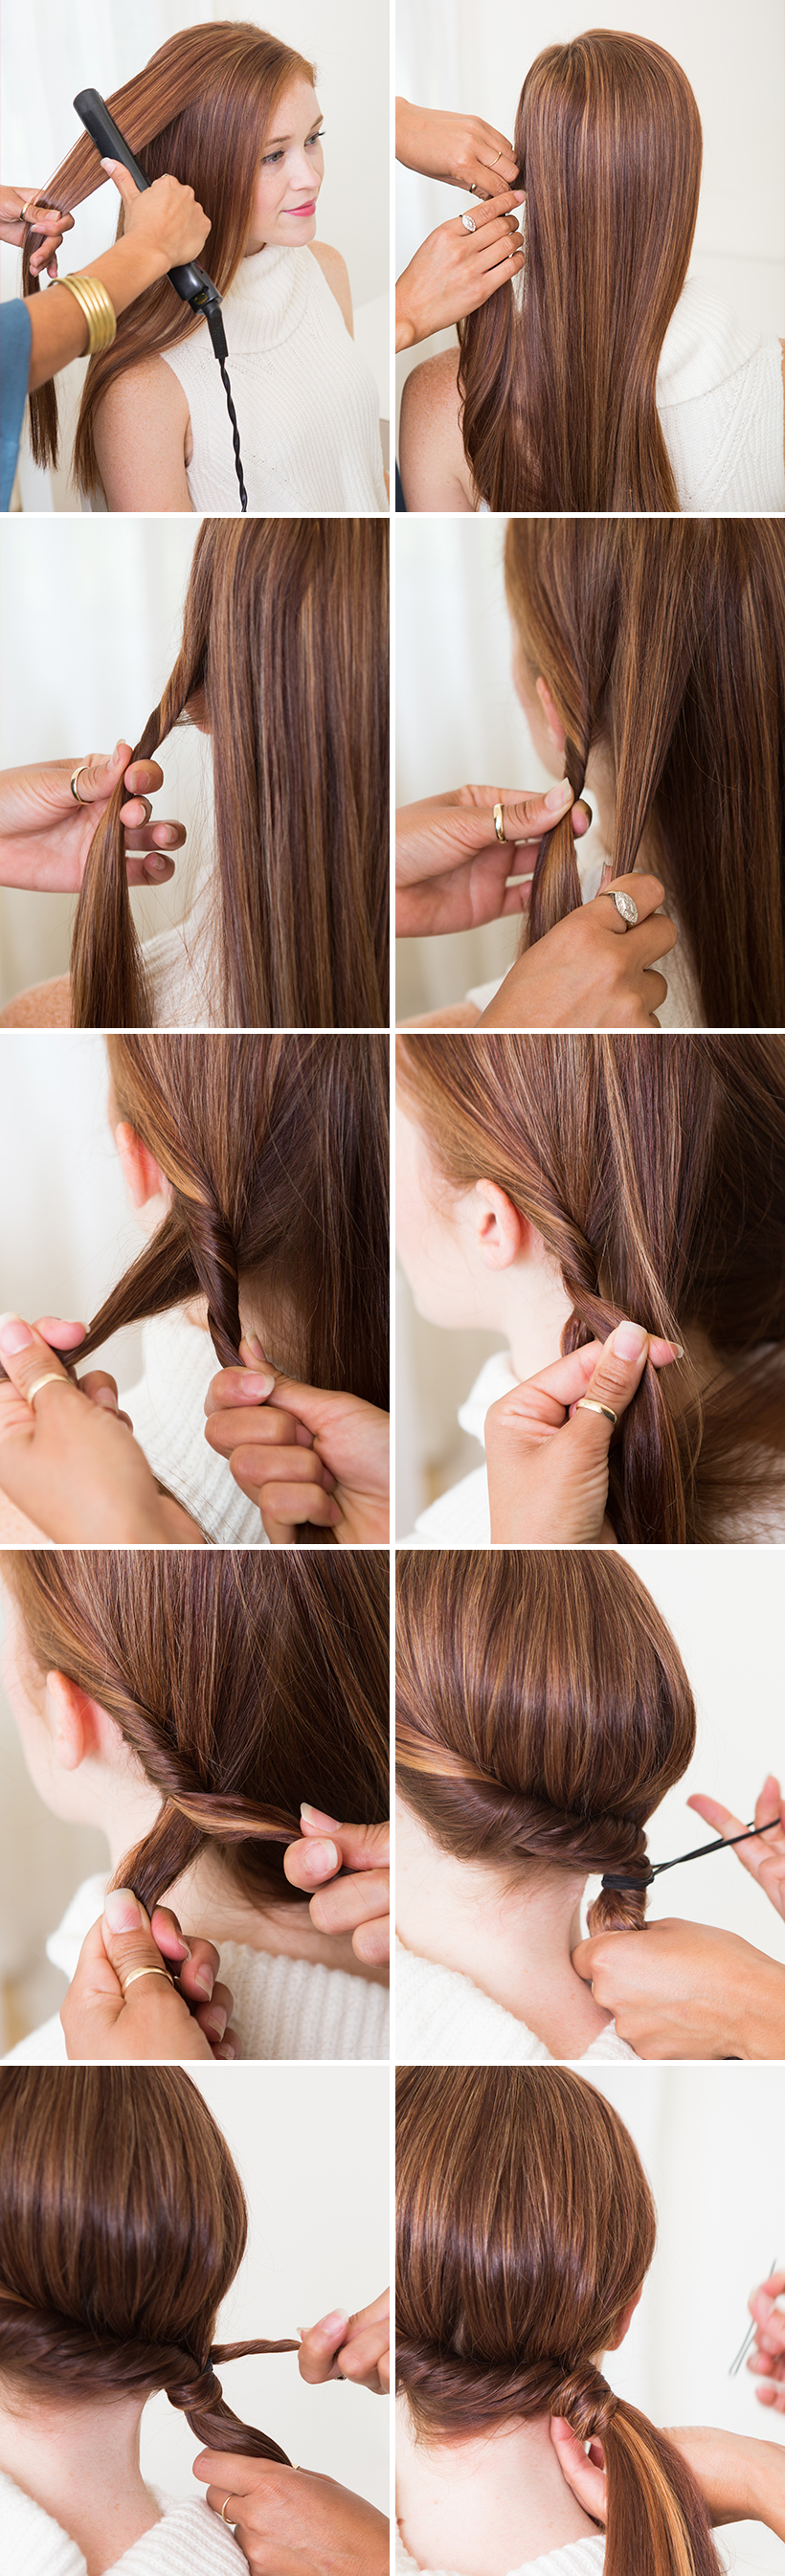
- Start with a freshly washed head of hair. I would recommend flat ironing each section to create that frizz-free look. Feel free to add any smoothing product to your hair to add shine.
- Pick a side to start on and begin twisting a small section directly behind the ear.
- Continue twisting this section as close to the scalp as possible. Only twist the section a couple of times.
- Next, grab another small section directly behind your previous section, about 1” in width.
- Take that section and begin twisting it into your previous section by going under and over while wrapping the section around the twist. It’s almost like french braiding–you don’t want to let go of what you created in the previous section. Try to keep the twist as tight as it was before.
- Continue taking small sections and repeating step 5.
- As you can see in the photos, I’m keeping my sections nice and smooth as I continue twisting and wrapping…
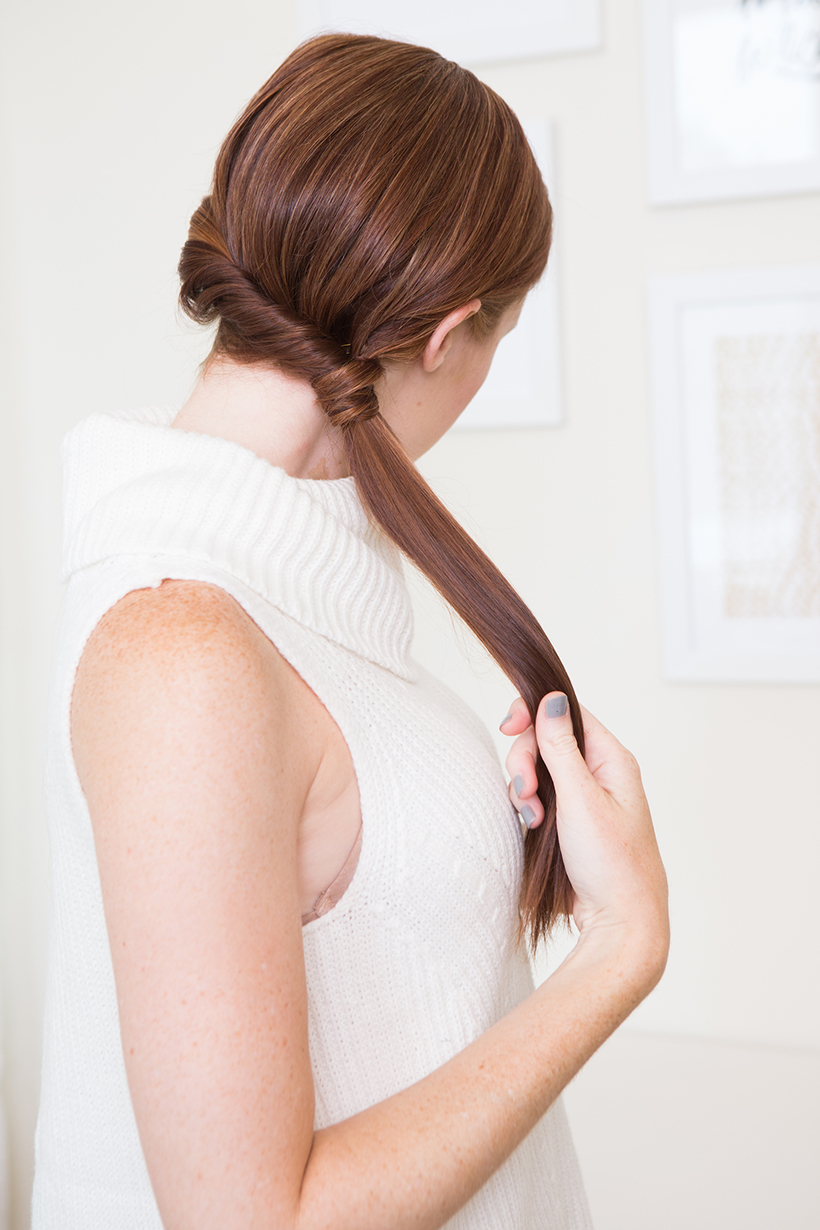
- Keep taking sections until you run out of hair and have reached the side. You can then secure the pony tail with a regular pony tail holder.
- Take a small section and wrap it around the pony tail holder to hide the elastic.
- Use a bobby pin to secure the section in place.
Erica’s Pro Tip:
Once you’ve finished creating the ponytail you can then use a finishing product to smooth down any fly aways. Another version of this look would be to not worry about keeping the look smooth and polished and instead going for a more messy/textured look. You would follow the same steps with twisting but instead of smoothing each section, you would just let it do what it wants to do. Wavy hair or pre-curled hair would be a great way to achieve the extra texture!
Want to model in one of our beauty tutorials? Follow us on instagram and watch for our next open call!
photographed by jessica attie