Anne Weil’s new book landed on our doorstep this week, and it’s the exact dose of creative inspiration we’ve been needing. Similar to her her first book (which we absolutely loved), Weaving Within Reach is a weaving book for stylish and modern makers, bursting with functional, earthy projects we want to fill our homes with. Forget the big box retailers, next time you want to add something woven to your decor, try making it yourself! With this book, it’s easier than you think, and we’re excited to to take it for a spin with our first weaving project: these gorgeous open-weave placemats.
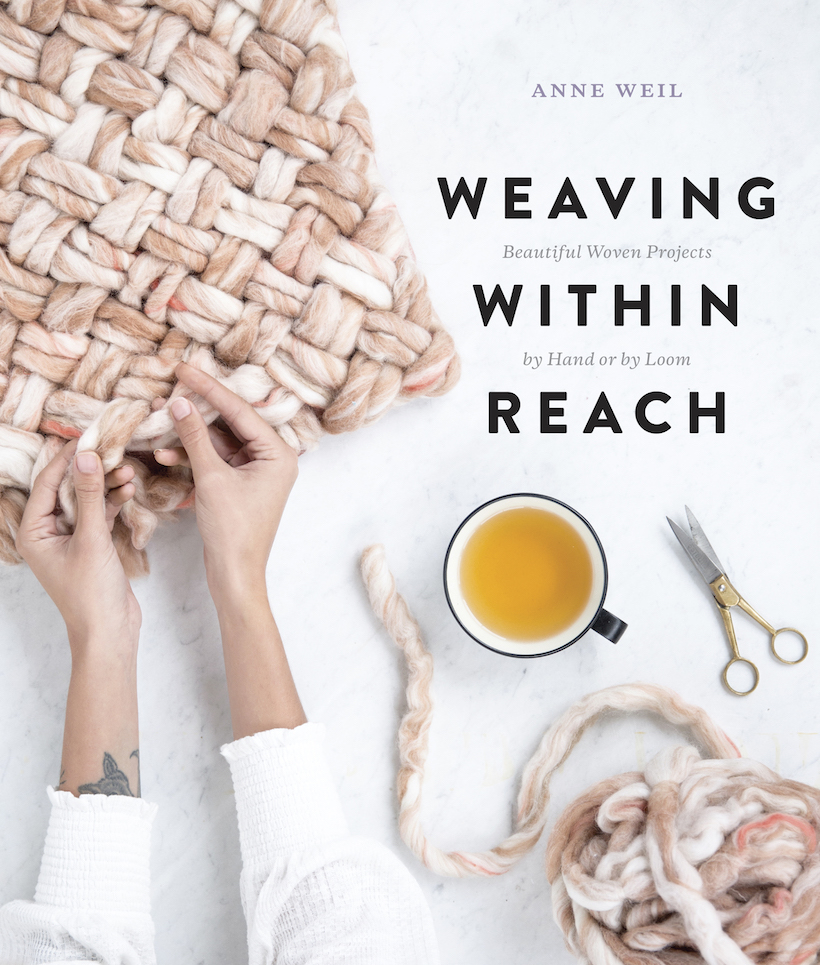
Shop Anne’s book here, and find more beautiful and modern Fiber DIY projects at Anne’s blog, Flax & Twine.

Open-Weave Placemats
- 13 7/8" × 27" (35cm x 68.5cm) piece of mat board
- Warp: 25 yd of stiff DK/ sport-weight yarn or raffia per place mat, 12–14 WPI
- Weft: 20 yd of stiff DK/ sport-weight yarn or raffia per place mat, 12–14 WPI
- (we used 1 skein Habu Textiles N-5b Wide Cotton Kasuri Gima in Charcoal, 50 yd, 1 oz, 100% cotton, per place mat)
- Sharp scissors
- Ruler or tape measure
- Pencil
- Masking tape
* If you cannot find the yarn I used, try replacing it with raffia or somewhat stiff wider tape yarn; the place mat should have some structure. Also, these place mats will need to be spot-cleaned as they won’t hold up in the washing machine. If you’d like machine-washable place mats, I recommend making your warp and weft a bit tighter and using a washable material, like a bulky cotton yarn.
- To make your loom, cut the mat board to measure 13 7/8" × 23". Click here to find instructions.
- With a pencil, mark a line ½" in from each short end. Then mark a line from the end of the board down to that line every inch — 36 marks total. Cut along each of these 36 marks down to the ½" line (1). Repeat the same process on the other end.
- Next, draw weaving limit lines 2" in from each end (2). This is to allow length to knot the ends.
- Warp your cardboard loom (3), taping the ends against the back of the loom.
- Either use weaving tools or make your own. To do so, cut a piece of mat board to measure 1½" × 13 7/8" for a shed stick. Cut a piece of mat board to measure 2½" × 13 7/8" for a shuttle. Cut a notch to measure 1" wide by ½" deep out of each end of the shuttle. Fill your shuttle with 20 yd of yarn (4).
- Leaving a 4" tail and beginning at the limit line closest to you, complete a pass of plain weave across your loom. Because the warp strands are spaced out and this project requires so few passes of weft, I simply pick with the shed stick each time and pass the shuttle in both directions (5).
- To maintain the open-weave spacing, use your finger to create space at the edges as you turn the weft, bringing the selvedge loop to the edge of the loom (6). Allow for a little extra weft length as you move across, but not a full bubble; as the warp is widely spaced and the yarn is flat, the weft doesn’t need a lot of extra length to go over and under the warp. Space the weft lengths approximately 3/8" apart from one another with each pass (7). If the weft is any closer together, you may run out of yarn on your shuttle.
- Continue weaving as in step 7 until you reach your top limit line; stop weaving. To weave the last couple of lines, set aside the shuttle, and tape the weft to the shed stick to finish the last couple of rows (8).
- Cut your weft thread, leaving a 4" tail. Tie this tail to the last warp thread with a simple knot (9). Tie the tail at the beginning of your weaving to the first warp thread in the same manner. Trim away any excess length.
- Cut each warp line loop behind the notches at both sides of your ends (10).
- Group 3 warp strands at a time and knot them together with an overhand knot (11). Because of the nature of the material, this knot doesn’t need to be super close to the weft, the point is to keep the weft from unraveling. Just try to be consistent with how and where you knot these so each knot has relatively the same placement across the piece. Scrunch down the weaving a bit to give yourself more room to knot.
- Even out the fringe length and manually adjust the weaving back into place if necessary.
Share this Post
Author