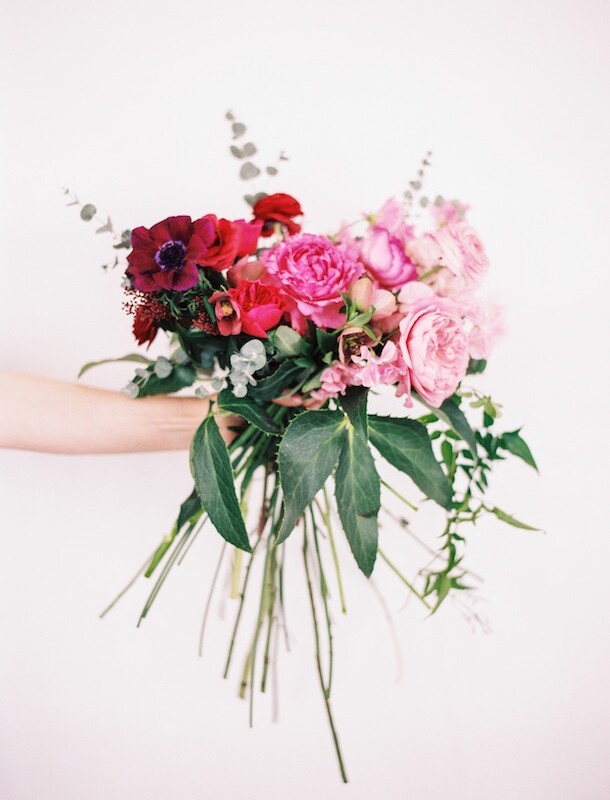
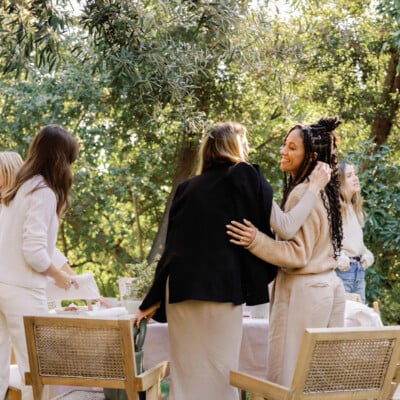
A bouquet of flowers invariably manages to make my heart skip a beat, no matter the occasion; and the affectionate feeling certainly continued when Elizabeth Lewis of The Nouveau Romantics invited us to play florist for a day and get a taste of their daily design routine. We were led into a whimsical floral fantasy of countless blooms and rippling greenery in Elizabeth’s light-filled, inviting studio. And while I have always appreciated the detail behind a bouquet, I now understand the artistic complexities of floral arranging that we, and now you, have the opportunity to master. With love in the air this week, we are sure you’ll be wowed by the beauty of these natural elements in hand. Click through to learn how to make your own hand-tied bouquet (with striking photos by Taylor Lord) just in time for this year’s holiday and many more Valentine’s Days to come!

The Nouveau Romantics’ studio matched their stunning approach to event planning and floral design — delicate and effortless.

Elizabeth, a trained architect and the talented creative expert behind her company, guided us to create our own hand-tied bouquets.

The floral array was divine — pinks, reds and purples filled the space to put us in Valentine’s spirits.

Throughout the morning, Elizabeth reminded us to “embrace the balanced asymmetry.”

Treat the arrangement like a basket weave, intertwining stems to create a firm bouquet. Add each stem at an angle to achieve the technique.

Some greenery to begin your bouquet…
- Heleborres stem: The ultimate anchor for a floral arrangement from start to finish.
- Eucalyptus: Minty bunches that easily intertwine with flowers.
- Trailing vines: Dainty and delicate to lengthen your final piece. Or, add at the end for a draping centerpiece.

Choosing the perfect stems seems daunting, but the creative freedom is exhilarating! It’s helpful when flowers have several tones to transition colors easily.

Pick off non-ideal petals and thorns. Grab the larger stems available.

It’s all about the roses: We’re celebrating Valentine’s Day, after all!
A few other blooms for your bouquet:
- Tulips & anemones: Store these in a dark closet before displaying to avoid over-blooming!
- Hellebores: These winter beauties bloom just in time for Valentine’s Day.
- Ranunculus: Darker tones provide a lovely bridging color. Be sure to only fill the vase with a few inches of water; the stems rot in too much!

These sweet peas are great fillers, providing shape and a flexible bend throughout the bouquet.

Working in your hands allows you to see from every angle. Elizabeth suggested working from background to foreground to create varying layers of hues and shapes. Plus, you won’t have to worry about hitting the bottom of the vase!

The most beautiful mess we could ever partake in!

The beauty behind floral design is that you can never mess up. Every arrangement harvests its own unpredictable character.

Despite your tendency to tightly grasp your stems, always keep a loose grip to easily adjust your heights and focal points.

And feel free to add more buds toward the end to fill gaps and holes…you can never have too many!

We felt lucky to have Elizabeth’s expertise on hand. She prefers a subtle ombre look, which she helped Lauren achieve, too.

Cut, cut, cut: Holding a firm grip, trim the stems to create an even base. Sheer the ends at varying angles if you’re aiming for a more natural look. Then, wrap the bouquet with floral tape at the crux.

The best part about the morning? We got to bring ours home to share with loved ones.

These gorgeous copper vases weren’t a shabby take-away, either. Thank you again, The Nouveau Romantics, and Happy Valentine’s Day!


