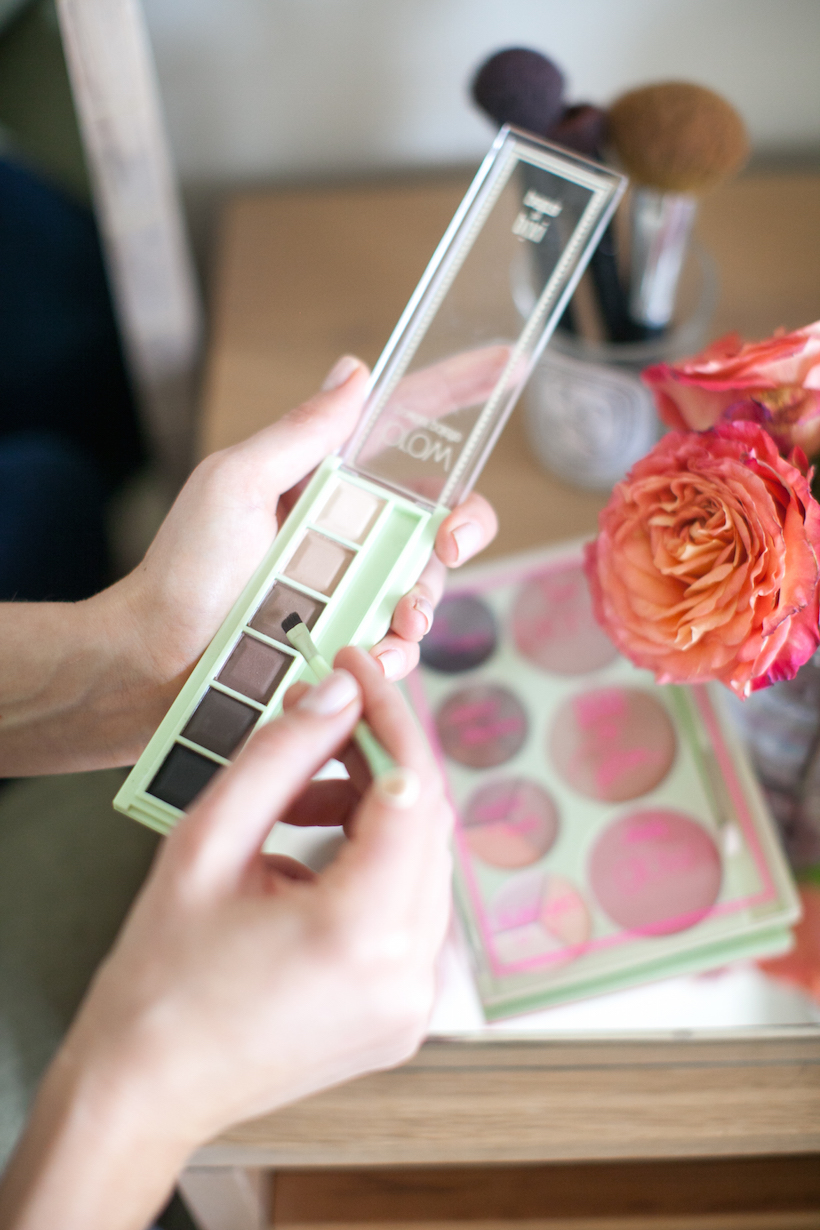
 I love playing that game where you have to choose the one beauty product you’d take with you if you were trapped on a deserted island. This might surprise some of you, but if I could only wear a single article of makeup, I think I’d choose something to fill in my brows. I was not blessed with full expressive eyebrows (though I’ve always admired them on others, of course — we always want what we don’t have!) so ever since I discovered that there are ways to fill them in where brows still look natural, I’ve been hooked. I’ve always used a brow pencil for this, so when I teamed up with Target Style on today’s beauty story, I was excited to try out the new Pixi Brow Powder Palette — a neat little compact with 6 matte shades that allow you to mix together your perfect match.
 The first step in getting a full, perfect brow is to shape the ones you’ve got. There are several options here, including waxing, threading, and even hair removal lotion, but I opt for good old fashioned tweezing. The general rule of thumb is to tweeze sparingly (only where hairs are outside the boundaries of your natural brow line) and often, so that you always have a clean shape to start with. Now that you’re ready to try out the palette, here are the 4 easy steps to filling those beautiful brows in:
- Identify your color (#3 was a perfect match for my brows, but many of you will want to mix together 2 colors for the right shade.) Use the stiff brush in the kit to build up color on the brush, then use short hair like strokes to brush in a line that outlines just the top of your brow line. For me, this is the easiest way to outline the shape of the arch that I want to create and highlight — almost like providing the “outline” that I can then easily fill in.
- Build up more shadow on the brush, then go back and fill in sparse areas that fall under the top line that you created. The thickest part of your brow should be closest to your nose, and you want it to taper out to a thinner point as you reach the outside of your brow. Makeup artists often recommend using your brush to create an imaginary line that goes from the outermost edge of your nose to the outermost edge of your eye. Where this line hits your eyebrow on this angle is where your brow should end.
- Use a brow gel to brush those brows in shape! This little brush will also help blend in the shadow that you’ve just applied so that it’s smooth and even.
- Highlight directly on the brow bone to add dimension and brighten the eye area. One of the best qualities of this Pixi palette is that the highlighter is built right in! Use the included soft applicator to dot the highlighter on (I usually dab a touch of it on the inner corner of my eyes and the cupid’s bow of my lip for good measure!)
 Moment of transparency — this may be the first and only time you see me on this blog with a naked brow (see right side of my face.) But I wanted you guys to see how dramatic the before and after is on someone with brows as wimpy as mine! Properly filling them in really does frame the entire face and give it a more “finished” look, even when the rest of the face is left bare.
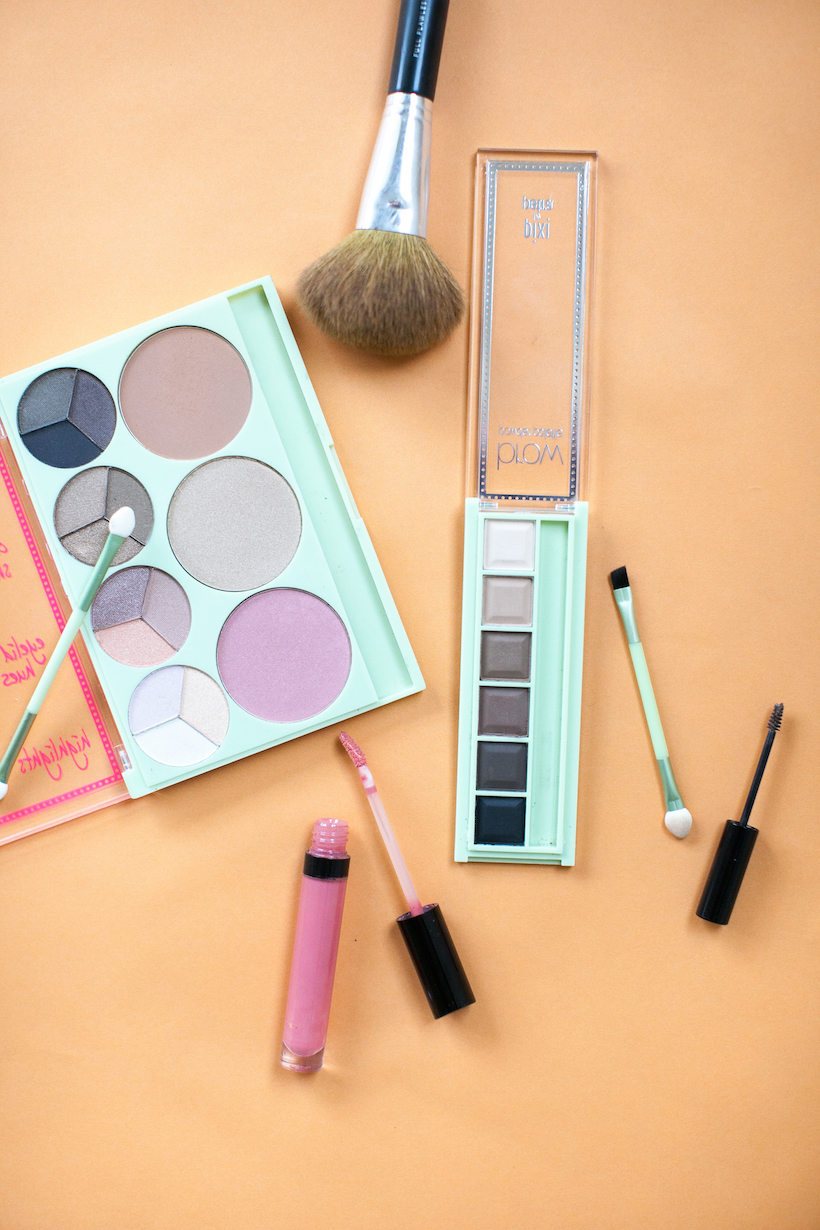 And while we’re on the topic of Pixi’s palettes, I also snagged this gorgeous Summer Glow set that includes a bronzer, highlighter and blush to add a bronze-y radiance to the rest of the face, as well as all the shadow and liner colors I could possibly need this summer. As I hit the 8 month mark of this pregnancy, I can definitely use all the extra glowiness I can get, and once the baby arrives, I’ll undoubtedly welcome a little help from these multitaskers that make me look more awake in minutes.
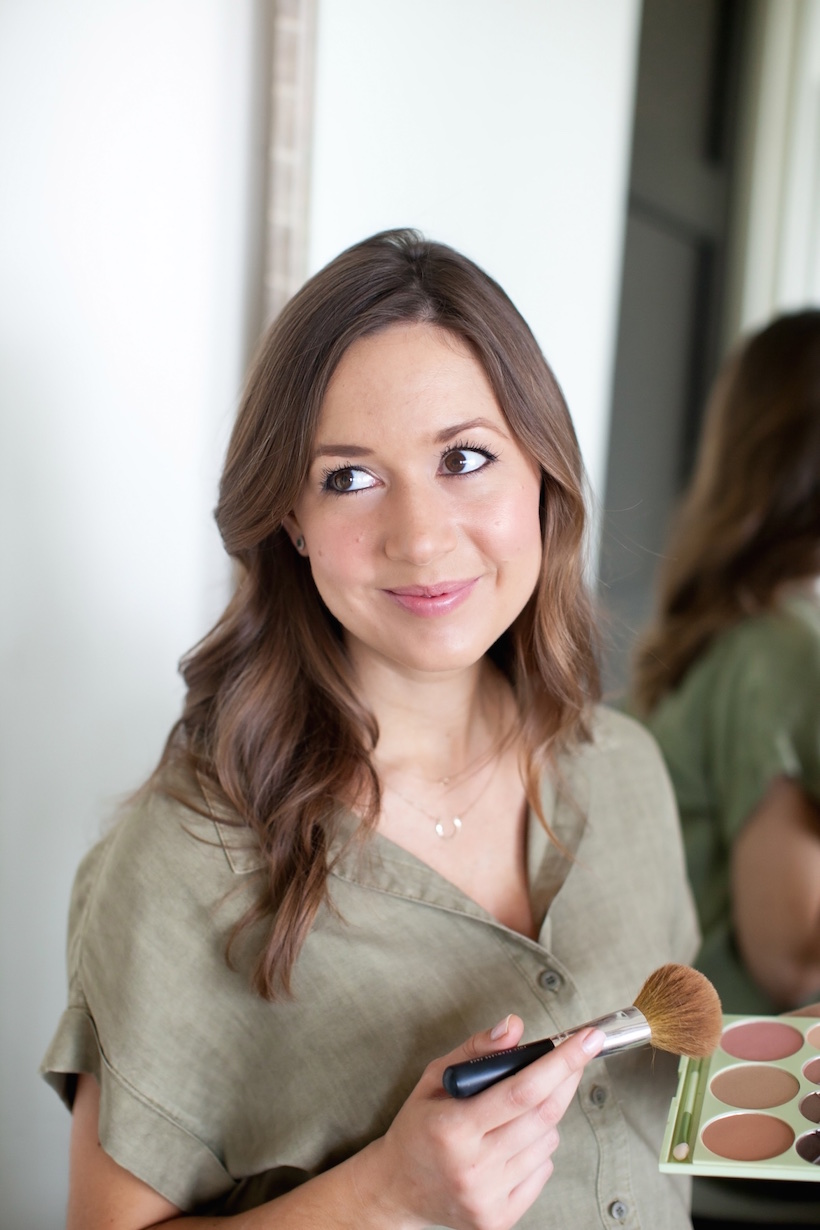 What brow look do you guys love — thin and super defined, or full and natural? And is there anyone who gives you major brow envy? I find myself pinning a lot of Sienna Miller, Emma Watson and Camilla Belle for inspiration — their full, natural brows all give them such a strong, independent look!
*photos by kate stafford

This post is brought to you by Target Style. Shop the new Beauty collection in stores and online.

