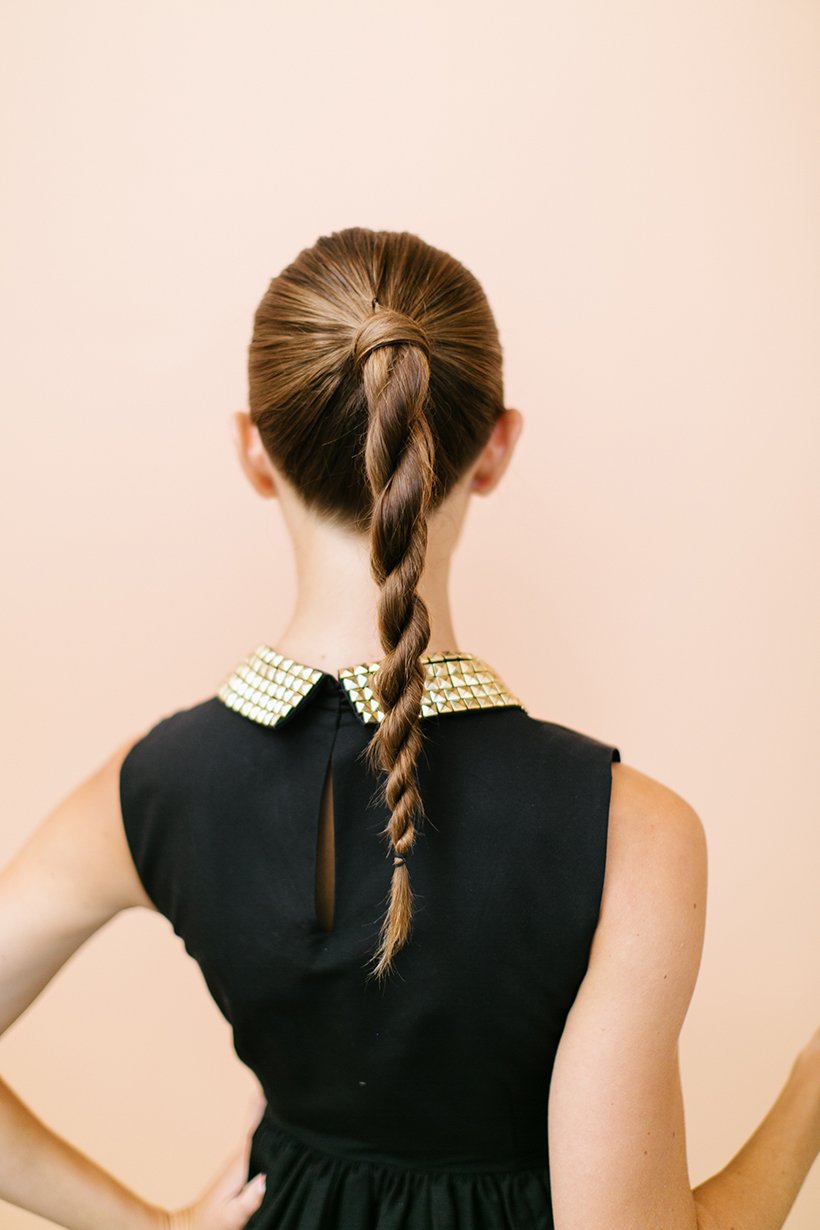
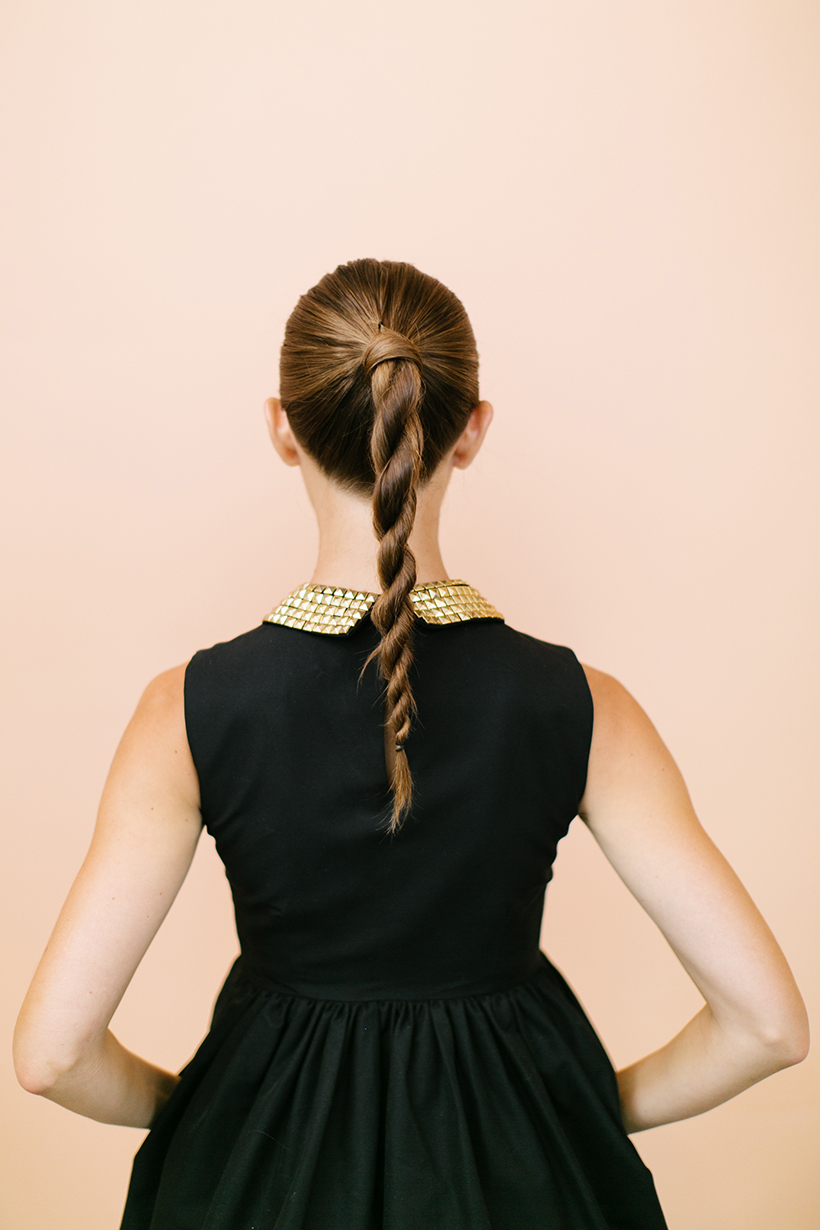
We first spotted this look on the runways when the Spring 16 collections were showing during NYFW. Ever since, we’ve been dying to try out this twisted pony for ourselves. Only one problem: we had no idea how to do it. Fortunately for us we knew exactly who to consult, our sweet friend (and senior stylist at ROAR Salon) Erica Rae. “I love this look, and there’s a simple trick to making the twist ‘stay’,” explains Erica. “It’s minimal but sophisticated and a great alternative from a typical braid. The structure from this style is so chic, and once you learn this technique you’ll have friends wondering how you did it.” Read on to discover Erica’s secrets to the twisted ponytail:
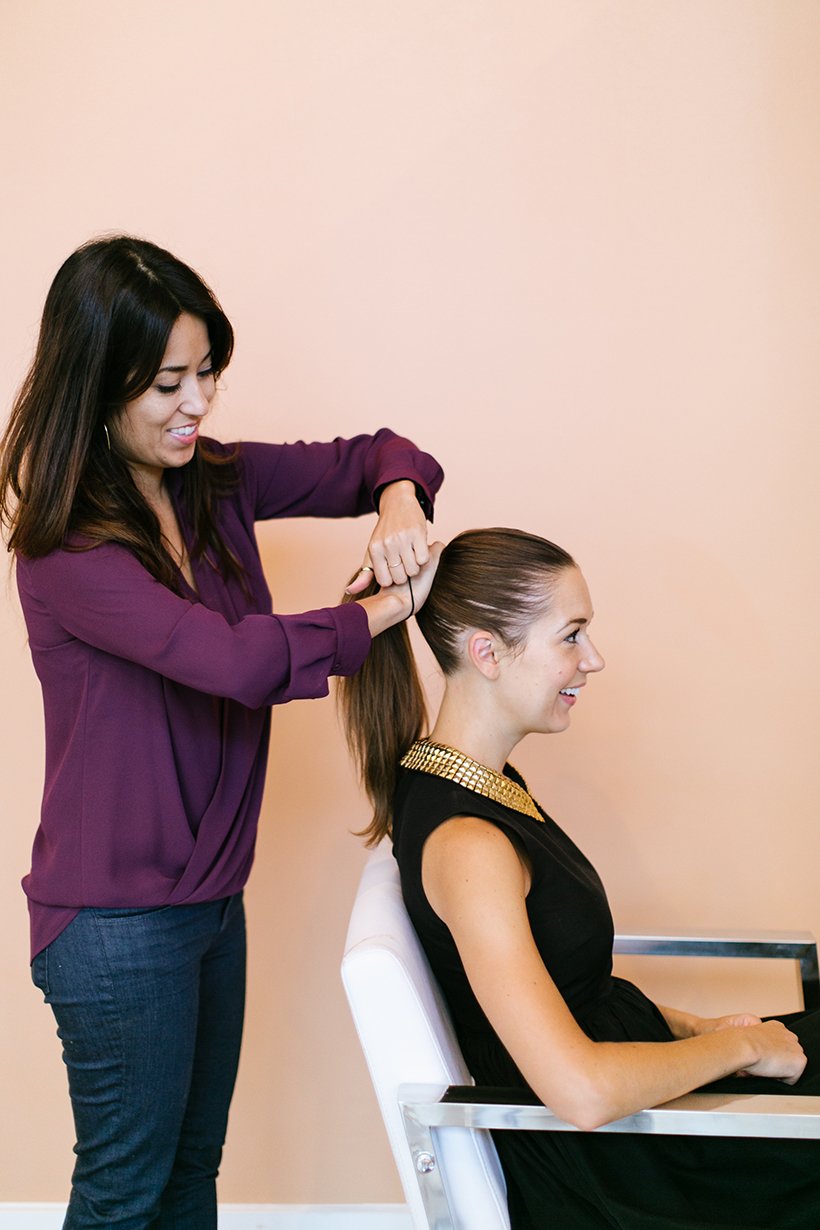
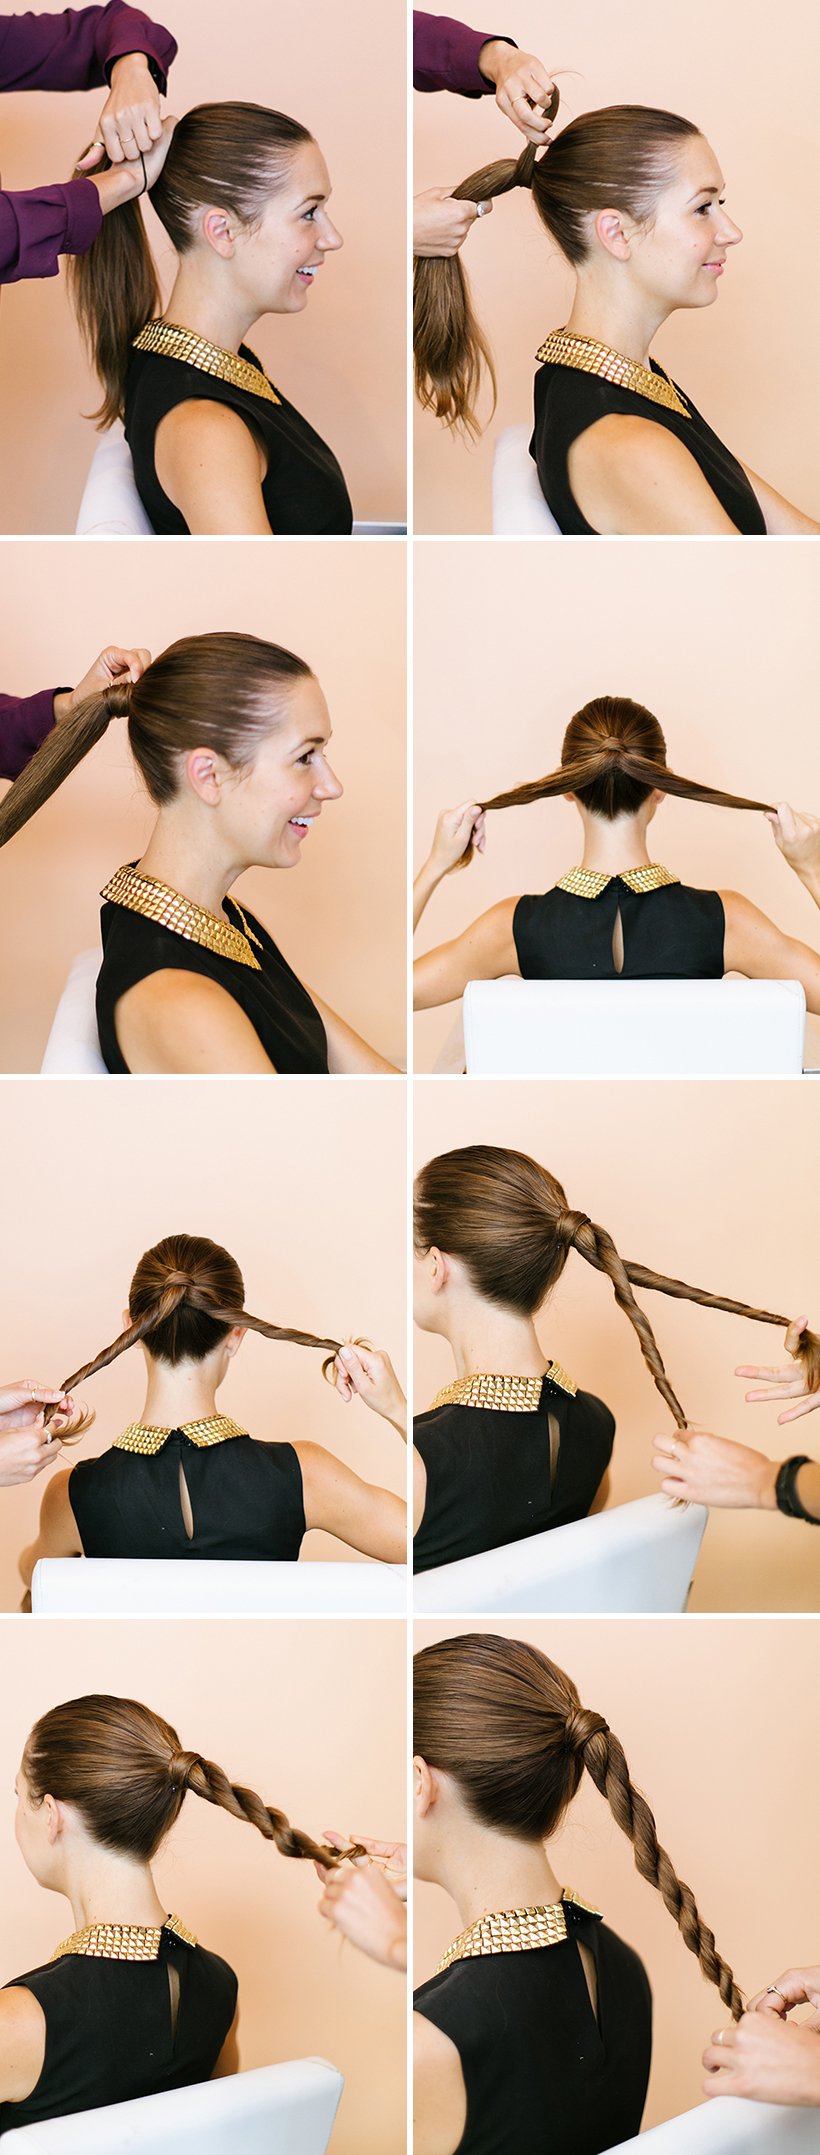
- Start with a simple slick ponytail, be sure to wrap a section of hair around the ponytail to hide the elastic tie. Feel free to make the ponytail high or low. Either way works. It can be slicked down with a smoothing gel or you can make it look softer with some of your baby fly always.
- Divide the ponytail into two even sections. Begin to tightly twist both sections clockwise to the ends. It’s crucial that both strands are twisted clockwise — that’s the trick that makes this look “stay”.
- Take the two twisted sections and proceed to twist those together in a counterclockwise direction. That’s the second secret to achieving this look. Twist the strands together all the way to the ends and secure with an elastic band.
- Once finished you can then add some hairspray to hold the fly aways in place. If you have layers in your hair it’s okay if the shorter hairs pop out. They can add some texture and make the look have a messy vibe instead of a sleek polished look.
ERICA’S PRO TIP: When you’re twisting the two sections together, make sure you twist them as tightly as possible (the look will loosen slightly once you’ve secured the ends). You may get best results by enlisting a friend to help you — this technique is even enough that even a boyfriend or husband could probably handle it!
photographed by kristen kilpatrick

