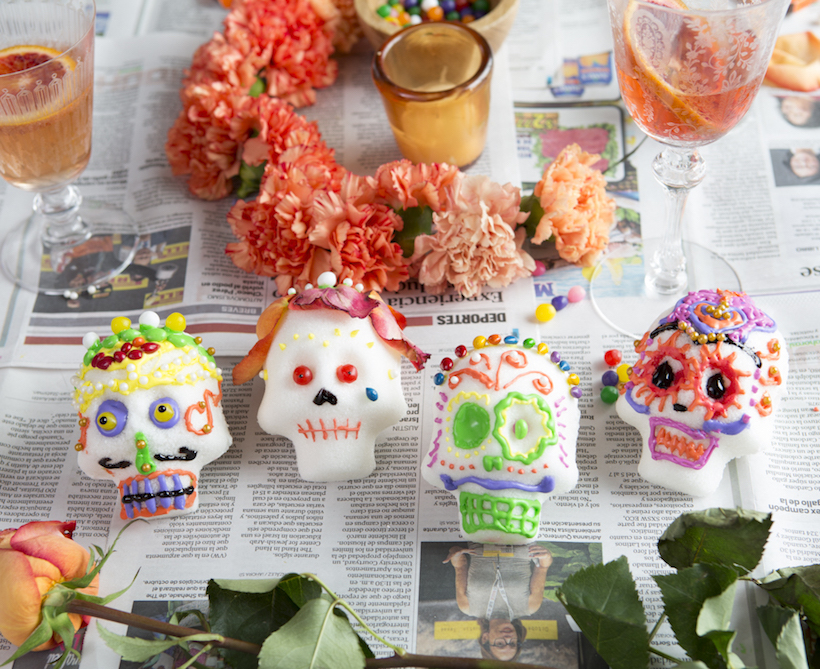
When Veuve Clicquot first came to us with the challenge of creating a chic Day of the Dead party concept, we weren’t quite sure where to start. Flower crowns? Nah. Skull face paint? Too overdone. An abundant buffet? We did it last year. But as soon as our brainstorm ventured over to the holiday’s sugar skull custom, light bulbs started going off. Just like that, the interactive details started falling into place, and if I’m being honest, I’ve probably revisited the finished product three dozen times since we shared it earlier this week. A Dia de los Muertos sugar skull decorating party just might be the kind of gathering I’d consider making an annual tradition.

*photography by Buff Strickland

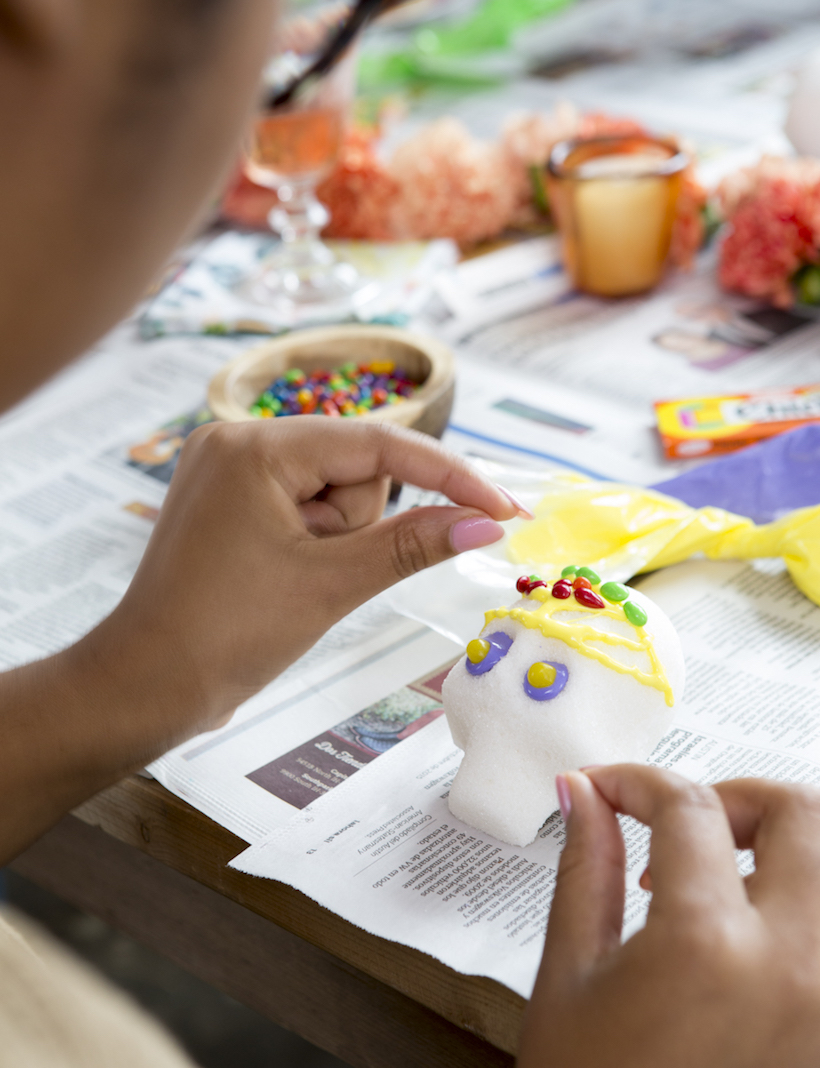
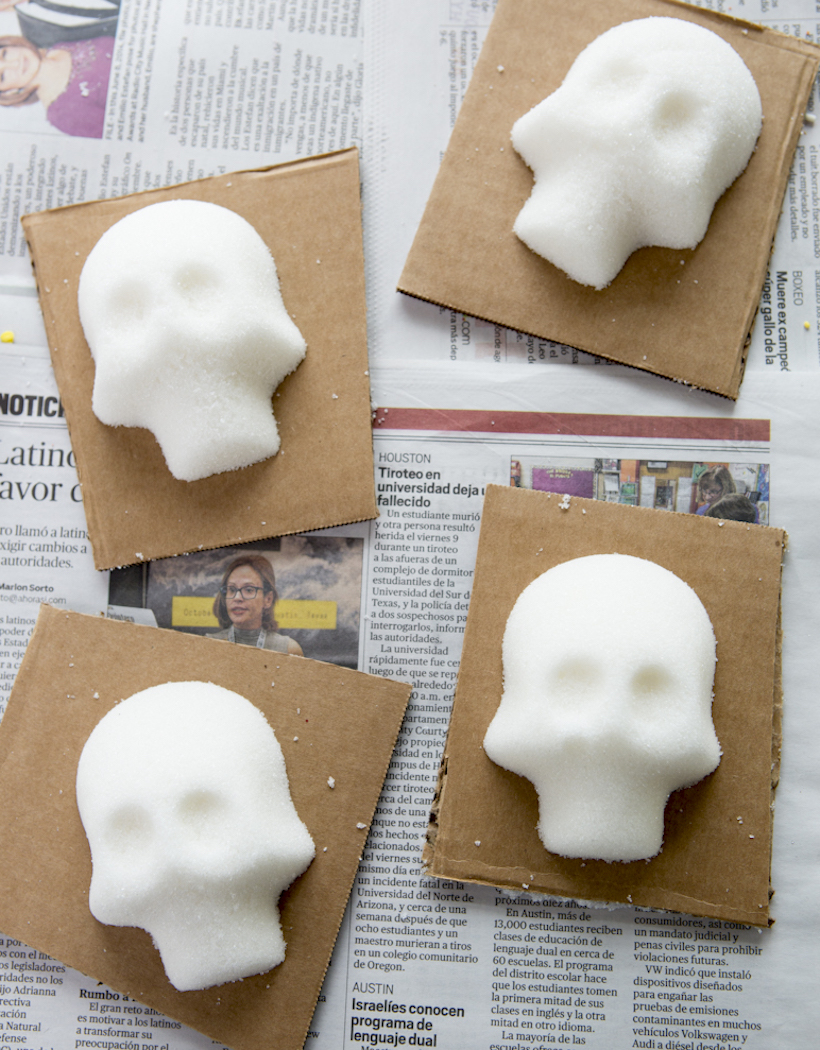
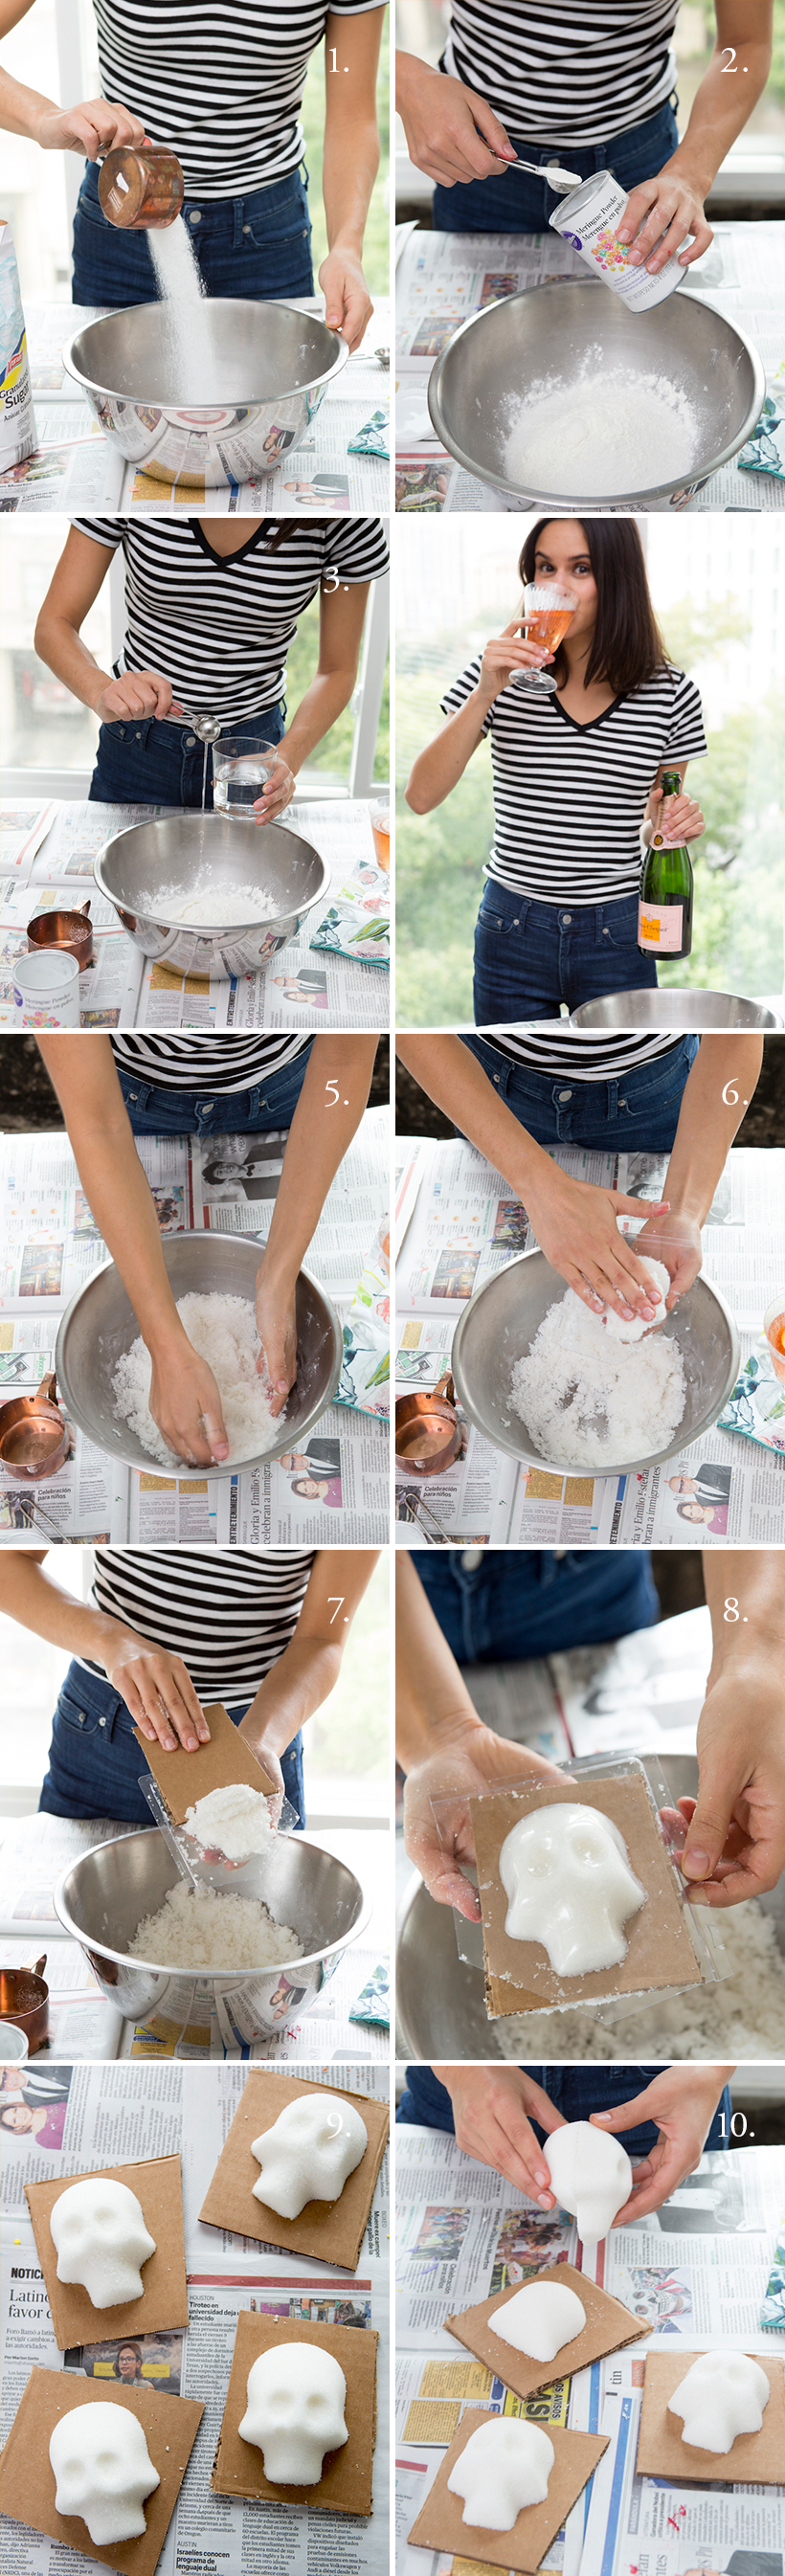
So today we’re sharing our instructions to the most important party detail: making those sweet little sugar skulls. Before you get started, note that the skulls need to set overnight to completely harden, so plan your prep accordingly. Scroll down for our step-by-step directions, and be sure to check out the full party for the rest of the entertaining tips and tricks!

How to Make Your Own Sugar Skulls

supplies


*These quantities make approximately 1 sugar skull. Multiply sugar, meringue powder, water and cardboard quantities to yield the number of sugar skulls you desire. You only need one mold.


  • 1 cup granulated sugar
  • 1 teaspoons meringue powder
  • 1 teaspoon water
  • Oaxaca Medium Sugar Skull Mold (check your area baking supply store to find this exact mold locally)
  • 2 pieces of cardboard cut to approximately a 3" x 4" square
  • small amount Royal Icing
instructions


  1. Pour sugar into a large mixing bowl.
  2. Add meringue powder.
  3. Add water.
  4. Break for bubbly. Things are about to get messy.
  5. Mix sugar, meringue powder and water with hands for approximately 5 minutes or until fully combined and all dry ingredients are dampened. Test the mixture's consistency by balling a small amount in your hand and then releasing  your grip -- if the imprint of your fingers remains, the consistency is right. Still feel too dry? Add another 1/2 teaspoon of water.
  6. Tightly pack mixture into mold.
  7. Use cardboard square to scrape excess mixture and create a smooth, flat back of the mold.
  8. Press cardboard onto back of mold and flip over. You should be able to easily slide the mold off to reveal a perfectly shaped sugar skull. Set aside and allow to dry overnight. If the mold is getting sticky, rinse with water in between uses and dry completely. Note: If the sugar does not easily come off, your mixture is too wet. Return to bowl, mix in more sugar, and try again.
  9. Once you've made all the front of the skulls, repeat steps 1-8 to make the back of the skulls. This second piece enables the final sugar skull to stand upright. Note: If you've purchased a different mold that does not include skull backs, omit this and the next step.
  10. Once all pieces have dried, spread a thin layer of Royal Icing on the backs of the skulls, and attach the second piece to create the full shape. Set aside 30 minutes, allowing the Royal Icing to dry and bind the two sugar skull pieces. Once dry, your sugar skulls are ready to be decorated!

Share this Post

Author

Chanel Dror