
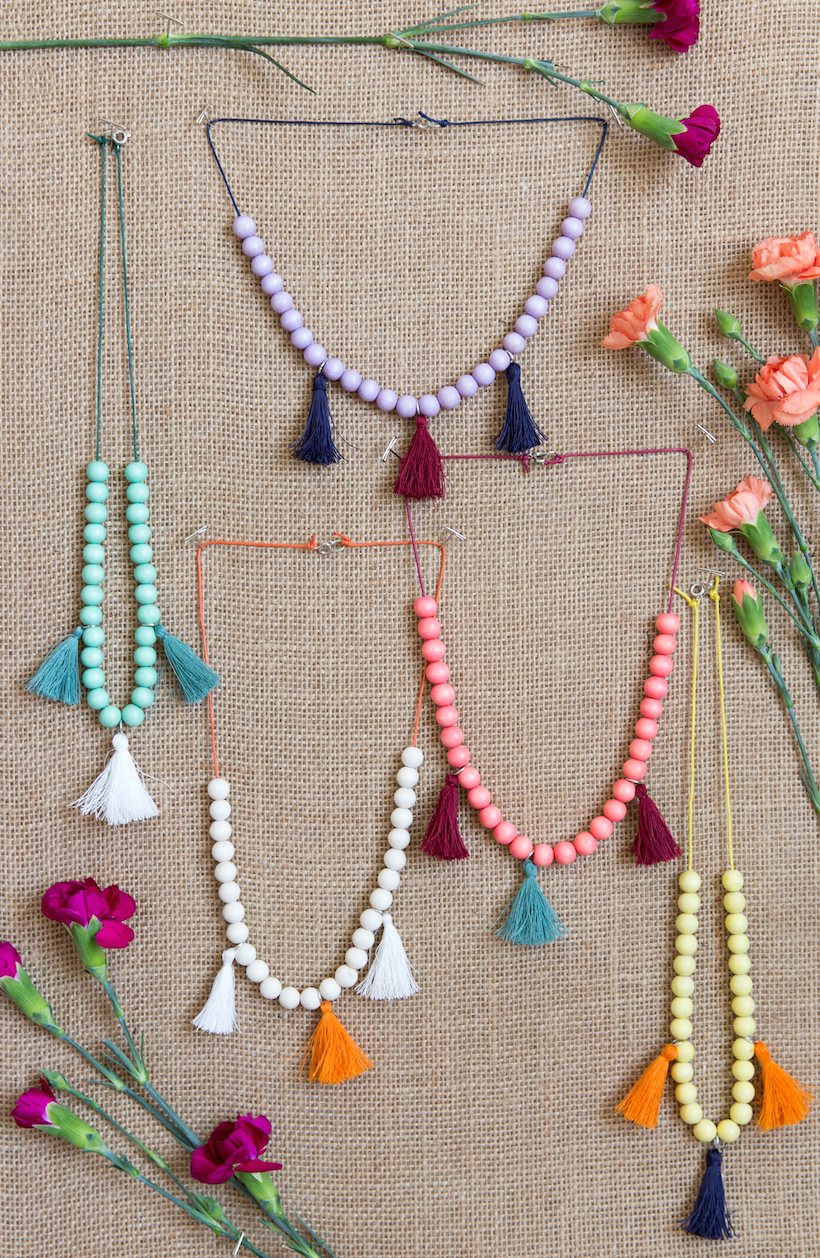
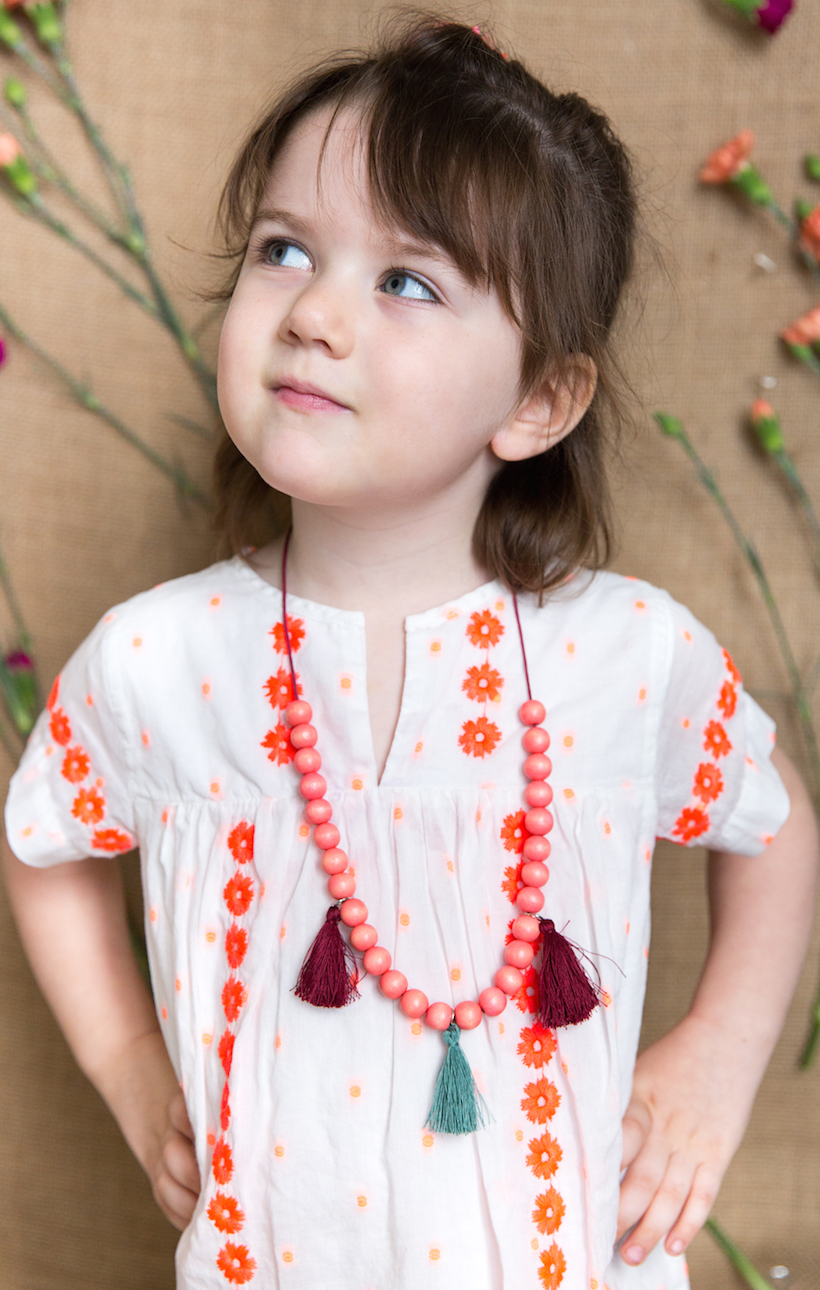
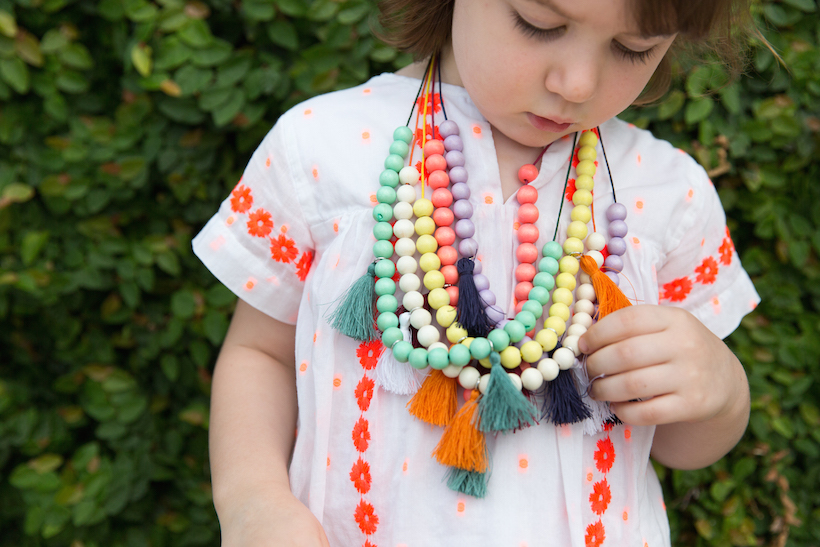
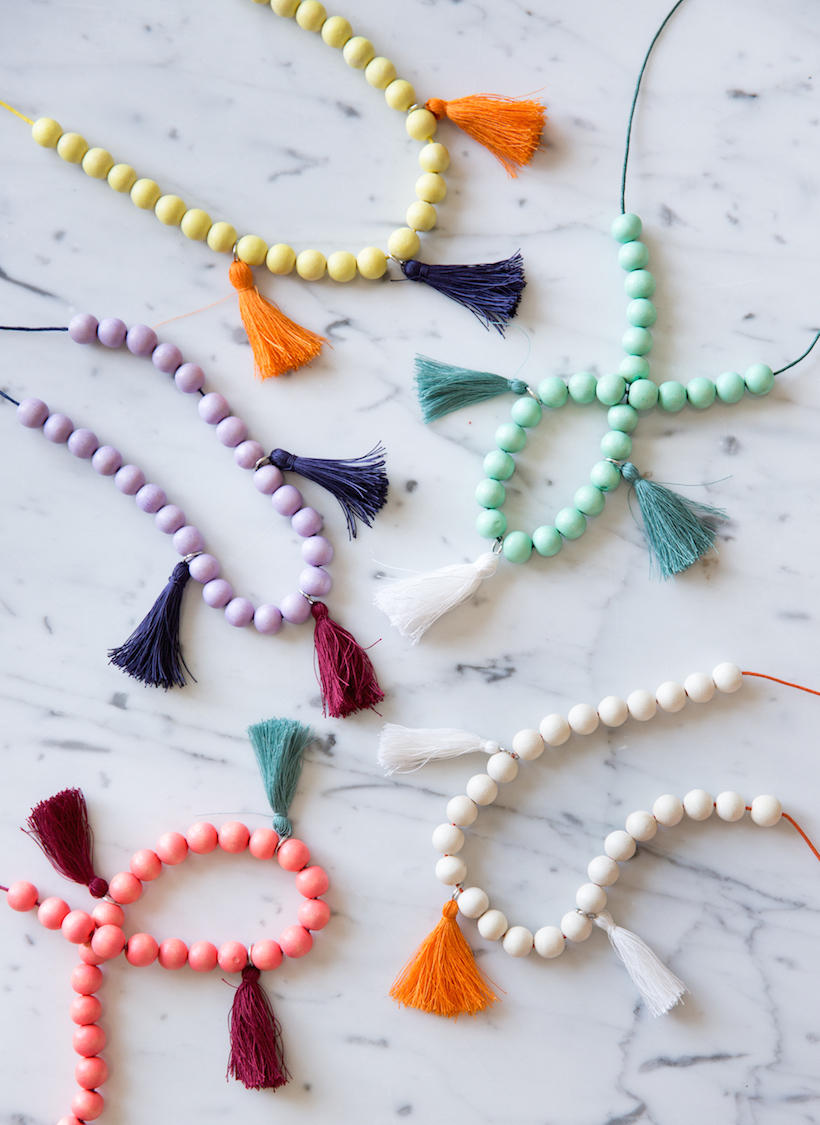
I went into making this DIY fully intent on gifting the necklaces to little Phoebe, but by the time they were finished, she practically had to pry them out of my hands. They just turned out too adorable, and the sweet sorbet colors of those beads make them look borderline delicious… I couldn’t bear the thought of handing them over! So before we go any further, take my advice: if you decide to make one of these necklaces for a child in your life, try not to get too attached.
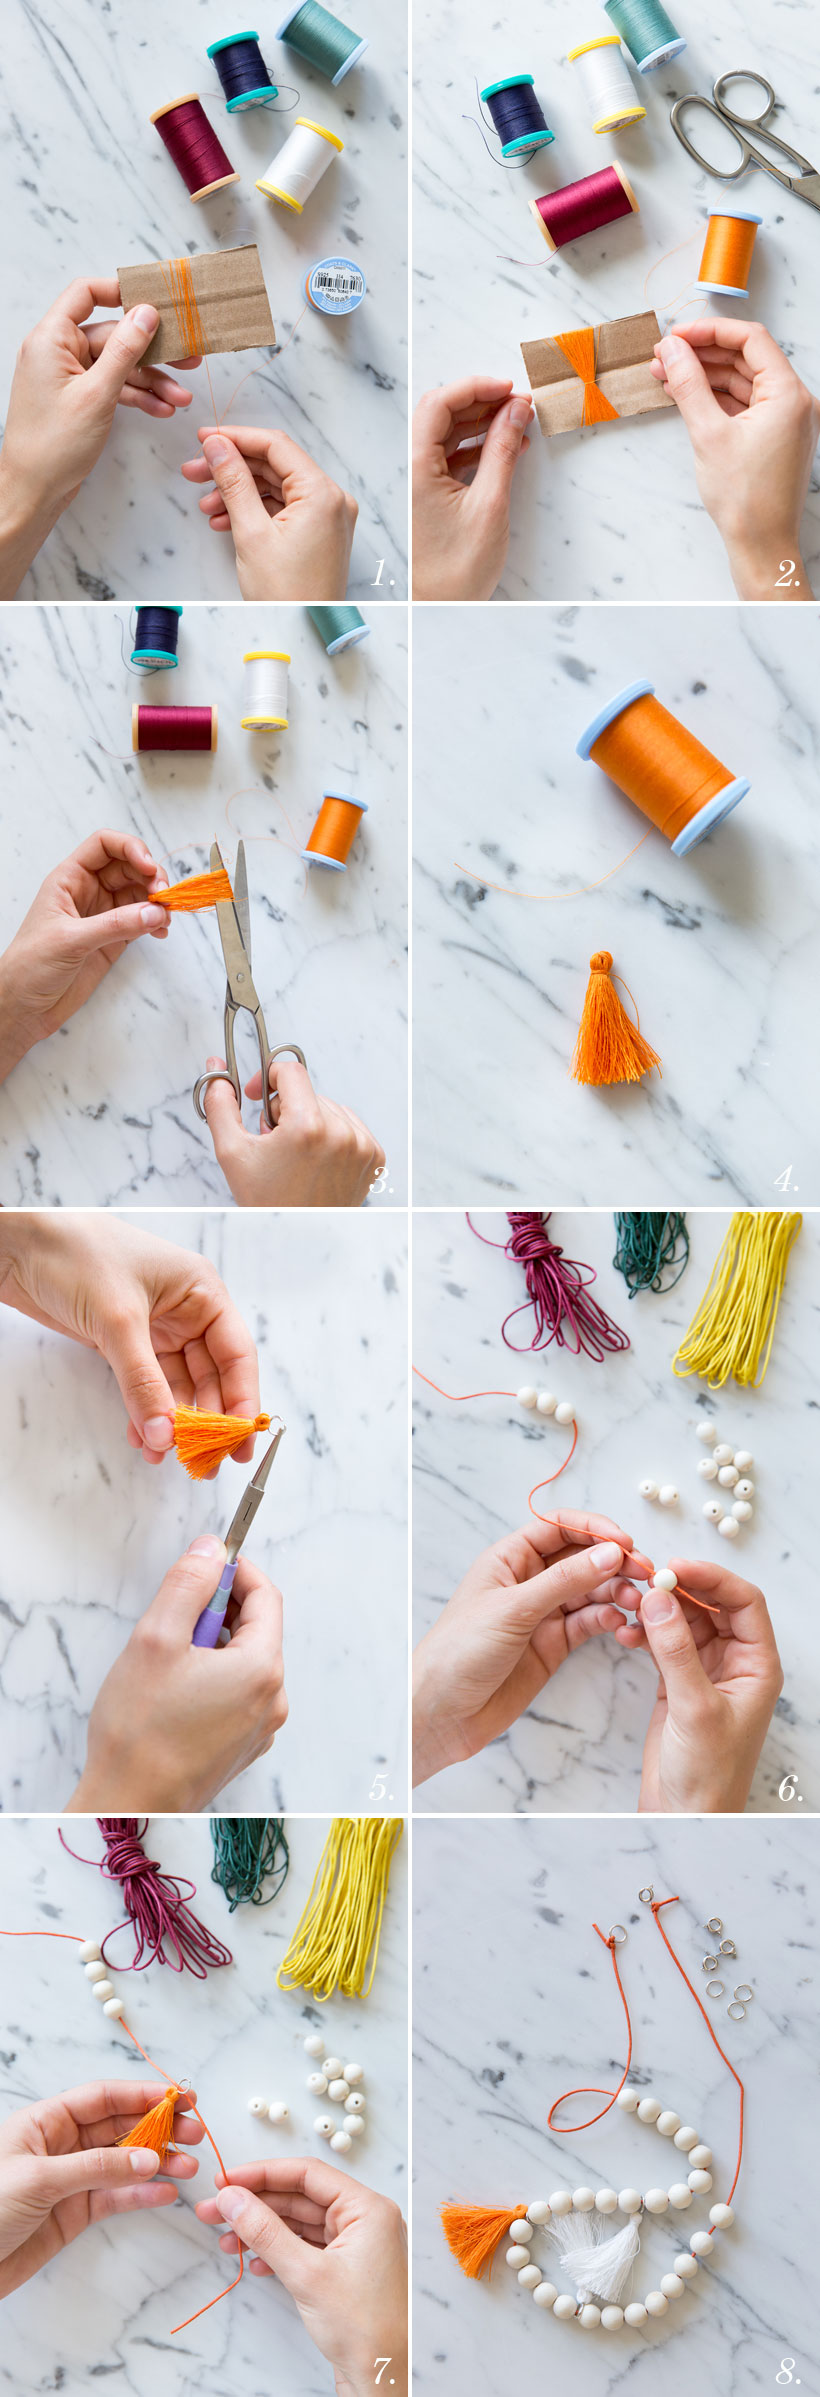
Then again, crafting these would be a perfect indoor activity for the kids to do on their own — you’ll just want to purchase tassels ahead of time since making your own is a bit tricky. Otherwise, the steps couldn’t be easier, and how cute would one of these necklaces look on just about any summertime outfit for an added splash of bohemian flare? Keep reading for the step-by-step instructions…


These are adorable! Would be great for a fun slumber party craft or afternoon kids party.
Love the colors you chose. Can’t wait to make one for a little friend of mine!
This is such a cute idea! The necklaces turned out fabulous and loving all the colors you used.
We love your blog, your products and your love for DIYs and fashion.
We have a give away on our blog right now and we thought that this could be interesting for you.
http://blog.strass.com/2015/07/give-away.html
Your STRASS.com girls
How adorable are these!! So fun!