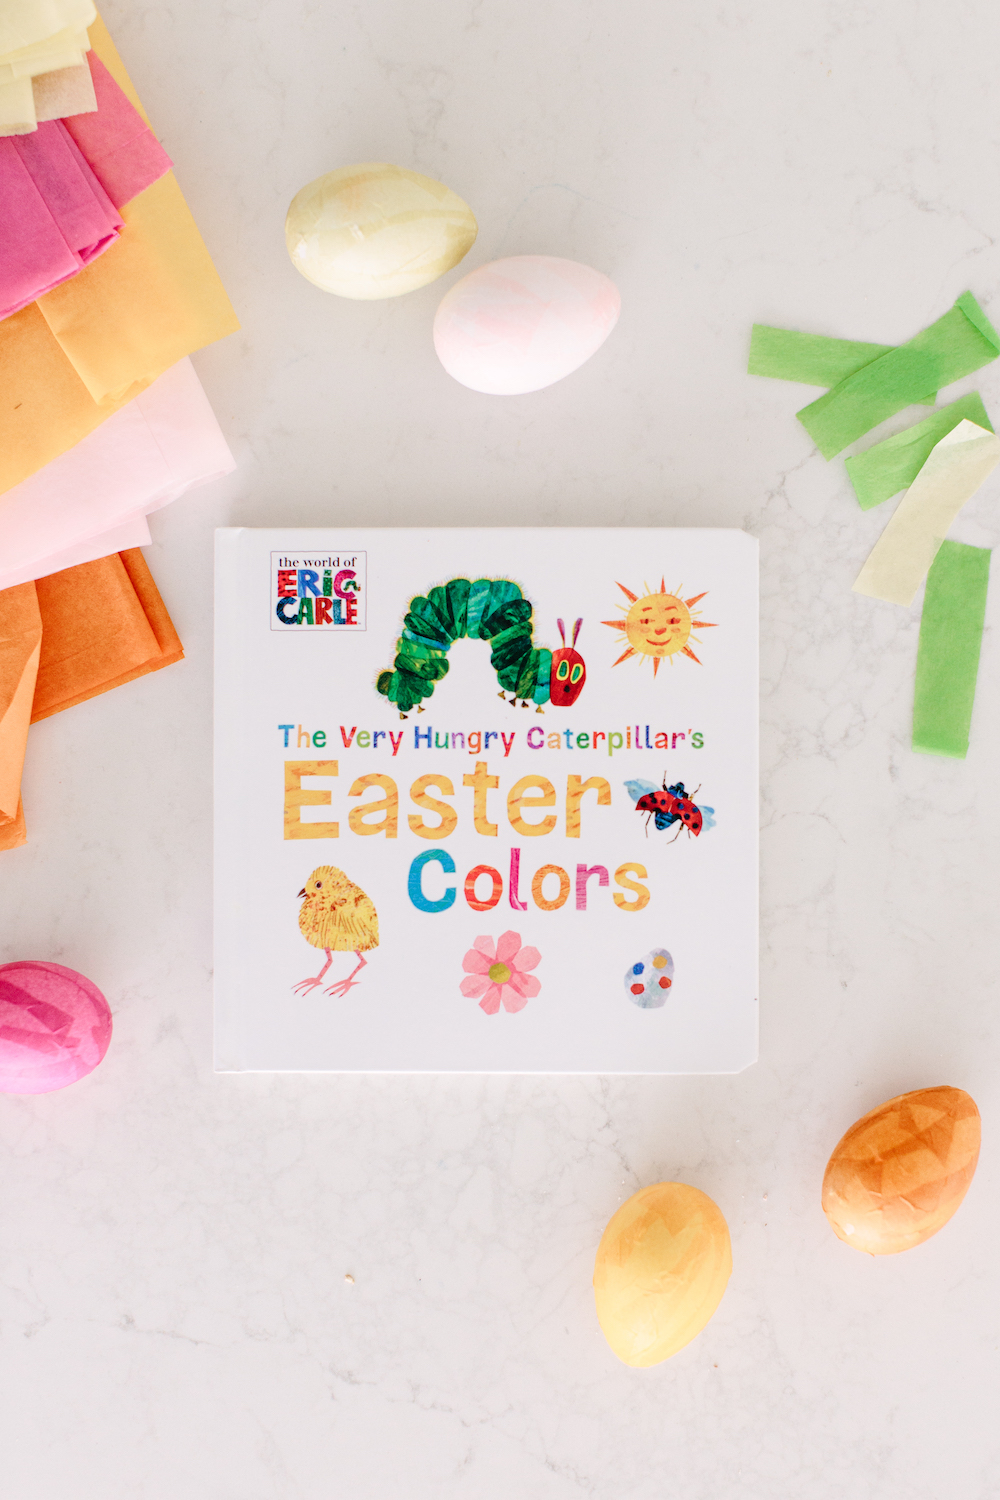
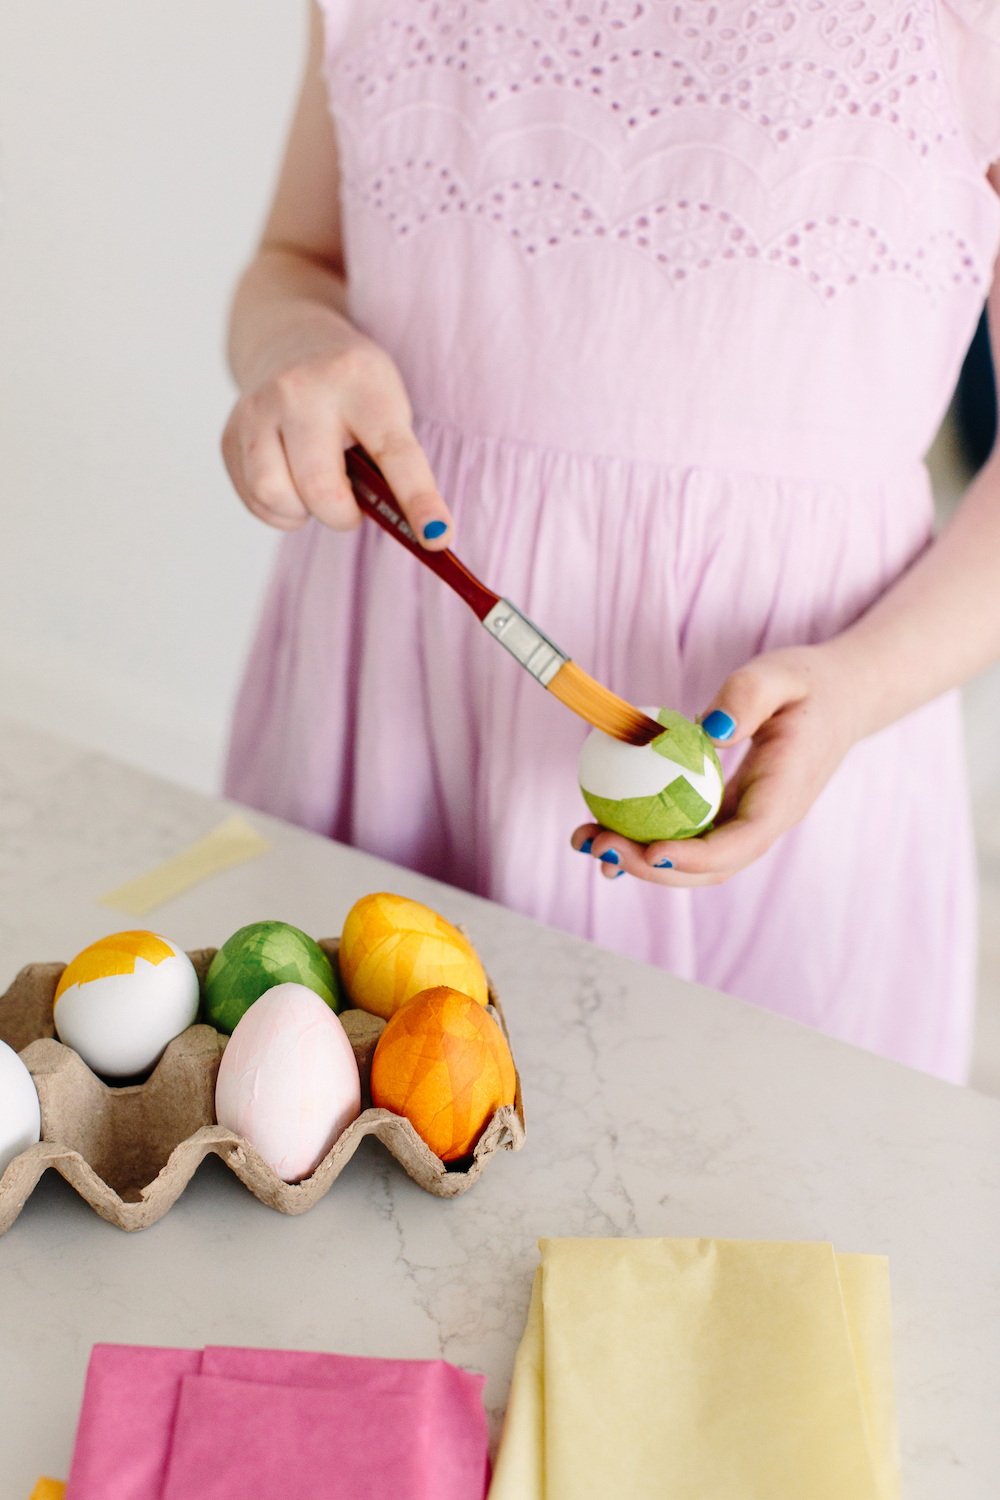
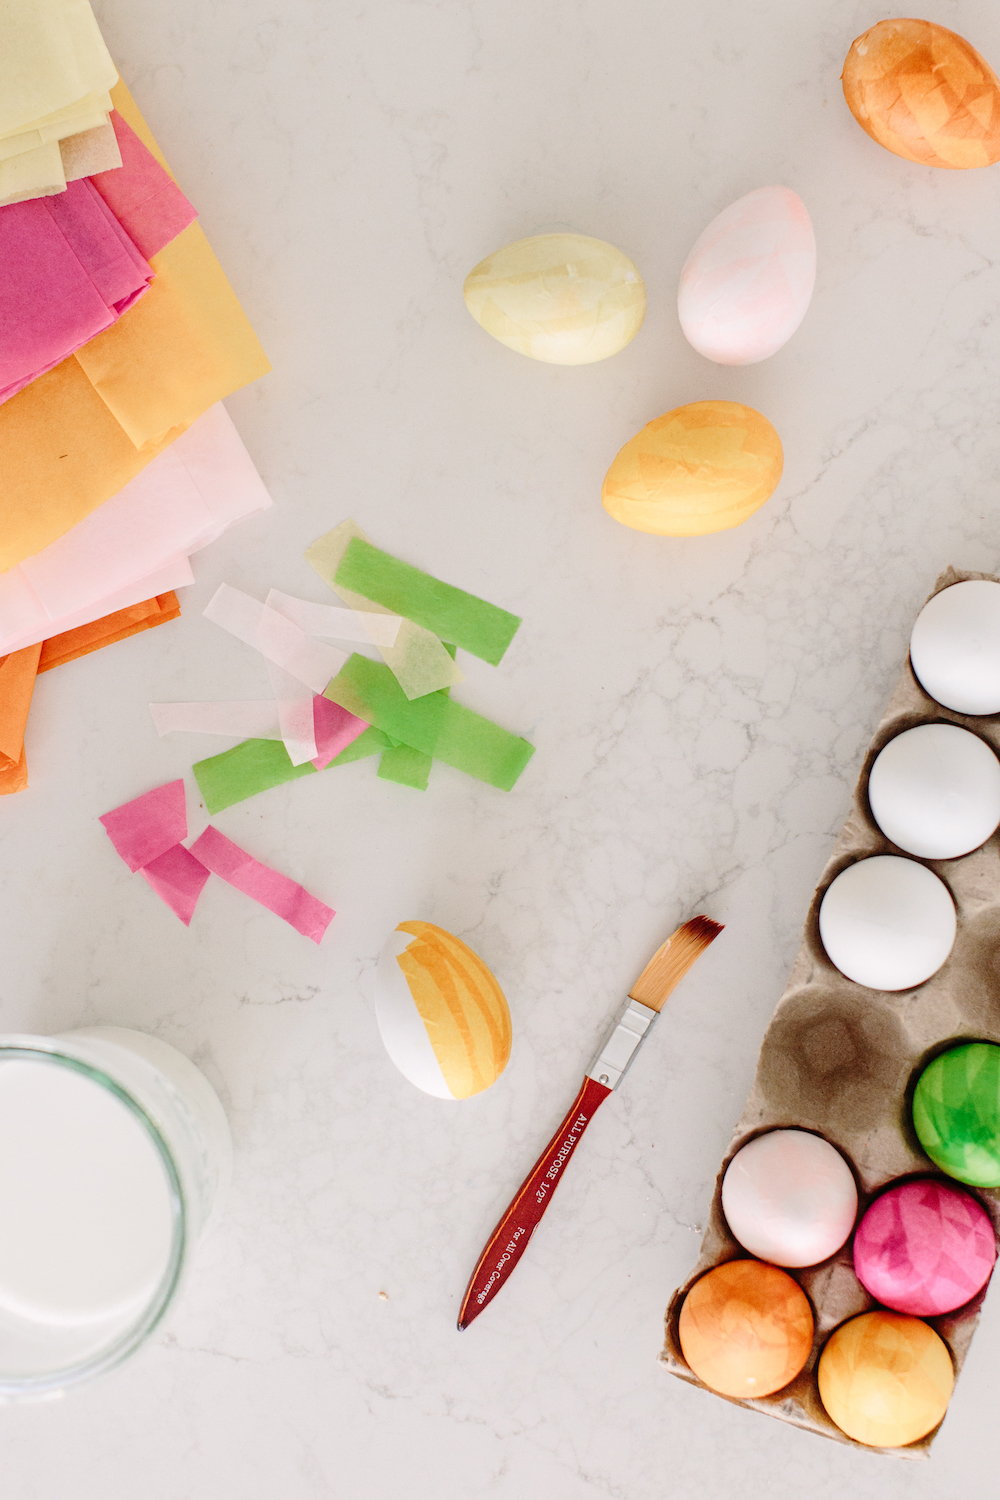
Easter Egg DIY projects tend to be the kind of thing we pin like crazy, but never actually take the time to do. Between draining real eggs of their yolks, and the complicated instructions that — let’s face it — we just don’t have the time for, we end up settling for store bought plastic easter eggs that are anything but charming. When coming up with today’s tutorial, I was inspired by the vibrant, dimensional illustrations of Eric Carl, and knew that recreating the look on Easter eggs would be a great seasonal fit, and best of all, super easy. The list of supplies can be counted on one hand, and the step-by-step instructions are even fewer! Searching for the spring perfect craft that the whole family can partake in this Easter? Look no further than these cute-as-can-be tissue paper eggs.