

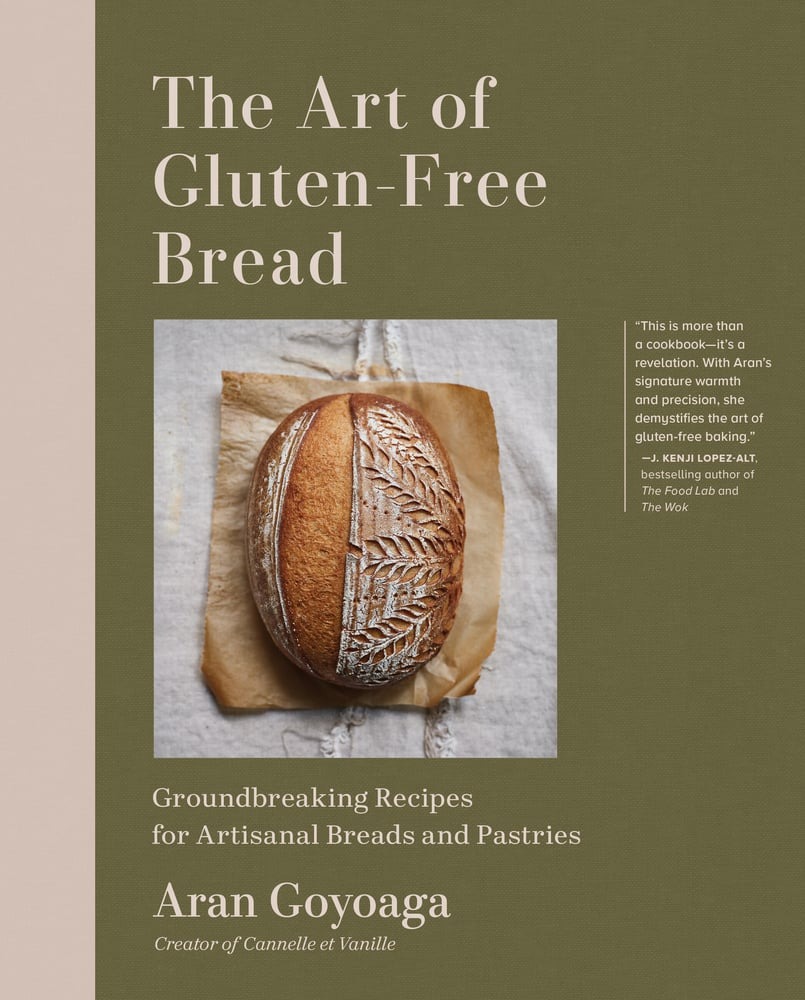
If there’s one cookbook that has changed how I spend time in the kitchen this year, it’s Aran Goyoaga’s The Art of Gluten-Free Bread. Aran’s book is the culmination of years of testing, tasting, and refining—a masterclass in gluten-free baking that proves wholesome ingredients can yield extraordinary pastries, breads, and desserts. This book has become part of my weekend ritual: I make a loaf of sourdough studded with raisins and cinnamon using her method most Sundays.
As we approach the holidays, nothing feels more festive than blocking off an afternoon in the kitchen to dive into a baking project—and Aran’s Buckwheat and Cardamom Buns are the perfect way to delight yourself, and anyone you choose to share them with.
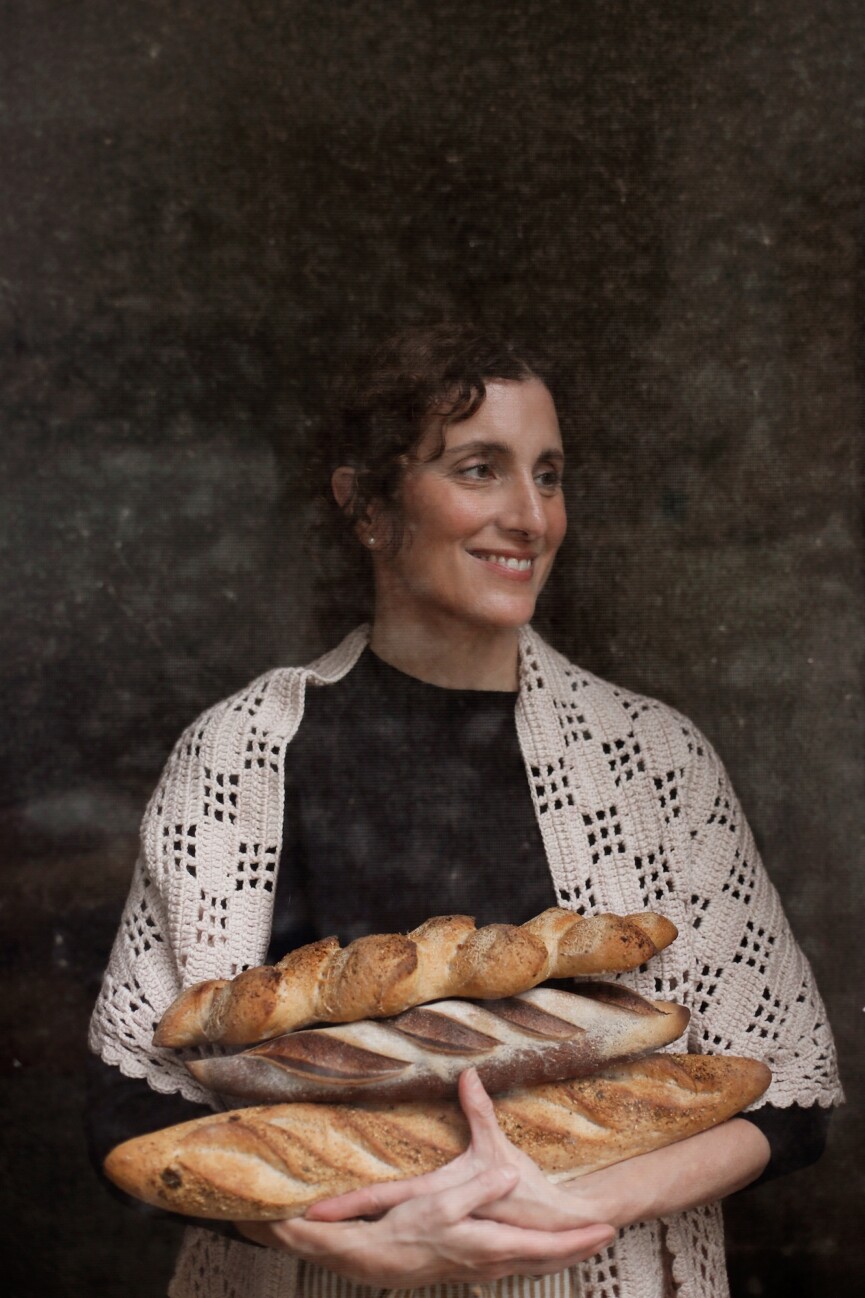
Below, Aran shares the personal story that brought this book to life, “an arduous journey of experimentation in my home kitchen, born from an urgent need to heal, as well as a deep-rooted passion for bread’s craft.” This one isn’t for the times when you’re looking for a time-saving shortcut. As she says, “Making bread is a ritual; a space of meditation and creativity.”


The nostalgic bread memories from my childhood were inextricably linked to my family’s deep roots in the pastry tradition. I grew up immersed in flour, butter, and sugar, as my grandparents, Angel Ayarza and Miren Gaztelu, operated our renowned family pastry shop, Pastelería Ayarza, in the heart of Amorebieta (in Basque Country in Northern Spain) since 1949.
My grandparents lived in the flat right above the shop, which we lovingly called “upstairs,” with the pastelería being “downstairs.” The entire family pitched in—my parents, aunts, uncles, cousins, and I were the built-in cheap labor force, my mother would joke. Weekends meant delivering pastries around town on foot, while after-school hours were spent doing homework amid the aromas of our famous bollos de mantequilla (brioche buns filled with buttercream), tartas de arroz (custard tarts), palmeras (palmiers), and shortbread assortments.
I vividly recall helping my grandmother meticulously chop day-old bollos for Napoleon tarts, spreading jam on shortbread cookies, or peeling the almonds she had just blanched. Despite all this, bread remained distinctly separate from our pastry domain back then. Bakers made bread and pastry chefs made pastry. Those childhood experiences cemented baking’s irreplaceable role in my life from an early age. Little did I know that, decades later, baking would become the catalyst for profound personal transformation.
Bread was an enigma that eluded me for most of my life. While my grandfather occasionally baked for our family, the loaves were unremarkable—bread was something we bought, not made. It wasn’t until culinary school that I finally unraveled the mysteries of bread during an entire quarter dedicated to its craft. Later, as a pastry cook at the Ritz-Carlton Palm Beach, I had the privilege of observing Chef Johann Willar’s bread team at work. Though our shifts barely overlapped, I watched, inquired, and tried to absorb as much as I could, yet never actively made bread there—a regret that lingers to this day.
It was when I left the professional kitchen to raise my children, burned out and directionless, that I faced a pivotal health crisis. “You have genetic gluten and casein intolerance,” the doctor’s words echoed, providing relief in finally identifying one of the root causes of my autoimmune disorders. In an instant, those warm bread memories came to the forefront. How could I re-create the comforting aromas, the chewy interiors, the crackly crusts, without gluten? In hindsight, this moment ignited a new purpose within me—a drive to make an impact by teaching others how to cook and bake without gluten.


What followed was an arduous journey of experimentation in my home kitchen, born from an urgent need to heal, as well as a deep-rooted passion for bread’s craft. Early attempts were disheartening, but I persisted, motivated by romantic recollections of past breads and my unwavering belief that pleasure and nutrition need not be mutually exclusive for those who cannot consume gluten. I tweaked, researched, and innovated gluten-free recipes until, finally, I found my way back to the bread I loved—loaves with the promised “lift,” the faint tang of sourdough cultures, crispy scored tops, flaky croissants, and ineffable comfort in every tender bite. This book is the culmination of that quest. Each recipe is a testament to the transformative power of time, patience, and passion. Making bread is a ritual; a space of meditation and creativity.
Print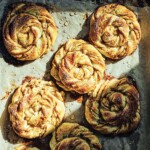
Buckwheat and Cardamom Buns
- Yield: 8 buns 1x
- Diet: Gluten Free
Description
In Scandinavian countries, cardamom buns are an everyday affair and not reserved for holidays, but I make them mostly for special occasions; something about cardamom says holiday to me. For this recipe, I encourage you to buy green cardamom pods and grind the interior black seeds in a spice grinder or mortar and pestle immediately before using. Preground cardamom loses a lot of the strong spicy aroma that the buns need. It is also important that you use light buckwheat flour in this recipe, because very dark buckwheat will be dense and might overpower the cardamom. The dough needs to chill in the refrigerator overnight, so plan on starting the process the night before.
Ingredients
FOR THE DOUGH
2 teaspoons (8 g) active dry yeast
200 grams whole milk or oat milk, heated to 105°F (41°C)
80 grams granulated sugar
20 grams psyllium husk powder
120 grams potato starch
105 grams light buckwheat flour
90 grams tapioca starch, plus more for dusting
2 teaspoons (8 g) kosher salt
11/2 teaspoons (6 g) xanthan gum
1 teaspoon (3 g) freshly ground cardamom
2 large eggs, at room temperature
1 large egg white, at room temperature
55 grams soft (but not melted) unsalted butter or vegan butter
FOR THE FILLING
75 grams light brown sugar
70 grams soft (but not melted) unsalted butter or vegan butter
2 teaspoons (6 g) freshly ground cardamom
2 teaspoons (6 g) ground cinnamon
FOR THE CARDAMOM SUGAR
25 grams granulated sugar
1 teaspoon (3 g) freshly ground cardamom
1 large egg, lightly beaten
FOR THE GLAZE
50 grams granulated sugar
35 grams water
Instructions
Make the yeast-psyllium mixture. Sprinkle the yeast into a medium bowl. Add the milk and 5 grams of the sugar and whisk until dissolved. Let the mixture sit until frothy, about 10 minutes. Whisk in the psyllium vigorously. Let it gel for 5 minutes.
Make the dough. In a stand mixer, stir together the remaining 75 grams sugar, the potato starch, buckwheat flour, tapioca starch, salt, xanthan gum, and cardamom. Add the yeast-psyllium mixture. Snap on the dough hook and begin mixing the dough on medium speed. Add the eggs and egg white and continue mixing for 2 minutes until the dough comes together. Add the softened butter 1 tablespoon at a time and continue mixing for another minute. The dough will be soft, moist, and sticky, but should hold together.
Chill the dough. Lay a large sheet of plastic wrap on a work surface and scrape the dough onto it. Lightly dust the work surface with tapioca starch. Shape the dough into a rectangle that is roughly 6 by 7 inches (15 by 18 cm). The exact size of the rectangle is not important at this stage. Place the dough in the refrigerator and chill overnight.
Make the filling. In a medium bowl, stir together the brown sugar, soft butter, cardamom, and cinnamon until it is easy to spread and very creamy. You can also do this in a stand mixer with the paddle, but it should work well with a wooden spoon if your butter is soft. It is important that the butter be soft so it is easy to spread and doesn’t tear the dough. If your room is cold, microwave the butter for 5 seconds to warm it up. Set aside.
Roll the dough. Lightly dust a work surface and a rolling pin with tapioca starch. Remove your dough from the refrigerator, unwrap, and place it on the work surface. Knead the dough a few times to bring back some elasticity and then let it sit for 10 minutes to take the chill off. If the dough is too cold, it will crack while rolling. Gently roll the dough to a rectangle that is roughly 16 by 11 inches (41 cm by 28 cm). Move the dough around and dust with tapioca starch as needed so it doesn’t stick to your surface. It’s okay if the edges crack a little. Gently pull the corners out to create more of a rectangle than an oval, but don’t pull too hard or the dough may crack. There is little elasticity, so you must work gingerly.
Add the filling and roll. Line a sheet pan with parchment paper. Spread the filling all over the surface of the dough, trying not to tear it. With a short side facing you, fold the top third onto the middle and the lower third up over it, creating a letter fold. Rotate the dough 90 degrees. Dust the dough and rolling pin with tapioca starch, if needed, and roll the dough to a rectangle that is roughly 81/2 by 15 inches (22 by 38 cm). Transfer the dough to the lined sheet pan and refrigerate for 20 to 30 minutes.
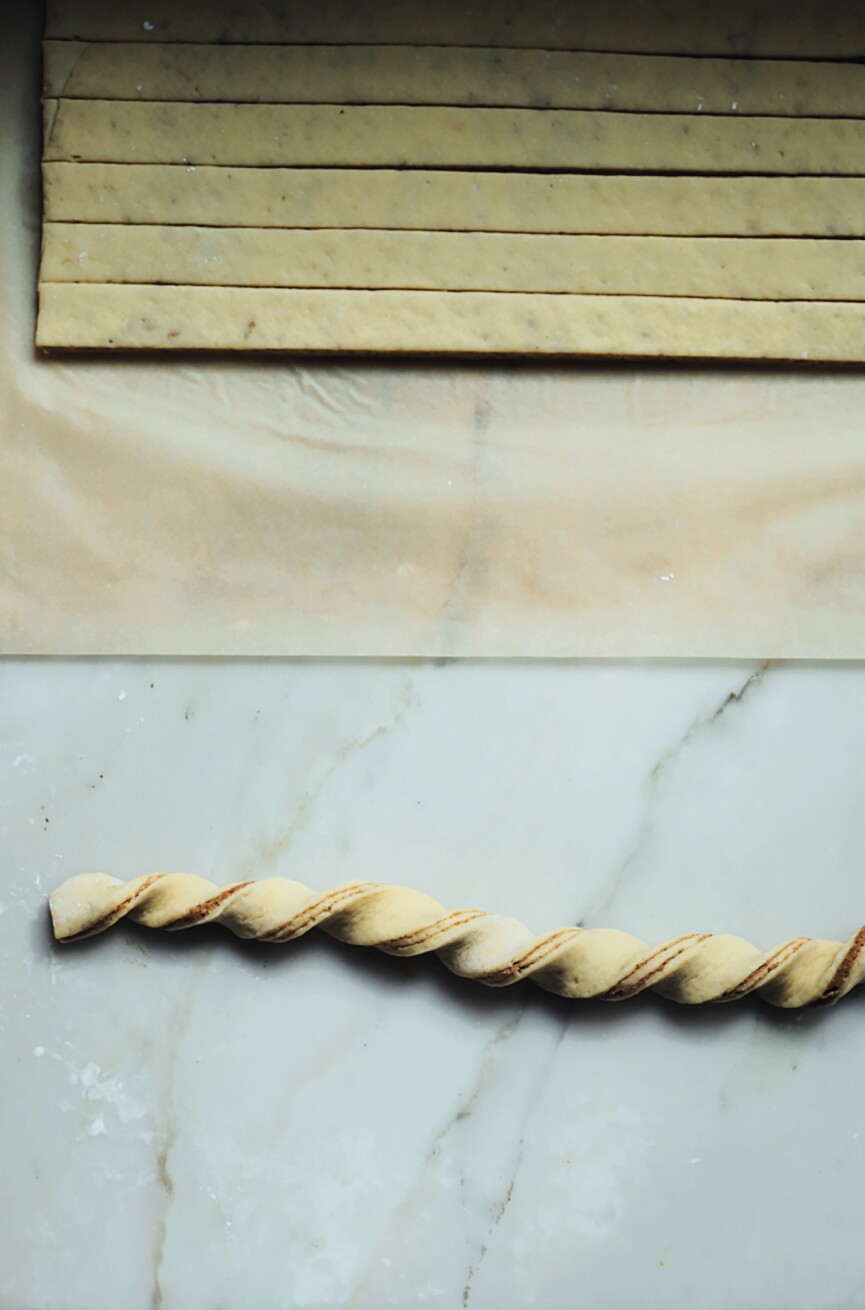
Cut the dough. Remove the dough from the refrigerator and place it on your work surface with a short side facing you. Trim the edges to create sharp corners. Make 8 small marks 1 inch (2.5 cm) apart, at both ends. Use a long ruler to help you line up the top and bottom marks and cut the dough vertically into 8 strips that are roughly 1 inch (2.5 cm) wide and 15 inches (38 cm) long.
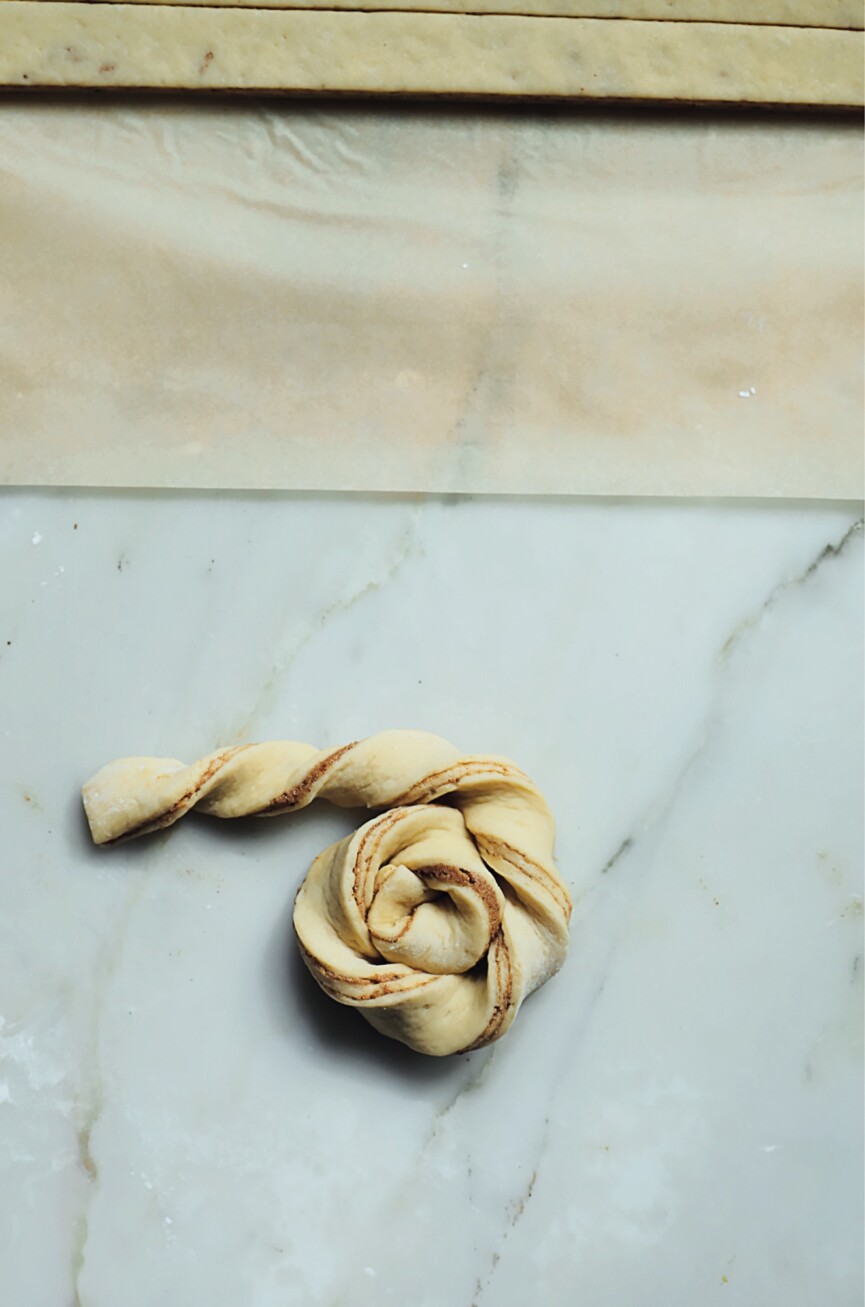
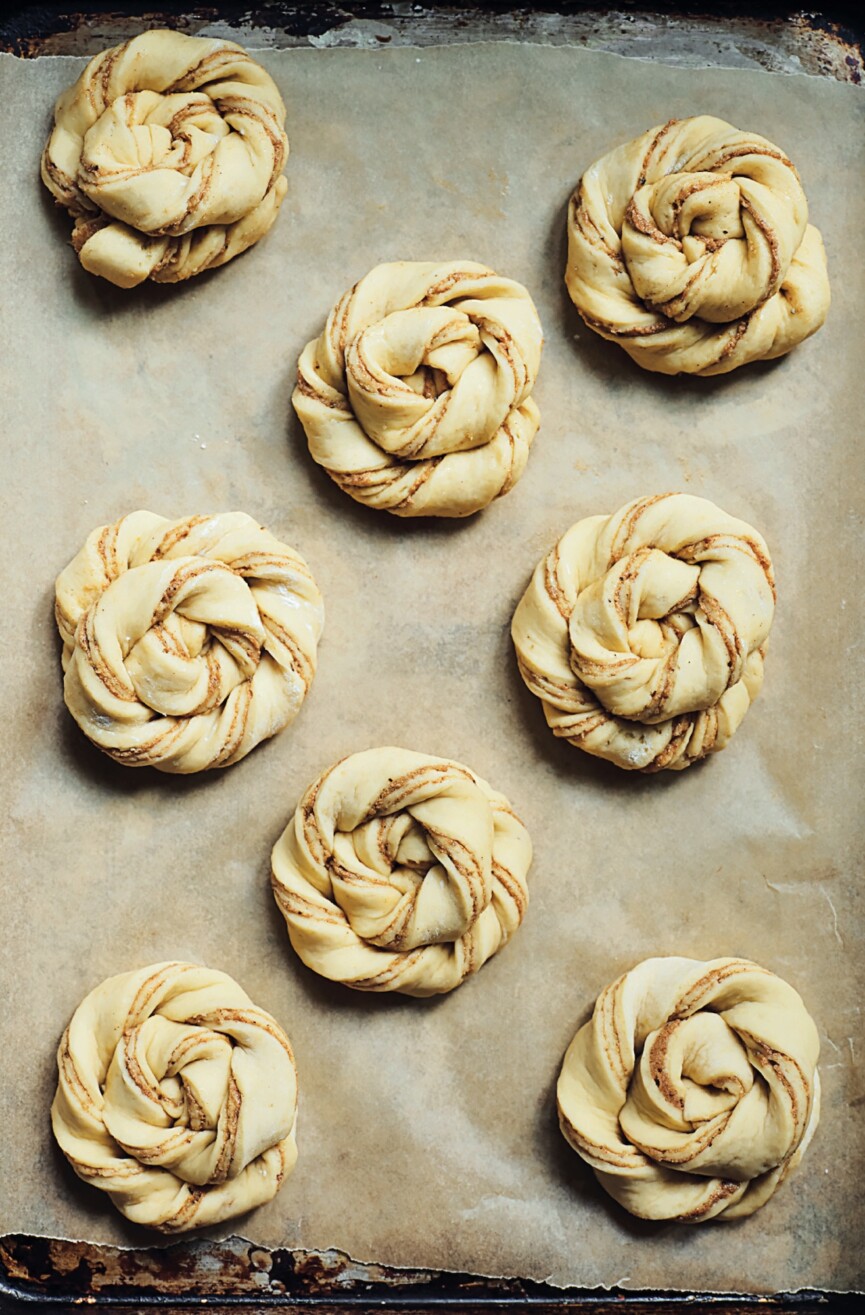
Shape the cardamom buns. Take one strip of dough and place it in front of you. Start twisting the dough in the middle toward one end and then twist toward the other end. Loosely coil the twisted dough into a spiral or a snail, tucking only the tip underneath at the end. Using both hands or a spatula, carefully transfer each spiral onto the lined sheet pan. Repeat with the remaining strips of dough until all the buns are shaped.
Proof the cardamom buns. Cover the pan with a linen towel or wrap it in a large plastic bag. Proof at room temperature until the buns feel lighter to the touch, about 40 to 45 minutes.
Preheat the oven and make the cardamom sugar. While the buns are proofing, position a rack in the bottom third of the oven and preheat the oven to 450°F (230°C). In a small bowl, stir together the sugar and cardamom. Set aside along with the lightly beaten egg, which will be used to brush the tops.
Make the glaze. In a small saucepan, cook the sugar and water together over medium heat until the sugar is completely dissolved. Set aside.
Bake the cardamom buns. When the buns are proofed, lightly brush the tops with the beaten egg and sprinkle some cardamom sugar on top. Transfer the pan to the oven and reduce the oven temperature to 425°F (220°C). Bake for 15 minutes, or until the buns are a deep golden brown. Don’t worry if your buns crack in spots. There is not a lot of elasticity in the dough, so this can happen if you twist the buns too tightly.
Glaze the buns. When the buns come out of the oven, brush them with the sugar syrup. Serve the buns while they are still warm. They can be reheated in the microwave for 20 seconds.
Notes
If you have English muffin rings, you can place them around the shaped buns and let them proof in them. This gives a nice round shape to the buns and helps them rise up rather than sideways in the oven, but freeform buns will also work very well.
- Category: Bread
Excerpted from The Art of Gluten-Free Bread by Aran Goyoaga (Artisan Books). Copyright © 2025. Photographs by Aran Goyoaga.
More from this issue
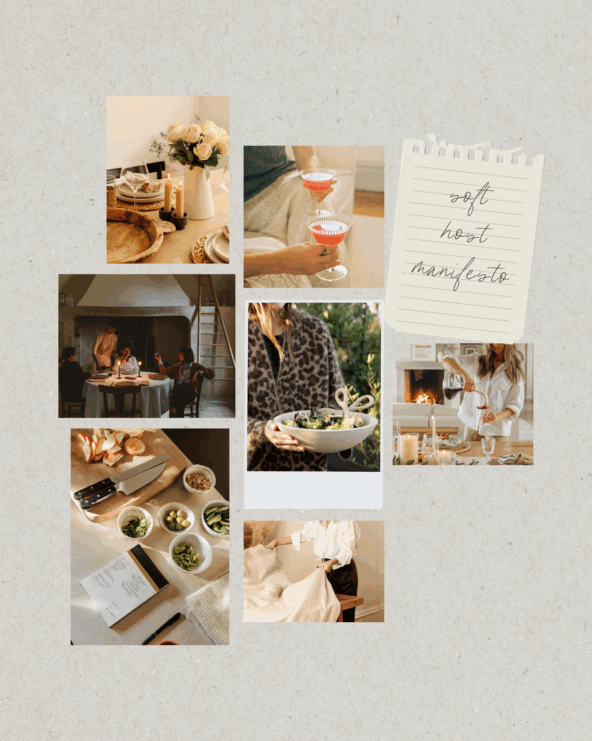
The New Rules of Hosting (Hint: They Start Before the Table’s Set)
A gentler way to gather.

Quiz: What’s Your Holiday Movie Heroine Style?
Main character (outfit) energy.

Mimi Thorisson’s Most Delicious Reinvention Yet
From Italian markets to her holiday table, a life lived in abundance.
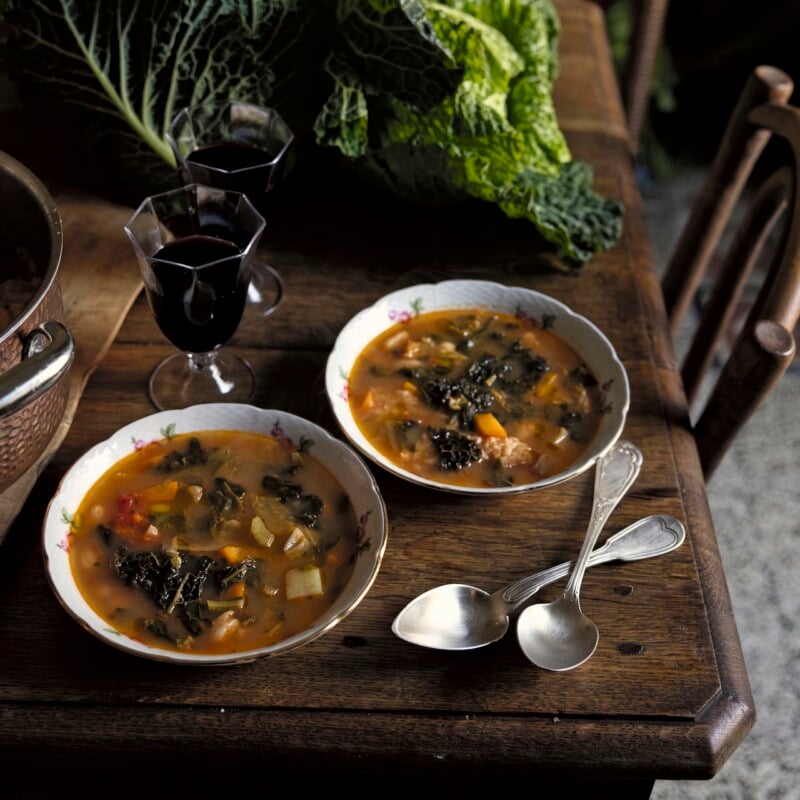
A Cozy Tuscan Soup for Effortless Winter Hosting
Mimi Thorisson’s Ribollita Is the One Pot You’ll Want Simmering All Season