We may receive a portion of sales if you purchase a product through a link in this article.
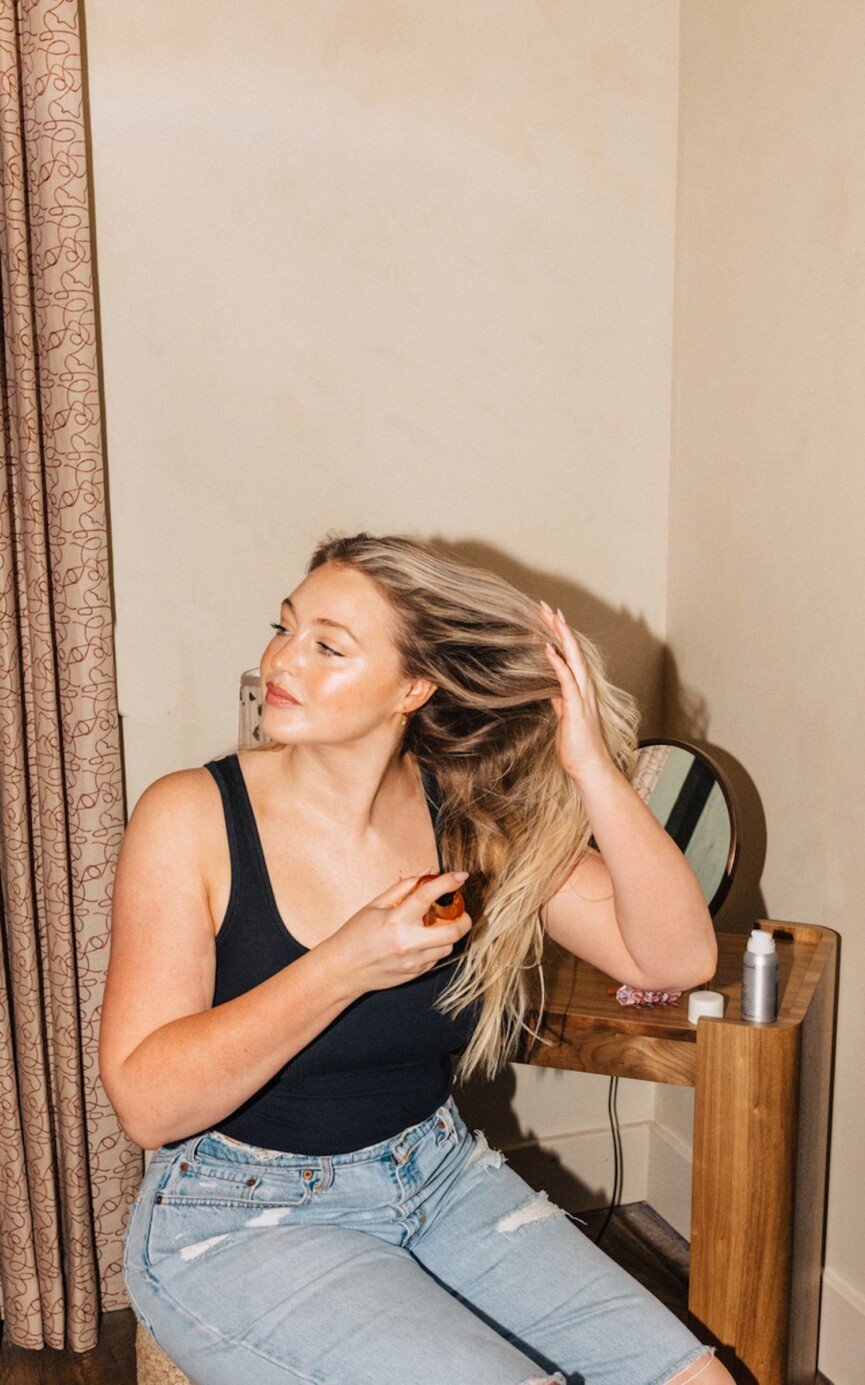
If you’ve ever wondered how to get beachy waves that look effortless, natural, and just the right amount of undone—you’re in the right place. While I do occasionally get the itch to switch up my hair, I’ve realized that nothing flatters my fine strands quite like soft, natural beach waves. It’s the look that makes me feel most like me, and over the years, I’ve tested almost every method and tool you can imagine to perfect it.
The good news? I’ve nailed down a simple routine that takes exactly seven minutes from start to finish. So whether you’re rushing out the door or getting ready for a casual brunch, you can master beachy waves at home, no salon appointment needed. Here’s exactly how to get beachy waves on even the most stubborn, fine hair—plus the tools and tricks I swear by to make them last.

The Tools You’ll Need for Perfect Beach Waves
Before we jump into how to get beachy waves, let’s talk tools. You don’t need anything fancy, just a few essentials:
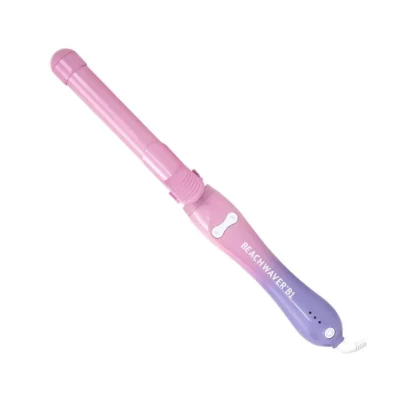
- A good curling iron: I prefer a 1-inch barrel for those natural-looking bends that define great beach waves.
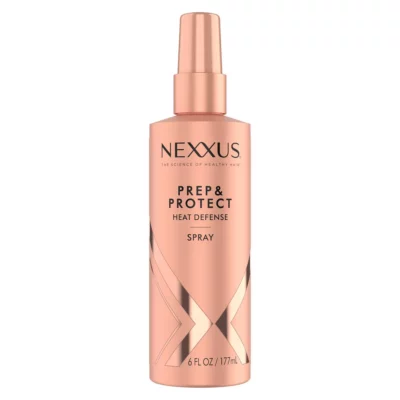
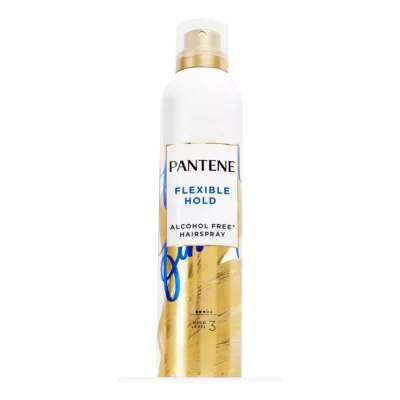
- A heat protectant spray: This keeps your hair shiny and safe from heat damage without weighing it down—key for adding volume.
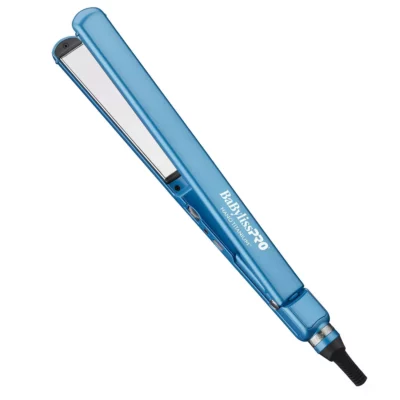
- A flat iron: Yep, you’ll actually use this to straighten just the ends for that relaxed, beachy vibe.
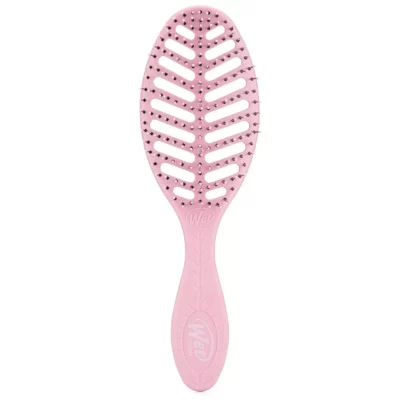
- A wet-dry brush: No need to splurge; a simple drugstore brush works perfectly for smoothing and detangling.
Step 1: Protect and Prep Your Hair
The secret to soft, healthy-looking beach waves starts before you even pick up a hot tool. I usually let my hair air dry almost completely (sometimes overnight) to reduce blow-drying time. Before styling, always mist on a heat protectant. This step is non-negotiable—it shields your strands from heat while adding a light, natural shine that enhances your beachy waves.
Step 2: Blow-Dry for Volume
If your goal is volume-packed beach waves, start by flipping your head over and blow-drying your hair from the roots down. I brush through my strands as I go, moving my hair in different directions to build body and fight any stubborn cowlicks. Dry your roots at the crown, then flip your hair back and finish around the face.
Step 3: Flat Iron the Ends
This is the step that transforms regular curls into real beach waves. Run a flat iron over just the bottom two inches of your hair to straighten the ends. This keeps your beachy waves from looking too polished or overly curled—it’s the effortless detail that makes all the difference. I also quickly press down my roots around the face to flatten out cowlicks, holding the flat iron for a second or less.
Step 4: Create Your Beach Waves with a Curling Iron
Now for the fun part: adding those signature bends and waves. Here’s how to get beachy waves with a curling iron:
- Section off a 2-inch piece of hair.
- Clamp your curling iron in the middle of the strand and twist away from your face, winding up toward the scalp.
- Hold for about five seconds.
- Loosen your grip slightly, wind in a few more inches, leaving the ends out.
- Hold a few more seconds, then release and gently unwind.
- Repeat this process all around your head.
- Pick up a few small (1-inch) pieces from the top layer of your hair and add extra waves to boost texture and volume.
Step 5: Lock in the Look
Once you’ve curled your entire head, lightly mist with hairspray to hold the style. Wait a few minutes for your curls to cool—this helps them set and last all day.
Step 6: Brush It Out for Effortless Beachy Waves
The final and most important step? Brush through your hair. I know it feels counterintuitive to brush out freshly curled strands but trust me—beach waves are meant to be imperfect, tousled, and a little messy. Brushing blends the curls together into soft, natural waves that look effortless and lived-in. For extra volume, flip your head over and give your roots one last spritz of hairspray.
Pro Tip: Start with Clean, Nourished Hair
Want your beachy waves to look even better? Start with a healthy foundation. Use lightweight, sulfate-free shampoos and conditioners that add moisture without weighing down your hair. Clean, balanced strands hold texture better and give your waves that naturally soft, voluminous finish.
Final Thoughts on How to Get Beachy Waves
And that’s it—my easy, 7-minute routine for how to get beachy waves at home. With the right tools, a little prep, and a few simple styling tricks, you can create soft, natural-looking beach waves that feel like summer year-round. The best part? This look only gets better as the day goes on.
This post was last updated on April 23, 2025 to include new insights.