
We’re fine with forgoing many of the Valentine’s clichés, but the one tradition that never goes out of style is indulging in a chocolate-covered strawberry (or 5) every season. There’s just something about the sweet and decadent combination of fresh strawberries and rich chocolate that sparks a little romance, plus, fruit is healthy, right? Since many store-bought chocolate-dipped strawberries leave much to be desired, we turned to Austin’s own chocolate expert, Tessa Halstead of Chocolaterie Tessa, for her tips on making this Valentine’s Day favorite.
From Tessa: Making chocolate covered strawberries is actually quite simple, but there are several steps along the way where things can go wrong. Chocolate is temperature sensitive and strawberries lose their freshness quickly, so stick to these tried and true methods and you’ll be rewarded with decadent, fresh flavors and a lot of fun along the way.
photography and styling by chelsea laine francis

Step #1: Prep Your Berries.
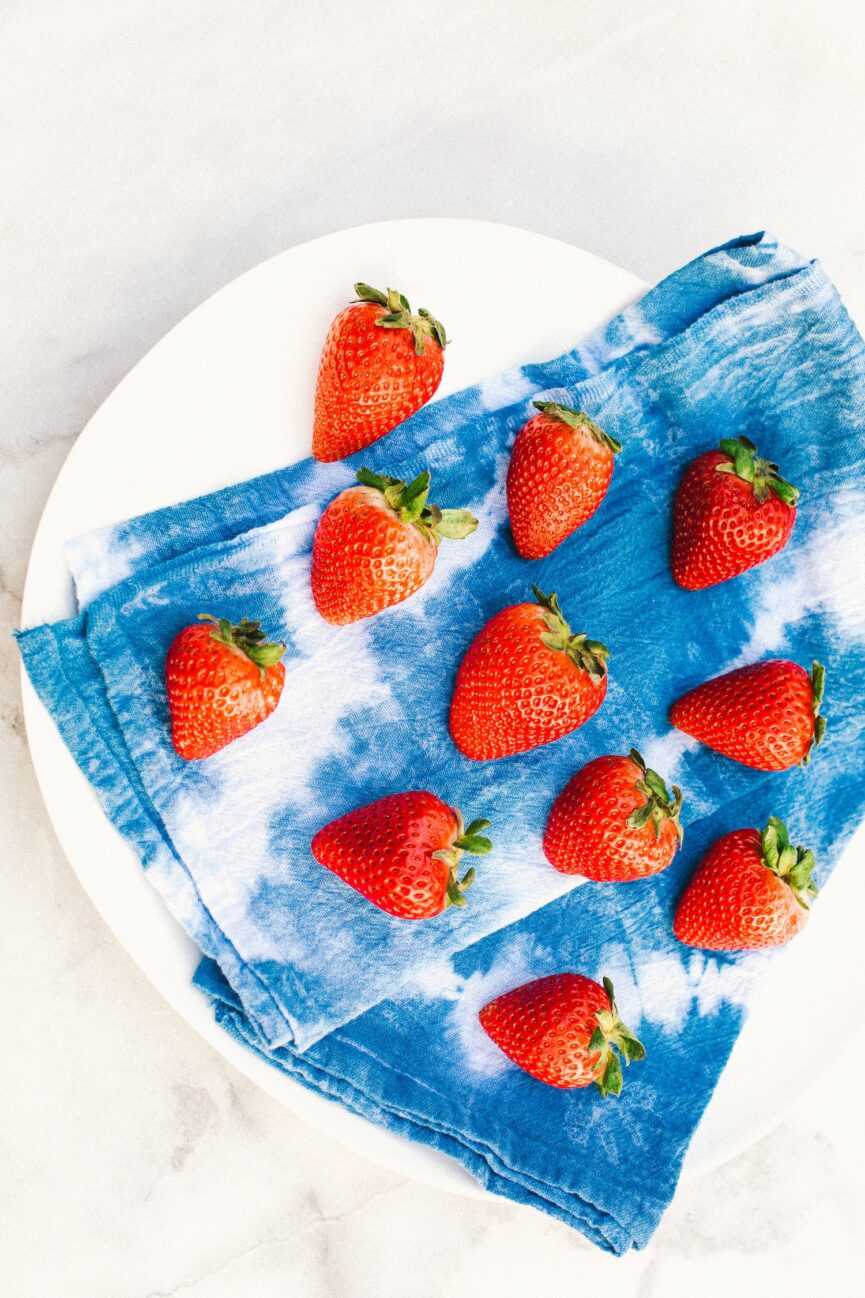
Give your strawberries a good wash in room temperature water and set them on a towel to dry. I recommend purchasing your strawberries no more than two days ahead of when you want to eat them. It’s extremely important that your berries are completely dry and at room temperature before you start to dip. I like to rinse my strawberries in the morning, leave them to dry on the counter during the day, and then come back to dried strawberries after work.
Step #2: Melt Your Chocolate.
If you have a double boiler or a bain marie, heat up an inch of water on low heat over the stovetop. Pour about a pound of chocolate chips into the top pan and allow the chips to start melting while stirring occasionally.
You can also melt your chips in the microwave. Heat in 30 second increments, stir, and melt again until the chocolate looks about half way melted. Then switch to heating in 10 second increments, stirring in between each round until the chips are completely melted.
If you want perfectly tempered chocolate, which allows you to make your strawberries several hours or even a day ahead of when you’ll eat them, follow these steps. Otherwise, skip to Step #3.

Temper the chocolate.


Once your chocolate chips are melted, take the chocolate off the heat and cool to about 100F. Use a candy or infrared thermometer for this. At this point, add about a third of the chocolate weight you started with in chocolate chips to the pan. Stir, stir, stir until melted at least most of the way and return to the heated water. It’s important that your chocolate stays around 85-90F to stay in temper, so you’ll want to periodically check your temperature while dipping. These instructions will work for most dark, milk, or white chocolates.
Step #3: Dip Your Berries.
Take your dry, room temperature strawberries one by one and dip them in a vertical up and down motion directly into your melted chocolate. Allow your excess chocolate to drip off or give them a little shake. Too much chocolate on the strawberries leads to too many toppings and a big mess, so try to get a good coat without overwhelming the berry.
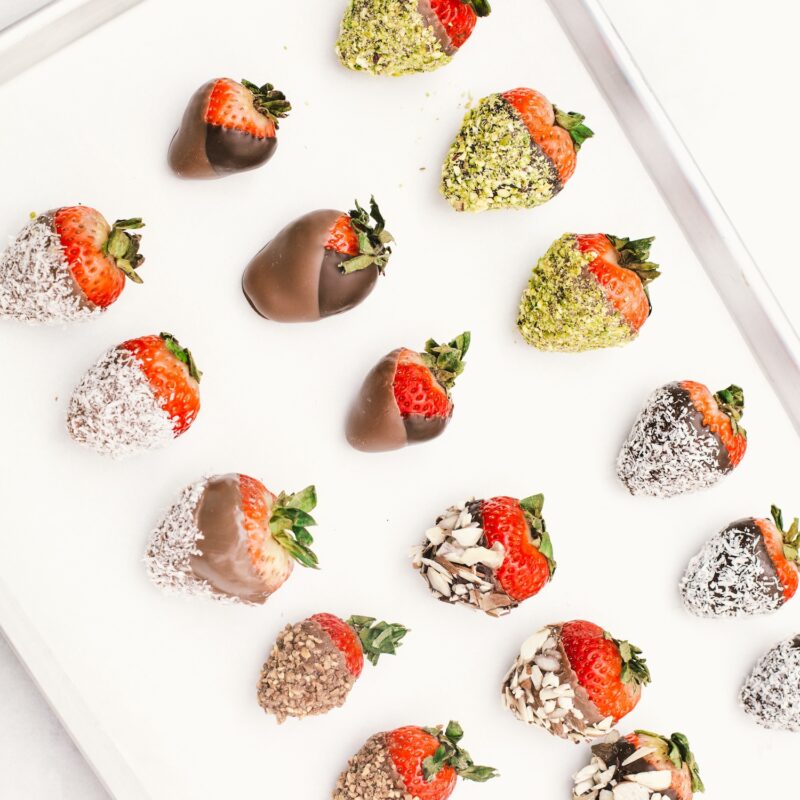
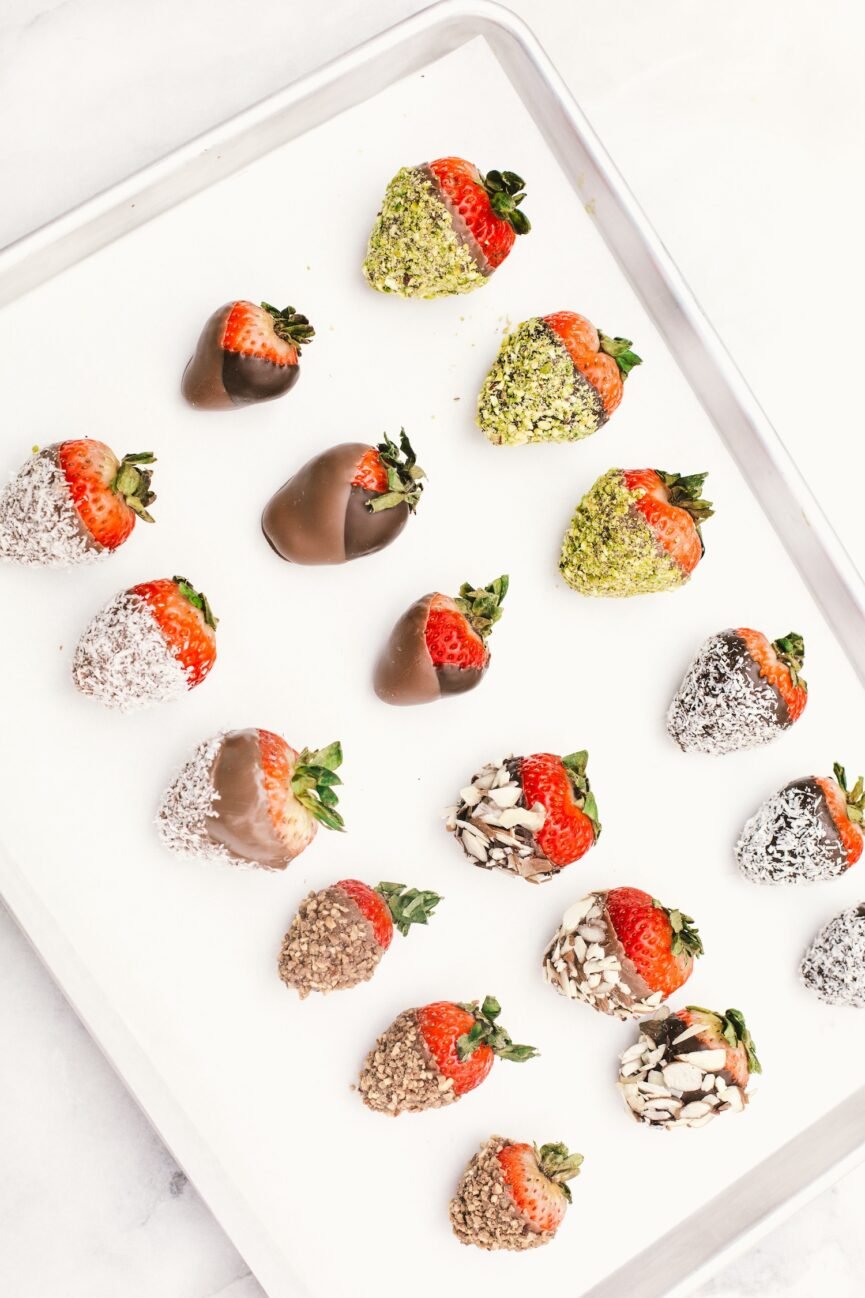
Hold the strawberry for a few seconds until the chocolate starts to look tacky, then dip into the topping of your choice. I chose chopped pistachios, sliced almonds, coconut flakes, and hazelnuts for my toppings. Lay the strawberries on their sides and roll in the toppings for a nice and even coat.


Step #4: Place On A Baking Sheet.
Place your dipped and coated strawberry onto a baking sheet lined with parchment or wax paper. Allow to cool for several minutes before handling.
Step #5: Add More Toppings.
Dip, dip, and dip some more! Have fun perfecting your technique, playing with the amount of chocolate you dip onto each strawberry and the time you take between dipping and rolling in your toppings. With a few tries, you’ll start to notice what technique works best for you and yields the results you most enjoy.
Step #6: Let Your Berries Cool.
Once you’ve finished dipping your last berry, wait at least 10 minutes before you plate. In most circumstances, this will allow even untempered chocolate time to set and grab a hold of those toppings. If you find that your chocolate is not setting as desired, chill the whole baking sheet in the fridge for about 20 minutes.
Step #7: Serve Up!
Plate and enjoy! Best served with your sweetie, a glass of sparkling, or your favorite rom-com.


Not sure I’d be able to share any of these! They look amazing.
Blush & Pearls by Angela
These look amazing! Thank you for such a detailed post. Anytime I’ve tried to make chocolate covered strawberries, it’s been a complete fail, but I might give them a try again.
These look AMAZING. And you’re so right – sometimes, cliche is best. Can’t beat a chocolate covered strawberry. 😉
http://www.wonderlandsam.com
I love chocolate strawberries, actually I just love strawberries in general! But the added chocolate and toppings fills me with joy and the need to get to the shops so I can get cooking!
Thanks for sharing.
http://collectivelyme.net
Oh my goodness, these look amazing! Thank you so much for the detailed post. Knowing me, I probably would have made a runny chocolate mess without this guide lol
They look amazing. I should really try it. 🙂
http://misspippisstyle.blogspot.hu/