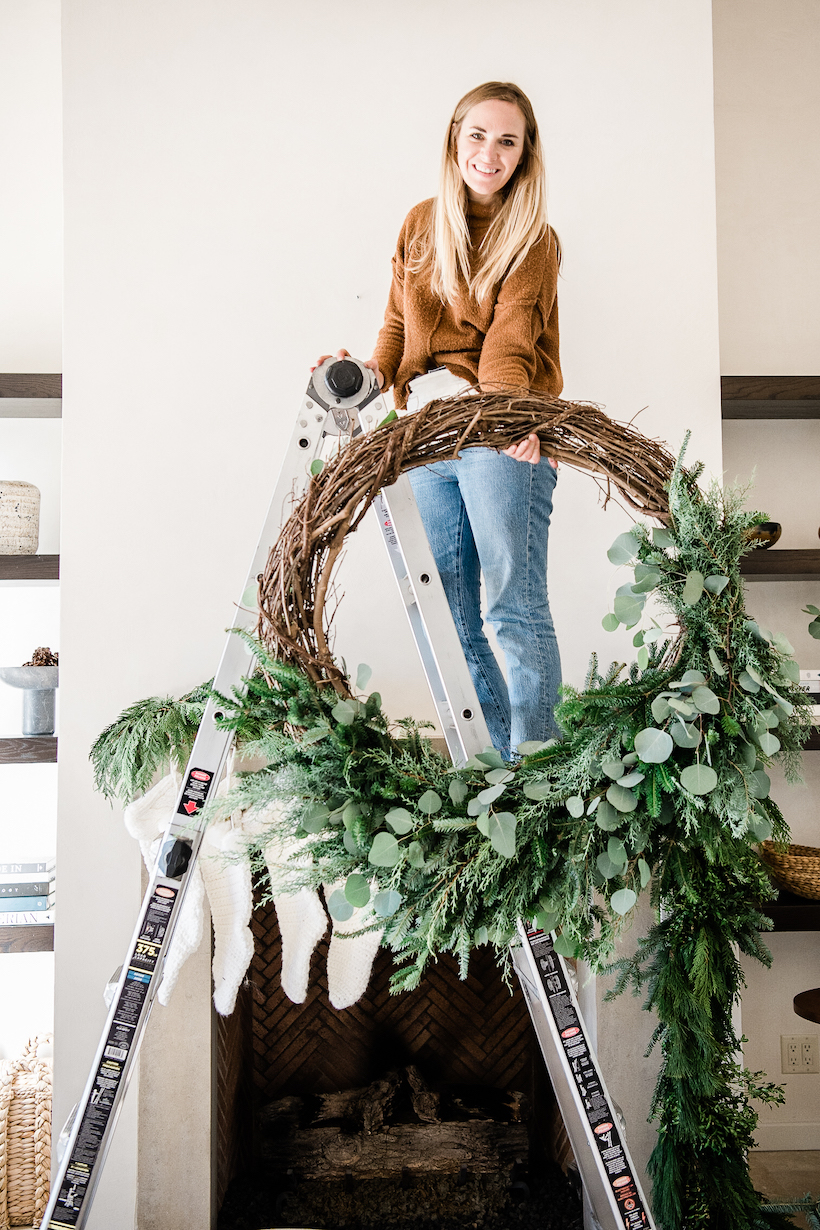
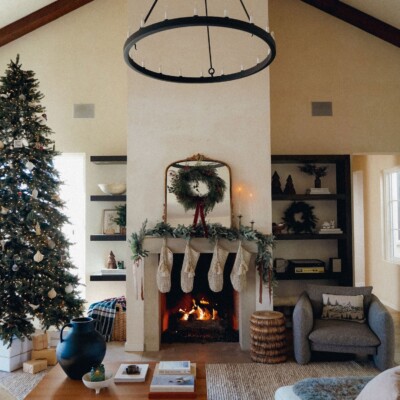
When dreaming up the holiday decor for my living room this year, the one thing I knew is that I wanted an oversized, natural, Scandi-inspired natural wreath as the main statement. As much as I love the framed art that usually hangs in this spot (a photo of the ocean I took when we were in Italy a couple summers ago), its beachy vibes never feel quite right each December when I try to transform the living room into a winter wonderland.
I asked my friend Elle, who owns Gracious Garlands, if she’d help me DIY the natural, woodsy wreath I was picturing in my mind (and that appeared all over my Pinterest boards), and not only did she say yes – she also volunteered to share the step-by-step process so y’all can DIY your own at home this season.
Most of y’all know that I am not a fan of overly complicated craft projects, so I was happy to learn how incredibly simple this one is to do – and the holidays are the perfect time to crank up the Christmas tunes and spend an hour creating something truly handmade.
Now that I know I can tackle this one on my own, I have a feeling that “wreath making day” will become a new holiday tradition at our house. Scroll on for the step-by-step – I created a grid that you can add to your Pinterest boards for future reference, and there’s a printable / shareable DIY card at the bottom of the post. 
The first thing you’ll need to bring this wreath to life is a big grapevine wreath frame. You can find one at any craft store, or order one of these – they come in all sizes so get whatever size fits your space best. Mine is a 36″ diameter wreath to fill this large spot over the mantel. You’ll also need floral wire and garden shears that are thick enough to cut branches.
Next you’ll need your branches. So many different types of hearty evergreen branches will work beautifully for this — think frasier fir, boxwood, pine, cypress, and eucalyptus. I like a mix of colors and textures, but you can certainly streamline to just one or two varieties for something simpler and more monochromatic.
To give an idea of amounts, for this large 36″ wreath, we used 3 bunches of frasier fir, 2 bunches of carolina sapphire and 2 bunches of eucalyptus.
 Here’s the step-by-step process (told you it was easy!)
- Pair down your branches into smaller stems, cutting at the natural breaks in the branches.
- Cut smaller, 6 inch pieces of wire to tie around the boughs you’ll make next.
- Create small bundles of greens with the smaller stems but layering the stems and then use the wire to hold them together. If you want a loose and wild wreath, layer stems of various lengths. If you want a symmetrical and formed wreath, cut all of your stems to be the same length. Make enough bundles to line the frame and fill in as much of it as you like.
- Affix the paddle of wire to the back side of the wreath. Keep the wire attached for the whole wrapping of the wreath.
- Begin at the “bottom” part of your asymmetrical wreath and lay the bundle on top of the frame, one bundle at a time, with the tips pointing clockwise and stem ends pointing counterclockwise – and now, wrap the wire around the frame and over the top of the stems to keep the bough in place. Then, add another bundle, wrap the wire around the frame and so on until you’ve added all of your boughs to the frame.
- Finally, now you can cut the wire and tie it off on the back side of the wreath frame.
Thank you, Elle, for sharing this beautiful DIY today! I’m obsessed and my holiday mantel has never looked prettier. Scroll on for the DIY card you guys can print and email to your virtual craft partners. 😉


