In our family, my mom is undoubtedly the designated birthday cake baker. In the weeks leading up to each family member’s big day, she takes orders on what they’re craving that year. Sometimes it’s traditional (her four layer carrot cake is legendary), and sometimes it’s not even a cake (Phoebe recently requested tiramisu!), but it’s always special, personal, and so festive. And even though I 1000% want her to continue this tradition, I’ve also inherited her passion for making cakes myself; there’s just something about a towering cake that satisfies any creative itch in the kitchen, plus it sends so much love to the recipient. When I was younger, Mom and I actually took a cake decorating class together where we learned the pastry chef tricks to piping tips and perfectly applied frosting. And as much as I love the artistry of a truly impressive cake, I almost always turn to something more rustic and homespun when I’m baking at home. Enter: my berries and cream layer cake recipe. It’s so simple, putting it together is a fun creative project that feels almost meditative.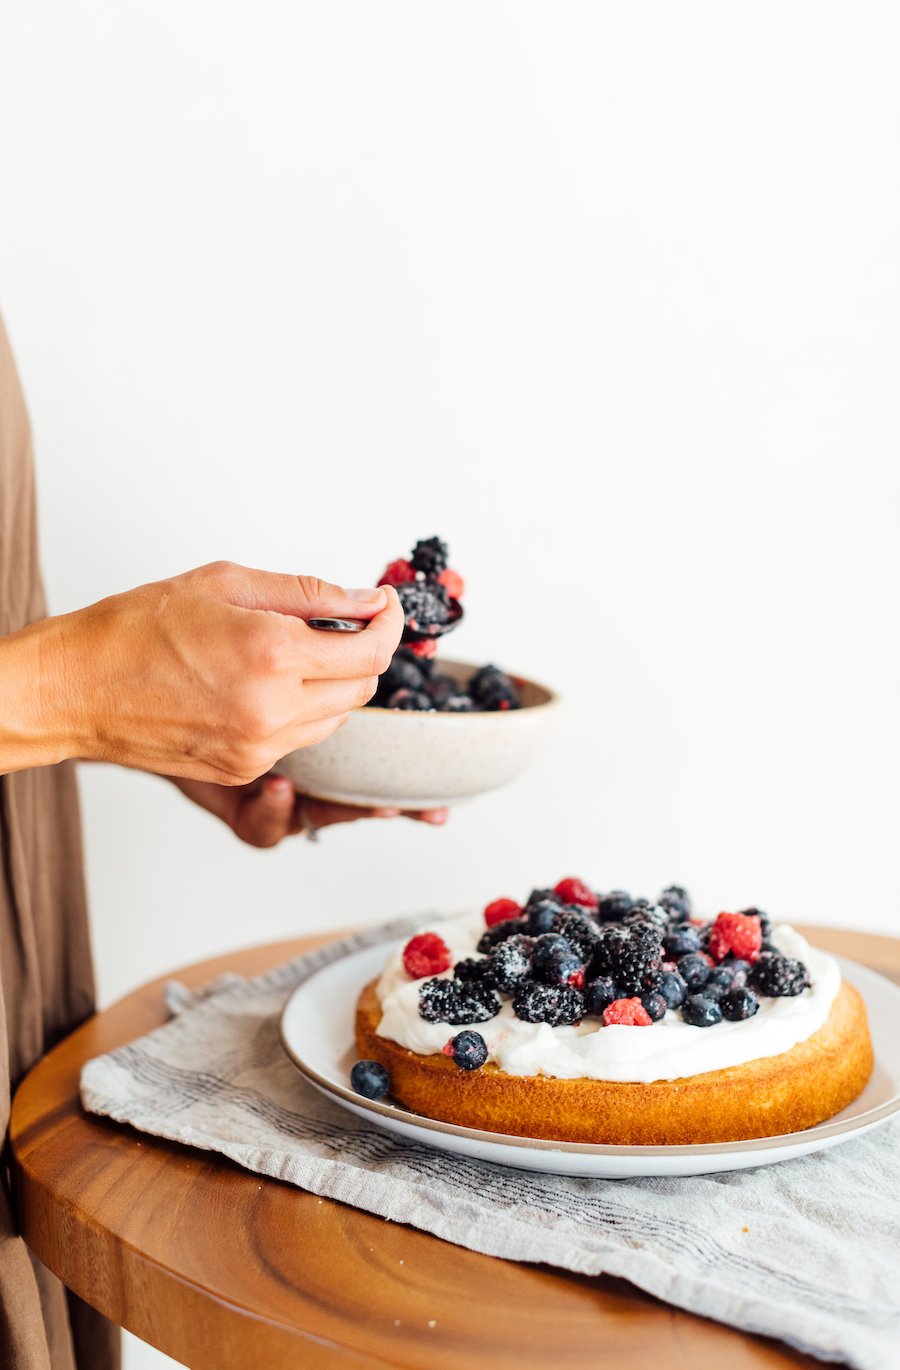 This is one of those no-recipe recipes that, once you master it, you’ll turn to again and again. When you’ve committed the simple equation to memory (cake + whipped cream + berries–repeat!) you can put your own spin on it based on the occasion. Everyone will think you’re making all kinds of different cake recipes when really–it’s the same old dog with a few new tricks. For example, you could add a bit of cocoa powder to the cake, and use cherries instead of berries, and suddenly? Black forest layer cake, my friends. I think that often, less-experienced bakers are intimidated by the idea of baking a towering cake, so I wanted to break down the steps to this berries and cream layer cake recipe to show you how easy it really is.
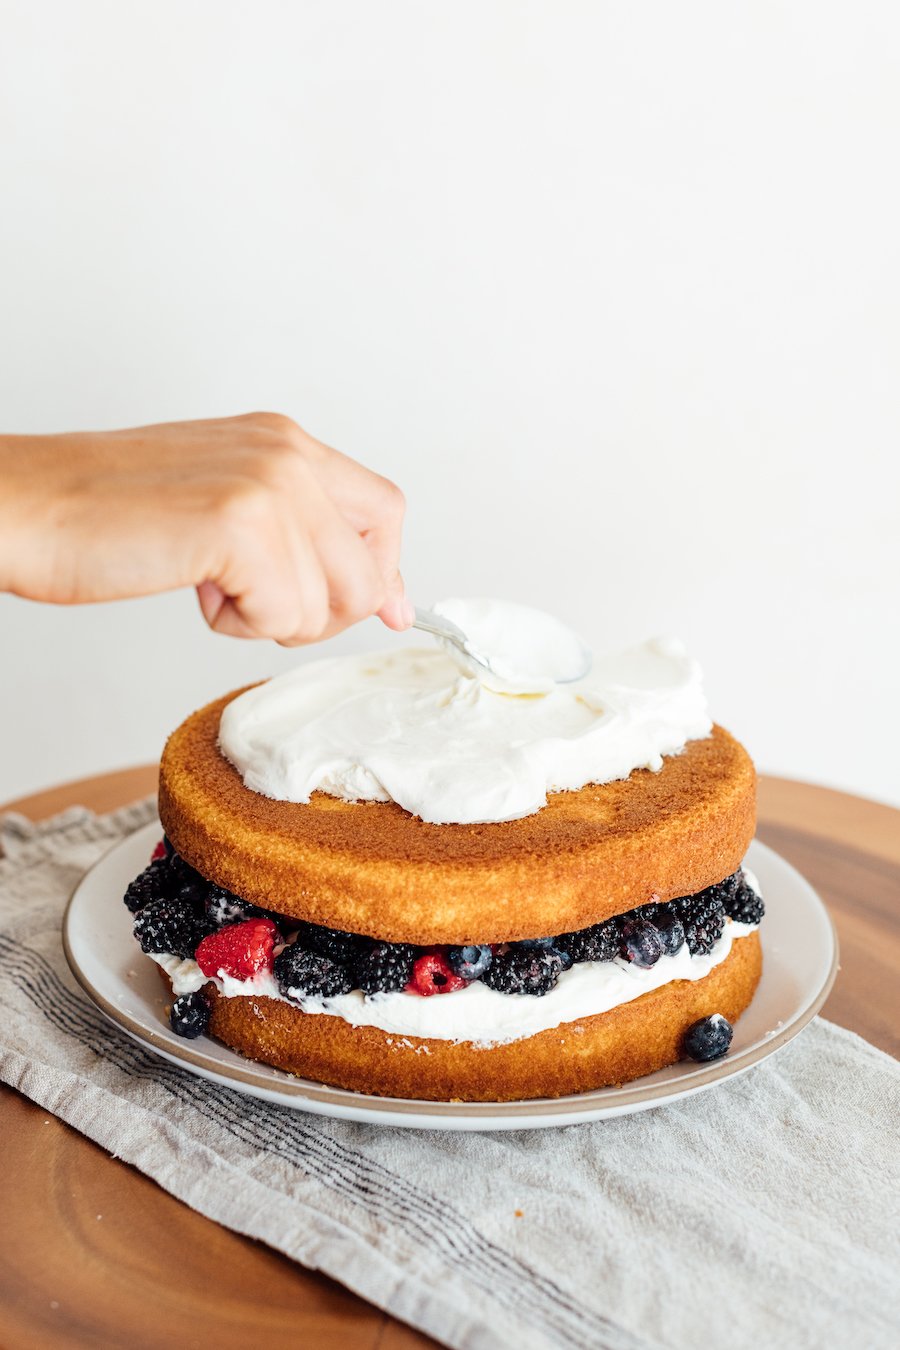
First, make the cake.
You’ve got a few options here, depending on budget, time, and inclination. You can make a recipe from scratch (try carrot, or stick with classic vanilla!) You can make it from a box (like I did in the photos you see here. It was delicious.) Or, you can pick up your cakes from a bakery. The point is, you’ll need two 9-inch or 8-inch cakes that you can stack–or if you want a towering mini cake, use the same amount of batter to make three adorable 6-inch layers.
I considered using my serrated knife to slice these horizontally, turning this into a four layer cake with lots of filling and thinner cake layers, but at the end of the day, there’s just something so simple and satisfying about a classic two-layer cake.
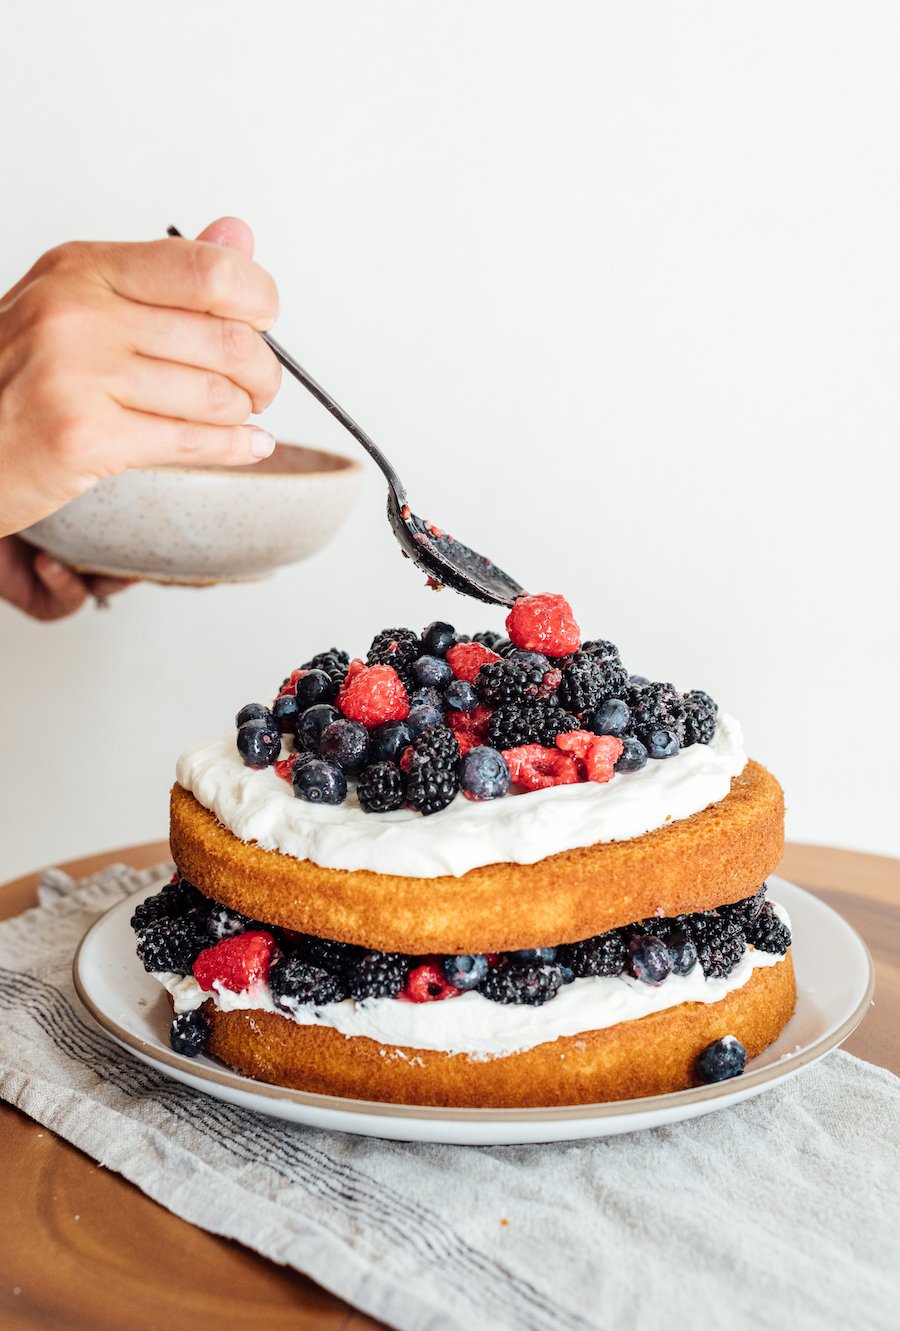 Next, whip the cream.
I’ll never forget when I went to college and my roommates were amazed when I broke out the stand mixer and whipped up some heavy cream. Whipped cream from scratch? Yes, it’s a party trick that never gets old, until you realize it’s easy enough for a 4-year-old to accomplish. I do have a few expert tips for the best whipped cream, though:
- Make sure your bowl and your beater is very clean, dry, and cold–I pop mine in the freezer 15 minutes before whipping.
- Use heavy whipping cream for the best results that won’t deflate a few minutes after whipping.
- On that note, you also want to be careful with any ingredients that you add–if you decide to sweeten the cream, do so with just a small amount of confectioner’s (powdered) sugar. If you need your cream to setup for a while (ie, you’re making the cake in advance), it never hurts to add a pinch of cream of tartar to help it hold.
- If you’re using other sweet ingredients (like these macerated berries), the cream really doesn’t need to be sweetened at all! The beauty of clean unsweetened cream is such a beautiful marriage with sugar sweet berries or rich chocolate.
Macerate the berries.
This is a fancy way of saying “let the berries hang out with a scoop of sugar so that they release all of their sweet, syrupy goodness.” I add a couple teaspoons sugar to my blackberries, raspberries, and blueberries about 30 minutes before assembling my cake. They start to soften and break down, forming almost a bit of a sauce that soaks ever-so-slightly into the cake and just makes it all so good.
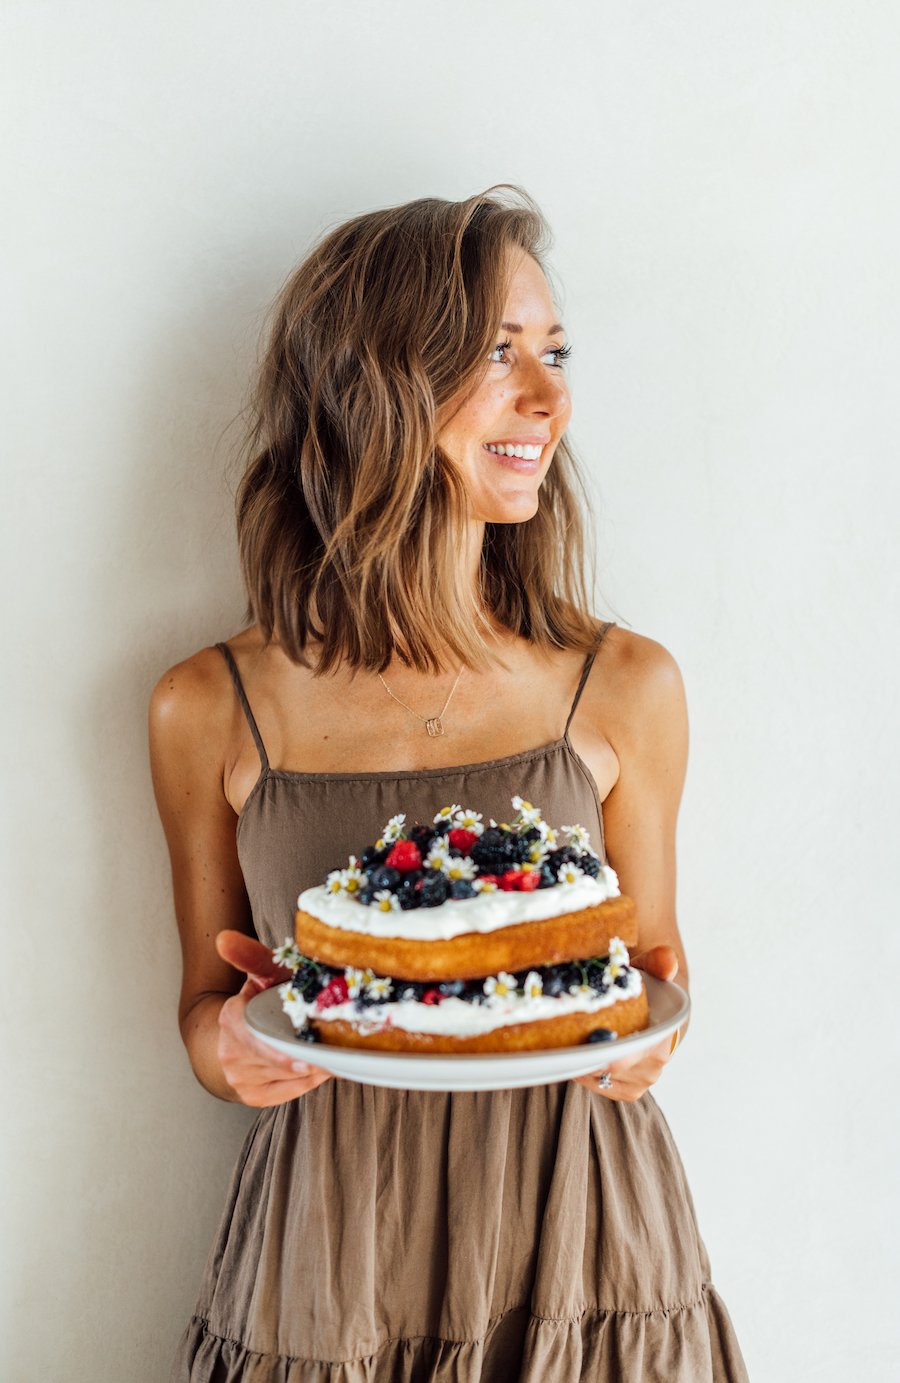
Assemble the layer cake.
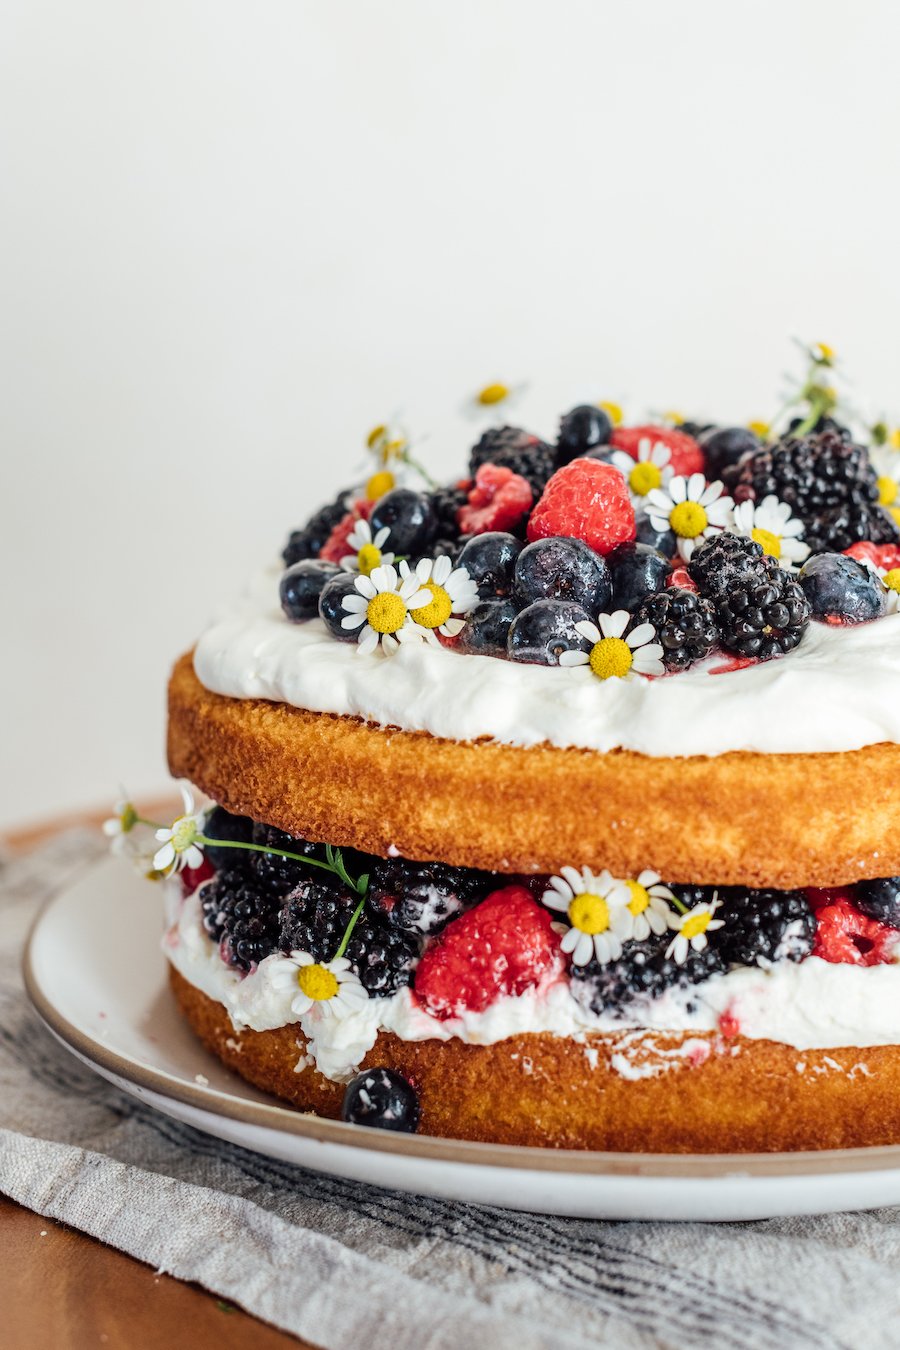
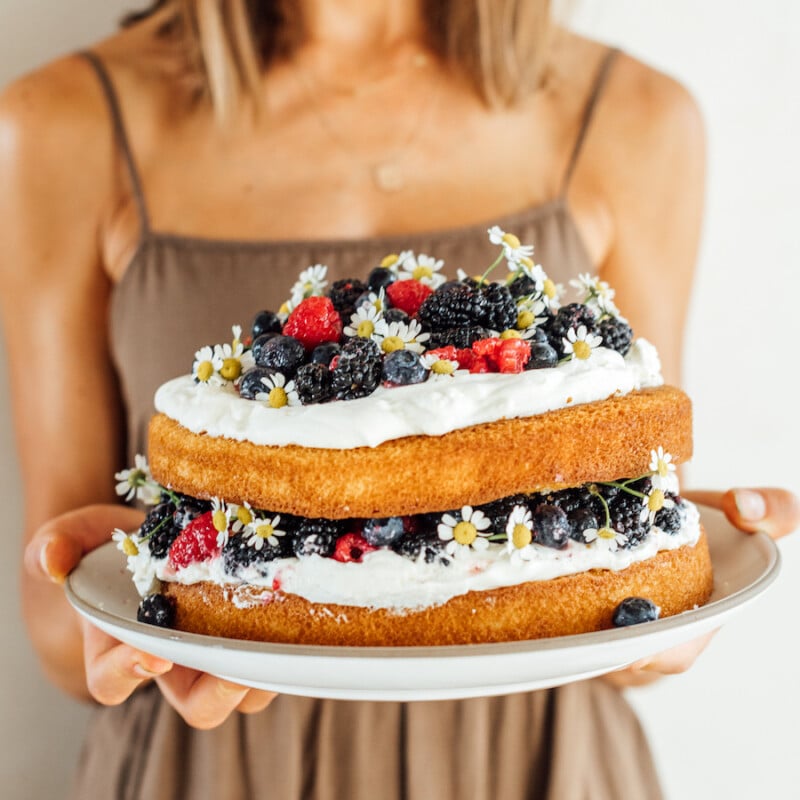
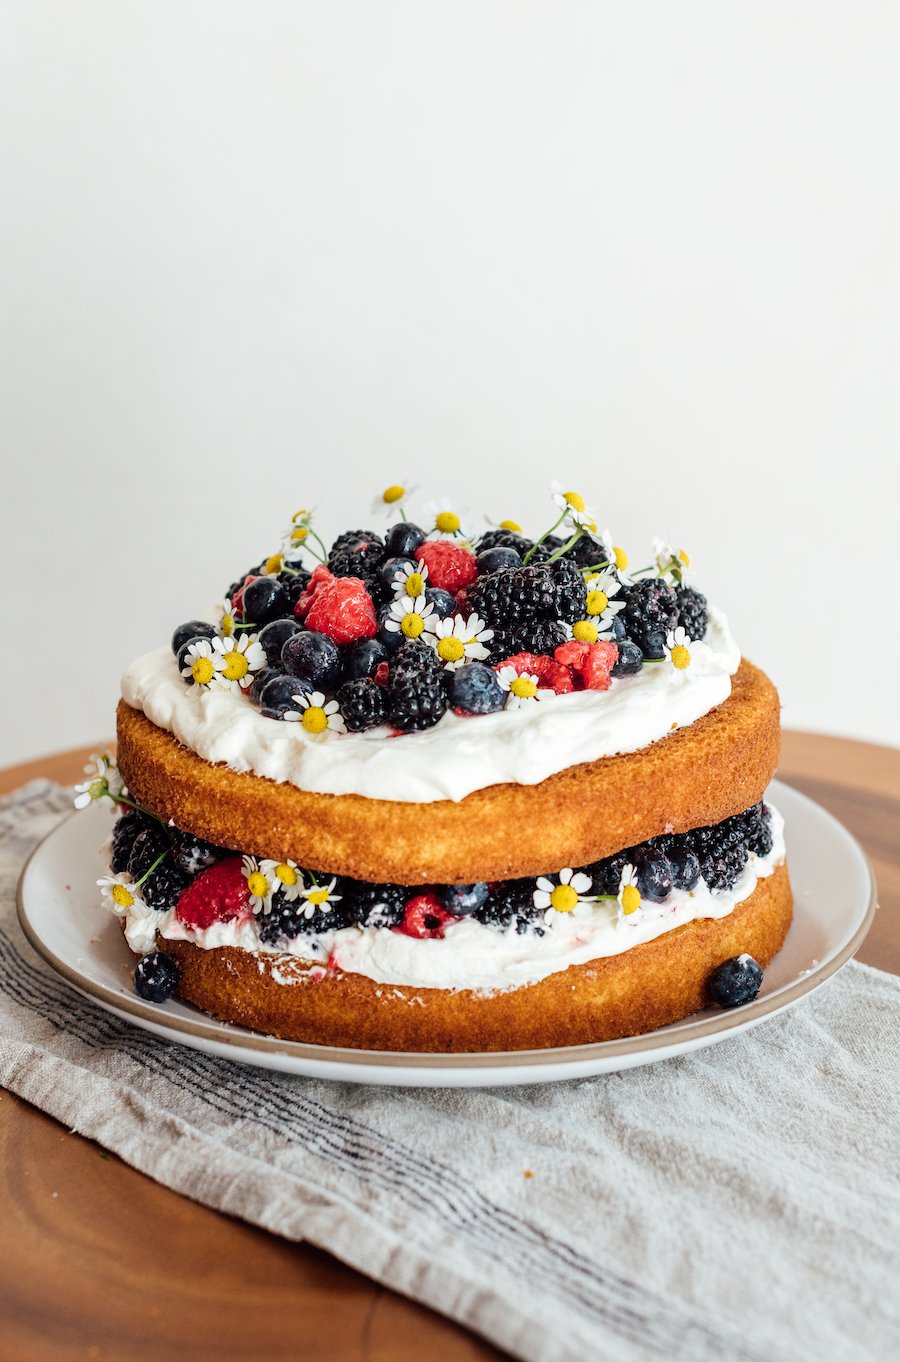
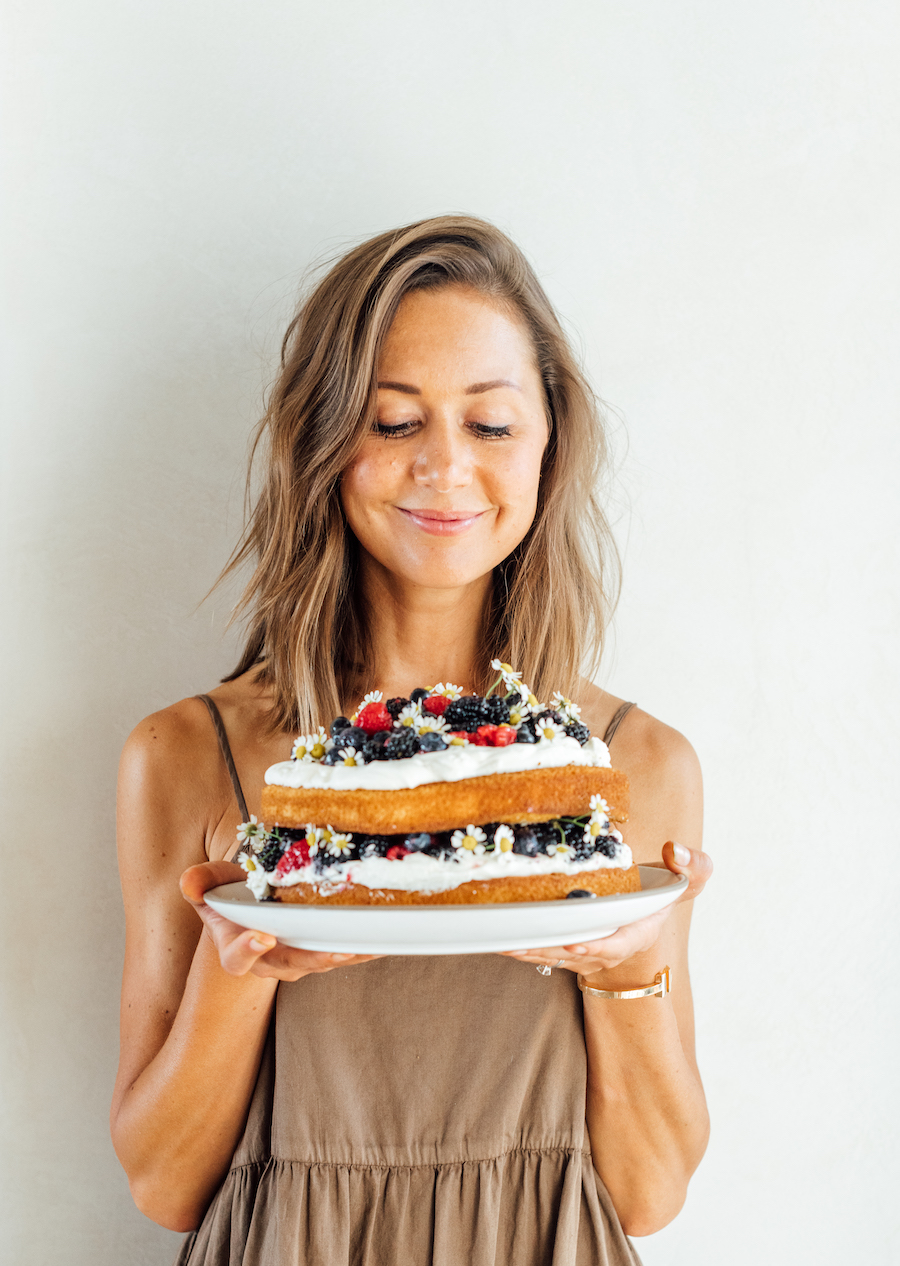
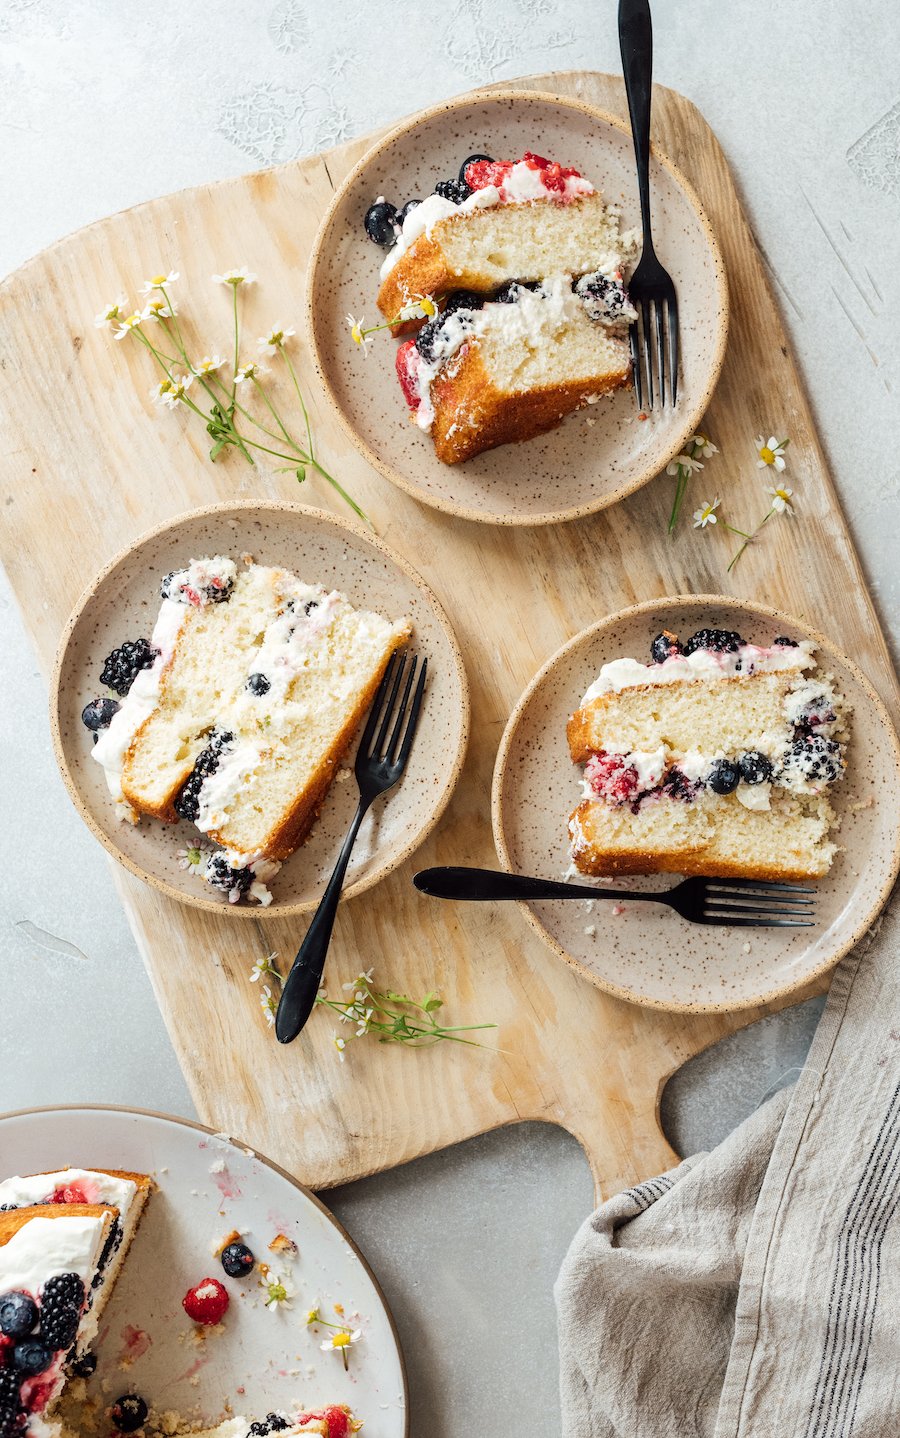
If your cakes are domed in the center, use a long serrated knife to cut the rounded part off to give you two flat sides. This is optional, but does result in a cleaner final look, and helps the berries and cream to stay on your cake instead of sliding around. On your serving plate or cake stand, place the first layer. Use a large spoon to add a few big scoops of cream to the center, then spread it almost to the edges. Add a few smaller scoops of berries in an even layer, then top with your next cake layer. Repeat the steps, ending by piling on more of your prettiest berries and (if you want), some edible flowers on top.
I was so in love with these chamomile flowers that I added some whimsical sprigs coming out the sides, too. This is what some might call a “naked cake,” since the sides are unfrosted and visible. In addition to being super simple, I love the homey, slightly rustic look of this style of cake. You can certainly clean it up a bit by using a flat knife to smooth the edges and top, but I think it’s fun to leave it a bit freestyle.
 How to slice a layer cake like a pro.
Here are a few tips on getting that clean, even slice every time (learned from my catering days when I had to slice towering wedding cakes in front of hundreds of people. Pressure!)
- Use a knife with a thin, sharp blade that’s at least as long as half your cake.
- Start by scoring a line across the center, then score another slice perpendicularly. This helps to ensure that your slices will be even.
- Cut all the way through half your first scored line, then cut a full slice. Once the knife has gone all the way through, pull it away from the cake. Slide a cake server under the bottom of the slice and serve.
- If too much whipped cream or frosting is sticking to the knife, keep a cup of hot water nearby and dip your knife into the water between each slice for a cleaner result.
Scroll on for this berries and cream layer cake recipe, and I’d love to hear in the comments if you give it a try!
Print
Berries & Cream Layer Cake
Description
How to make a simple and easy berries and cream layer cake recipe using a store-bought cake mix and a few styling tricks. This is a perfect birthday cake recipe.
Ingredients
- Two 8 or 9-inch layer cakes
- 1 pint heavy whipping cream
- 1 pint each raspberries, blackberries, and blueberries
- 1 tablespoon sugar
Instructions
- Whip the cream: In the bowl of a stand mixer (or using a hand mixer) use a whisk attachment to whip the heavy cream (on medium speed) until it holds firm peaks. Set aside until ready to use.
- Macerate the berries: Add all berries to a large bowl, along with the sugar. Gently fold together, and let sit for 20 – 30 minutes.
- If your cakes are domed in the center, use a long serrated knife to cut the rounded part off to give you two flat sides.
- On your serving plate or cake stand, place the first cake layer. Use a large spoon to add a few big scoops of cream to the center, then spread it almost to the edges. Add a few smaller scoops of berries in an even layer, then top with your next cake layer.
- Repeat with more cream, and more berries, ending by piling on more of your prettiest berries and (if you want), some edible flowers on top. And on the sides.
- Slice and eat!


I’ve been wanting to bake something lately. This cake looks so cute, I can’t wait to try! 🙂