We may receive a portion of sales if you purchase a product through a link in this article.
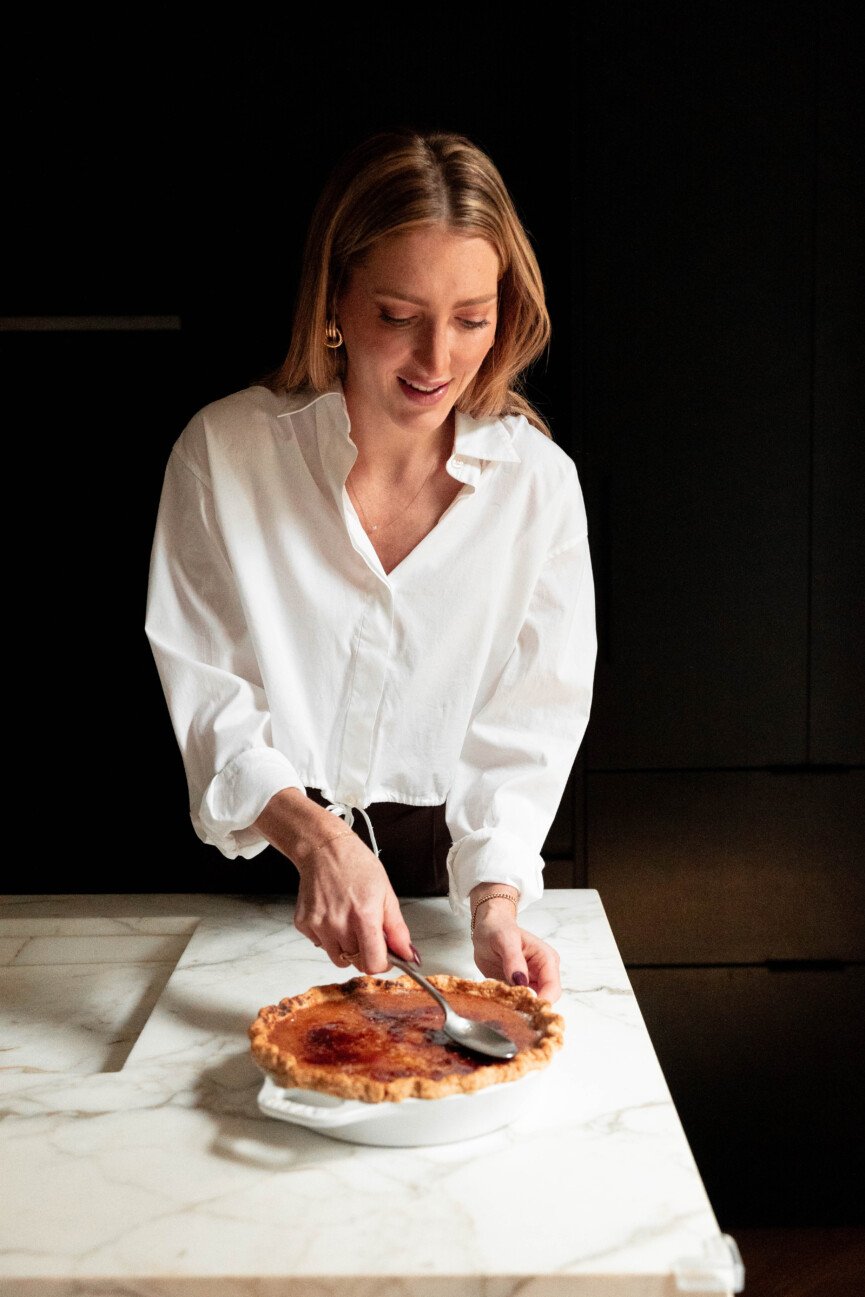
Have you ever noticed that homemade holiday pies just bring people together? Especially when they’re as show-stopping as this Bruléed Pumpkin Pie from Sweet Tooth, Sarah Fennel’s stunning new cookbook. We recently joined Sarah for a cozy holiday gathering, where the warmth of the season was perfectly captured in this dessert. With its spiced filling and caramelized topping, this pie stole the show—proving that even the most classic recipes can be elevated with a creative twist. Lucky for us, Sarah shared her secrets, and now you can recreate this festive masterpiece in your own kitchen.

Why You’ll Love This Brûléed Pumpkin Pie
This bruléed pumpkin pie reimagines the classic Thanksgiving dessert with a touch of indulgent sophistication. The creamy, spiced filling balances the earthiness of pumpkin with the warmth of cinnamon, ginger, and cloves, creating a comforting yet elevated flavor profile. A perfectly flaky, buttery crust provides a delicate base, while the caramelized sugar topping adds a delightful crunch. Whether you’re hosting a holiday feast or simply embracing the coziness of fall, this pie is a stunning addition to any table, guaranteed to wow guests and satisfy sweet cravings alike.
What truly sets this recipe apart is its attention to detail. The addition of vodka in the crust ensures a tender, flaky texture that even novice bakers can master. Meanwhile, brûléeing the sugar topping adds not only a visual flourish but also a tasty contrast between the smooth filling and its crackly, caramelized shell. In Sarah’s words:
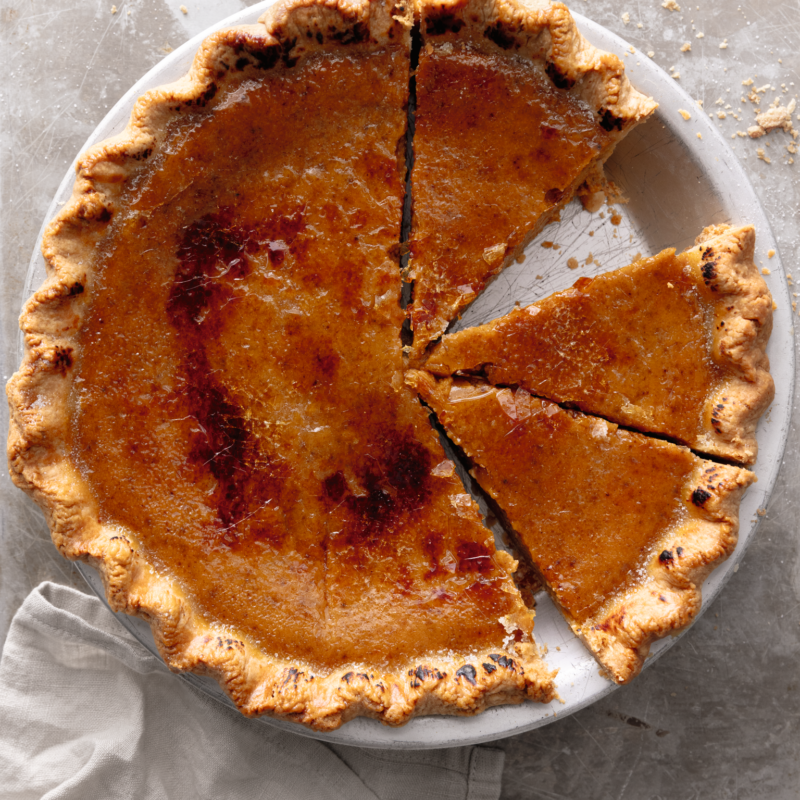
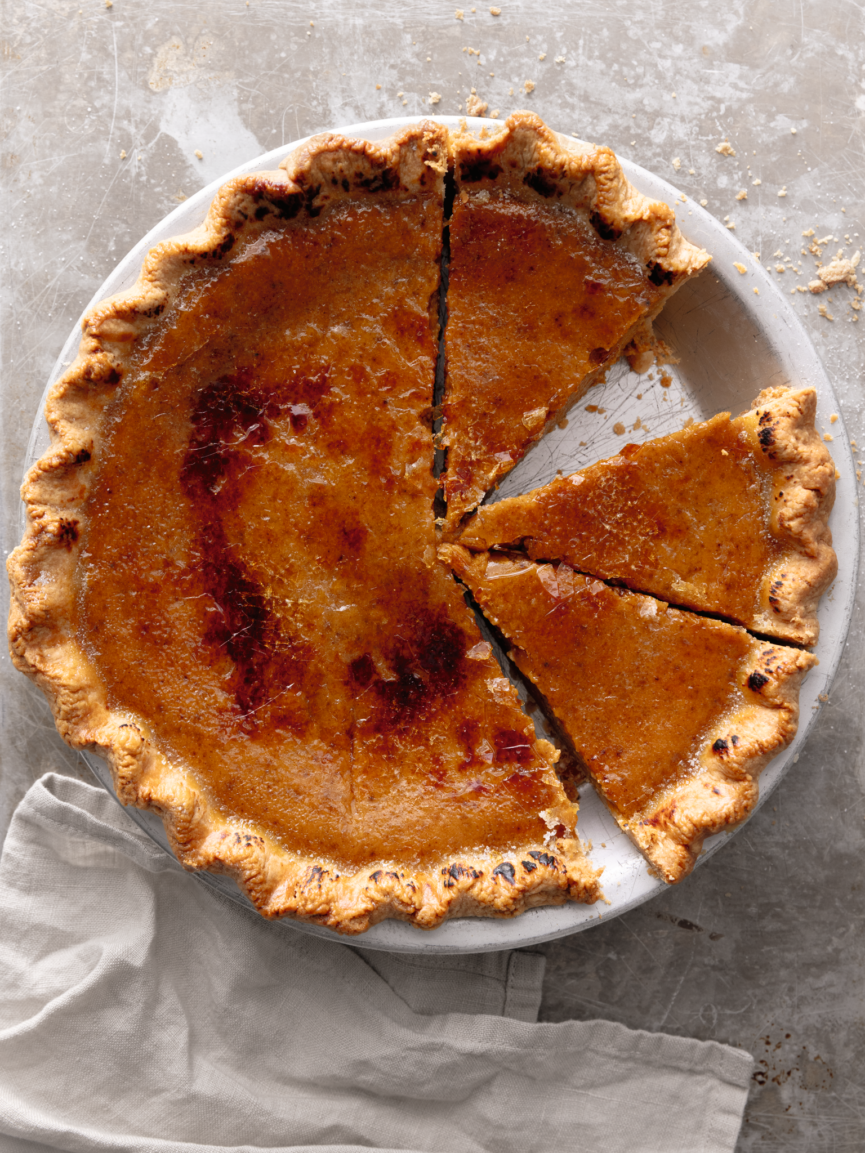
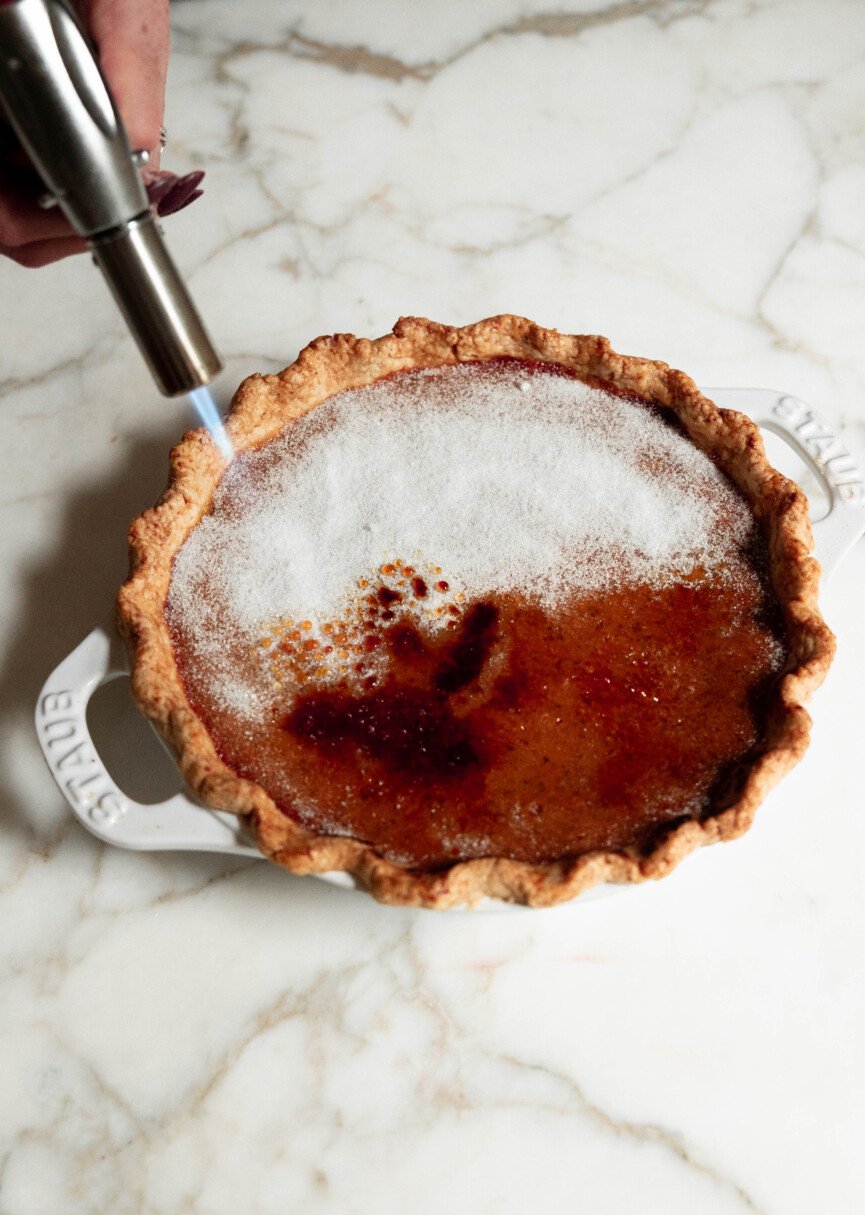
“The custardy pumpkin filling gets topped with crackly caramelized sugar that looks like beautiful stained glass. It’s barely any extra work from traditional pumpkin pie—you’ll toss some granulated sugar over the top and use a kitchen torch to caramelize. (Remember when I told you to pick up a kitchen torch? This is another good reason why!) Plus, the all-butter pie crust is my staple for any homemade pie, not just pumpkin.”
This pie invites you to slow down and savor every bite—a luxurious yet approachable centerpiece for your autumn gatherings. Scroll on for Sarah’s recipe!
“Sweet Tooth” Copyright © 2024 by Sarah Fennel. Photographs copyright © 2024 by Sarah Fennel.
Published by Clarkson Potter, an imprint of Crown Publishing Group.
Brûléed Pumpkin Pie
- Total Time: 49 minute
- Yield: 8 1x
Description
A pumpkin pie with a crème brûlée top.
Ingredients
for the pie dough:
1 1/4 cups all-purpose flour, plus more for rolling out the dough
1 tablespoon granulated sugar
1/2 teaspoon salt
1/2 cup (1 stick) unsalted butter, cold and cut into cubes
2 to 3 tablespoons ice water or chilled vodka (water is standard in pie crust, but vodka will make your
crust extra flaky!)
for the pie filling:
1 cup granulated sugar, divided, plus more as needed
1 teaspoon ground cinnamon
1/2 teaspoon ground ginger
1/4 teaspoon ground cloves
1/2 teaspoon salt
2 large eggs plus 1 large egg yolk
1 (15-ounce) can pumpkin puree (not pumpkin pie filling)
1 (12-ounce) can evaporated milk
1 teaspoon vanilla extract
Instructions
- First, make the pie dough. In a food processor, add the flour, granulated sugar, and salt and pulse to
combine. Add the butter and pulse until the mixture resembles wet sand, about 20 seconds. - Add 2 tablespoons of the ice water, then pulse until a dough begins to form a ball around the blade,
about 20 seconds. If your dough doesn’t come together, add another tablespoon of water and pulse
again. - Turn the dough out onto a clean work surface and flatten it into a 1-inch-thick oval disk. Wrap
the disk tightly in plastic wrap and refrigerate for at least 30 minutes and up to 2 days. - Once the dough has chilled, remove it from the fridge and set it on the
counter to soften for 5 minutes. Lightly dust a clean work surface with flour, unwrap the disk, and place
it on the surface. Use a rolling pin to roll out the dough into a roughly 12-inch circle, dusting the top and
underside with more flour as needed. Carefully roll up the dough around your rolling pin like a scroll,
then drape it into a 9-inch pie pan. Press the dough into the bottom and sides of the pie pan, then use
scissors to trim around the edges of the dough, leaving a ½-inch overhang. - Tuck the overhang of the pie under itself, creating a thick edge around the rim of the pie pan. Lightly
squeeze the edge together using your fingers,
sealing it in place. Use your index finger on one hand and your “peace fingers” on the other hand to
create a crimp around the edges of the pie (see photos on page 96). Place the pie pan, uncovered, in the
fridge to chill while you make your pie filling. - Next, make the pie filling. Preheat the oven to 350°F.
- In a large bowl, combine ¾ cup of the granulated sugar, cinnamon, ginger, cloves, and salt. Add the eggs, extra egg yolk, and pumpkin puree and whisk until combined. Add the evaporated milk and vanilla extract, whisking until homogenous. Remove the prepared pie pan from the fridge and pour in the filling.
- Bake until the pie is set around the edges but still slightly jiggly in the middle, about 1 hour. Remove
the pie from the oven and allow it to cool to room temperature on a cooling rack. Place the pie,
uncovered, in the fridge to cool completely, at least 4 hours and up to 1 day. - Once you’re ready to serve, remove the pie from the fridge and sprinkle the remaining 1/4 cup granulated sugar over the pie. Use a kitchen torch to melt and cook the sugar until it caramelizes, being careful not the burn the sugar. Use the back of a large spoon to lightly “crack” the sugar on top before cutting the pie into slices. This pie is best served right after brûléeing, as the sugar will soak into the pie over time.
- Prep Time: 45 + overnight
- Cook Time: 60




Looks amazing! I’m not seeing the directions for the top…maybe I’m missing it somewhere?
Hi Nikki – good catch, I just updated to include last step with the directions for the sugar topping. Happy baking!