This is the story of a woman who fell off-her-rocker-obsessed with figuring out why the coffee she was brewing at home wasn’t as good as what she ordered at her favorite coffee shop. And while my quest to figure out how to make pour-over coffee at home nearly broke me, I think I’ve finally cracked the code.
Okay, that’s a slight exaggeration. But I did fall off my couch while doing coffee research on my computer when I reached for my water bottle on the coffee table and knocked over a plant, breaking its pot on the floor in the process. It’s been a year, y’all.
On the “pro” side of things that quarantine has brought into my life, being able to embrace slow mornings during the week (that WFH life!) has meant devoting more time to a morning coffee routine. This came more out of necessity than a desire to do so. My favorite coffee shop, now thankfully re-opened for takeaway, was closed at the beginning of “stay at home,” and I quickly realized that if I wanted a decent cup of coffee, I was going to have do it myself. Easier said than done, my friends. So I set off on a mission to learn how to make the best pour-over coffee.
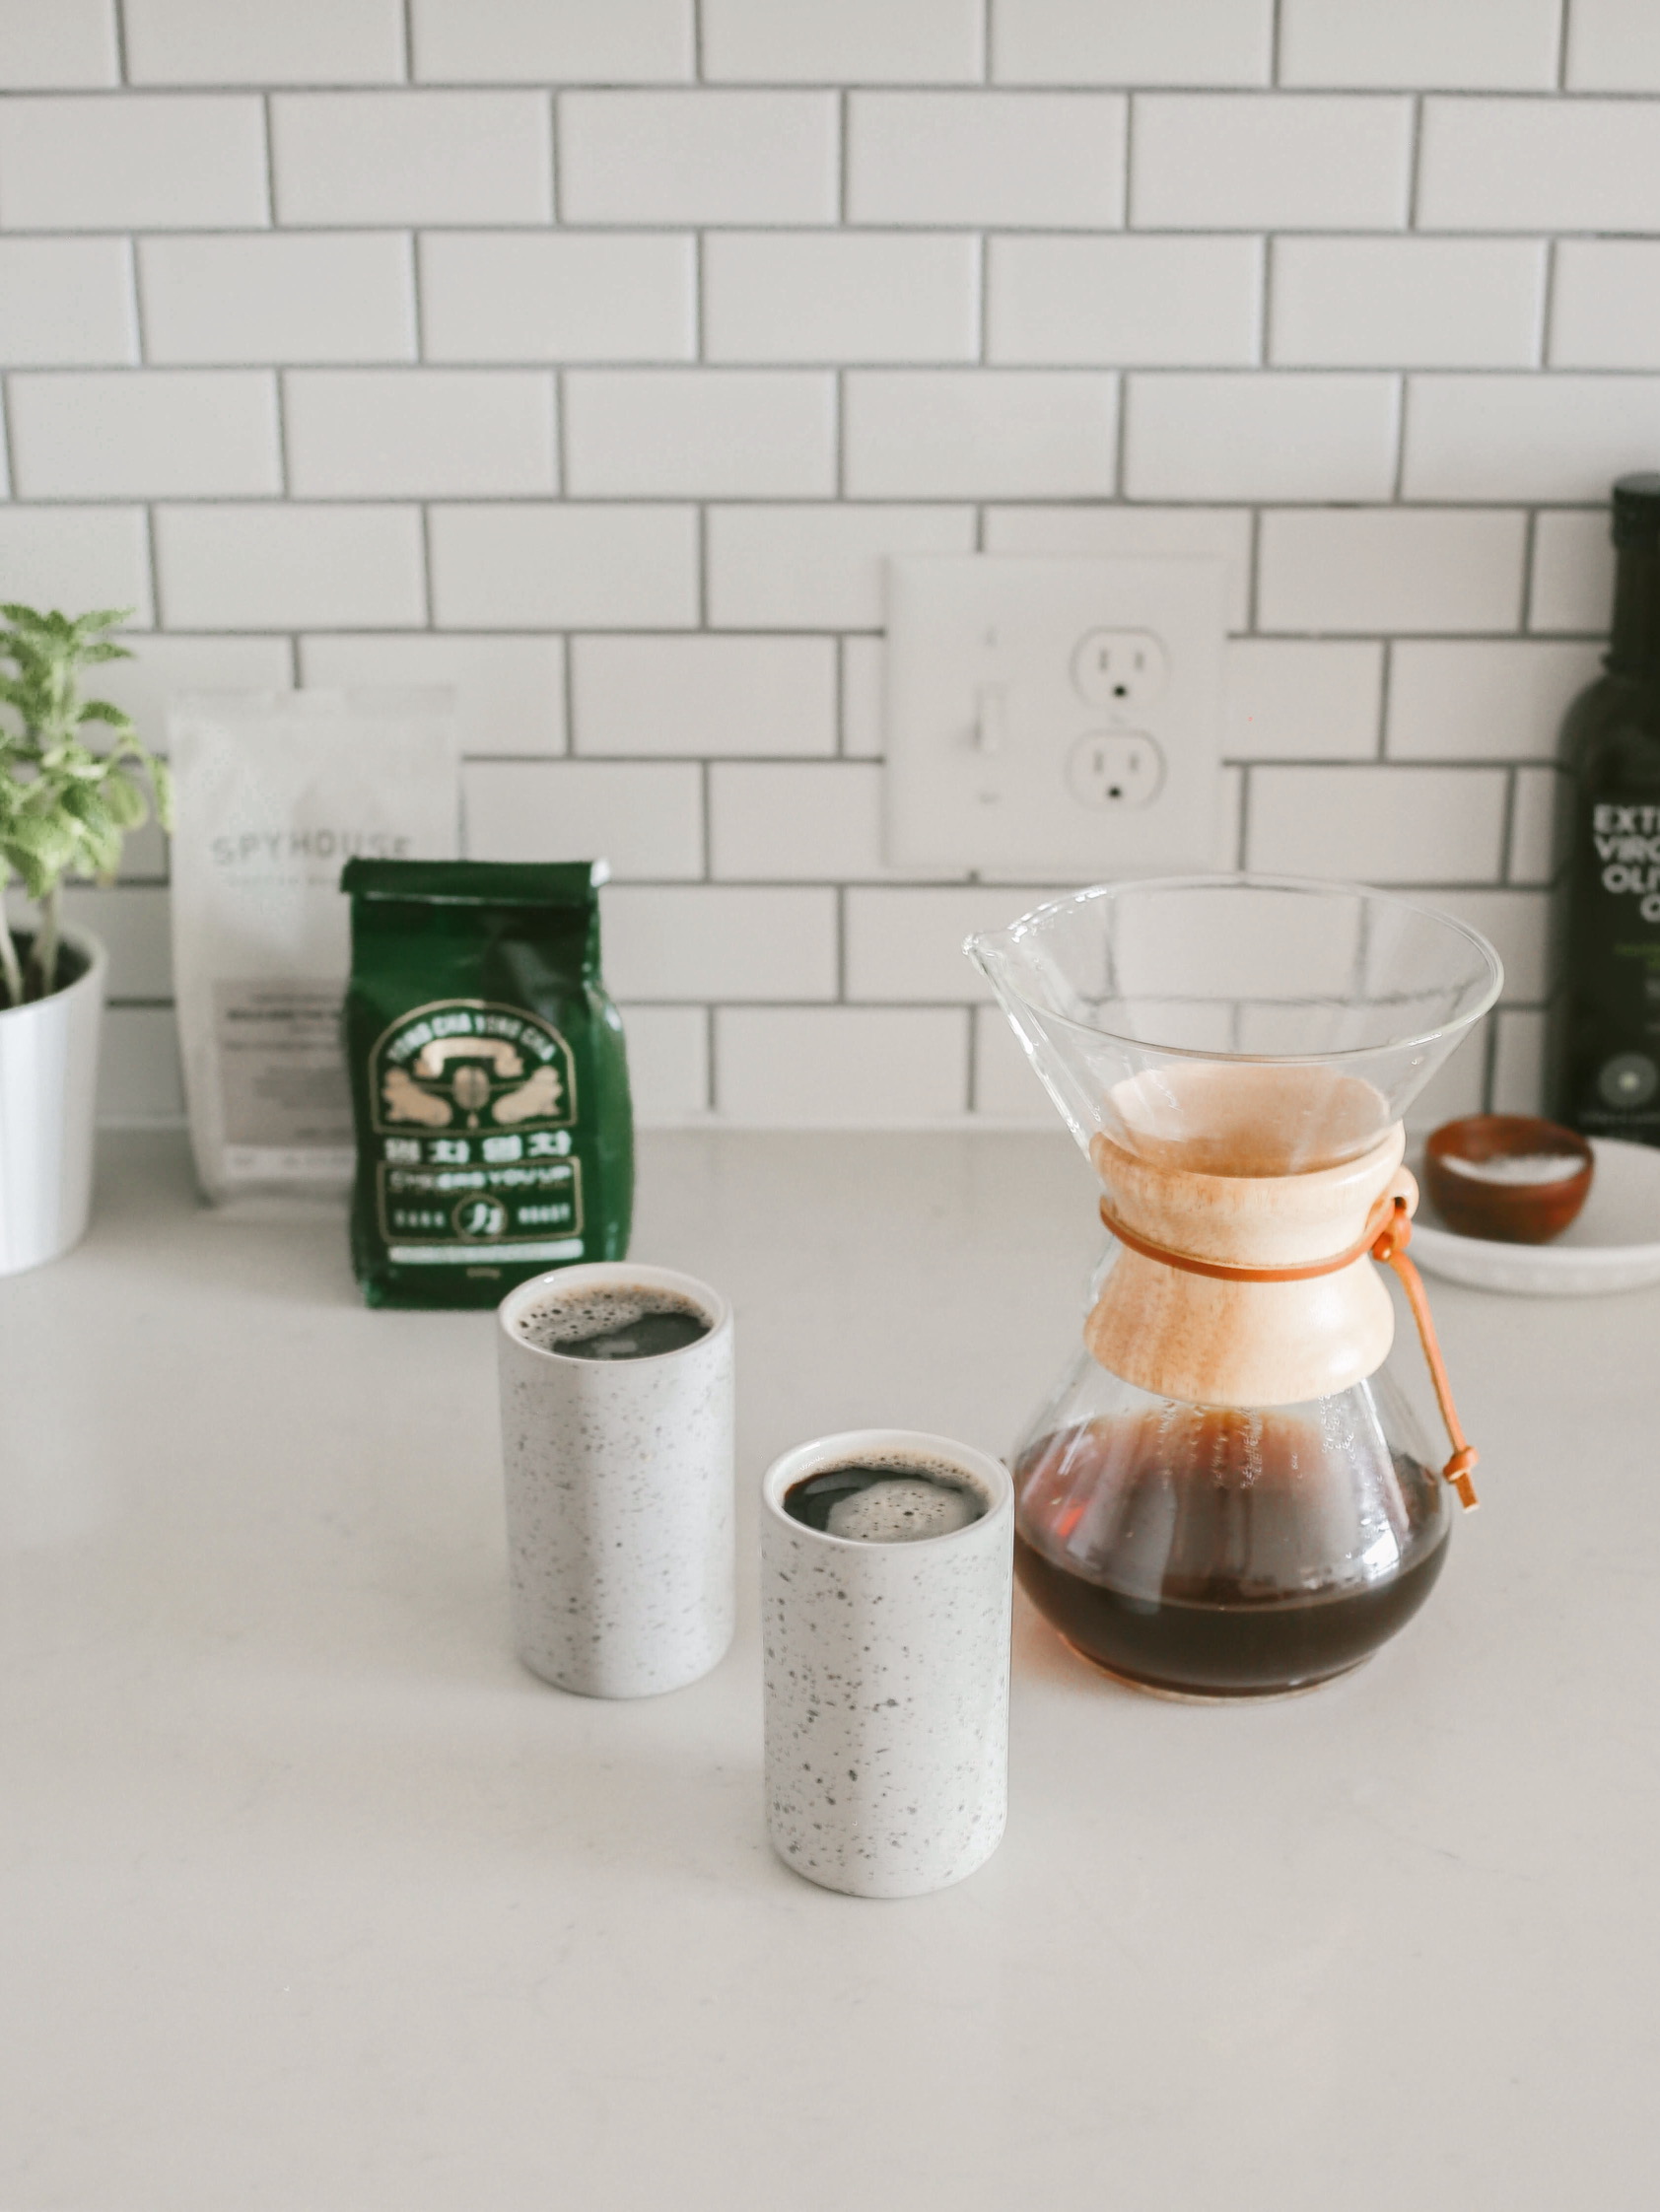
I don’t own a coffee maker or espresso machine—never have. And when I first pulled out the Chemex that had been given to me as a gift from a friend in March, I realized I didn’t have coffee filters or a kettle. I didn’t even have coffee beans at home. Clearly, I did not know the first thing about how to brew pour-over coffee.
Read on for one woman’s (at times harrowing) journey to learn how to make the best pour-over coffee at home.
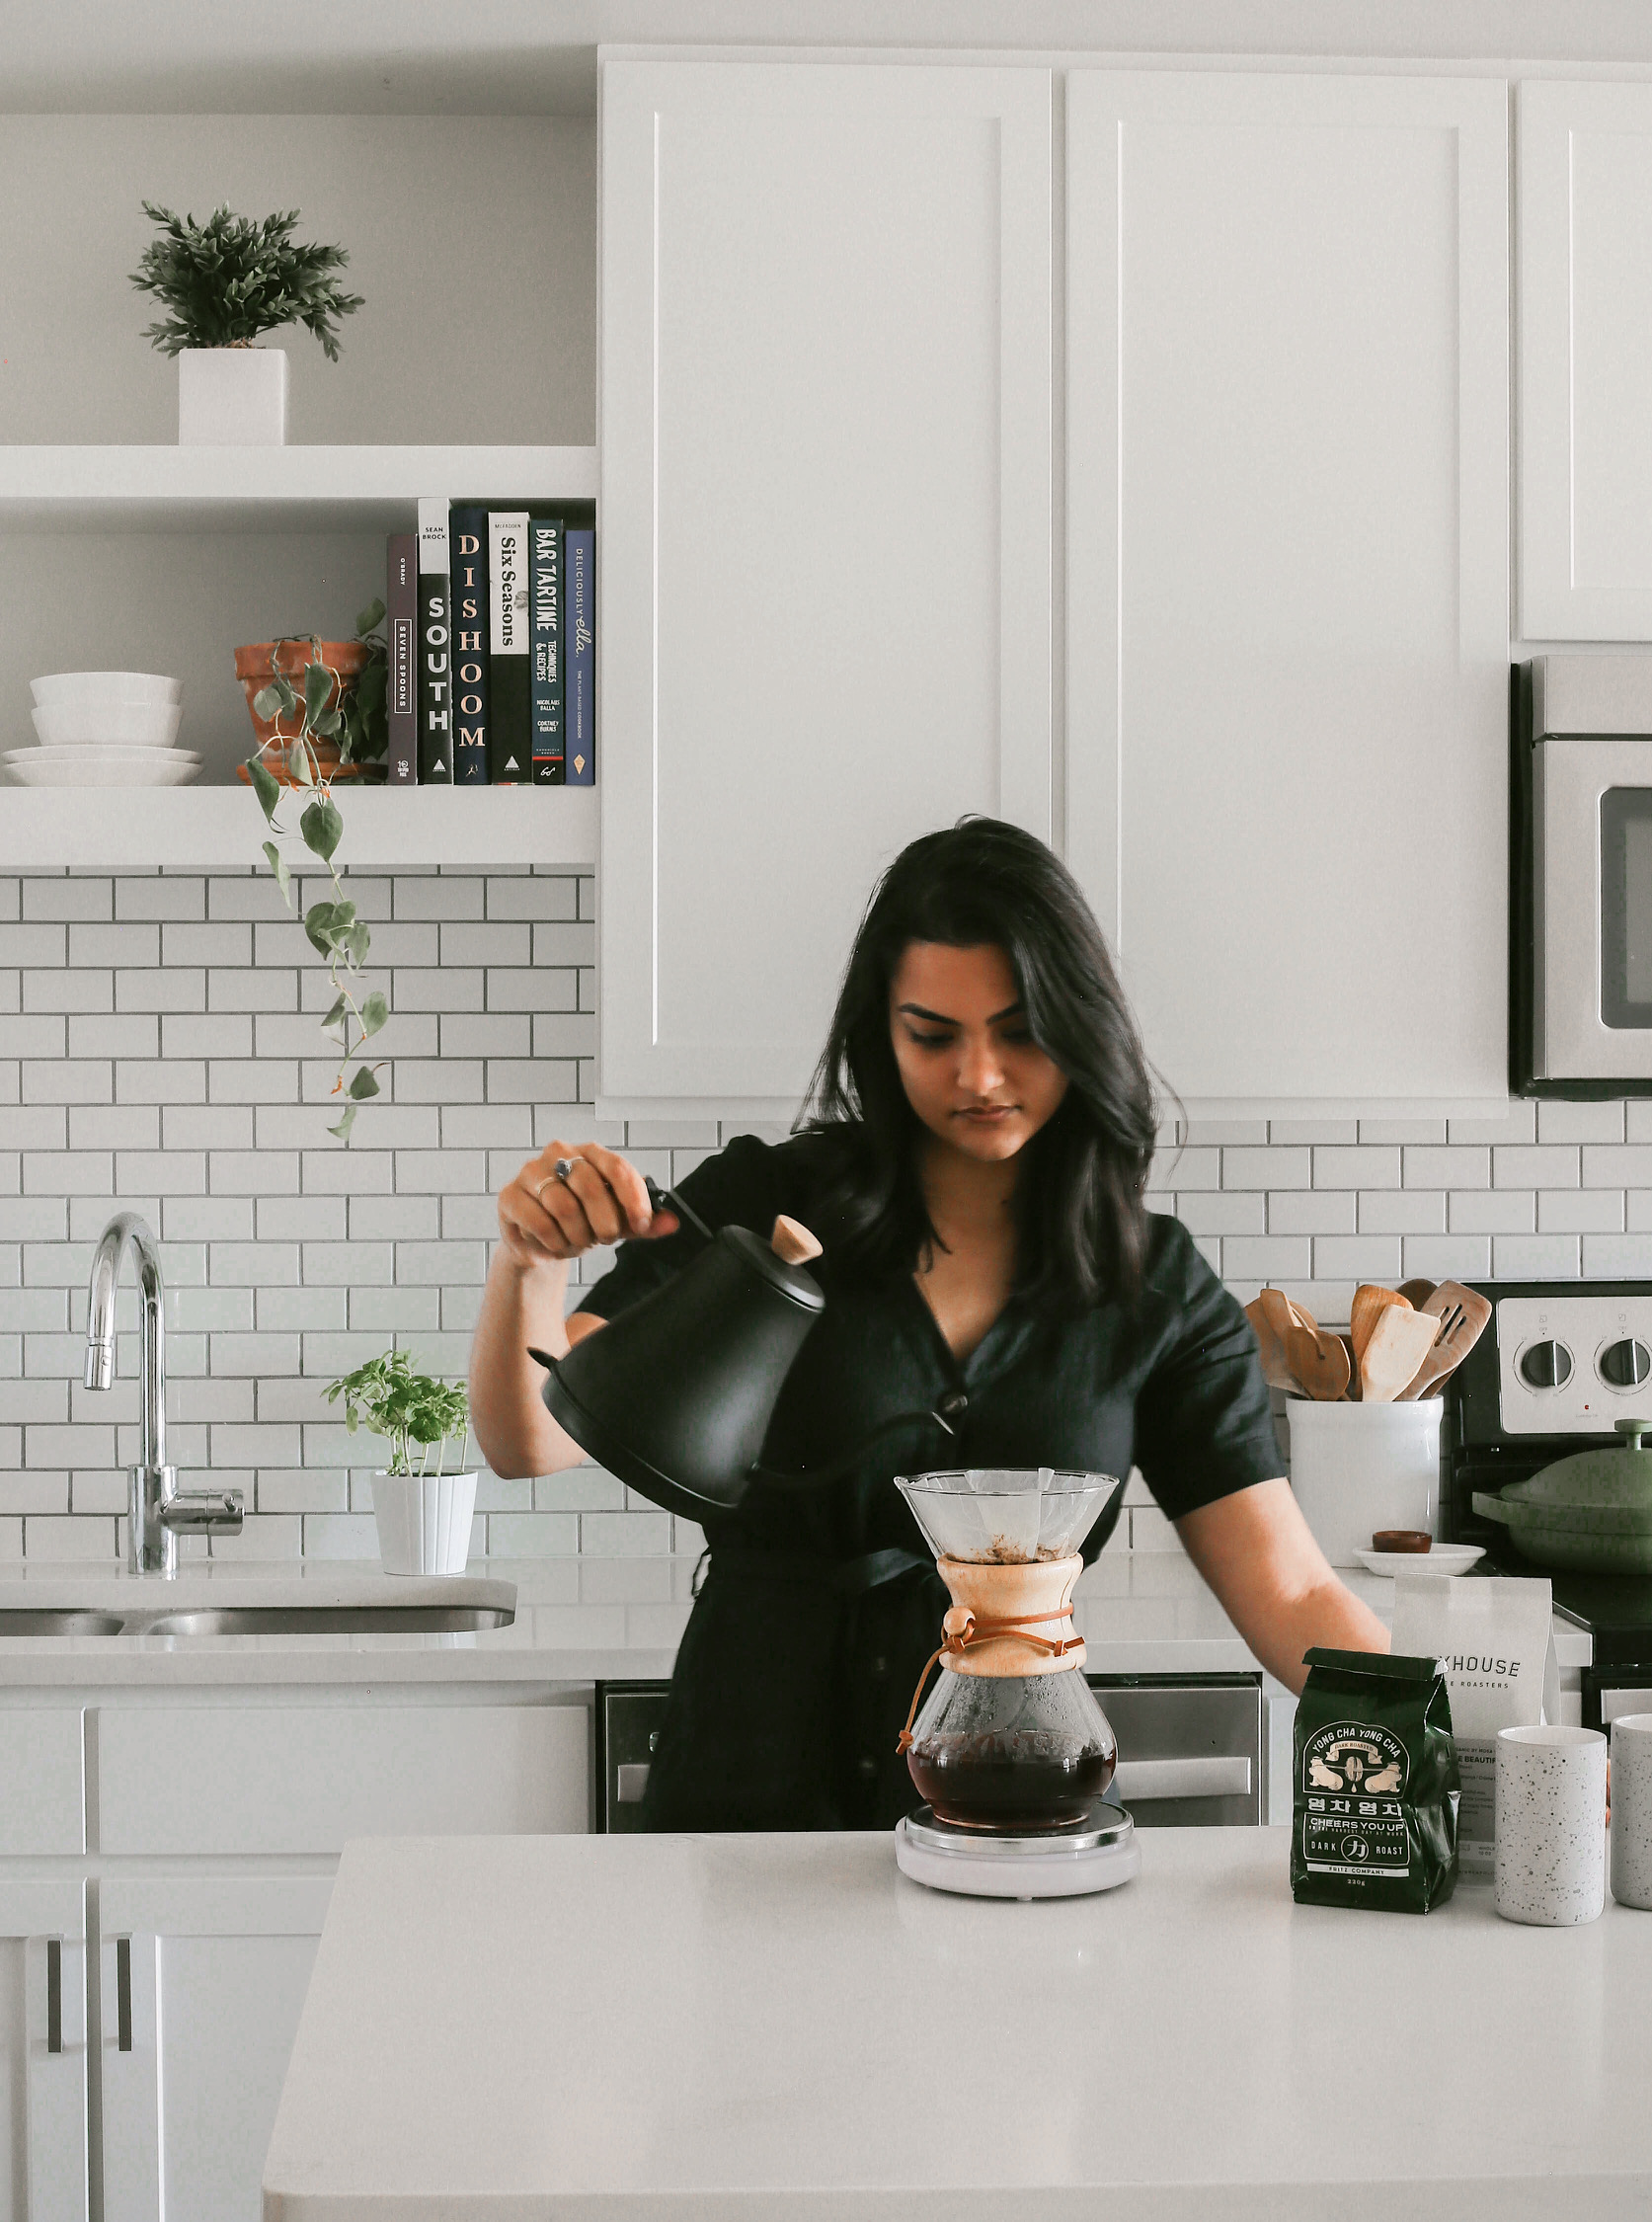
Do you see this face? Concentration and pure determination. I make this exact face in my kitchen every morning now.
There is something almost meditative about the pour over process. It’s in the way you stream hot water in concentric circles, blooming the grounds. Getting the initial whiff of fresh morning coffee and watching it drip into the basin of the Chemex, just waiting to be poured into your favorite mug.
Once you figure out your preferred method and understand how the changes you make affect the end result, the whole process takes on this sort of really fun scientist vibe. I’m totally hooked. So after much trial and error (hey, I’m still learning too!) and many cups of coffee later, here are my takeaways to help you get started on your pour-over journey.
The Tools
A Kitchen Scale: While I’m normally not one to require a kitchen scale for my recipes, using a scale will allow you to create a more consistent brew time after time, I use this one.
Filters: Use your choice of coffee filters! Stumptown did a whole review on which coffee filters are the best for your coffee and why they matter.
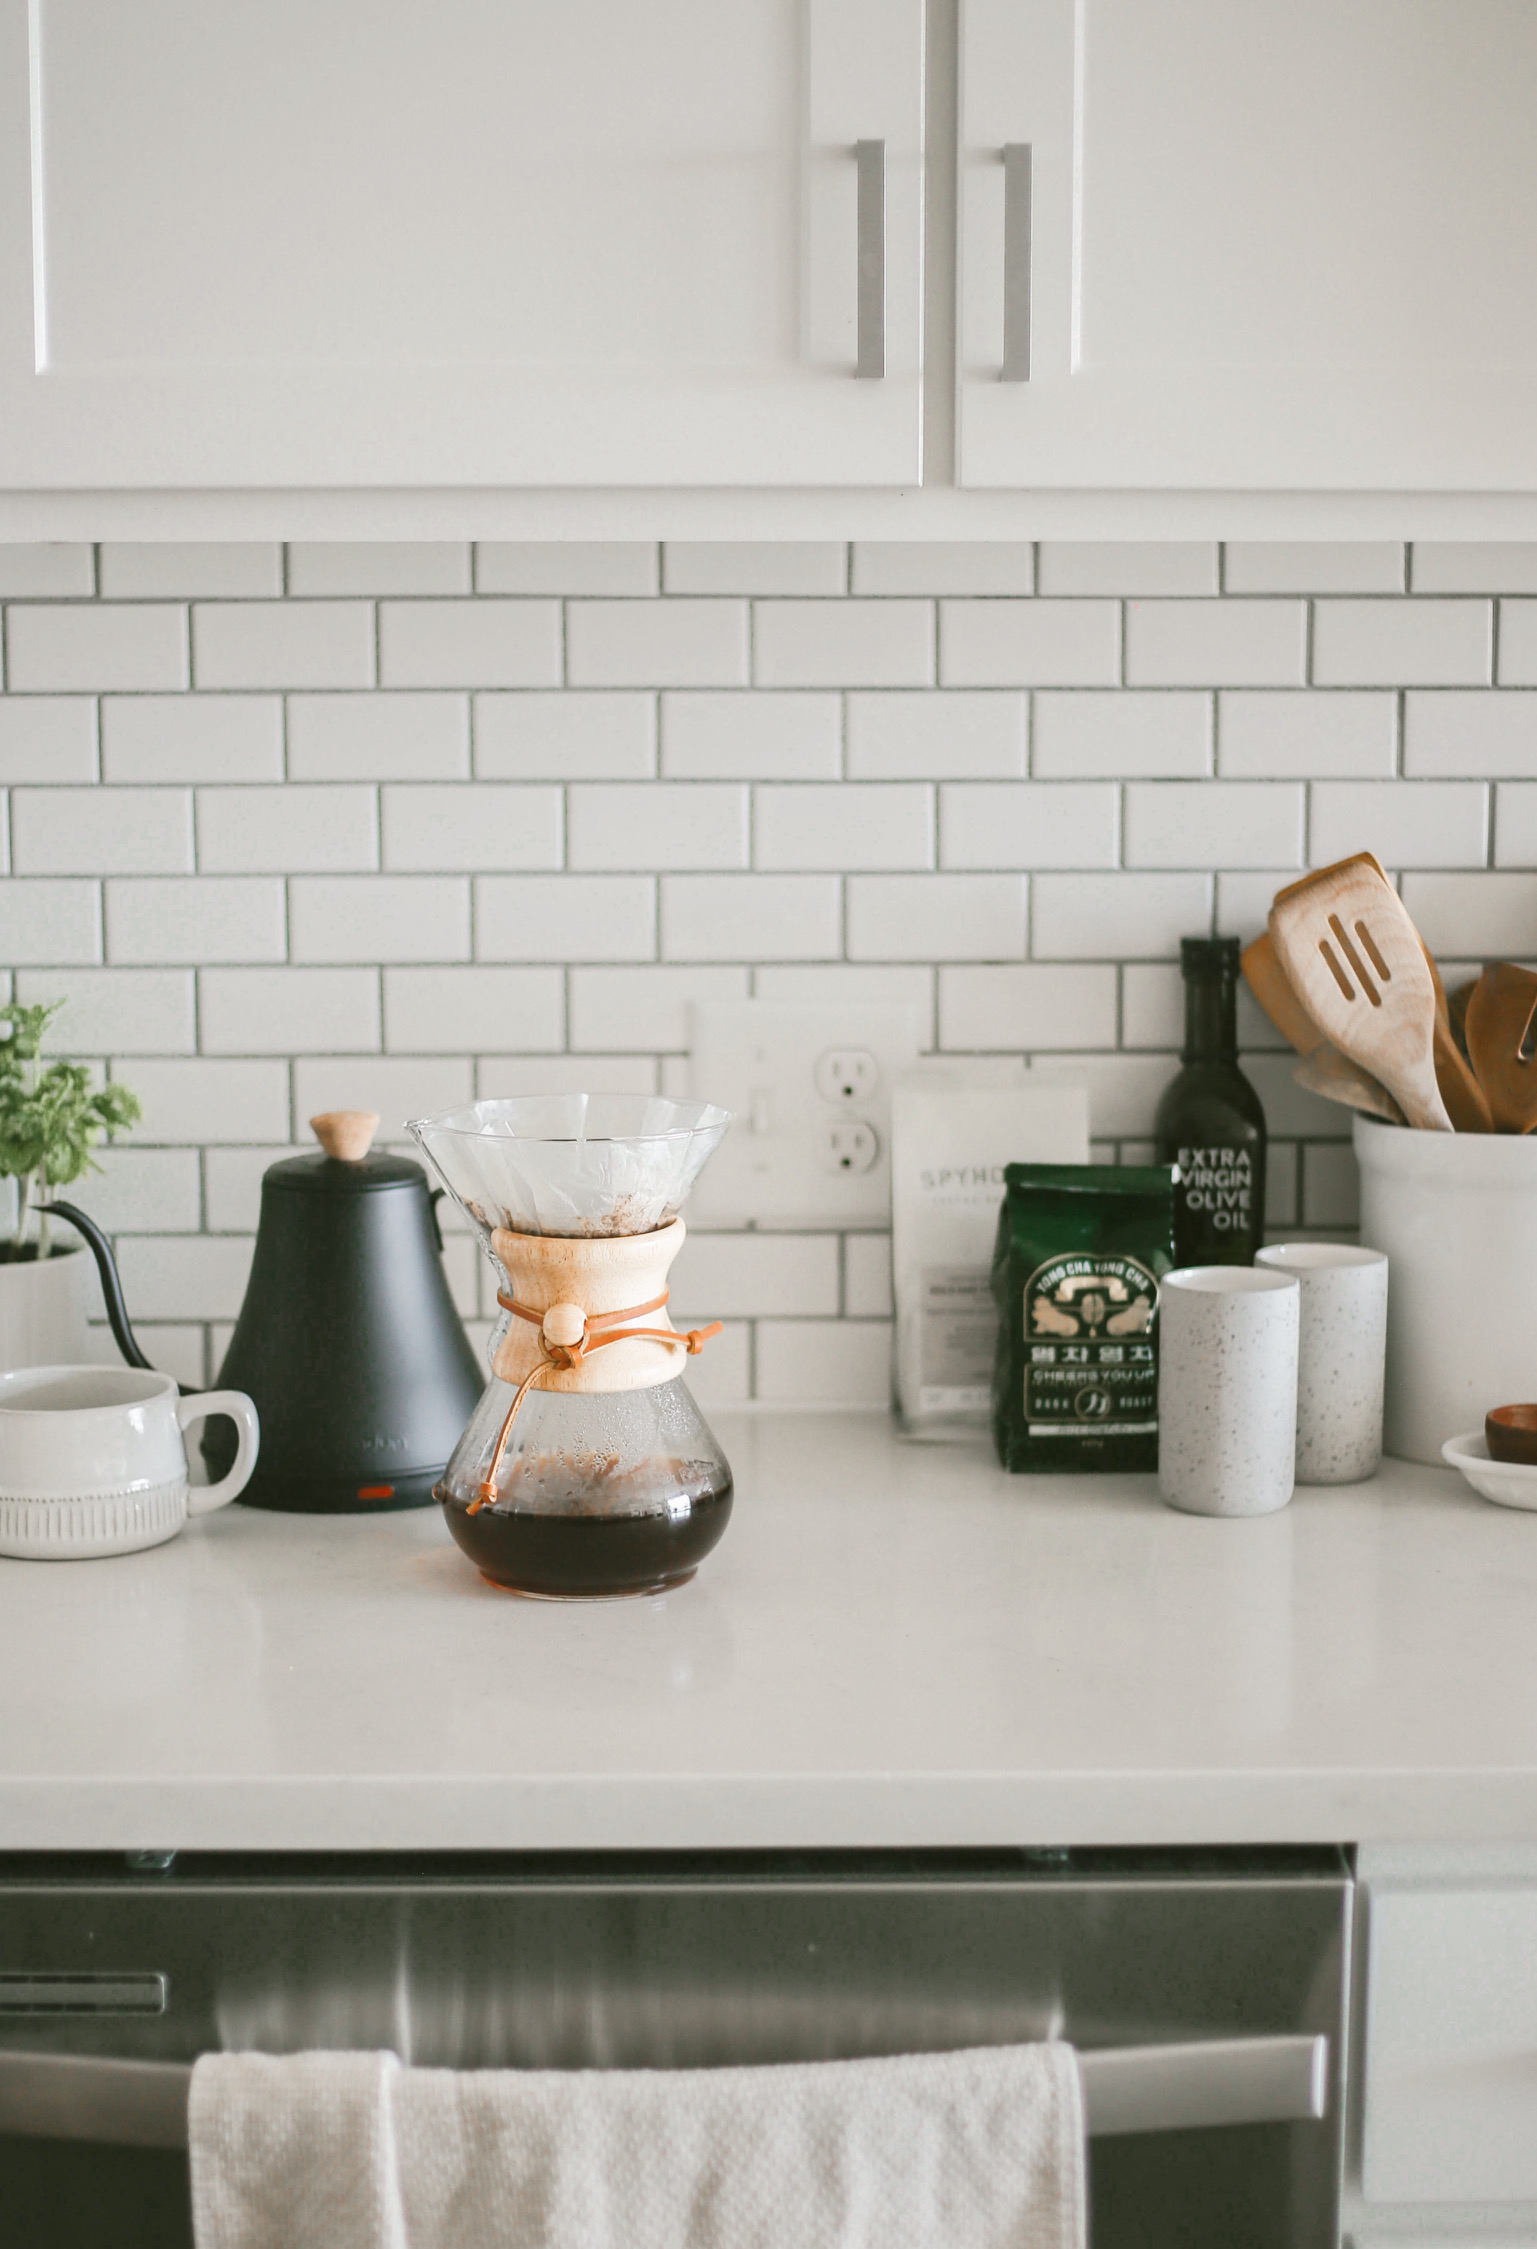
Pour Over Coffeemaker: I personally have a Chemex that I love, but I’ve also seen some beautiful ceramic drippers that take up less space and let the brew drip right into your favorite mug. Take your pick!
Gooseneck Kettle: Is a gooseneck kettle really necessary? I didn’t think so, but I now understand that it’s extremely helpful for controlling your pour and evenly blooming your coffee. I have this electric kettle but am also eyeing a nice stovetop one.
Coffee Grinder: There seems to be some debate on whether a burr grinder or blade grinder is the move here—the pros suggest a burr grinder, as it leads to more even grinds and better grounds. I personally have this blade grinder, it was an economical and accessible move as a beginner. Once you pick up on the right technique, I’ve found it to work just fine. However, once I become a professional, I may upgrade to a burr grinder.
Coffee Beans: Use your favorite! Chances are you’ll quickly figure out what flavors you love the most while on your journey to making the best pour-over coffee at home.
The Process
The ratio of grounds to water seems to vary slightly depending on who you ask. I’ve seen a lot of 1:15-1:17 ratios of grounds to water out there. After some testing, I’ve been sticking to about 25g of coffee grounds to 500g of water. Play around with ratios as you like!
Rinse your filter.
This gets rid of the papery taste and any residue that may be on the filter, improving the flavor of your coffee. Place the filter in your pour-over.
Grind the coffee beans.
This is the part of the process where I’ve done a lot of experiments and had to do a lot of reading, as the grind size is one of, if not the biggest factor that impacts the flavor of your coffee. The bad news, there’s no clear rule as to the right grind because there are a lot of factors that determine your ability to extract the best flavor from your grounds. The good news is that there are some general rules of thumb that will get you on the right path.
The easiest way I’ve been able to decode this is that the coarser your coffee grounds, the slower the rate of extraction, and the less concentrated your cup of coffee. This is a result of the water moving more quickly through the grounds. The finer your grounds are, the faster the rate of extraction and the more concentrated the flavor because the brew time increases. The sweet spot is somewhere in the middle so you expose the right surface area of your coffee grounds to the water for an optimal rate of extraction that allows for the best flavor. I’ve read a lot of articles saying your grind should look and feel similar to a coarse salt.
Remember, uniformity is key when it comes to grind. If your grounds are different sizes, the rate of extraction will be different and your flavor will be thrown off—this is why the pros prefer a burr grinder to a blade grinder.
More on grinds.
There are some other factors to take into consideration as well. Every bean is different. If you’re trying a new coffee bean, you might have to play around with the right grind to release the best flavor. The roast date (remember to look at the date of roasting when you buy coffee beans, not just the sell-by-date!) is just as important. The older your coffee beans are, the finer you may want to grind them to release the most flavor during extraction. The level of roast is also important. A general rule of thumb that I’ve found is a coarser ground for darker roasts and a finer grind for lighter roasts.
Heat the water.
If you want to get super exact, it seems a lot of the pros suggest heating your water to about 200 degrees. If you don’t have a thermometer, the suggestion is to bring your water to a boil, remove it from the heat, and let the water sit for about thirty seconds to a minute to cool just slightly.
Pour the water.
The first pour of water should be just enough to saturate and stir the grounds, this lets the coffee bloom. I pour about 50g of the water and then let it extract for about a minute. Stir the soaked grounds before proceeding to your next pour.
Start the main pour after the coffee bloom. Begin to pour about 100g in the center of the grounds and move in concentric circles to the edge of the filter. Allow the coffee to brew for about thirty seconds to a minute before going in for your next pour. Repeat this cycle until you have run out of water.
Enjoy your cup of coffee!
And now for the last, most fun, and my favorite part of the process…the coffee!
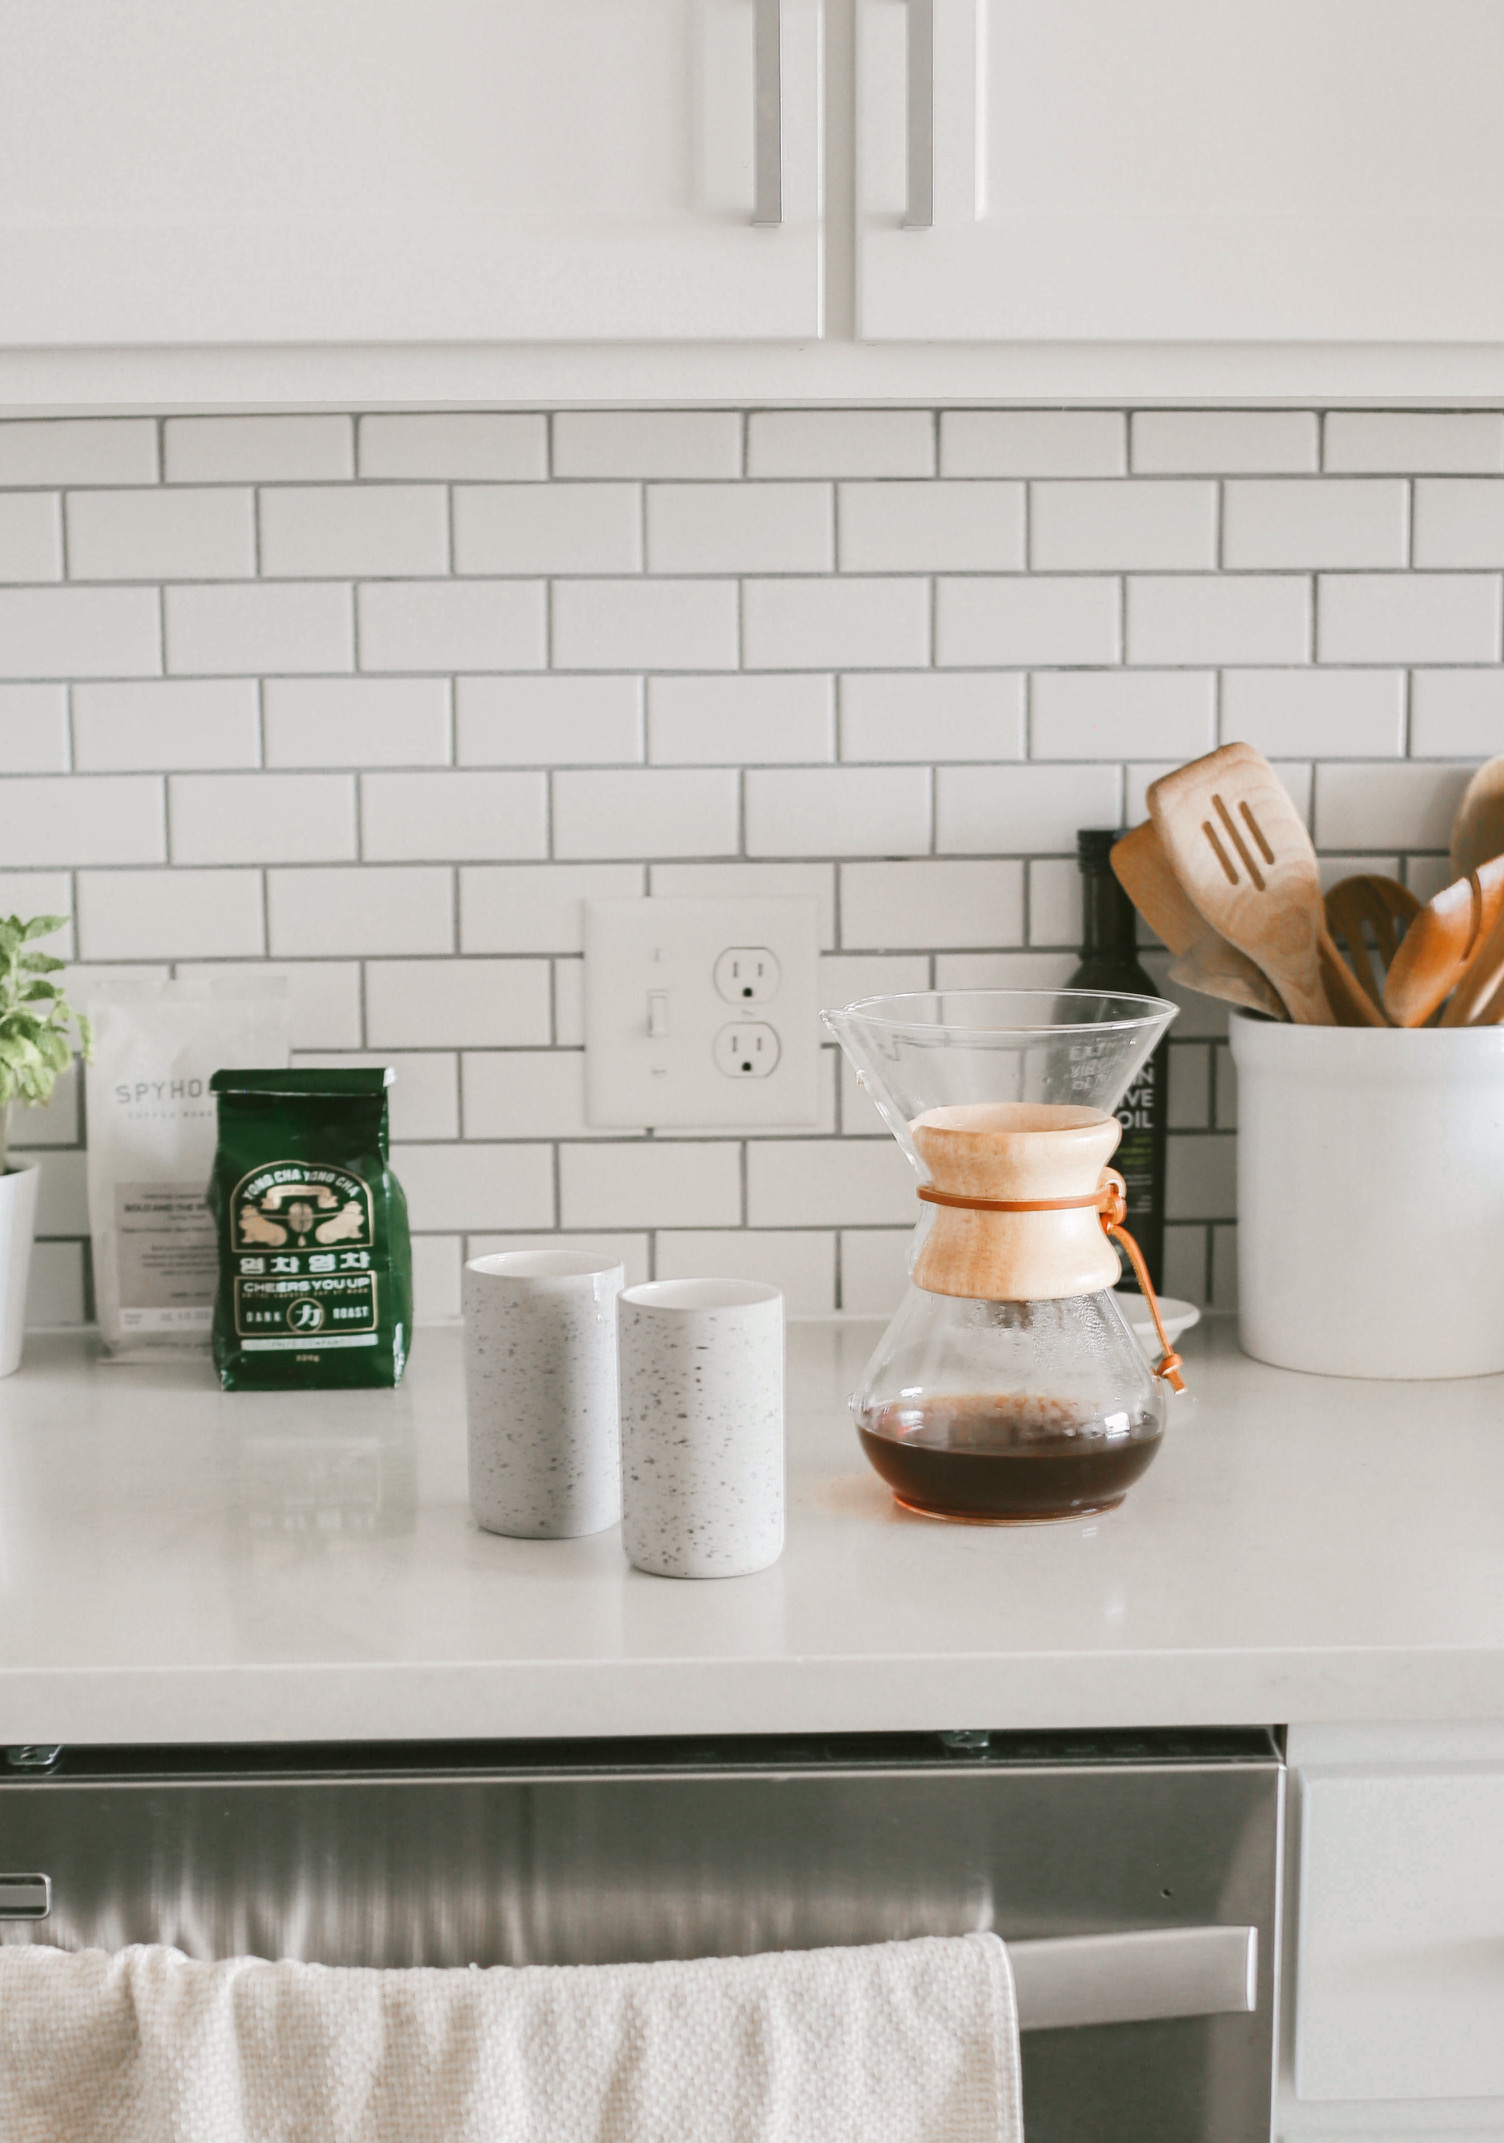
I’ve tried my hand at a few different bags of coffee beans from various coffee shops and small-batch roasters. Do your research, figure out what flavors you like, which coffee roasters you love to support, and try new roasts. If you’re not sure what you might like, your local coffee shop barista can point you in the right direction.
Here are a few of my favorite choices that I’ve tried:
Costa Rica Genesis Villa Sarchi, Fritz Coffee
Panama Finca Deborah Morpho Gesha, Momos Coffee
Bold and the Beautiful, Spyhouse Coffee
Learning to pour a great cup of coffee is a fun and experimental process. It’s a chance to play around with different factors and figure out what you really like. Try these tricks, share your own coffee tips, and here’s to many more mornings full of brews!
Are y’all team pour-over coffee? Let me know your tips and tricks to the best cup of pour-over coffee below!