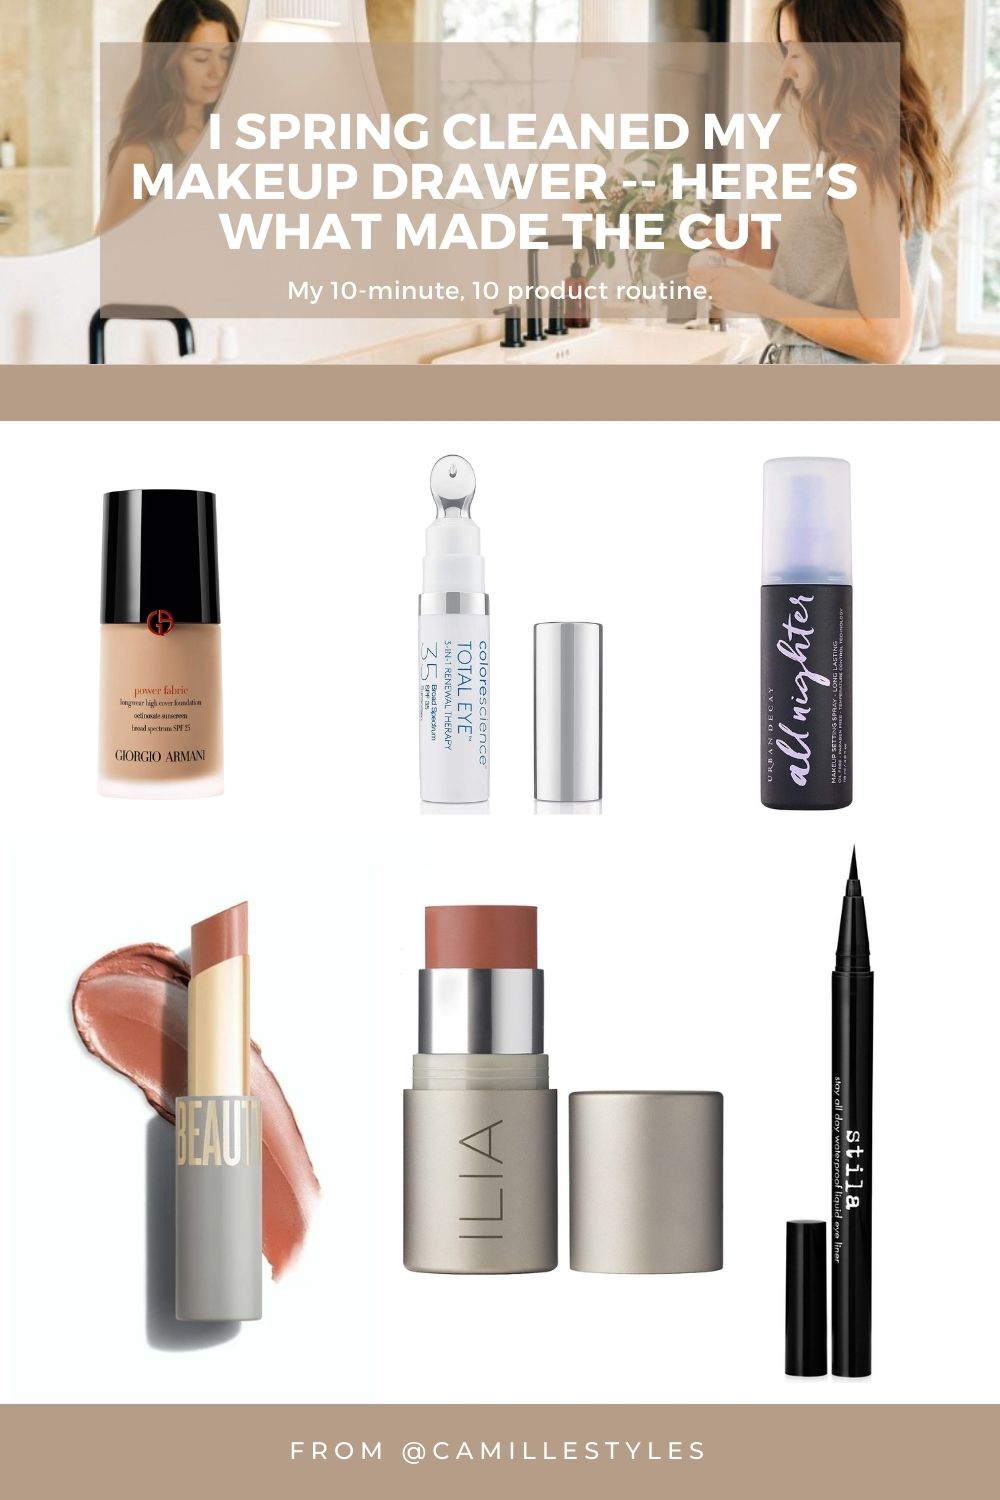
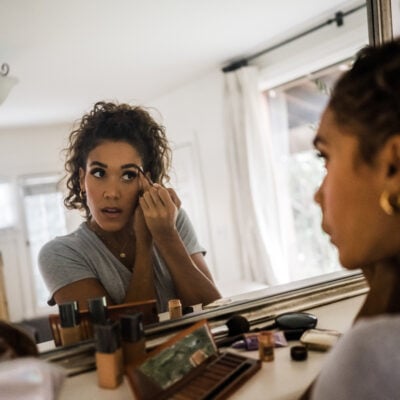
Newsflash: the era of caked-on makeup and overlined lips is as over as the extreme Instagram filters we all used to use. So what’s taken its place? An effortless look that’s all about enhancing your natural features and letting your real skin show through. After all, if we work this hard on our skincare, it should have its moment to shine! Although I love a minimalist everyday makeup routine, I do enjoy my products, and being in the line of work that I am, I regularly get sent a lot of new products to try out. Last weekend, I decided it was time to purge some of the items taking up real estate in my makeup drawer, and I ended up donating a ton and whittling it down to the bare essentials. It feels so good.
Read on for the 10 essential products that made the cut – it takes me 10 minutes to apply them all and feel polished, fresh, and never overdone.
These are my ride-or-dies, the very best makeup products in each category according to me — and most of them I’ve been using faithfully for at least a couple years. I’m also sharing my tips for using each one, and why they’ve come out ahead of others in their categories. Drop a comment with your essential products for a minimalist everyday makeup routine – I’d love to hear!
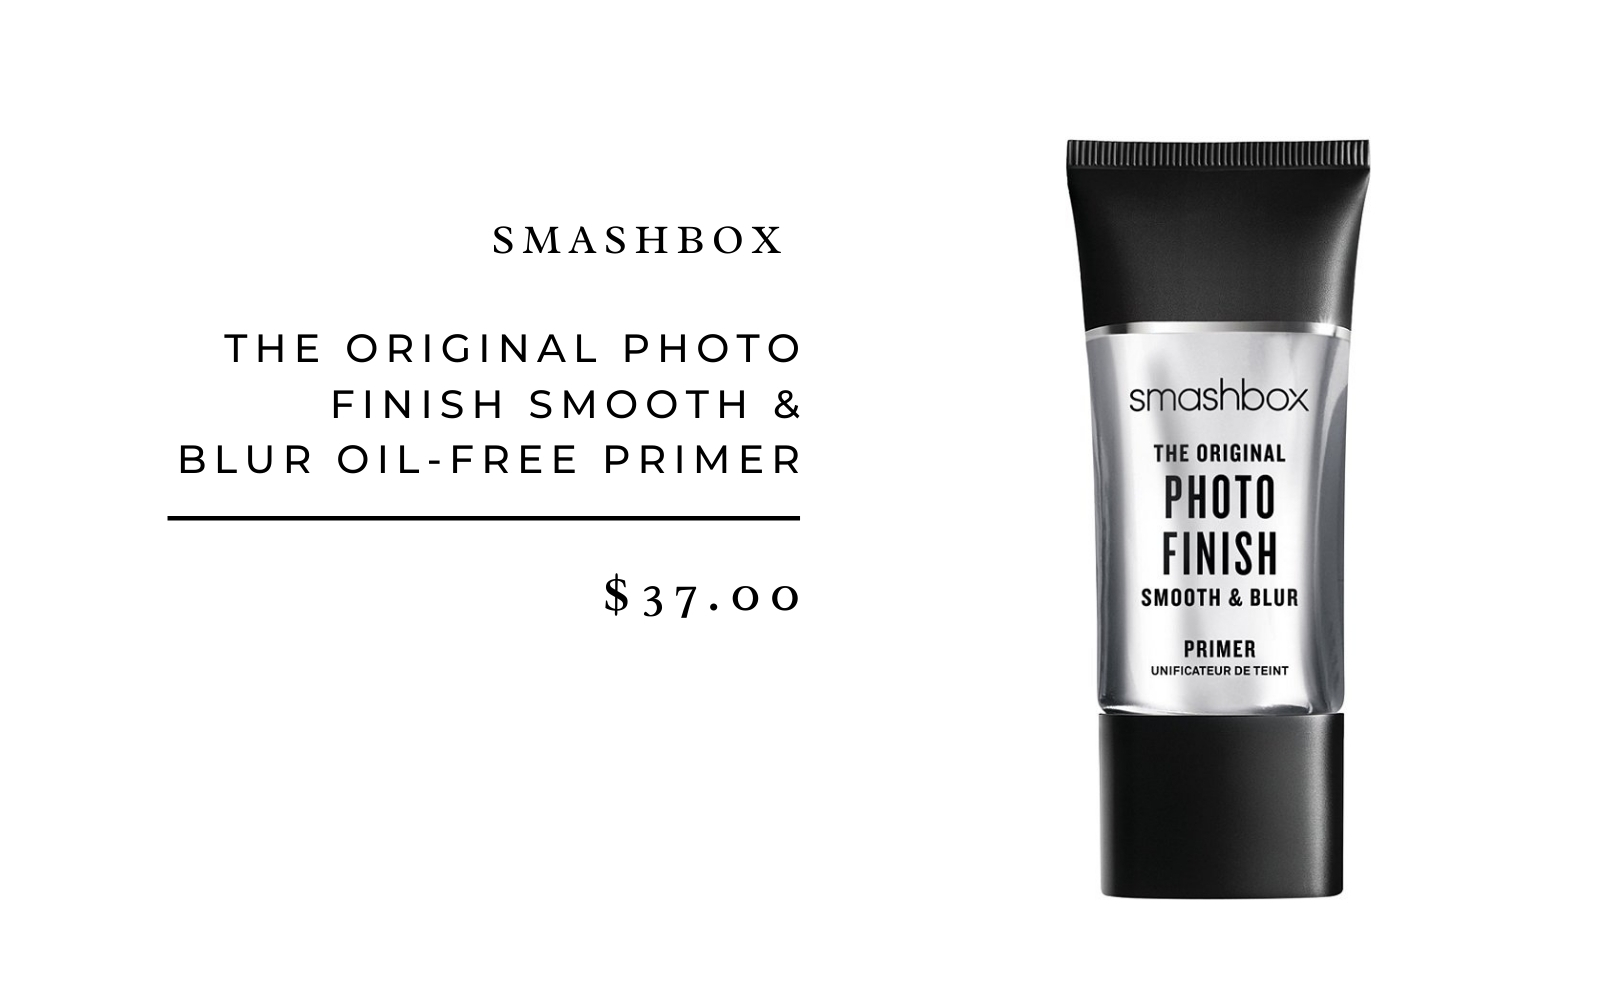
First, apply primer: Smashbox The Original Photo Finish Smooth & Blur Primer
Why it made the cut: So many primers feel like a layer of spackle under your makeup, whereas this lightweight classic from Smashbox actually smooths skin and pores so your makeup glides on easily and really lasts. It blurs fine lines and pores, and is packed with vitamins A and E to protect your skin.
How I use it: I smooth it all over my face (including underes and eyelids) right before applying foundation.
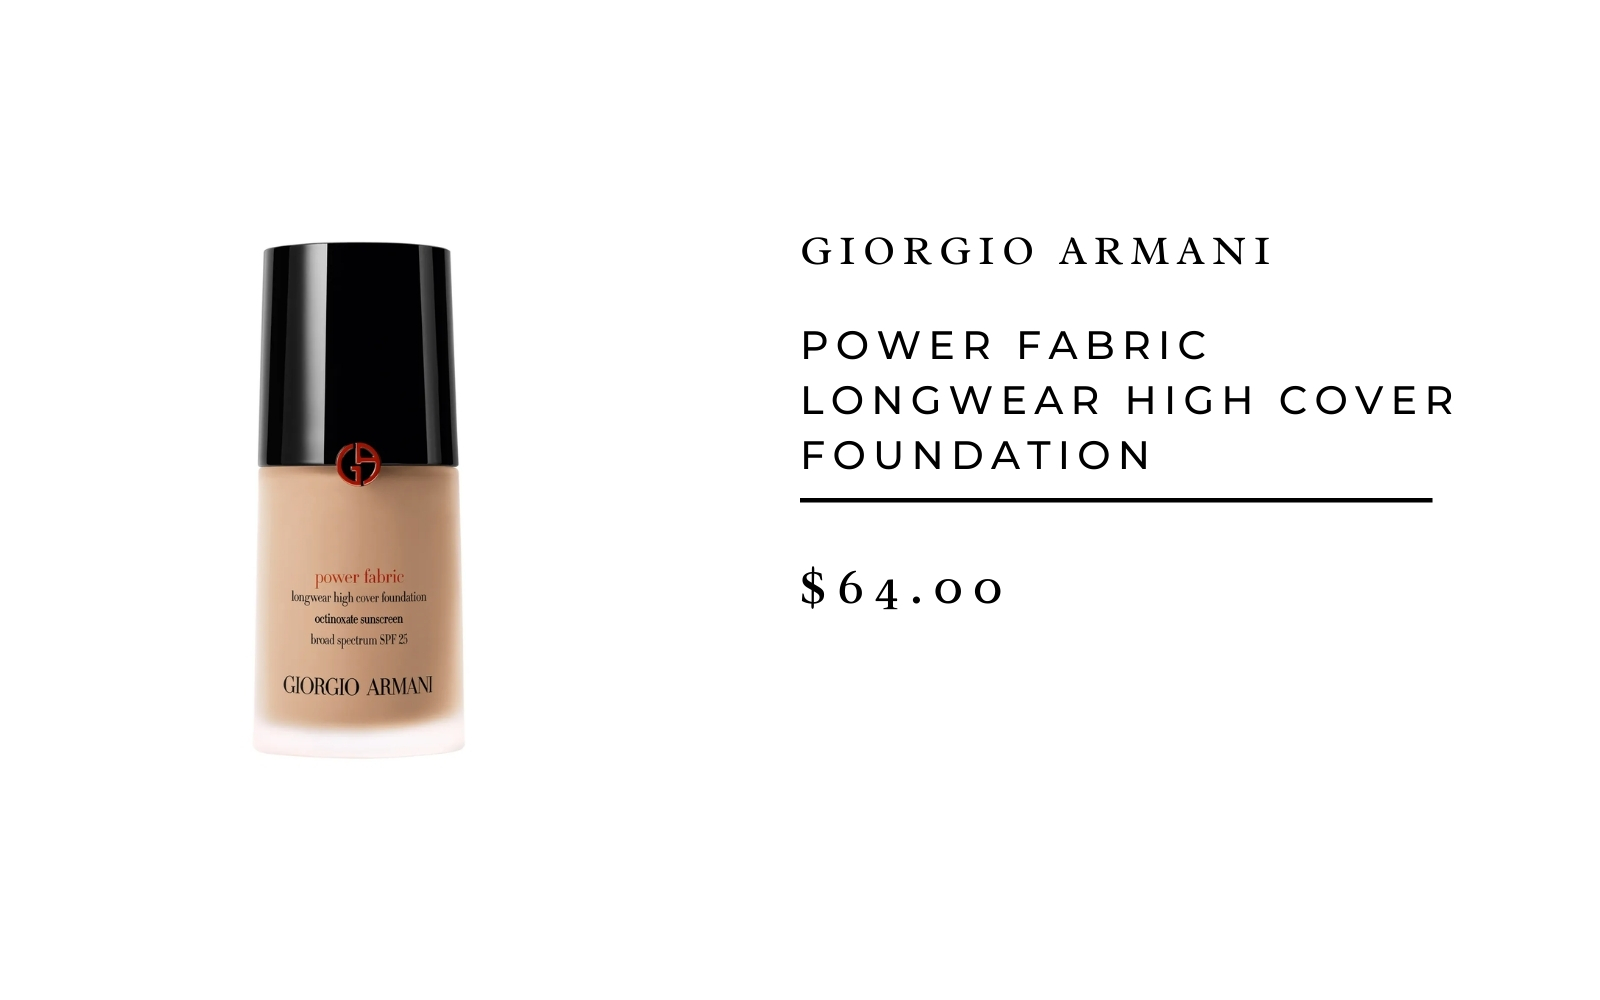
Next, even skin tone: Georgio Armani Power Fabric Longwear High Cover Foundation SPF 25
Why it made the cut: Every time I try out a new foundation, I end up thinking, “Why?” This one is simply the best. It’s one of the rare foundations that gives full coverage over unevenness or redness, but somehow still lets skin glow through — it never feels heavy. Its long-lasting, natural velvet-matte finish is good for those like me who veer towards shiny, and it’s also got a solid SPF so I can check that off my list without an extra step.
How I use it: I apply 1 small pump to my fingertips, then use middle fingers of both hands to dot in the areas of my face where I need a bit of extra coverage — under eyes, around nose and mouth, and the center of my forehead. Then I use my fingertips to gently blend until I can’t see it anymore.
Alternate if I’m feeling like less coverage: Saie Slipcover Broad Spectrum SPF 35 Sunscreen Tinted Moisturizer
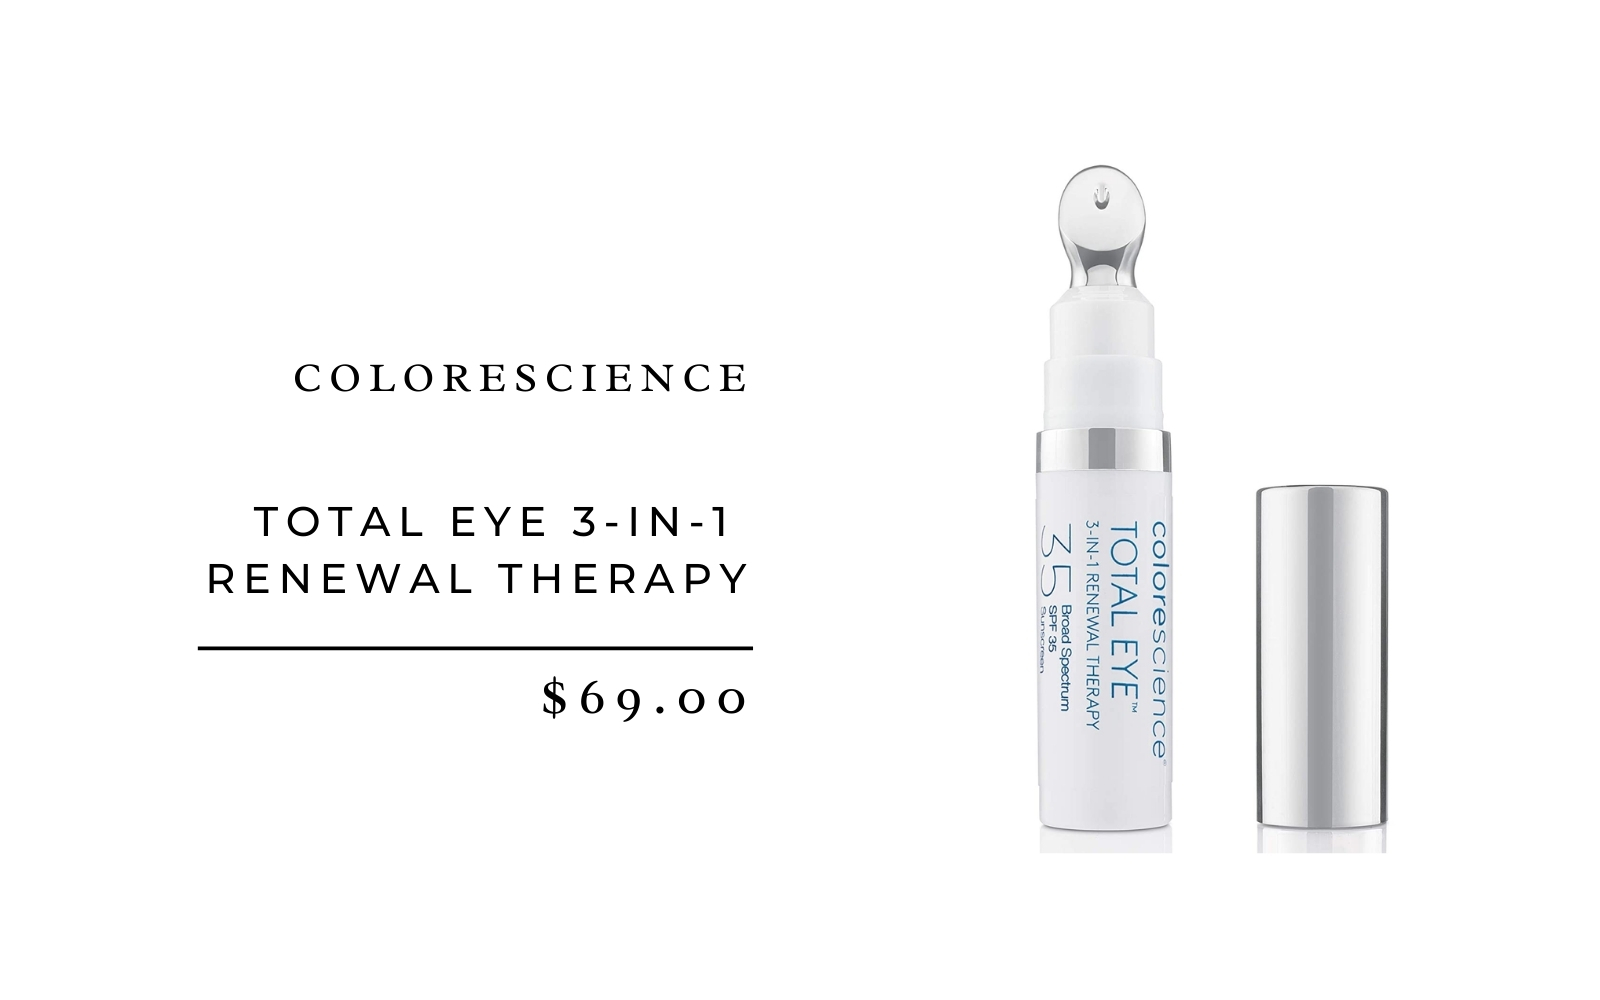
Brighten eye area: ColoreScience Total Eye 3-in-1 Renewal Therapy
Why it made the cut: This is the newest addition to my lineup — I’ve been on the hunt for the perfect, super moisturizing undereye moisturizer, and I happened to stumble across this one at my derm’s that adds concealer into the formula as well! So far, it feels like a miracle product: it’s packed with antioxidants and hyaluronic acid, and while it conceals, it also reduces signs of aging, dark circles, puffiness, and dryness. It has some pretty amazing clinical studies listed on the product page, so judge for yourself — but so far, I’m a believer.
How I use it: After foundation, I use the cool metal applicator to dot around both eyes. Then, I smooth it all around the eye and blend with my fingers.
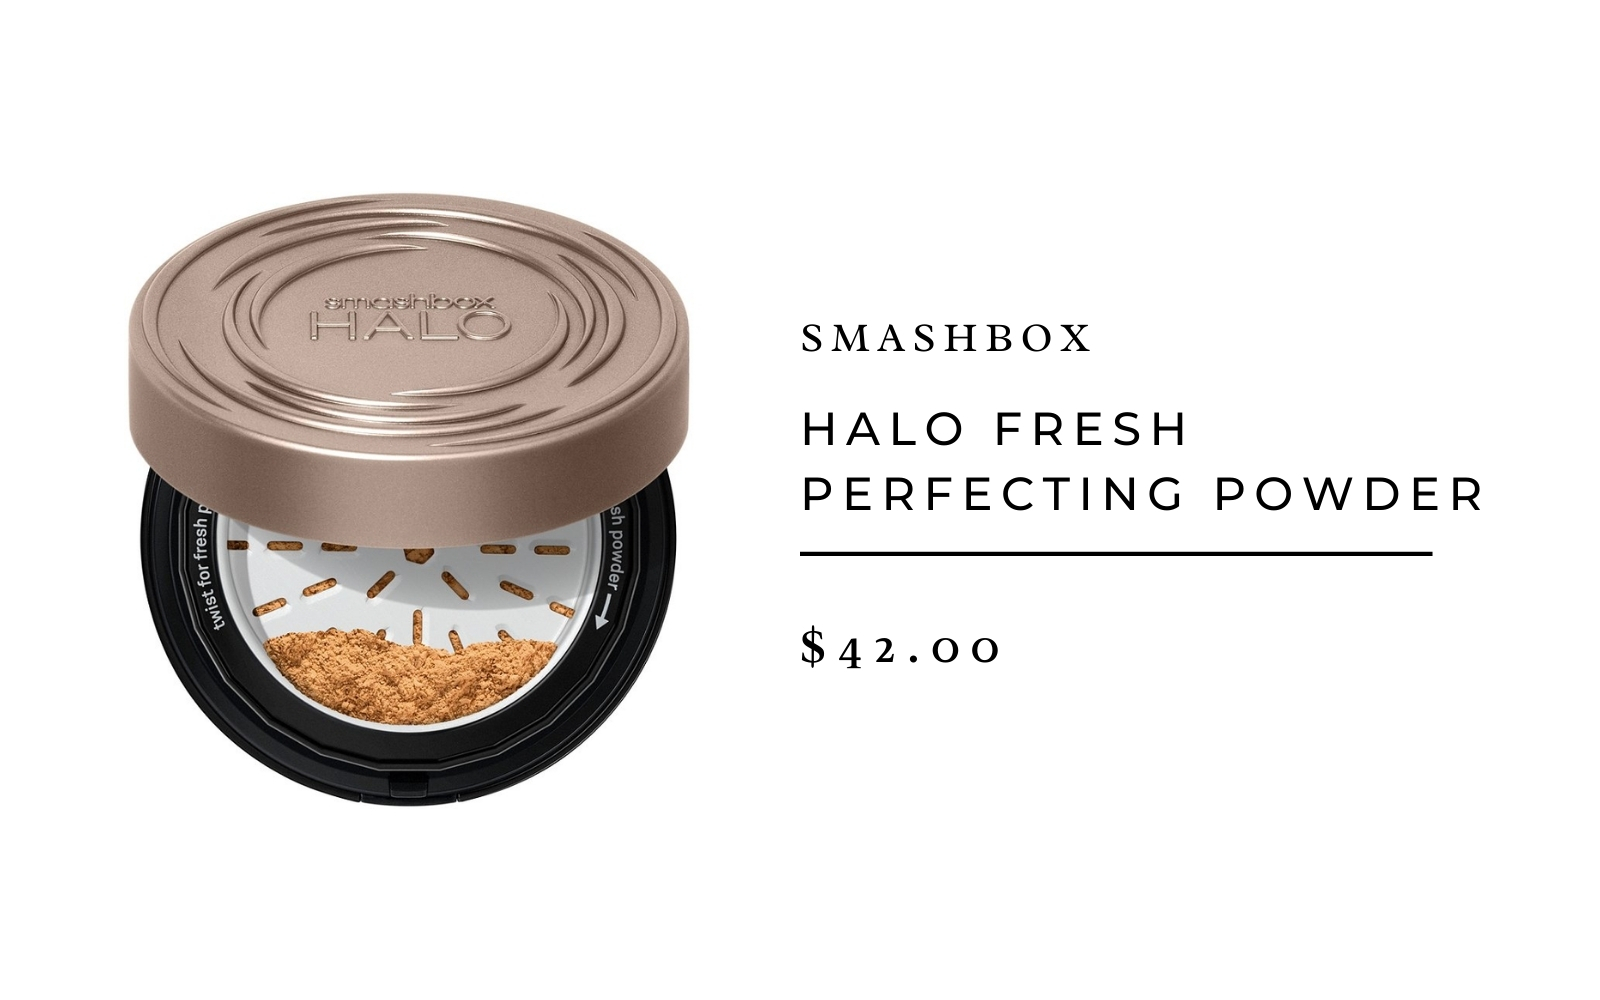
Cut down on shine: Smashbox Halo Fresh Setting & Perfecting Powder
Why it made the cut: Again, one of those products that I don’t realize how amazing it is until I try any other powder, and they don’t even compare. This loose powder somehow strikes a balance between lightweight, yet still providing a slightly airbrushed blur that perfects skin and combats shine. It sets makeup, makes it last, and always looks glowy, never cakey.
How I use it: After foundation and/or concealer, I swirl a big fluffy brush in the powder, then tap off any excess. I brush it all over my face in sweeping circles, concentrating a little more in the areas that tend to get most shiny: forehead, nose, and eyelids.
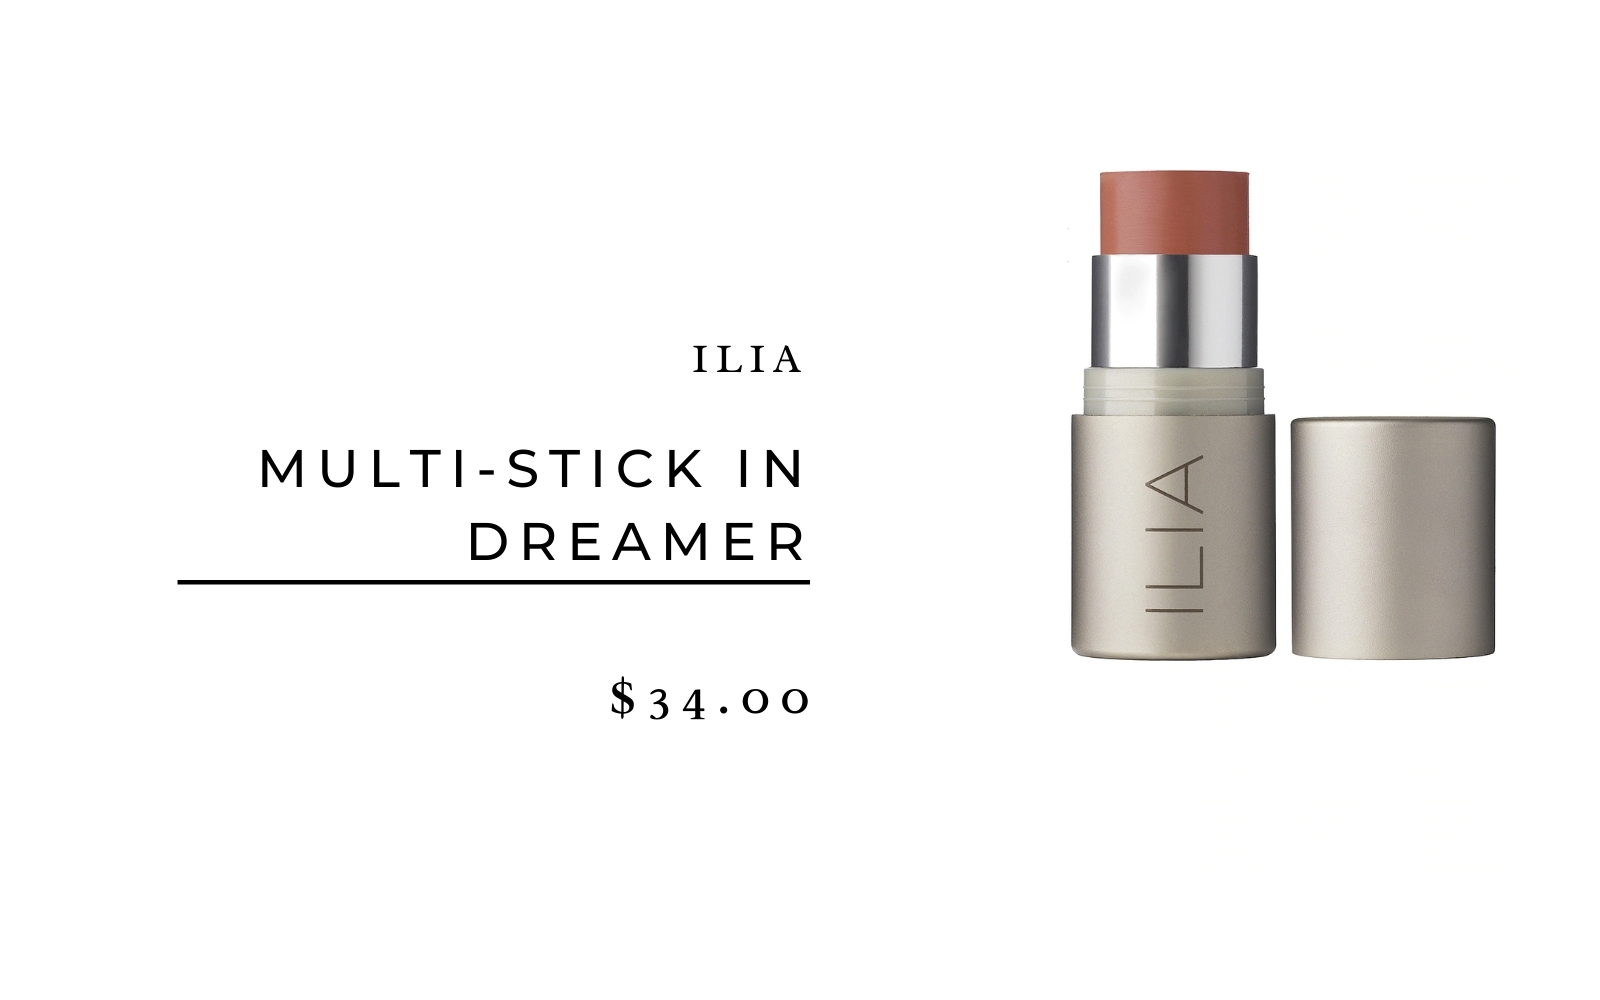
Add color to cheeks: Ilia Multi-Stick in Dreamer
Why it made the cut: I love a flushed cheek, but formulas can be really tricky when it comes to cheek color. Powder can look streak or heavy, while stains/creams can be a bit blotchy – and tend to fade quickly on my skin. Enter this Ilia Multi-Stick. I love that I can throw it in my person and use fingertips to blend if I’m on the go (no brushes necessary.) Plus the buttery texture melts on contact and looks like a truly natural flush on cheeks. Dreamer is a flattering nude blush that seems to look good on just about everyone, and is the perfect cheek for a minimalist everyday makeup routine.
How I use it: After powder, I use the stick to dab a few big dots from apple of cheek along cheekbone all the way up to my temple. Then I blend with fingers, and use a blush brush to gently “tap” the edges in for a seamless look that still pops.
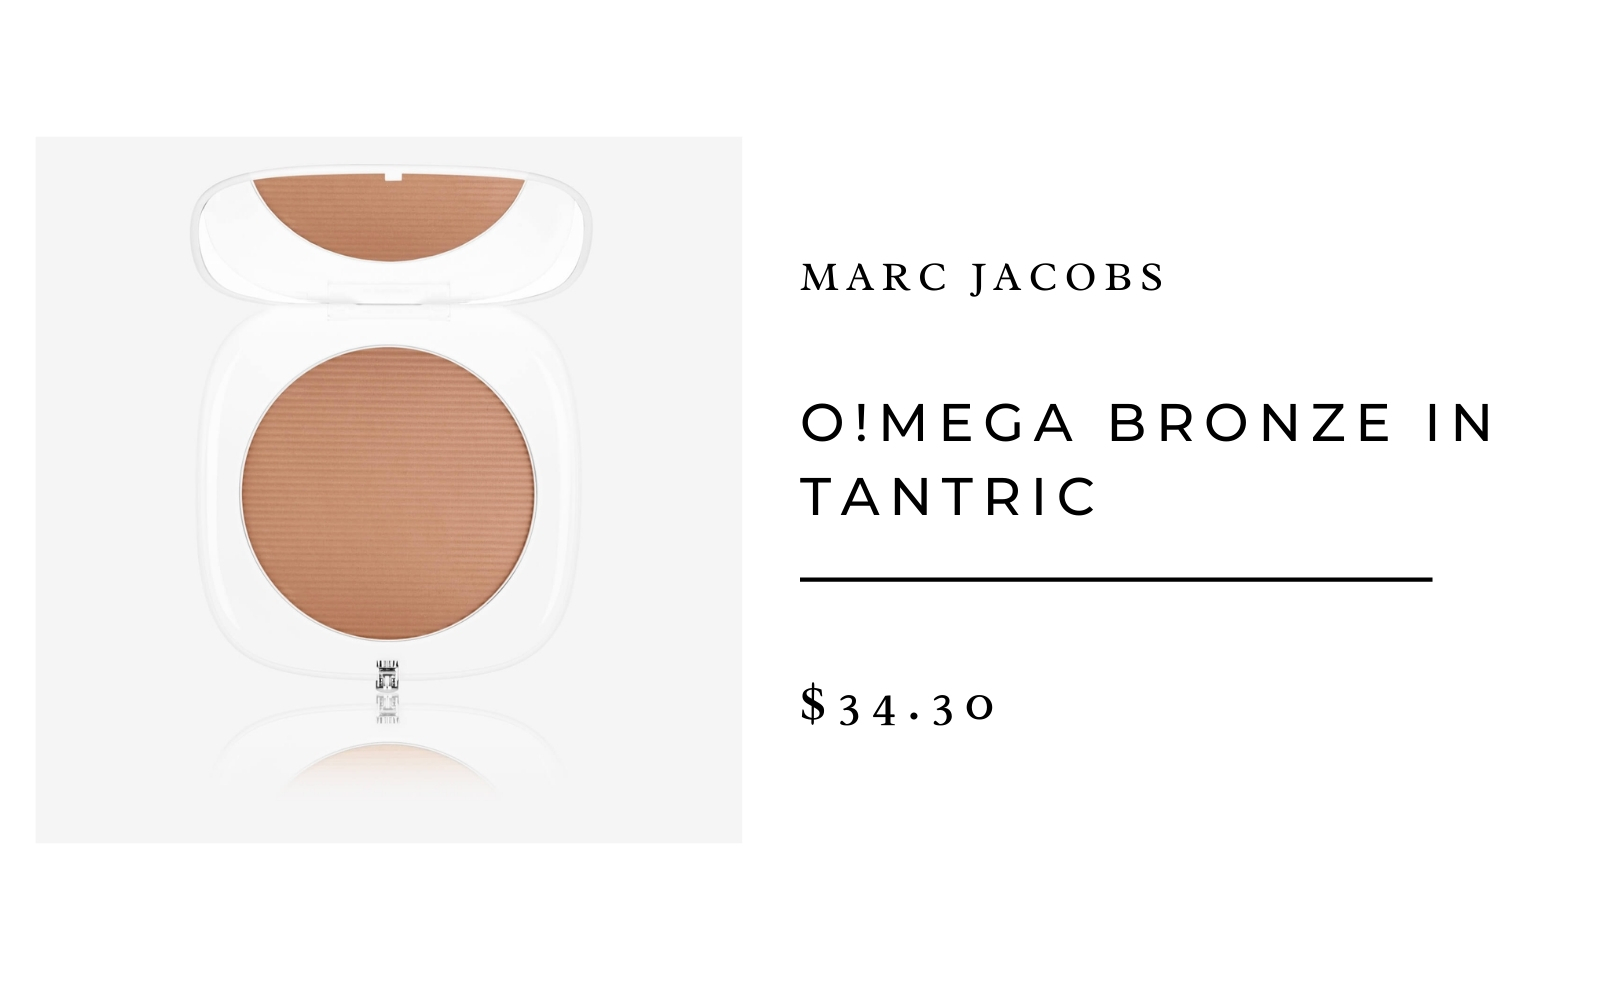
Get a glow: Marc Jacobs O!Mega Bronze Perfect Tan Bronzer in Tantric
Why it made the cut: It probably comes as no surprise that I love a bronze glow, and through the years I’ve tried many — and have the old Facebook photos of me with an orange-y cast over my entire face to prove it. I’ve been using this one from Marc Jacobs for the past few years, and I’ve finally entered into the more grown-up territory of “subtly glowing.”
How I use it:
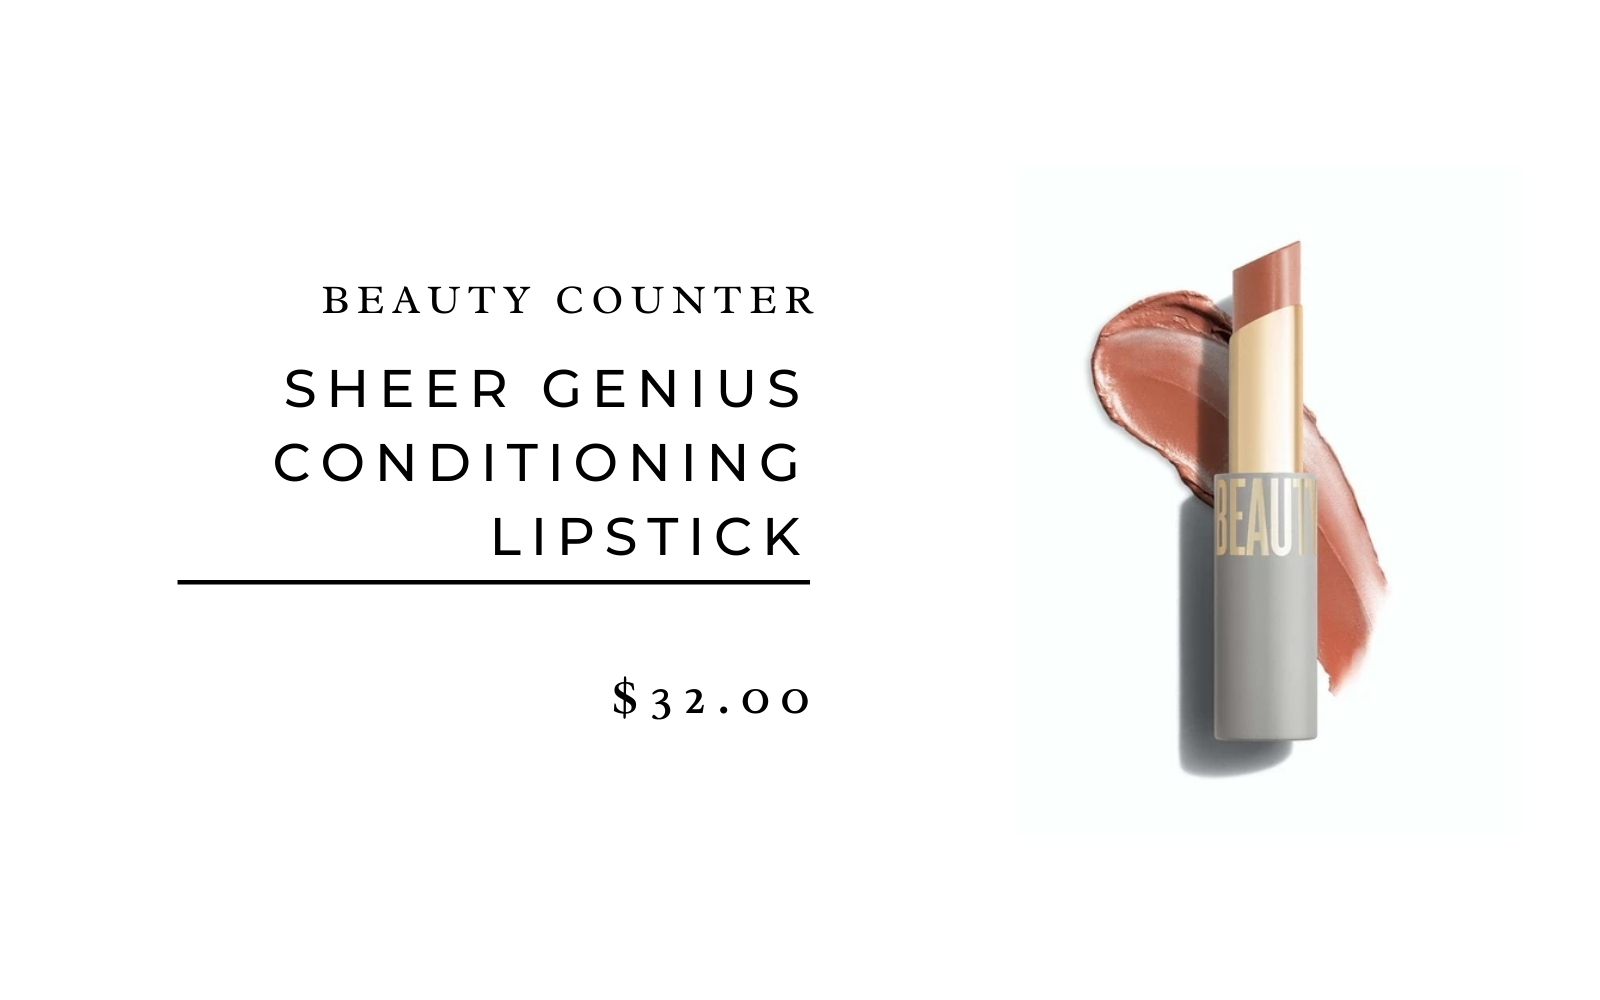
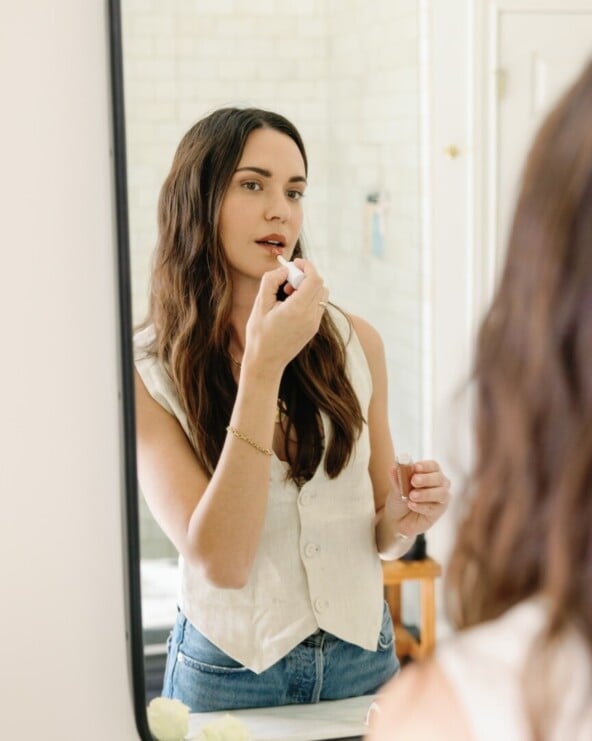
Perfect your pout: BeautyCounter Sheer Genius Conditioning Lipstick
Why it made the cut: It’s as moisturizing as lip balm with a sheer wash of natural color that feels truly pampering. Once I started using this lipstick, all the others in my makeup bag slowly started being eliminated as they really just couldn’t compete.
How I use it: It’s foolproof: thanks to the proprietary SmartWax Botanical Blend made of emollients and plant-based waxes, one swipe locks in moisture and color. I keep one in every bag to use throughout the day.
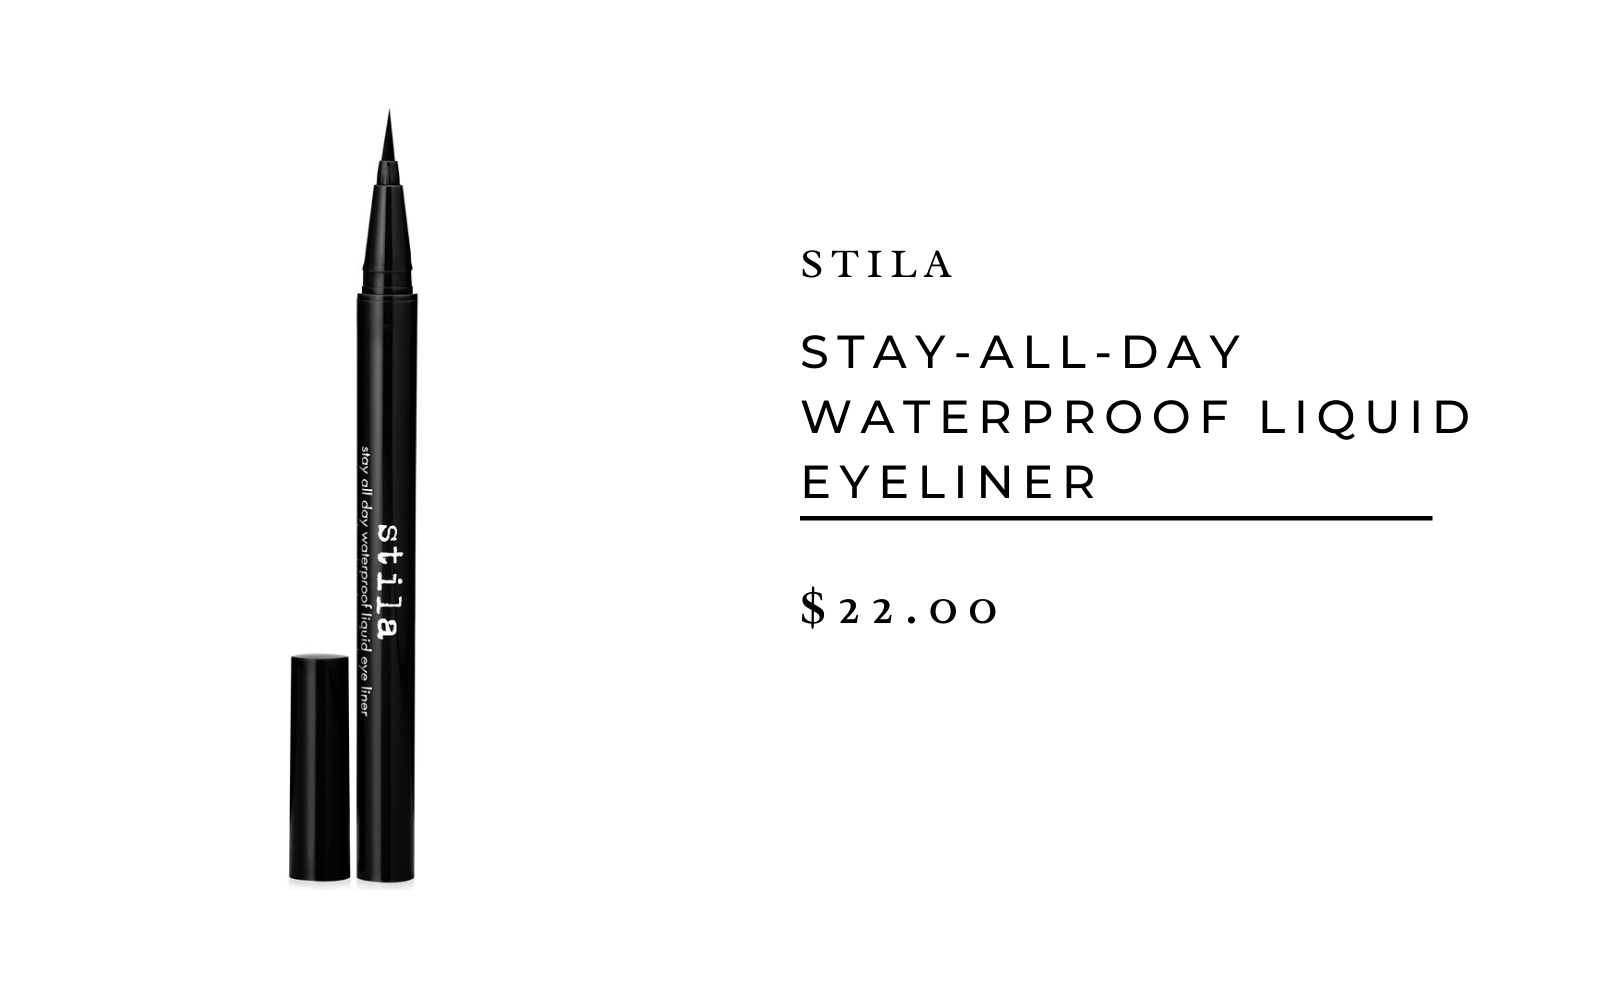
Define eyes: Stila Stay-All-Day Waterproof Liquid Eyeliner
Why it made the cut: For me, a great liner has to glide on seamlessly without pulling, stay on all day without smudging, and have a tip that’s fine enough for me to get it right into my lash line. This one checks all the boxes, and it continuously surprises me how long a tube of this lasts. For months this is the liner that just keeps going and never gets dried out.
How I use it: The marker-like tip is great for eyeliner newbies — you can create a super thin line or a bold cat-eye. After face makeup but before mascara, I use my lefthand to gently pull the corner of my eyelid to flatten it out, then run a tiny line on the “ridge” of my upper lash line. The result is barely there eyeliner that defines my eyes without looking like I’m actually wearing much eye makeup at all – perfect for a minimalist everyday makeup routine. For a night out, I thicken the line and line my lower lids, too.
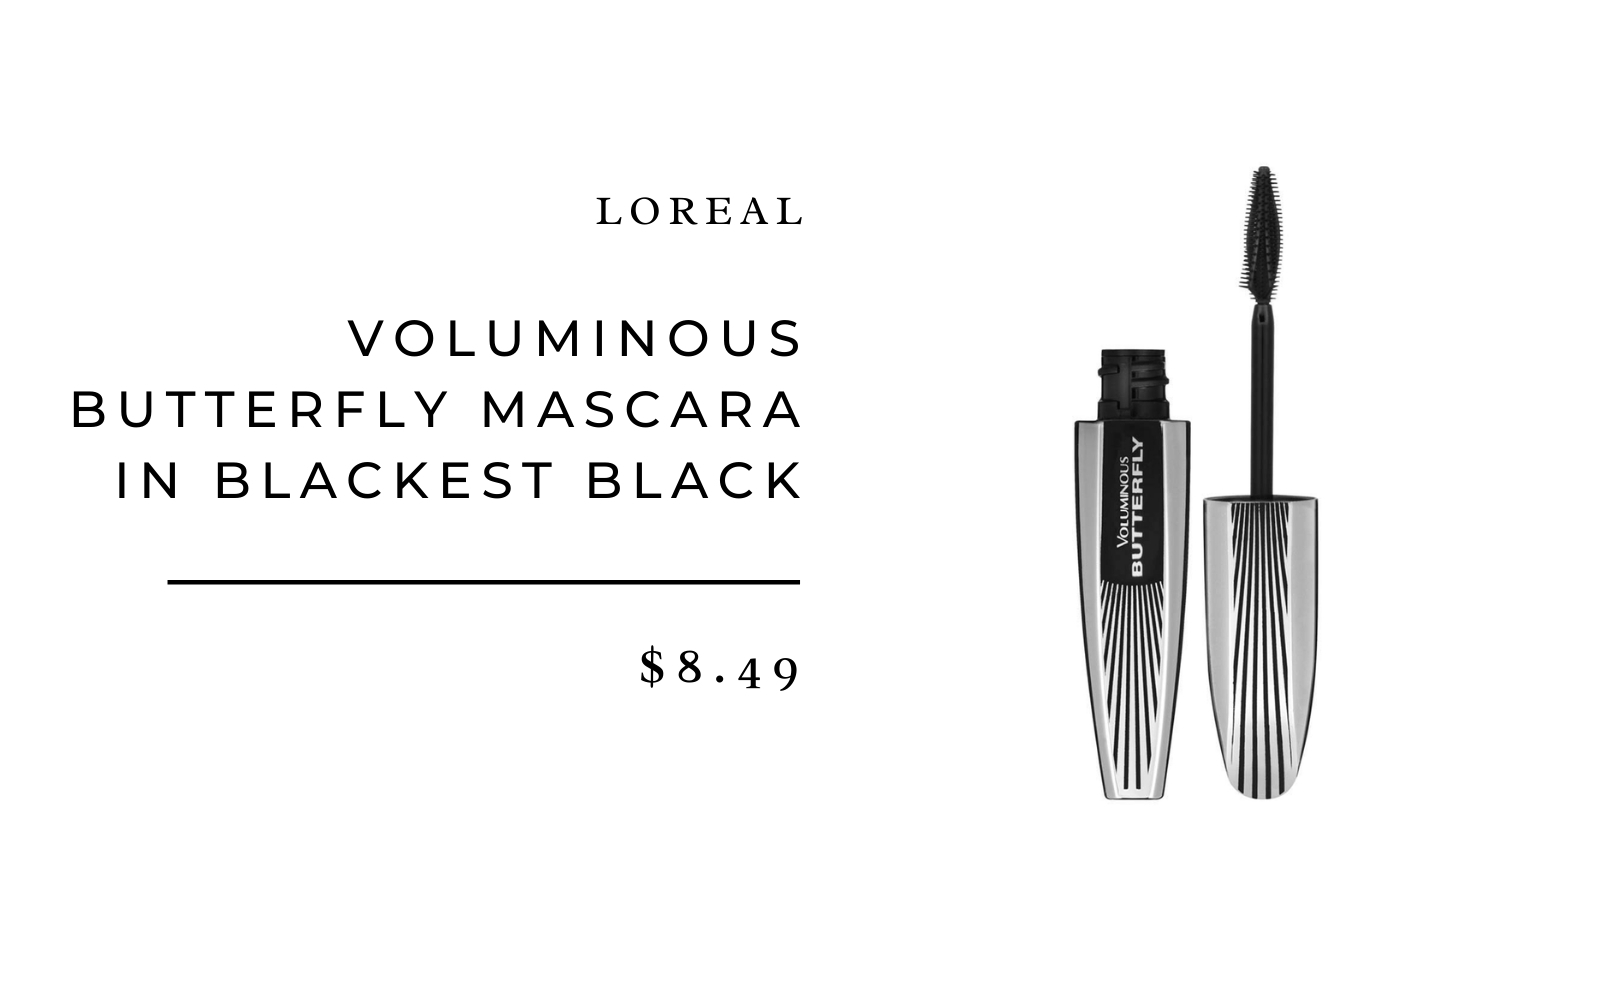
Pump up lashes: Loreal Voluminous Butterfly Mascara in Blackest Black
Why it made the cut: Out of every product on this list, my Loreal Voluminous Butterfly Mascara is the one I’ve been using longest. It’s got it all: lengthening and thickening, without clumping or smudging. It’s just absolutely perfect, and IMHO, blows its much pricier competition out of the water. In the summer, I use the waterproof version if the pool or beach might be involved.
How I use it: I subscribe to the “wiggle technique,” where you start the mascara wand at the base of lashes and slowly wiggle-wiggle-wiggle from roots to ends. Then swipe lower lashes with quick little light strokes. I don’t usually have to curl my lashes because I get a professional lash lift every 6-8 weeks (my lashes are naturally so straight that they almost point downwards!) If I’m really pumping up the volume, I let the first coat dry and then add another on top lashes only.
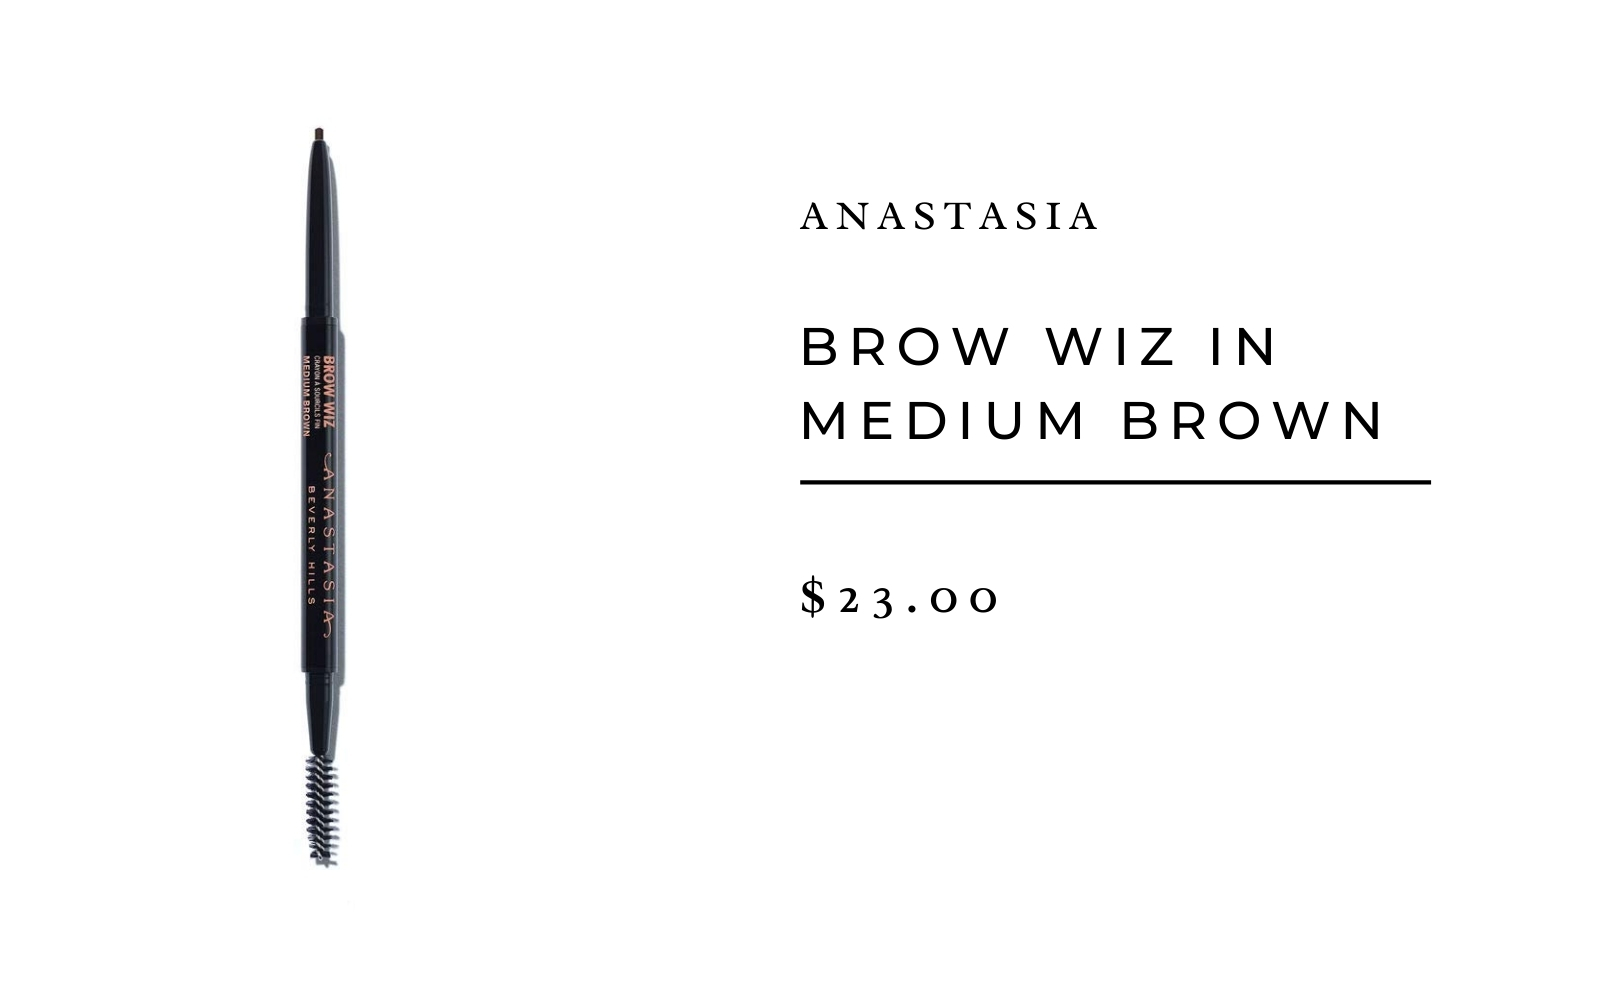
Fill in brows: Anastasia Brow Wiz in Medium Brown
Why it made the cut: It’s the industry standard for a reason. This super skinny pencil creates hair-like strokes that actually look natural as you fill in brows. It’s super precise and doesn’t smudge, and I love the little spoolie on the opposite end for blending if any of my lines are a bit too bold.
How I use it: At the very end of my makeup routine, I spot fill sparse areas of my brows by adding tiny strokes in the direction that the real hair is naturally growing. So for example, at the thickest part of my brow on the inner corner, I add strokes that go upwards; as I move to the outer tail, the strokes become more horizontal to match the way the hair is growing. The result? Naturally bold brows instead of ones that look “drawn on.”
Editor’s note: I’m currently going through an intense brow journey of having my microblading removed, so my routine is a little off as I’m dealing with a lot of peeling from the lasers used on the removal. I’m planning a full post about this for those of you who are curious, but even now, my Anastasia Brow Wiz is getting me through this very awkward time for my brows.
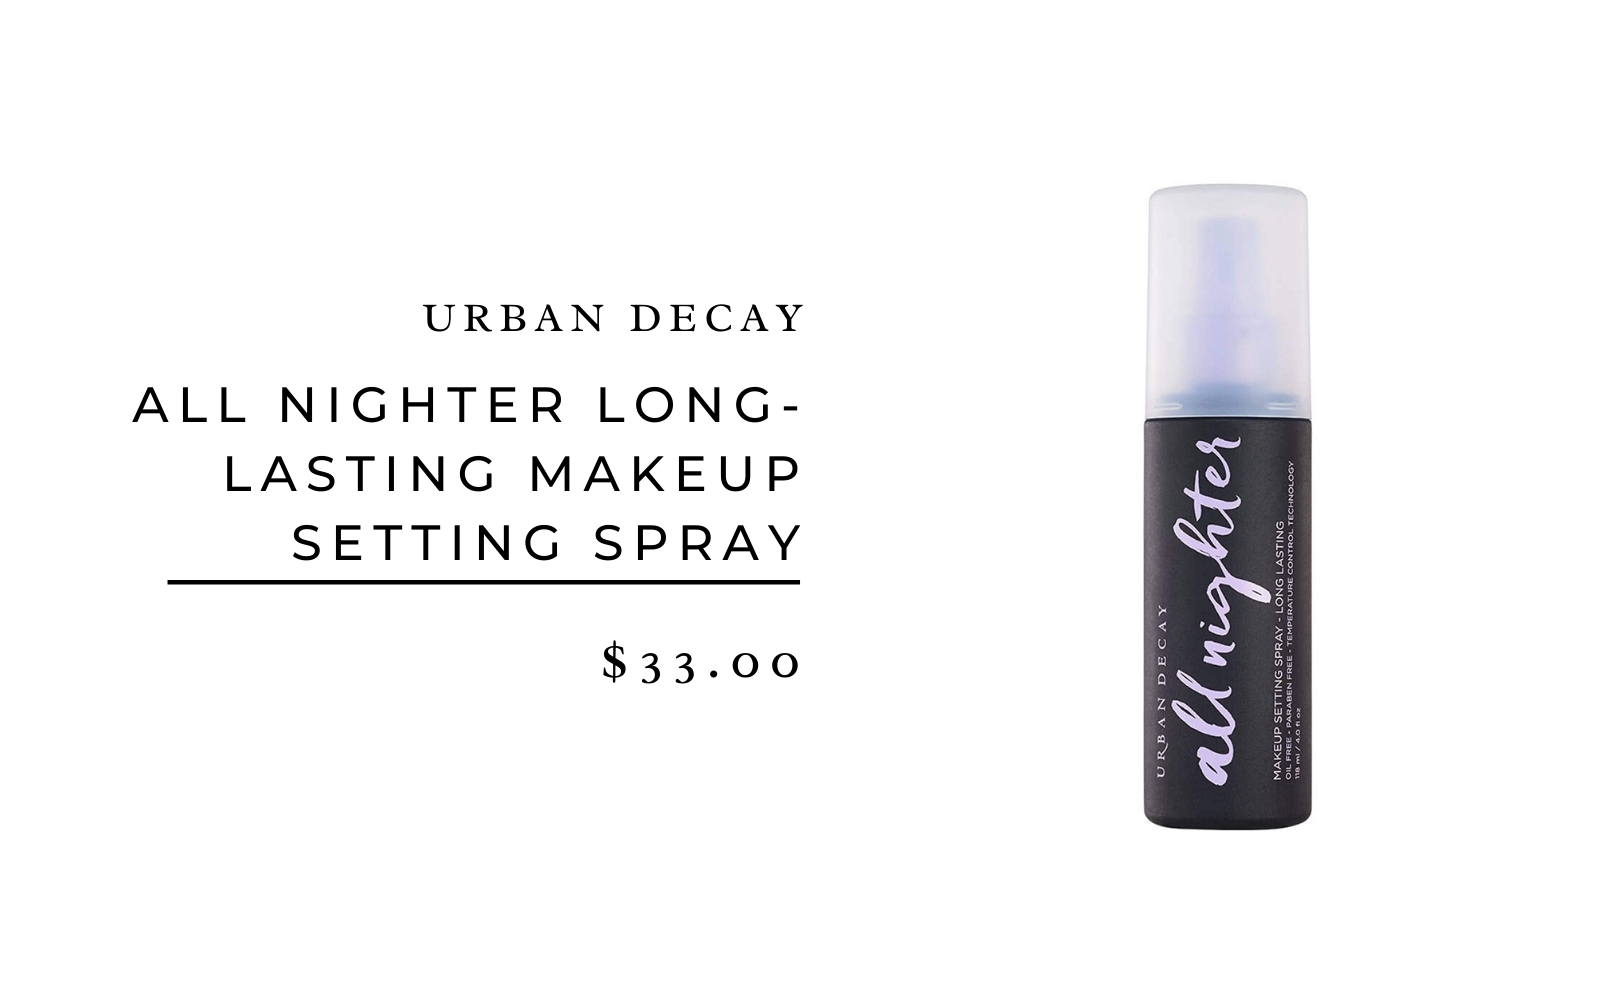
Bonus! Set it and forget it: Urban Decay All Nighter Long-Lasting Makeup Setting Spray
Why it made the cut: Most people look at “setting spray” as an unnecessary step in their makeup, but I like to spritz a little on even when I’m doing even my minimalist everyday makeup routine. Why? Well, it takes about 2 seconds, for one. And the benefit is that my makeup stays on twice as long and looks fresh, never dry or cakey. For someone (like me) who’s prone to shine, this spray also absorbs oil and helps keep my t-zone from looking greased up mid-day.
How I use it: When my makeup routine is done, I shake this bottle up and give a few quick spritzes, holding this spray about 8-inches from my face. Easy!
Loved this post? Pin this graphic to come back to it later.
