We’ve all been there before. There’s a beautiful sunset right outside your window, or all your friends are finally together and you have to get a group pic, but then you’re disappointed when the photos you take on your phone never turn out quite like you thought they would. It’s no wonder our standards are so high when it seems like half the photos we see on Instagram nowadays are taken with a professional camera. Or are they…?
One of our favorite photographers Kristen Kilpatrick is consistently wow-ing us with her iPhone photography. At least once at every photo shoot, you hear someone say, “Wait…you took that with your phone?!” Lucky for us, Kristen was willing to share all the secret tricks that make her iPhone photos so impressive. Keep reading for her five tips that’ll instantly up your iPhone photography game. And yes, Kristen did take all of the photos in this post with her phone!

Tip #1: The first tip will shock you with how simple it is, but always make sure your lens surface is perfectly clean. Have you ever tried to take a picture at night and the outcome is full of streaky light orbs? If the answer is yes, it’s probably because you’re shooting with a dirty film over your glass causing a not-so-clean effect.

Tip #2: Most people are surprised to find that you can adjust your exposure before taking a photo on your phone. This feature is something I use every time I’m using the iPhone camera. To do this, lightly tap your subject and drag your brightness up or down.

Tip #3: Another great feature of the iPhone camera is the AE/AF lock button, which stands for Auto Exposure and Auto Focus. This allows you to lock the focus on your subject in. Just tap and hold your finger on your subject for a few seconds until you see the yellow AE/AF Lock icon appear. You will love this feature for landscape photos.

Tip #4: For the best light when taking a group picture or selfie, make sure you’re facing the light source. Having your back to the light will cause your photo to come out backlit, where you’re all dark and the background is bright. This tip is especially useful when taking sunset photos. My favorite time of day to take photos is 4:00 PM to 6:00 PM. The last light of the day is so soft, golden, and beautiful.

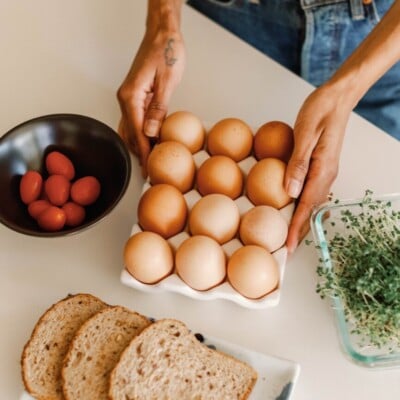
Tip #5: For flat lay photos, detail shots, or food pics, be sure to find the most consistently even light. This will help your camera with exposing properly. Place your subject in a well lit space and follow Tips 1-3 for best results. Happy shooting!


