No matter how many turkey recipes hit the internet each November, I still find myself typing “best Thanksgiving turkey recipe” into Google. There are endless ways to cook a bird—stuffed, spatchcocked, even deep-fried—but nothing compares to the timeless appeal of a brined roast turkey. When done right, it yields golden, crispy skin and tender, flavorful meat that stays perfectly juicy every time.
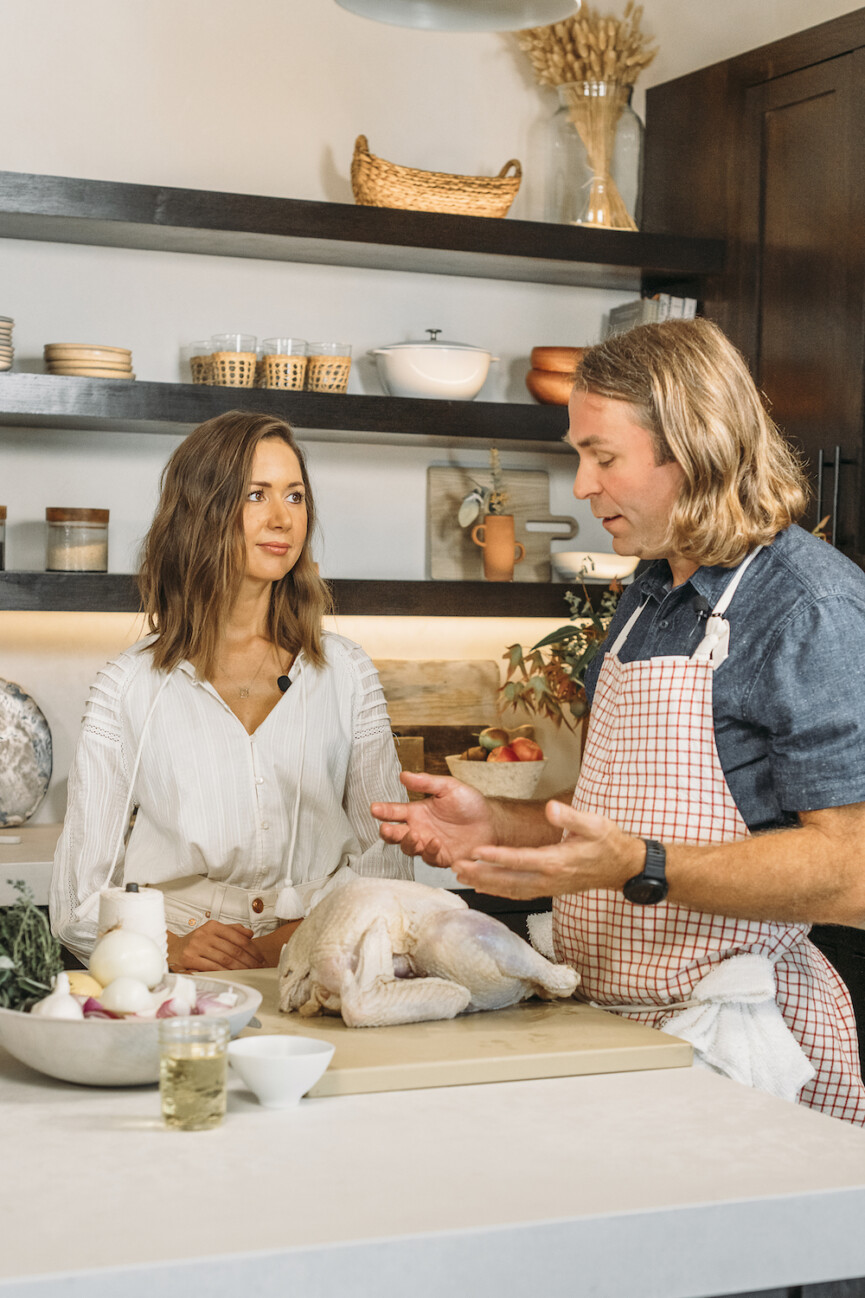
Of course, “simple” doesn’t always mean easy. Between the size of the bird, removing giblets, and mastering the brine, plenty can go wrong—resulting in a turkey that’s dry or unevenly cooked. So, in my quest for the ultimate version, I turned to Michael Fojtasek, chef and owner of Austin’s award-winning restaurant Olamaie. He stopped by my kitchen—brined turkey in hand—to share his secrets. From the ideal brine recipe to achieving that lacquered, caramelized, crispy skin of our dreams, here’s everything you need to know to master the brined roast turkey this Thanksgiving.
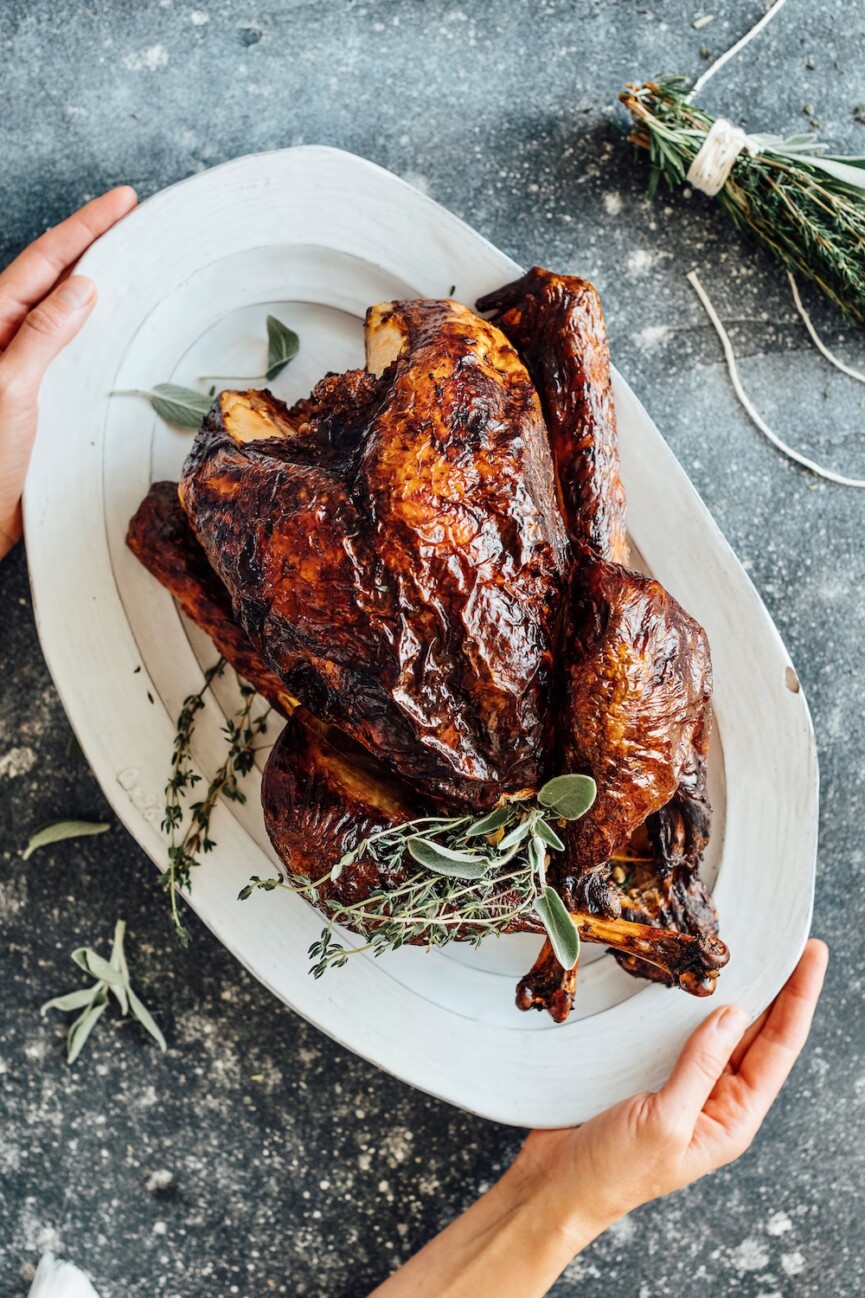
Why brine a turkey?
If you’ve ever bitten into a Thanksgiving turkey that looked beautiful but tasted dry, you already know why brining matters. Brining infuses the meat with moisture and flavor from the inside out, ensuring that every bite of your brined roast turkey stays juicy and tender—even after hours in the oven. The salt in the brine helps the turkey retain water while it cooks, so instead of drying out, the meat stays perfectly succulent beneath that golden, crispy skin.
Beyond texture, brining is a flavor game-changer. A good turkey brine—whether classic with herbs and citrus or spiced up with peppercorns and garlic—builds a depth of flavor that seasoning alone can’t achieve. When you roast a brined turkey, the result is evenly seasoned meat that practically bastes itself as it cooks, making it easier to achieve that restaurant-quality balance of crispy skin and melt-in-your-mouth tenderness.
How to Brine a Turkey
First, clear some fridge space: a brined turkey does take up some room. You can use a large stockpot—however, for many of us, a space-saving solution is a giant Ziplock bag. (You can usually find it with the turkey supplies at your grocery store around this time of year or on Amazon.) Place the turkey in the bag with the brine to be sure it’s fully coated. Either way, Fojtasek advises using a non-reactive container and brine for 24 hours.
What turkey is best for brining?
Fojtasek says, “The best turkey is a nice organic bird that is as fresh as possible. However, if it has been frozen, be sure to let it thaw gently in your refrigerator.” Don’t brine a turkey that’s been pre-salted—since the brine is full of salt, it’s already given your turkey all the seasoning it needs.
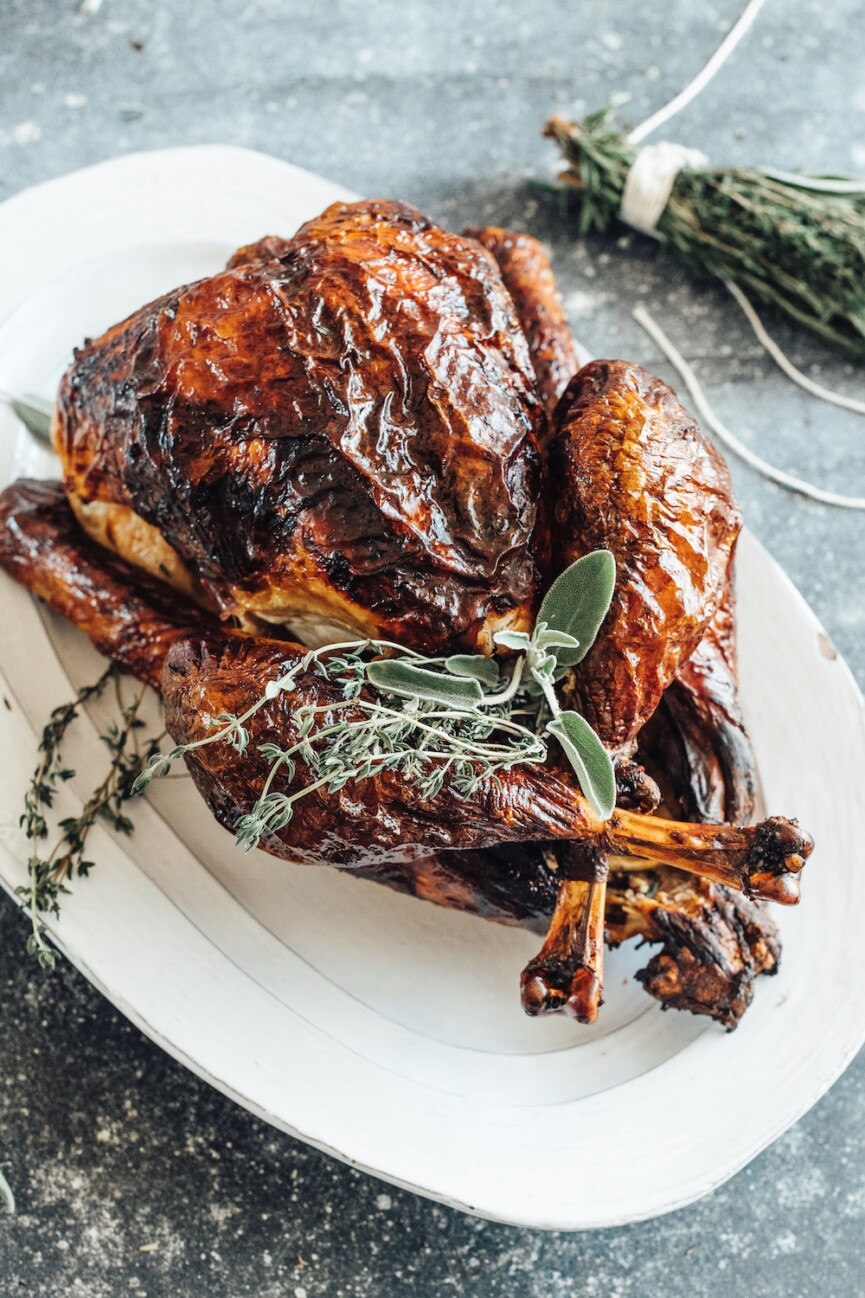
How to Give Your Turkey That Crispy, Golden Skin
Fojtasek shared his secret ingredient: sorghum syrup, a staple of classic Southern cooking. Similar in texture and color to molasses, sorghum is made from sorghum cane rather than sugar cane—and when used in the brine, its natural sugars help create that beautifully caramelized, crispy skin.
If you have the time, take one extra step after brining: remove the bird from the liquid and refrigerate it uncovered for 24 to 36 hours. Resting it breast-side up allows the skin to dry slightly and form what chefs call a pellicle—the secret to that irresistible golden crisp.
How to Roast a Brined Turkey
When you’re ready to cook the turkey, remove it from the refrigerator two hours in advance, and preheat your oven to 350°F. Stuff the turkey with lemon, onion, garlic, and thyme.
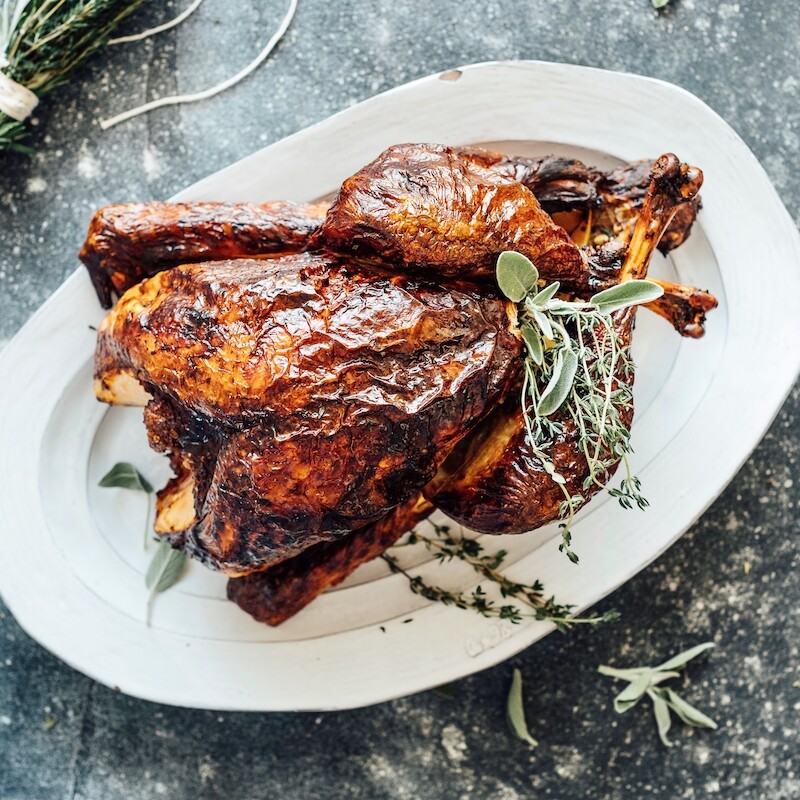
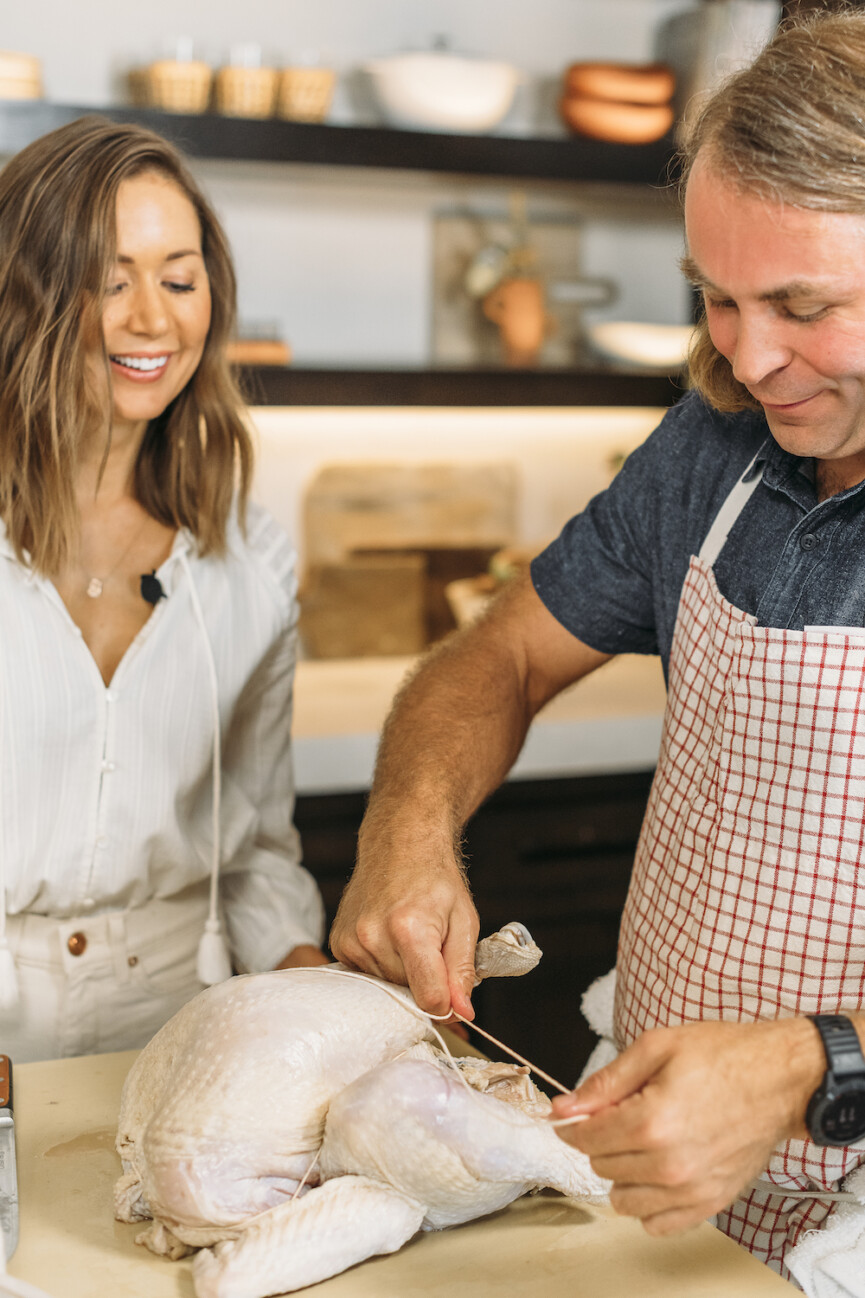
Next, you will truss the turkey, then pour a small amount of oil over the breast and rub it evenly all over the bird. This will give it a nice, even color when it cooks. Season with salt and black pepper, then place it in the oven for 2-3 hours, until the temperature of the thickest part of the thigh reaches 160°F.
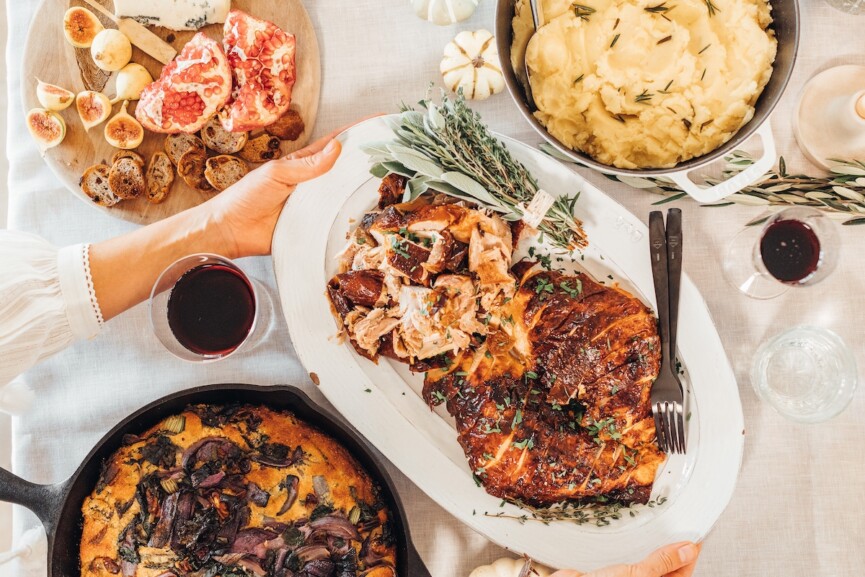

Brined Roast Turkey
- Total Time: 3 hours
- Yield: 8–10 1x
Description
Chef Michael Fojtasek shares the secrets to making a perfectly brined roast turkey with crispy skin–just in time for Thanksgiving!
Ingredients
- 1 whole turkey
- 1 lemon (cut into quarters)
- 1 onion (cut into quarters)
- Half a head of garlic
- A few sprigs of thyme
- Salt & black pepper to taste
- Garnish: chopped parsley and black pepper
- Brine (see recipe below)
For the Turkey Brine
- 1 1/2 quarts water
- 5 tablespoons kosher salt
- 1 1/2 quart ice
- 1 1/4 cups sorghum syrup (Like Muddy Pond)
- 1/2 head garlic
- 1 onion (quartered)
- 3 tablespoons whole black peppercorn
- 4 lemons (quartered)
- 6 sprigs thyme
Instructions
- First, give your turkey a quick rinse.
- Then, brine it. Make sure you use a container that is non-reactive. I generally use plastic. Brine for 24 hours. If you have time, the best next step is to remove the bird from the brine and place it uncovered in the refrigerator for an additional 24 to 36 hours. Allowing the bird to sit breast-side up for that amount of time enables the skin to form what we call a pellicle, or “the crispy.”
- When you’re ready to cook the turkey, remove it from the refrigerator for two hours and preheat your oven to 350°F. Stuff it with the lemon, onion, a halved head of garlic, and a few sprigs of thyme.
- Truss it. Pour a small amount of oil over the breast and rub it all over the bird evenly. This will give it a nice, even color when it cooks.
- From there, I season fairly liberally with salt and ground black pepper.
- Then, it goes into the oven until the temperature of the thickest part of the thigh has a thermometer reading of 160°F. This can take up to three hours or even less than two, depending on the oven.
- Once it has reached the desired temperature, remove it from the oven and allow it to rest. I like to loosely cover the turkey with foil and set it aside while I finish the other parts of the meal. It needs to rest for a minimum of 20 minutes. I prefer more like 35.
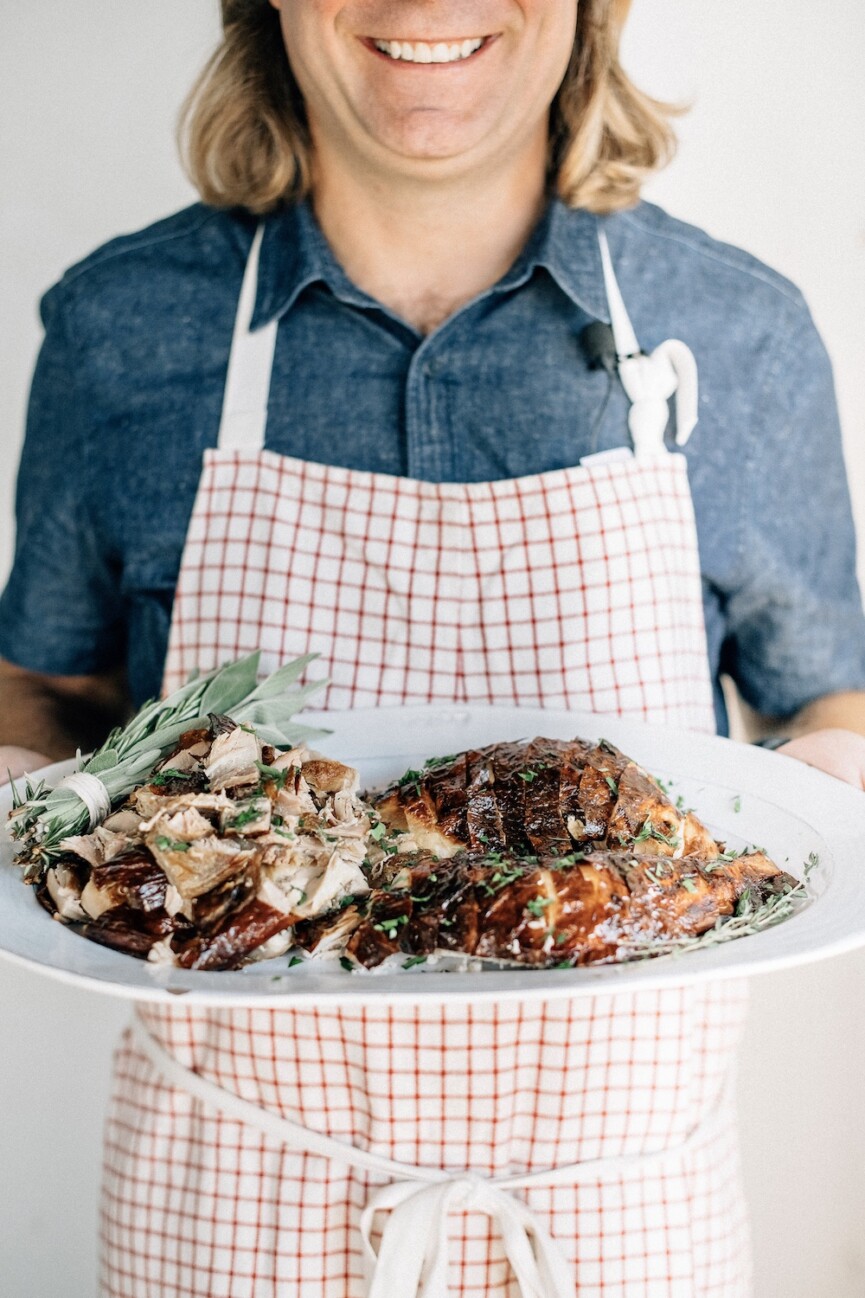
- When you’re ready to serve, remove the breast completely, then slice. I like to remove the legs and thighs to slice as well. Everything goes on a warm platter and gets a little chopped parsley and ground black pepper. This is a great way to execute a turkey that is all about flavor and beautiful crispy skin without doing anything crazy.
For the Turkey Brine
- Place the salt, water, garlic, onion, black peppercorn, sorghum syrup, and lemons in a pot. Bring to a boil for two minutes. Pour over ice. Ideally, all of your brine is cool or, at the highest, room temperature.
- Prep Time: 60
- Cook Time: 120
This post was last updated on November 15, 2025, to include new insights.





Fabulous insider tips! Now could you get his recipe for his biscuits?! They are to die for!!!!!
Couple of questions:
Do you rinse the turkey after removing from the brine?
For the brine: is it 4 whole lemons quartered?
Hi! You do not rinse the turkey after the brine (do rinse before!), but if possible, place it uncovered in the fridge for 24-36 hours before cooking. As for the lemons, yes it is four lemons quartered.
For what size turkey, in pounds, is this recipe designed?