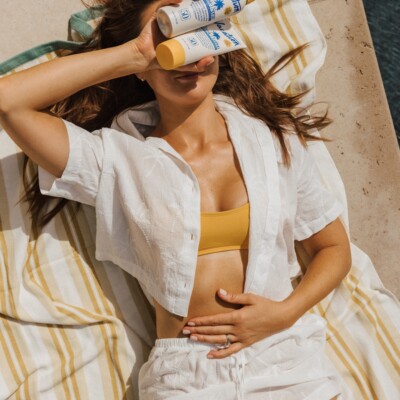
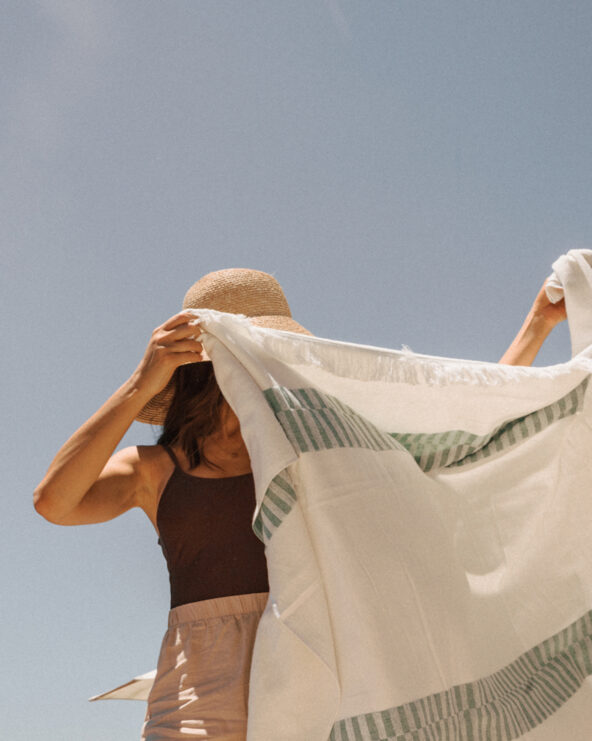
Staying at home these past few weeks has its upsides: while it’s done wonders for my home organization, cooking skills, and relationship with my husband and our baby, it hasn’t been so great for my workout routine or the natural glow I’ve usually gotten by now. Even though I’m SO ready to plan a beach vacation and pool parties with friends when life returns to “normal,” my pasty winter skin is so not ready. (Anyone else feel like they wouldn’t be caught dead in shorts and sundresses right now?) Luckily, I’ve become a self-proclaimed self-tanning expert these past few years, and I’ve picked up some self tan tips and tricks along the way that can make you look like you just got back from a week in Tulum without ever leaving your bathroom.
Looking for the best way to get a summer glow, sans sun damage? Self-tanner can work wonders in making you feel confident and ready for your spring wardrobe.
Even though doing a self-tan at home can be intimidating, there are a few tips and tricks that can help you achieve an even and natural golden brown, sans oompa loompa hands. Here are some key steps to getting the perfect self tan at home.
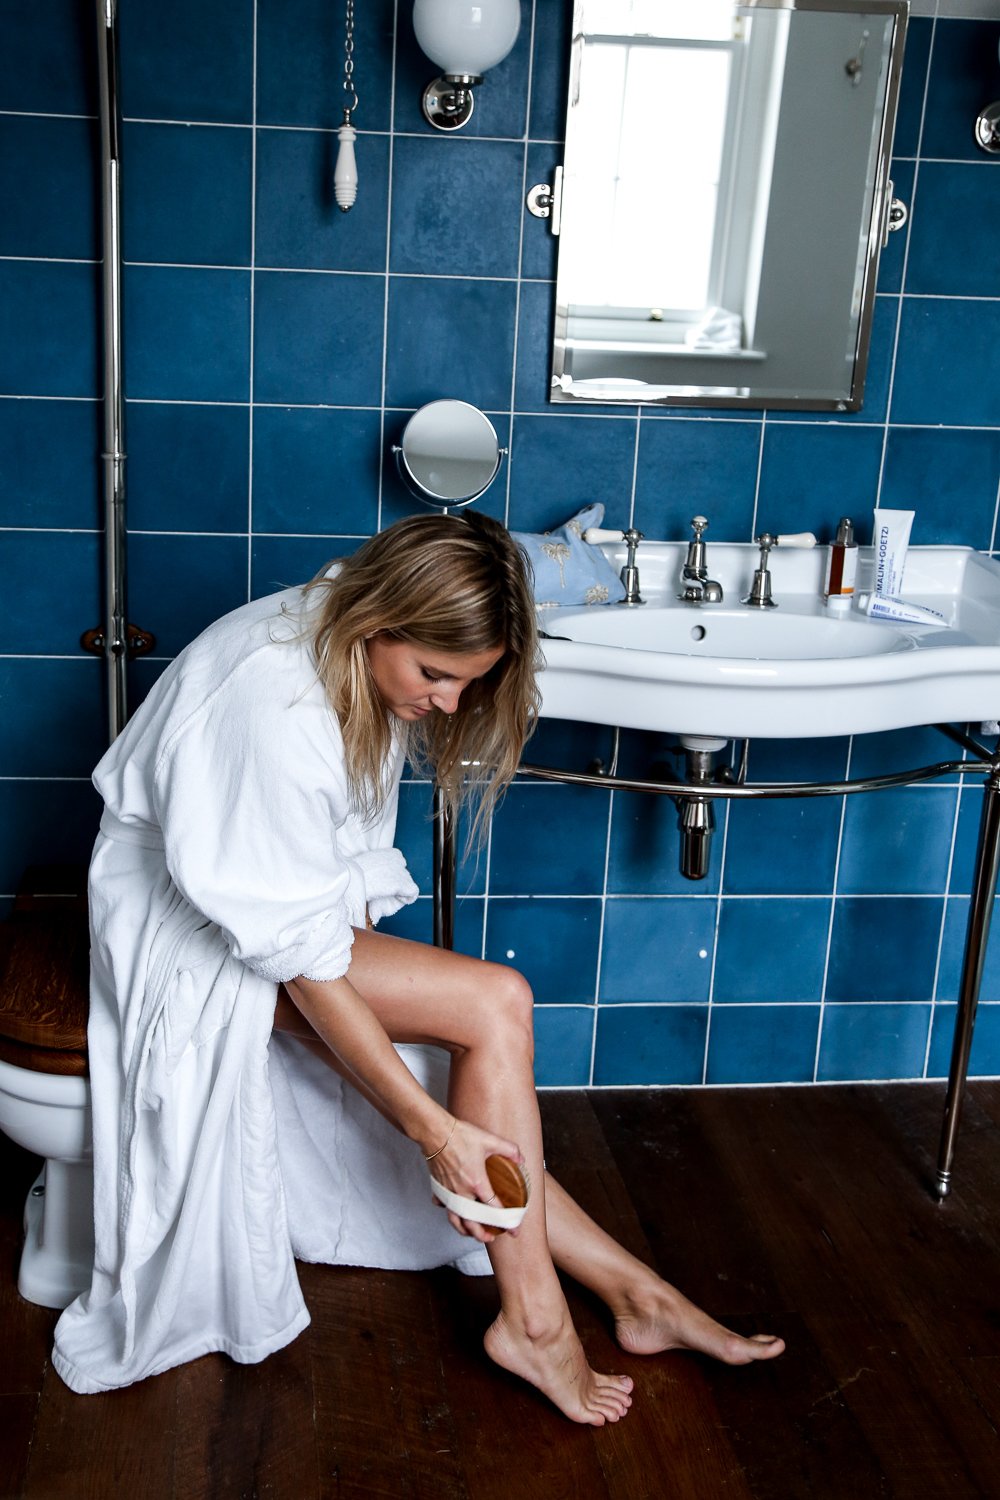 image: lucy williams
What to do Before Applying Self Tanner
1. Dry brush your whole body.
Dry brushing is simply the action of brushing the skin with a bristled brush when it’s dry, rather than when it’s wet in the shower or bath. Dry brushing can stimulate circulation and lymphatic drainage, even helping with the appearance of cellulite—but this is one pampering activity that’s worth it simply for the exfoliation factor. Simply brush in broad strokes toward your heart for best results, and start with gentle pressure if your skin is especially sensitive.
2. Do a body peel.
This body peel is Camille’s tried and true go to for total body exfoliation. The KP high potency body peel resurfaces and quenches parched skin with a dermatologist formulated process. There’s 2 sides to the peel: use the resurface side first (before your shower) to accelerate exfoliation, and save the quench side until after. Exfoliating your body via dry brush and body peel will also get rid of any remnants of an old spray tan, and create new canvas for a perfect new tan. This body peel is also a super affordable option. Buffing away any of the excess dead skin cells via exfoliating with scrubs and peels will ensure that the results last as long as possible.
3. Shower and shave.
Since you can’t shower for 8-12 hours after applying, we recommend showering, washing your hair, and shaving before you apply.
4. Moisturize.
After your shower + shave, dry off and use the quench side of the KP high potency daily body peel. Focus primarily on your neck, chest, and arms. Then, use a lightweight lotion like this one or this one. all over your body. Make sure that you get your hands (and in-between your fingers), your feet, ankles, knees, and elbows extra moisturized.
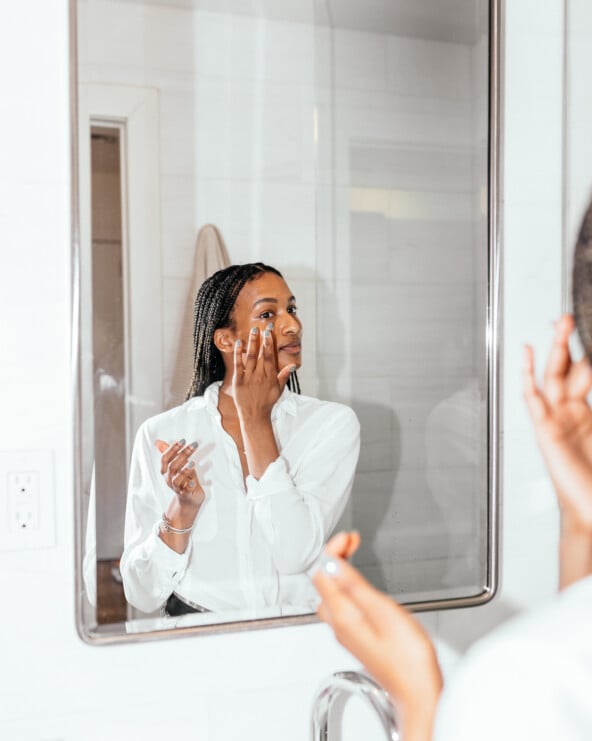
5. Prep your face.
Now that your body is prepped for your tan, it’s time to do the same with your face. We LOVE the Dermaflash dermaplaning device and high recommend it — yes it’s definitely a big splurge, but the difference we notice in our skin tone, product and serum absorption, and pesky peach fuzz makes this product a top 5 beauty product for both Camille and me. We are serious about this thing. Use your dermaplane on clean, dry skin. Then, put on the Goop Glow Overnight Peel Pad. Once you have put on the peel pad, don’t do anything else to your face (no moisturizer, serum, etc.) go to bed with just the overnight peel on, and wake up to goddess glowing skin.

How to Apply Self Tanner
1. Remove all clothing and jewelry.
Once you’re ready to apply, remove all clothes and jewelry. Put your hair up in a top knot bun (we love this big scrunchie as it won’t crease your hair). Make sure you are standing in front of a mirror where you can clearly see application of stomach, chest, face, etc. Full length is best.
2. Put lotion or primer on to prevent patchy spots.
To minimize streaking or patchy spots and ensure the fake tan doesn’t collect on elbows and knees, some like to put a small amount of lotion or primer on hands (getting in-between your fingers), elbows, knees, ankles, and feet. The only areas that need just a little moisturizer before tanning are parts of skin that are prone to feeling more dry. Tan can over absorb in these parts of the body so just remember to moisturize delicately on them, especially on the ankle bone. Our favorite tan primers are Sienna X Secret Tan Primer and the Isle of Paradise Prep It Self-Tan Priming Spray.
3. Apply your tan.
Now, you’re ready to get to it! First thing’s first, don’t use your bare hands unless you want your palms to look like they belong to an Oompa Loompa. For seamless application, get yourself a mitt, like the Bondi Sands Application Mitt, or the St. Tropez Velvet Luxe Tan Applicator Mitt. Although I’ve never tried it personally, I’ve heard of friends using latex gloves to apply instead of a mitt too. The only exception? If you’re using tanning drops or waters you can rub these in using your hands, just wash your palms with micellar water afterwards. But as a rule, I always use a mitt.
Here’s our favorite self-tanners for your body:
- Bali Body Self Tanning Mousse
- Bondi Sands Tanning Foam
- Coco and Eve Sunny Honey Bali Bronzing Foam
- St. Tropez Tanning Mousse
- Loving Tan Deluxe Bronzing Mousse

Tanning Your Body
Squeeze or pump the fake tan onto the lower half of the mitt (where the heel of your hand is), then fold your top fingers down and slap the mitt together, which spreads the product more evenly. Starting with your legs and working your way up, apply the tan in sweeping motions — I’ve found that sweeping motions are better than circular motions as they distribute the product more evenly. Repeat until your whole body is covered, leaving your face last. Lift your arms above your head to ensure you didn’t miss the underside. I also like to double over my knees and elbows (first bent and then straight) to make sure I didn’t miss any creases.
Tanning Your Face
Whether you decide to tan your face or not, you can’t forget it altogether. If you choose to tan this area, remember that less is more. A rule of thumb is two coats on the body and one on the face.
If you want to use products that are specifically formulated for the face, I recommend the Dr. Dennis Gross Alpha Beta Glow Pads, the Tan Luxe The Face Illuminating Self-Tanning Drops or the Isle of Paradise Self-Tanning Drops. For the drops, mix your desired amount of drops in with your normal face moisturizer (the more you drop the deeper the glow – I advise 2-3 drops to start). Sweep moisturizer over your skin, massaging in upward motions, and down the neck to the décolletage.
If you choose not to tan your face, you may want to switch your shade of foundation to match your body, making sure to blend down the neck for a seamless transition.
 image: nicole mlakar
What to do After You Apply Self Tan
1. Put on loose, dark clothes.
Don’t wear a bra or underwear for several hours after your tan. Your tan will continue to absorb into your skin for several hours after you leave, so it’s important to let it soak in and wear loose, dark clothing to keep it on your skin, and not on your clothes. I like to tan late at night after I shower, shave, etc. so I can put on dark sweatpants and go straight to bed, letting it soak in overnight. If you’re a sweaty sleeper, you may want to do it during the day time instead and shower it off that night before you go to bed. Some may get on your sheets and clothes, but just throw them in the wash and it should come right out.
2. Keep it clean.
Do not use deodorants and perfumes immediately. The presence of alcohol and aluminum in these products will react with your spray tan resulting in uneven spots and blotches. Do not put on lotion, makeup, etc. either.
3. Don’t get wet for at least 6 hours.
It is recommended to stay completely dry for a minimum of 4 hours, and at least 6 hours for optimal results – (I like to go 12 hours usually). Showering sooner may diminish the intensity of the tan. This also includes sweating, so plan to get your workout in before your shower / tan.
4. Shower, sans soap.
Your first rinse off should be brief making sure you gently but thoroughly “wipe” the spray tan off of your skin using your hands only. You will see color coming off during your first rinse…this is normal, you want all of the cosmetic bronzer to come off in that first rinse. Do not use any soap during your first rinse off in the shower. For best results wait 12-24 hours to use any soaps or lotions. Deodorant is fine after your first rinse off.
5. Keep hydrated, without oils.
If you’re like me you want your tan to last as long as possible, so you must keep your skin hydrated with oil-free body lotions. Fake tan loves to be moisturized! Is regular exfoliation and shaving a part of your shower routine? Since both will likely fade your tan faster, consider investing in a gradual self-tanning lotion, spray, or drops to maintain your glow. Here’s a few of our favorites to keep your glow going strong for several days: