There’s way more to wellness than just eating clean, so we’re taking a holistic approach to restoring our spaces, minds, bodies, and hearts in small but powerful ways. Introducing The RE:SET Challenge—a 21-day plan to a healthier and happier you. Click here for the full list. Today: tips for creating a pantry organization system that will work for you (and the chance to win a California Closets’ The Everyday System™ pantry of your own!)
When we built our house over a decade ago, I was a 25-year-old newlywed who had never had a pantry larger than, well… I actually don’t think any of my previous apartments even had a pantry! When it came to working with our architect on the specific spacial designs, I added approximately zero input on the pantry organization system. Instead, I signed off on whatever shelving configurations got dropped into the plans (I truly cannot imagine myself doing this now, but a lot can happen in ten years!)
So, when we started our #casacamille renovation last year, I took a hard look at the state of our pantry. Cluttered shelves, mismatched food storage containers, mason jars with crumbs in the bottom, and piles of way more paper grocery bags than I’d ever be able to reuse showed me: it was time for an upgrade.
I needed an organization system that would ensure my pantry stayed clean and tidy, even when life got busy.
I got a taste of this organizational bliss when we teamed up with California Closets a few years ago to design a custom pantry for our studio. If you don’t remember it, hop on over and take a peek — it was one of our most popular design posts ever, and went viral on Pinterest. It even got its own page in Architectural Digest! So it was a no-brainer for me to go back to my favorite peeps at California Closets to rescue me from my pantry organization woes and help me design a solution that was perfect for our space and truly optimal for the way we live.
I can’t wait to show you guys how it came together, but FIRST!
The Giveaway
Some VERY exciting news I’ve been dying to share: as part of our RE:SET Challenge that kicked off this week, we’ve teamed up with California Closets to give away one of their new, beautiful and modular pantry systems—designed in collaboration with Martha Stewart—to one of YOU! Y’all are going to flip when you see this gorgeous Everyday System 4.5ft Pantry Storage System (valued at $1,856.) And, you can even install it yourself. Here’s all you have to do to enter:
- Make sure you’re signed up for The RE:SET Challenge (if you get our emails, you’re already in!)
- Head over to the Instagram I’ll be posting on Tuesday morning and tag a friend in the comments who would love to win this pantry.
We’ll announce the winner this weekend, and I’m already SO excited. Now scroll on for the big reveal of my new pantry, as well as the pantry organization ideas that help me keep it looking this clean all the time.
The Design Process
Thanks to my California Closets design consultant, Mariana Rivera, the design process around creating my custom pantry was really fun from start to finish. We started by taking measurements of the space, then inventoried every item stored in my current pantry. We counted the exact number of cans, boxes, cereals, and bottles of vinegar — Mariana made sure that in our new design, everything would have a specific place to live, with plenty of breathing room to add to it.
What’s funny is that, in the new design, I have just as much stuff as I used to — but because it’s designed so efficiently, the pantry feels twice as big. I actually even have a couple of empty drawers, which would never have happened in my old pantry. Even if you don’t have a walk-in, you can still make your pantry work overtime by being strategic with how you organize it, which I’ll explain in the tips below.
Come on in for a look around (along with my favorite food storage containers and my tips for getting yours in shape — and keeping it that way!)
My top kitchen pantry organization ideas:
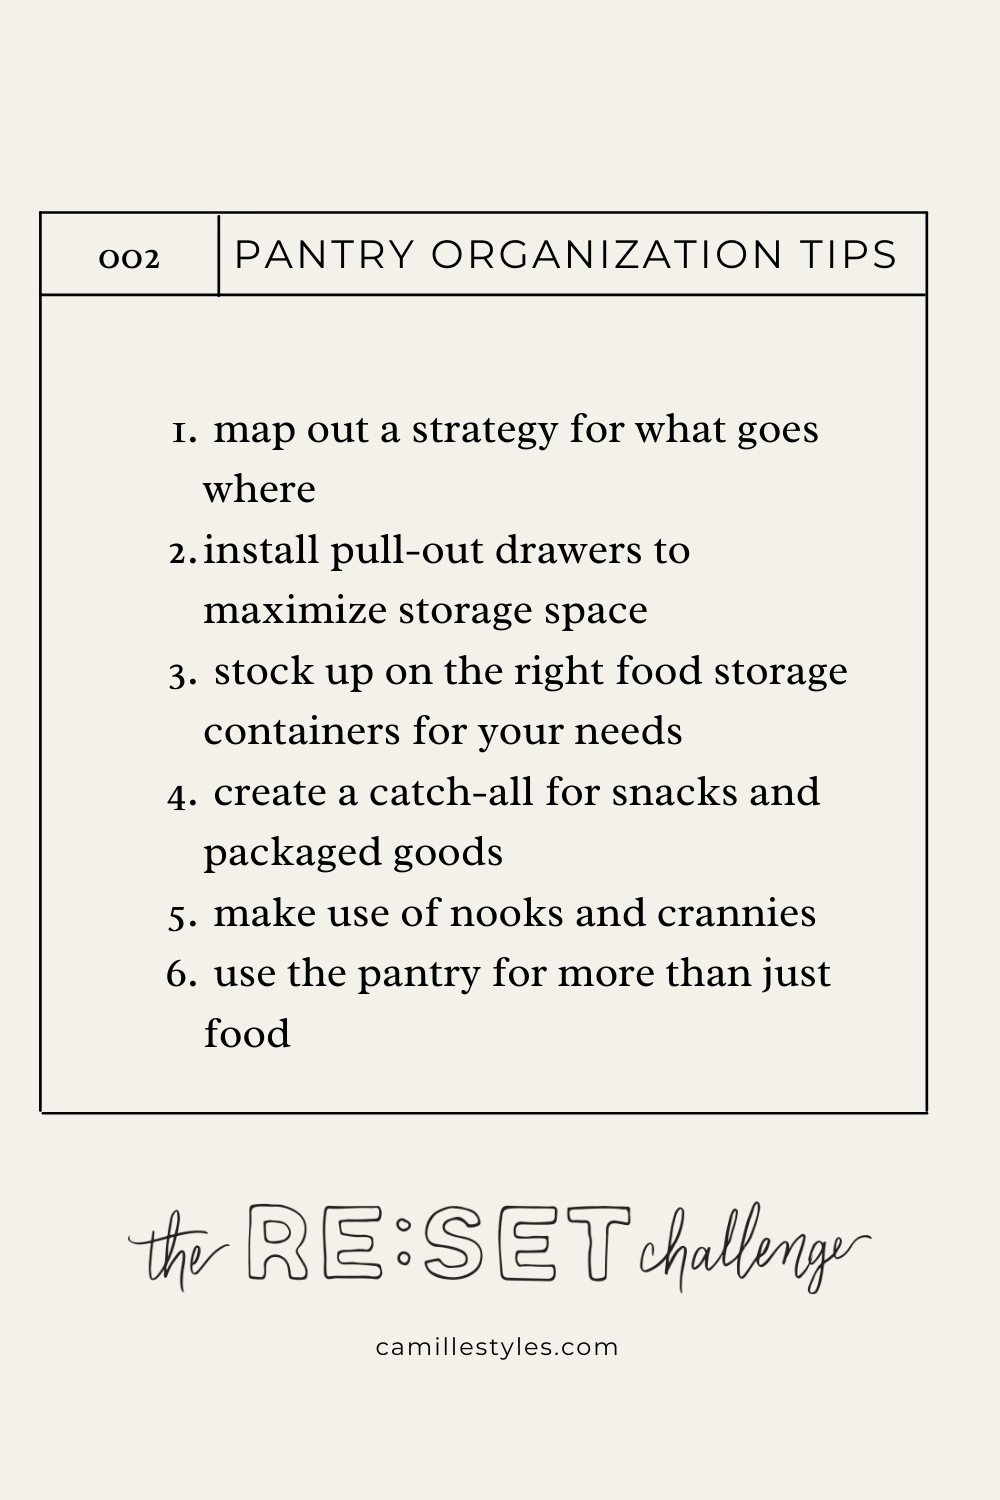
1 – Map out a strategy for exactly what goes where.
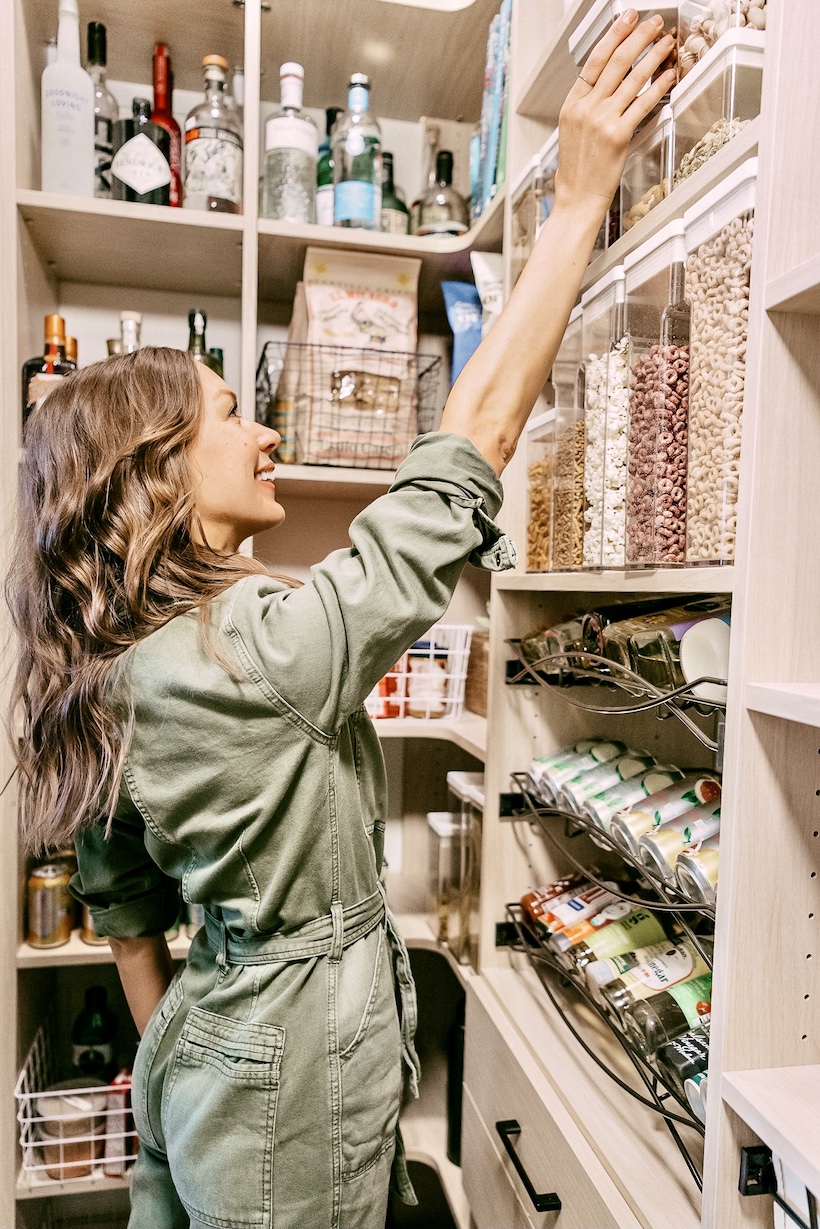
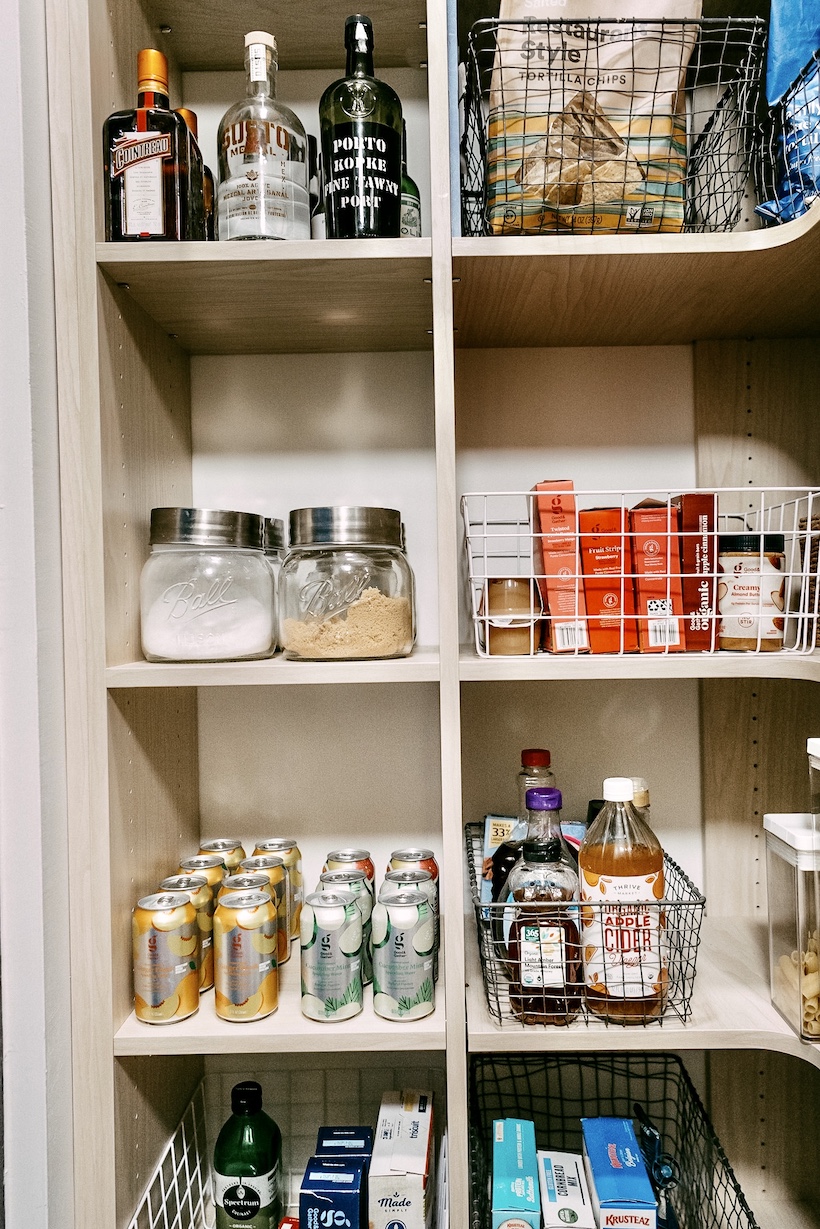
In my old pantry, I just kind of stashed things wherever, but this fresh start gave me the chance to apply some strategy to what exactly goes on which shelves and drawers. In general, I place my most frequently used items within easy reach. Items that the kids may need to access are kept low enough so that they can reach them. (I’m all about independence wherever possible!) And things that I don’t use very often – like oversized cookware or different liqueurs – go up on high shelves that I use a step stool to reach.
2 – Install pull-out drawers to maximize your usable storage space.
My old pantry was all open shelving, which meant that I wasted a lot of space by stacking items one row high. Frequently, jars, boxes, and cans would get lost in a back corner of a crowded shelf, only to get discovered 3 years later (very expired – boo.)
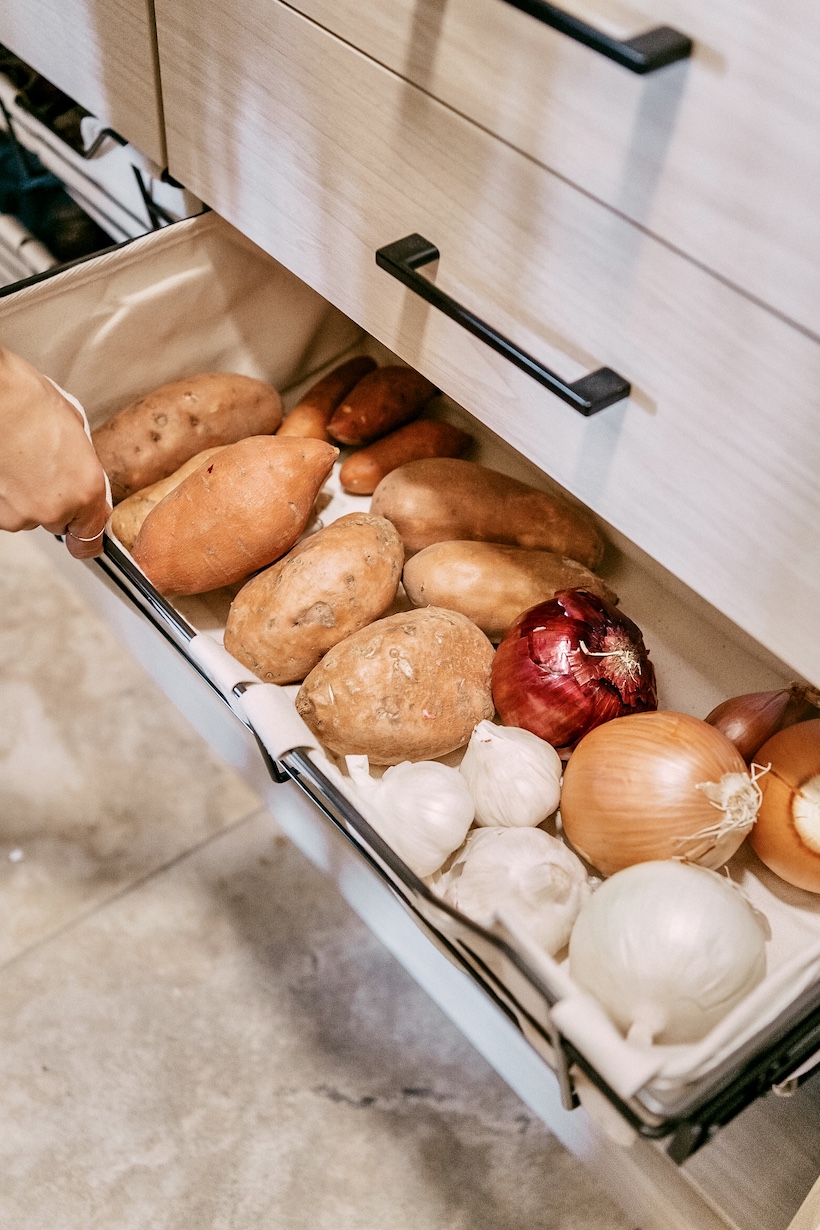
The new design employs plenty of drawer space, which has been an absolute game-changer. I quickly realized that things that would be a total mess on shelves (bags of pretzels or piles of root vegetables) slide much more neatly into drawers.
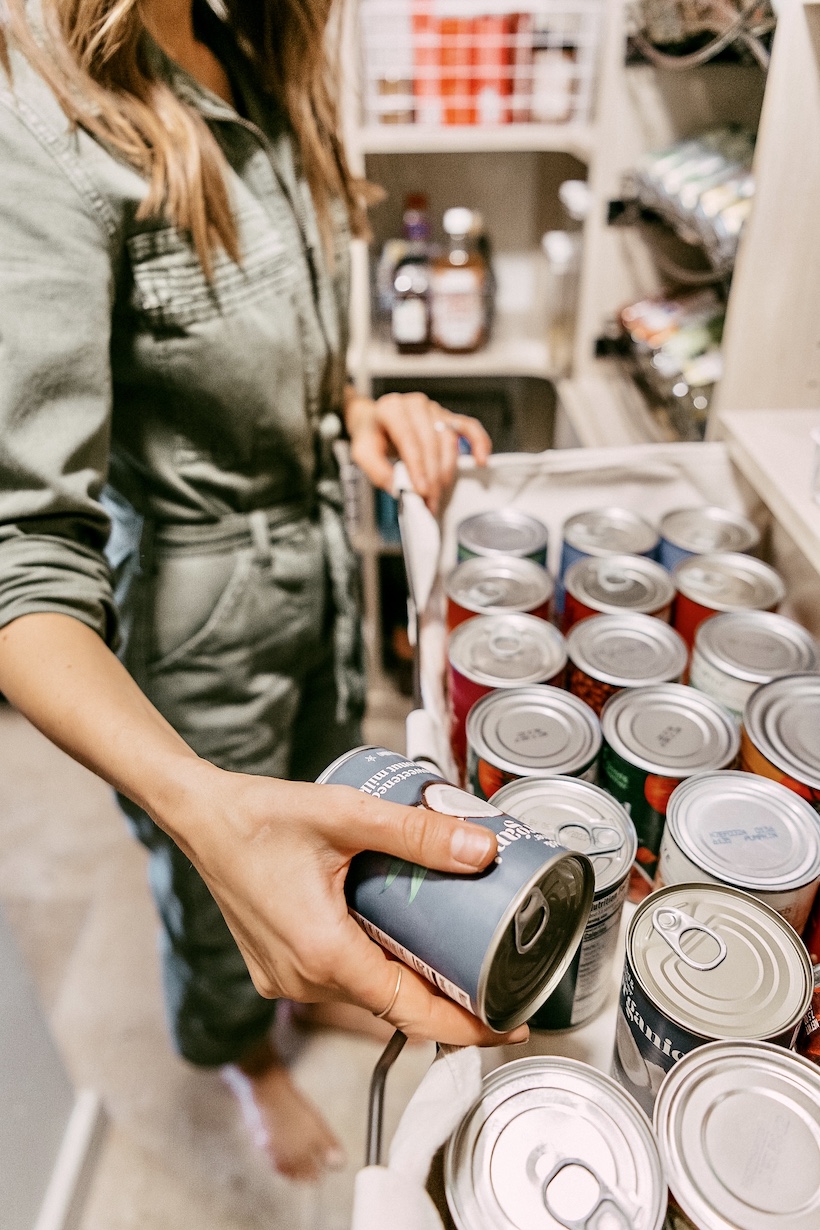
Drawers also allow you to see everything you have – so no more jars of marinara sauce getting lost with no return. I have one drawer totally full of cans (I think it holds close to 30), and I can easily pull out the drawer and take inventory of exactly what I have on hand.
3 – Stock up on the right food storage containers for your needs.
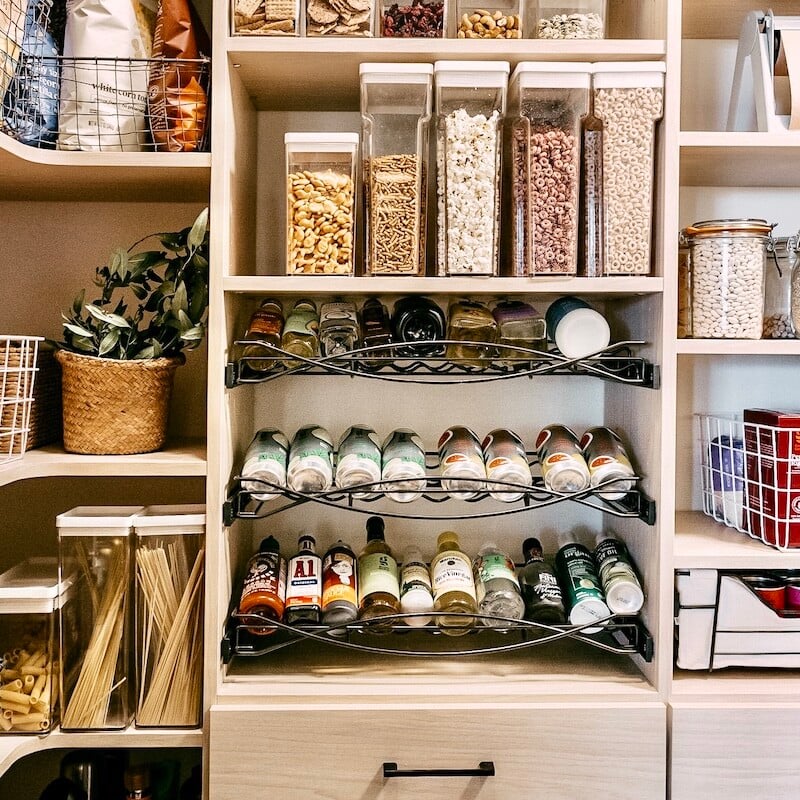
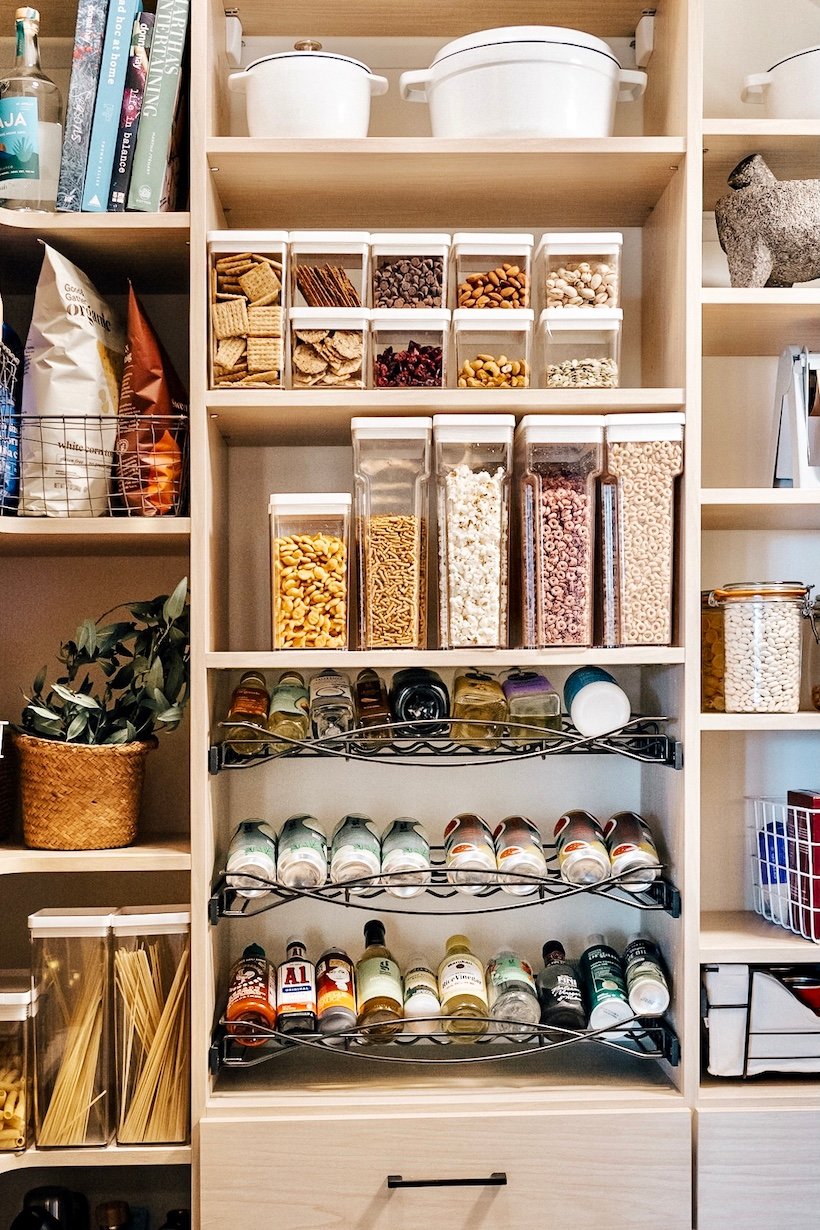
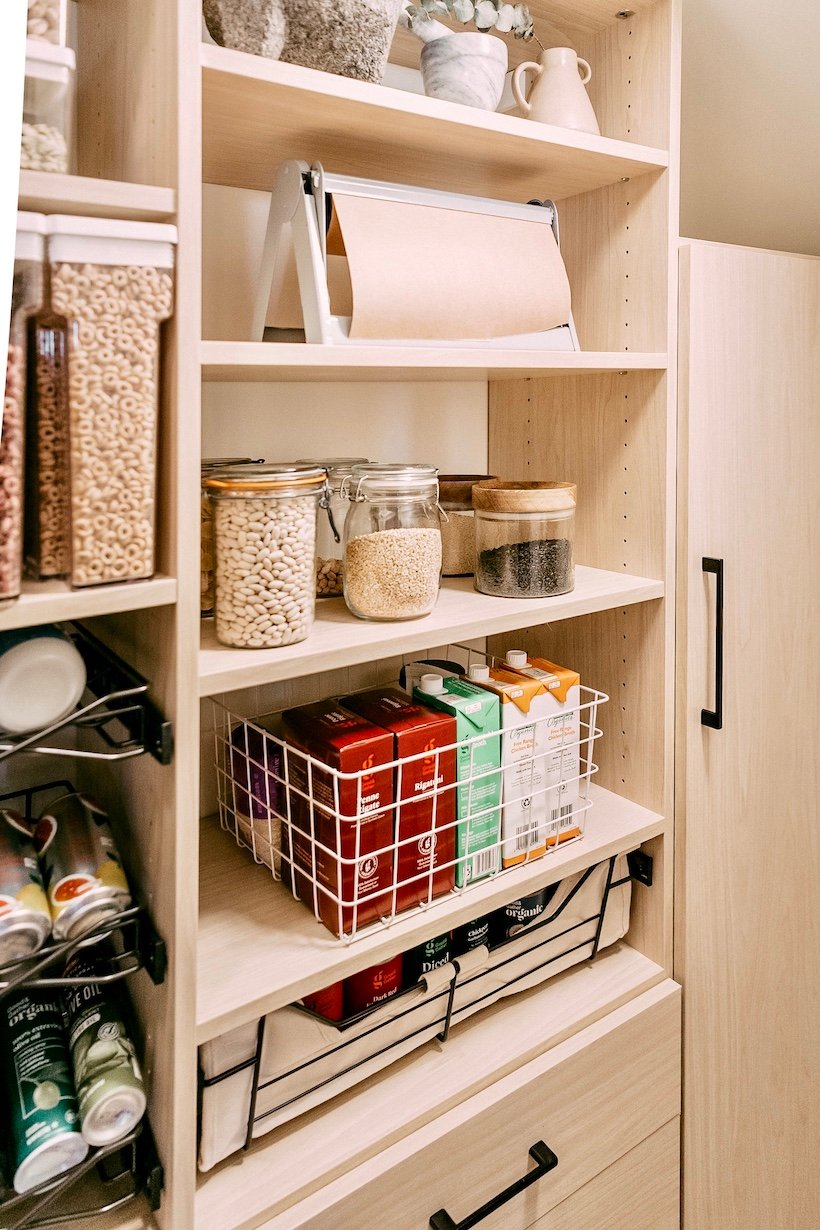
I’ve always been a big fan of decanting ingredients from their original packaging and pouring into clear containers. It really satisfies my Martha Stewart-inspired organizing itch, plus it has the added benefit of letting you see exactly what you have and how much of it. But keeping up with this strategy requires that you have the right clear containers for each ingredient so you don’t spend an hour trying to organize it all after each trip to the grocery. After a lot of trial and error through the years, these are my favorite food storage container for each pantry staple.
Baking ingredients.
I have four of these large glass canisters to hold flour, sugar, brown sugar, and powdered sugar. I love that the mouth is wide enough to fit a full 1-cup measure inside.
Cereals and long pastas.
I like to use skinny containers that save space and line up tight against each other. Made By Design containers are perfect for these — I use the 8″ x 4″ x 11.5″ container for cereals, and the 4″ x 11.5″ container for long pastas.
Bulk snacks.
I store nuts, goldfish, crackers, chocolate chips, trail mix, and other bulk snacks in these square containers which are the perfect size, stack, neatly and give my shelves a satisfying Marie Kondo vibe.
Spices.
Last year, I decided I was done with a spice drawer exploding with all shapes and sizes of jars, packets, and envelopes. I ordered 30 of these spice jars and transferred all of them, then used a sharpie and masking tape to label the cork top of each one. It took me a couple hours on a Saturday, and has been well worth the joy I feel every time I open my spice drawer.
Grains and short pastas.
My grains go into jars of various sizes. I use large ones for things like rice and penne that I always have a lot of, and smaller ones for chia seeds and others that I usually buy in smaller quantities.
4 – Create a catch-all for snacks and packaged goods so that packing lunches is a breeze.
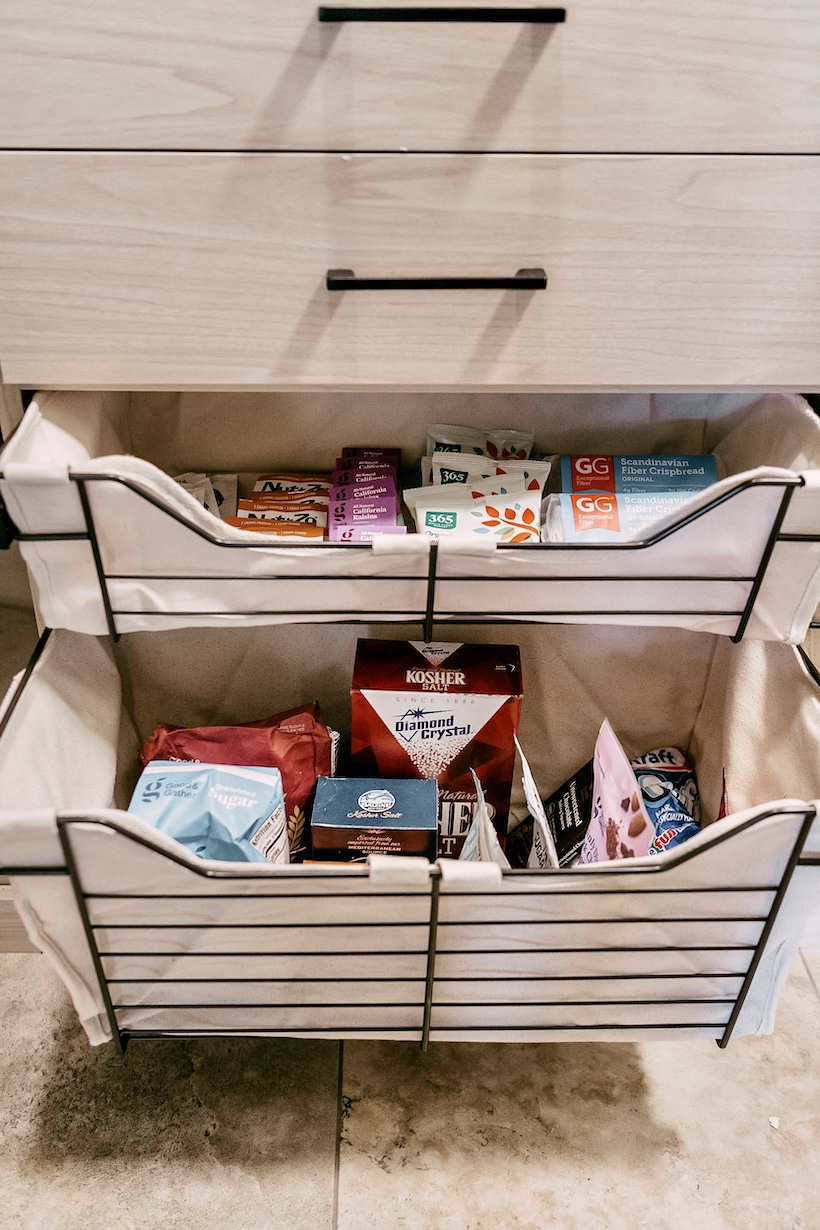
Packaged snacks are one of the most challenging items to organize in the pantry — bags of popcorn and boxes of granola bars just don’t lend themselves to the most aesthetically-pleasing display. I love that my custom California Closets pantry organization system has a lot of closed storage space that allows me to toss in individually-wrapped snacks and close them away. Then when it’s time to pack school lunches and on-the-go snacks, I can easily see all my options and pull a few items to throw in the kids’ backpacks.
For items that I do want to keep in their original packaging, I use large wire crates to corral them together. There’s nothing more annoying than opening your pantry door and having a bag of tortilla chips fall on your head!
5 – Make use of nooks and crannies that could have been wasted space.
The key to maxing out your storage is to make use of corners, high shelves, and lowest cabinets so that no space is wasted. This custom plan features curved corner shelves to maximize storage, and cabinets are 8-feet tall. I keep a step stool in the pantry to reach the larger cookware and less frequently used items that I keep there. I also have hooks on the back wall of the pantry where I hang oversized cutting boards and aprons.
6 – Use the pantry for more than just food.
When Mariana and I did our initial inventory of what I kept in my pantry, she predicted that because our new design would be so efficient, there would be enough room to store items beyond just food to free up space in the rest of my kitchen! I didn’t believe her until I saw for myself. Sure enough, there were open shelves at the top and an entire cabinet that was free for whatever else I wanted to use it for. Here are a few other items that I’m now able to store in my pantry:
Napkins
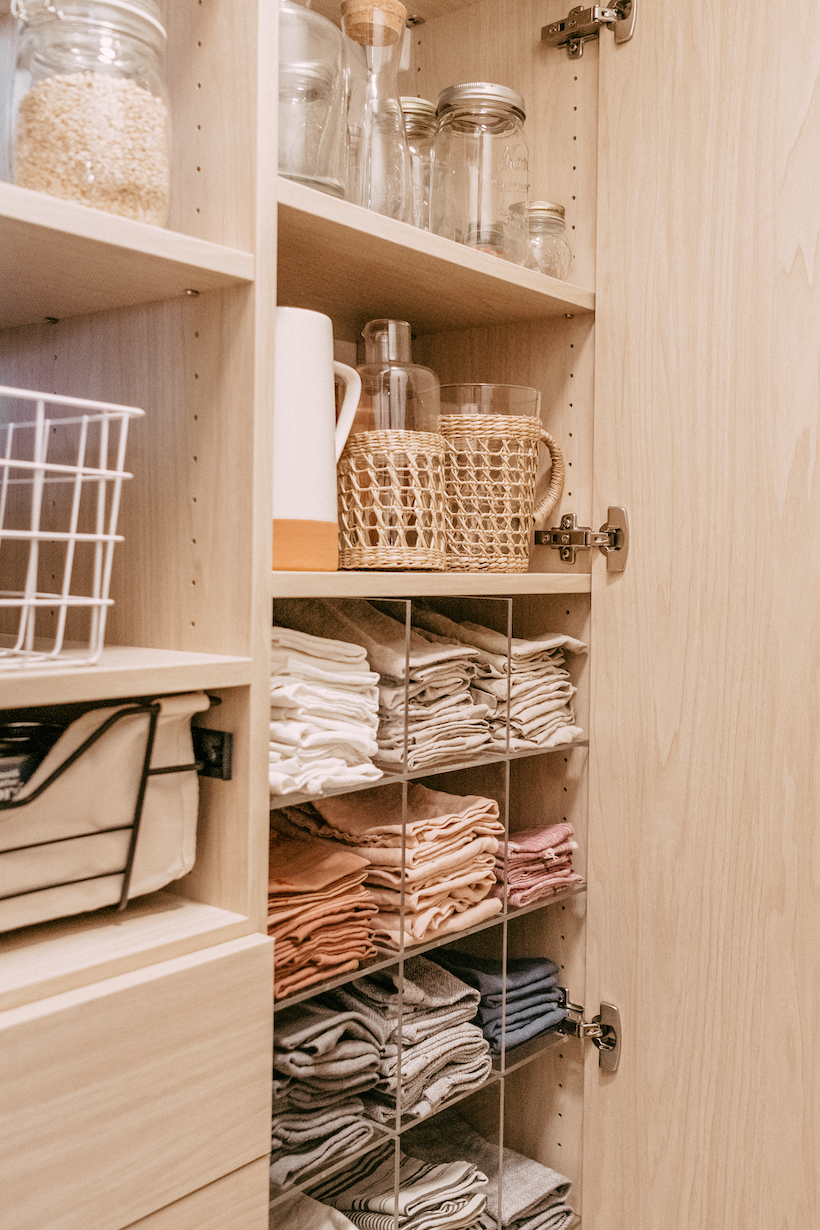
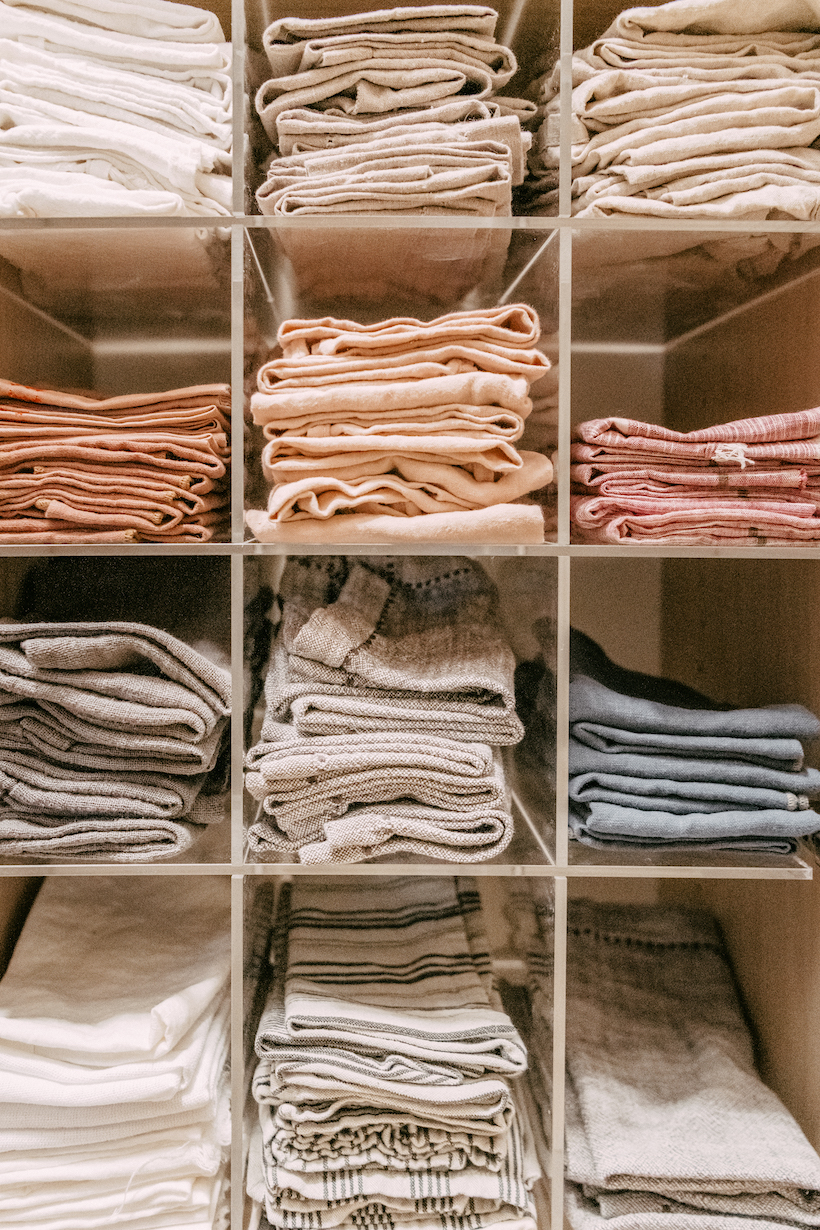
I love to host dinner parties, so I’ve amassed quite a collection of linen napkins through the years. Storing them has always been a beast, especially since I try to keep each separate collection together. Mariana and I decided to use a grid system that California Closets typically uses for shoes in their clients’ closet designs – and turns out, it was the perfect size for my sets of napkins. Displaying them like this allows me to see all my options, and I’ve been pulling out napkins to use that I completely forgot I owned back when they were stashed in a linen closet.
Oversized cookware
Big pots and pans always make for storage challenges. Before, my dutch ovens lived in a pull-out drawer in my lower kitchen cabinets, and the doors would always get jammed because I tried to shove way too much cookware into each one. Now, my favorite large pots have plenty of room and stay undamaged on the upper shelves of my pantry, and I love that I can keep them on display.
Liquor.
Liquor is another item that I never knew quite where to store in my kitchen. We have a wine fridge, but the cabinets above it are full of glassware. The upper cabinets of the new pantry are the perfect spot to display all our bottles. Friends can easily pull down a bottle of tequila if they want to mix up a marg, and it’s high enough to be out-of-reach from little hands.
***
Do you guys have any pantry storage and organization tips that I didn’t list here? I’d love to hear in the comments below — I think it’s one of the most challenging areas of the house to keep together, but so far my new system has been a total game changer.
And — don’t forget to follow along on Instagram where you can enter to win a pantry organization system of your own! We’ll post the Instagram where you can enter this Tuesday, and will be announcing the winner this weekend. Fingers crossed for you!





Such lovely organization… but…I want your jumpsuit! Where is it from?
Aww, thank you! It’s Free People! Here’s a link – https://shopstyle.it/l/bqPGm
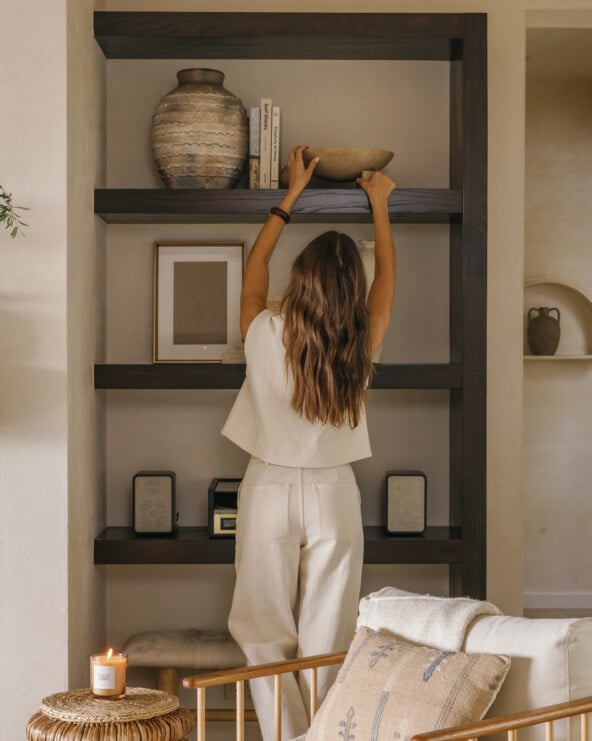
Hi! I’d love to see a picture of your pantry liquor storage!
Checkout the second photo from the top – behind me where I’m reaching up to the high shelf. I just have it all lined up on those top two rows of open shelving! 🙂
The napkin storage is BRILLIANT! Our napkins are all stacked on top of one another and I usually just go for the ones on top. I would LOVE to see all our choices exactly the way you do. Thank you for sharing.
Big Hug and 3 Cheers,
Debbie G
aww yay! I’m so glad you loved – I agree that napkins are one of THE hardest things to keep organized, and I am loving this solution. xo
Wow, this pantry is STUNNING! Love the napkin storage – what a great idea.
One tip we love is using turntables in awkward corners for storing oils, vinegars, spreads, etc. Items are easily accessed with a quick turn and nothing gets lost in the back! Plus, they look cute. 🙂
Sara
moxiespace.com
that is such a great tip!! I could even squeeze one in the corners of this pantry to make it even more accessible… thanks for sharing!
I have a “backstock bin” for storing extras of things we use most frequently-things that would be a problem if they ran out in between grocery visits. It’s been a game-changer for my pantry functionality, mostly because it created a trigger to help my husband to remember to add things to the grocery list!
Hi,
My new kitchen had cabinets and a few drawers. I’m being very creative with organization. I don’t have space to create a pull out drawer, but I’d like to use one of the drawers for the potatoes and onions.
Where can I get the linen liner for potatoes and onions.
Stunning! FYI storing potatoes and onions together will make the potatoes sprout/go bad faster. Better to put some space between them.