It can be tough to feed a crowd while maintaining a sense of style–and tasting great in the process! Our go-to? A cheese and charcuterie board, perfect for sharing. To find out how to create a grazing board that ticks all those boxes, we tapped Sandy Coughlin, creator of Reluctant Entertainer and author of Big Boards for Families to share an exclusive excerpt from the book with tips for creating healthy, wholesome charcuterie boards that bring everyone around the table. Plus, keep reading for her recipe on how to make a chocolate fondue board.
A board is a creation of love that you make for your family or loved ones because in a unique way, those who feed people lead people. It doesn’t have to be perfect, and ingredients can vary from board to board. Make it your own, use what you have, and don’t take it too seriously. The goal is to bring people together in a casual setting, in a unique way.
I like to think about the sweet moments when I created a great board for family or friends and the looks on their faces when they saw the board for the first time. The smile on their faces, and the look in their eyes, is more than surprise—it’s also about being loved, honored, and cherished. I’m honored to be a part of your family board and table!

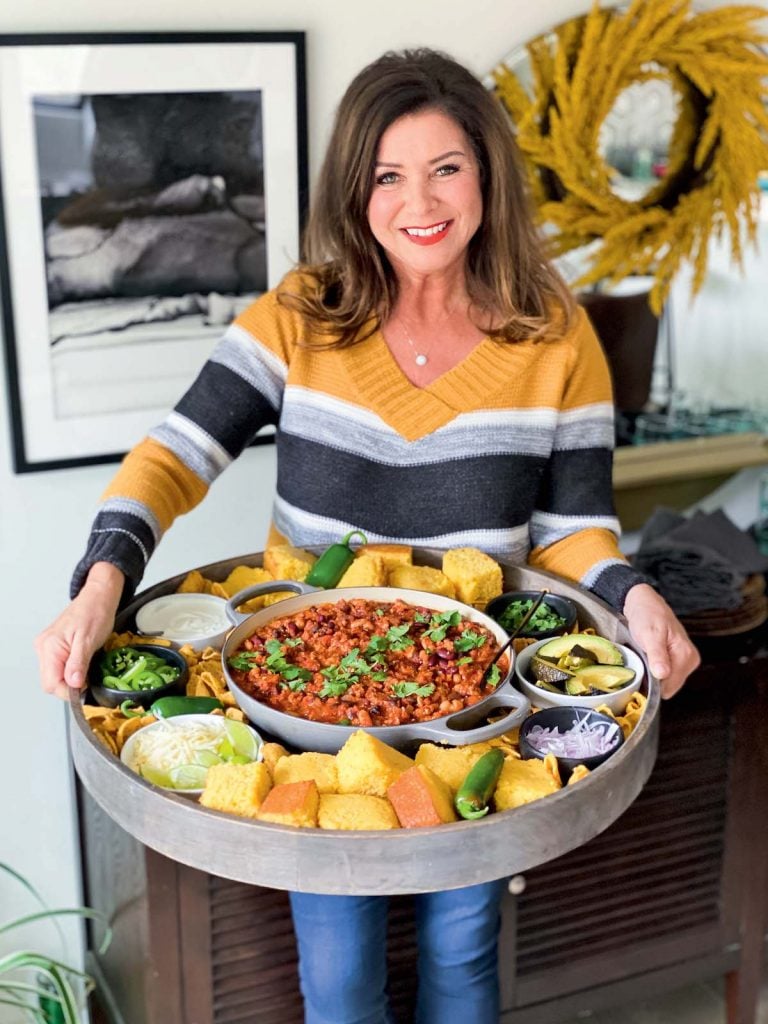
Sandy Coughlin is the founder of the recipe and hospitality blog, Reluctant Entertainer. Her newly released book, Big Boards for Families (Fair Winds Press) shows you how to artfully craft and serve food boards to your close friends and family! She is a mother to three grown children and lives in Bend, Oregon, with her husband, Paul.
EASY, TIME-SAVING TIPS
Find Your Inspiration
• Think about your board creation the way an artist approaches a blank canvas. Consider what will be the focal point, as well as colors that pop in the right places.
• Serve a favorite family recipe and talk about why it’s so important to you. Tell your kids about the history of the recipe and why it’s so important to you—chances are it will be their first time learning about your special story.
• Look to the changing seasons, inspired by colors, tastes, and seasonal foods, which are often found at your local farmers’ market.
• Let special events be a guide—think bridal and baby showers, tailgating, picnicking, camping, backyard barbecues, pool parties, birthdays, achievement celebrations, holidays, and more.
• Explore different parts of the world and culinary dishes with your family. Read or watch shows about each country while feasting on its cuisine. Not only will you discover new ingredients and dishes, but also you’ll better understand food’s connection to culture.
• For multigenerational gatherings, invite grandparents, aunts, and uncles, or elderly neighbors over to enjoy a board.
• You’re inspired by boards, but not the cooking process? That’s okay because with boards you can find almost everything in your local deli, bakery, or farmers’ market.

Simple Steps to Making Your Creation
1. Plan your menu by writing down the recipes or taking a picture of the ones in this book.
2. Search your pantry before you go shopping. You might already have some of the ingredients, or substitute with something similar, saving your family money and time.
3. Know how many people you are serving; scale the size of the board to the number you are feeding.
4. Decide which ingredients or main dish will be the “star” of your board.
5. When you’re short on time, take shortcuts. Buy a rotisserie chicken, brownies at the bakery, or potato salad at the deli. Not everything needs to be from scratch.
6. If guests are coming over, ask them to bring an aspect, or “wedge,” for the board. You might think this is a burden, but it’s not. We’ve seen how people love to contribute.
7. Prep as much as you can in advance. For example, you can make the main dish ahead of time and assemble the board an hour before serving.
Put It All Together
1. Start with your focal point, then build around it. Place what you will be serving as your main dish in a 9 x 13-inch (23 x 33-cm) pan, dinner plate, or casserole dish; this holds the space so you can see the vision of the board and how to best assemble food around it. Always use a hot pad or trivet when setting a hot dish on a food board.
2. Do you want to create a design? Play with the shapes and lines of your ingredients and dishes—make them straight, spiraled, diagonal, triangular, or spontaneous!
3. Next, fill any small bowls with dips, spreads, jams, condiments, or sauces.
4. Fill in the remaining part of the board with seasonal produce, fresh herbs, crackers, chips, and nuts—or simply leave empty spaces.
5. Always plate the hot food last, right before serving the board. Keep the extra food warm in the oven and replenish when needed.
6. If you plan to have refills for perishable foods, keep them stocked in the fridge and refill as needed.
7. Set out the dishes you will need for serving, with utensils and plenty of napkins.

THE EXTRAS!!
For a fun night, take it a step further and plan on a family game, charades, or some snappy conversation starters. Or how about eating and watching a movie together? Serve a board outside or bring it along on a picnic.
Simple Conversation Starters:
• What is your middle name and how did you get it?
• What is the first concert you attended?
• What was your favorite part of the day?
• What subject do you enjoy the most and least in school and why?
• What job do you see yourself having when you grow up?
• Share a story about your kids when they were babies or toddlers.
• Share what your life was like when you were your kids’ ages.
• What is your favorite meal that mom cooks? What about dad? (This is a fun one and can lead to some future board ideas!)
• What is the one food that you will not eat and why?
• Who is your favorite family member outside of this family?
• Five years from now, what do you think you’ll be doing?
• What is your favorite app on your phone and why?
• What is your favorite movie and why?
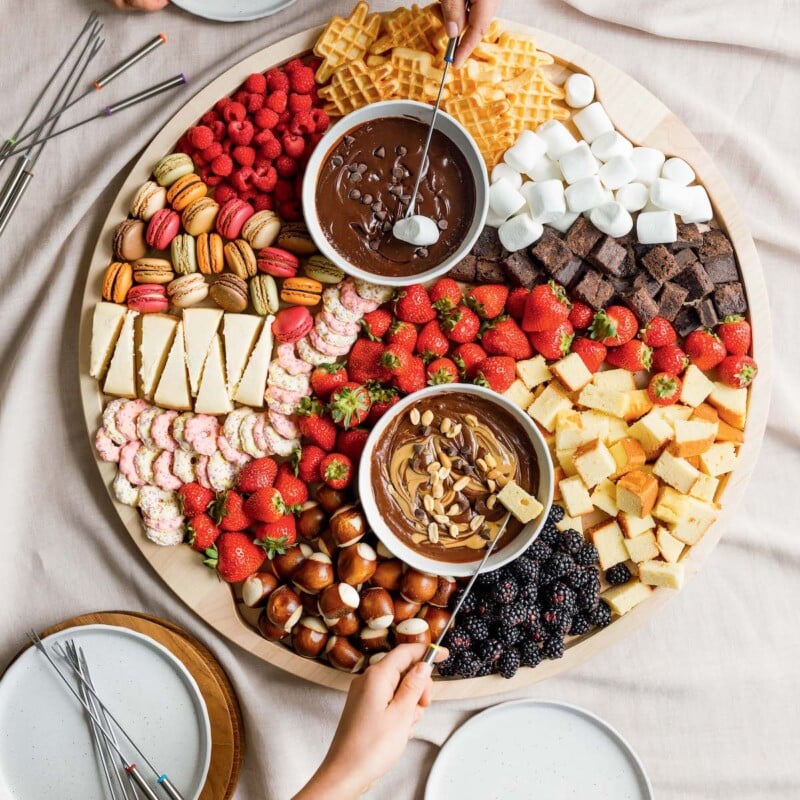
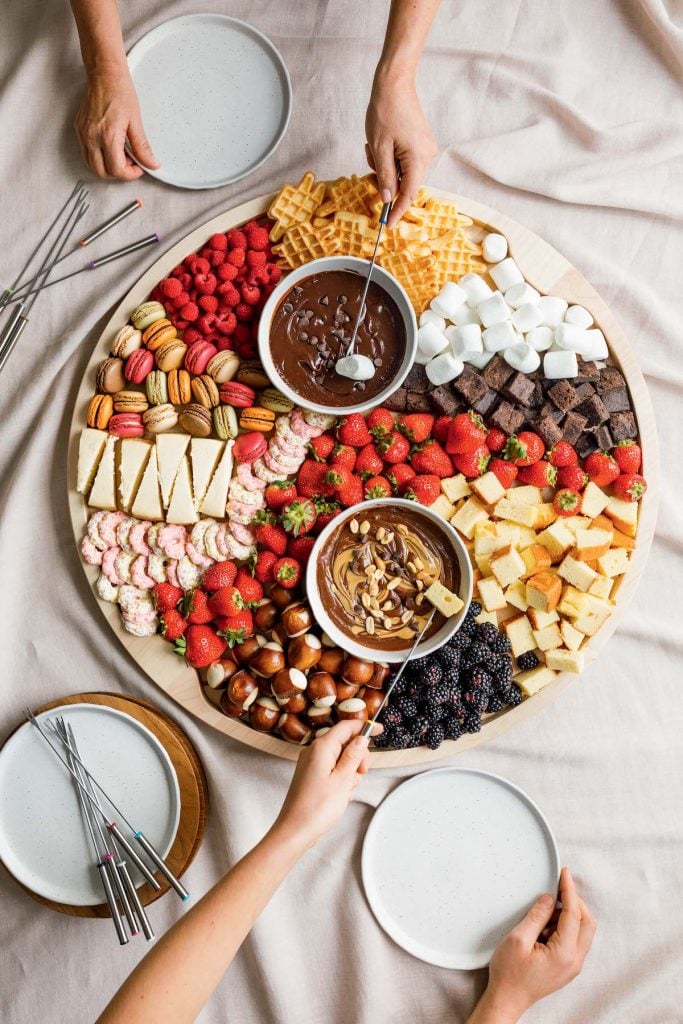
How to Make a Chocolate Fondue Board
Raise your hand if you also have a drawer in your kitchen solely dedicated to chocolate—I certainly do. Clearly, I’m a shameless fanatic for any form of chocolate—a simple bar, spreadable Nutella, or decadent flourless chocolate cake. Chocolate pairs well with literally anything (hello, bacon, and potato chips), which is why I made this board. You can compile your favorite, dippable chocolate companions onto a dessert board that satiates everyone. If you’re in a pinch for time, everything but the fondue can be store-bought.
TIP: Make the fondue ahead and store in the fridge. Right before serving, heat on the stovetop over low heat or in the microwave at 50% power until warm.
Keep scrolling down for the recipe!
Chocolate Fondue Board
Serves 12 Servings
Prep
15 minutes
Categories
Ingredients
- 26-inch (66-cm) food board
- 2 cups (480 g) Nutella or hazelnut spread
- 2 cups (480 ml) heavy cream
- 2 tablespoons (20 g) dark chocolate chips
- 1/2 cup (120 g) peanut butter, divided
- 2 tablespoons (12 g) peanuts
- 24 French macarons
- 12 ounces (336 g) raspberries
- 8 ounces (224 g) small waffles
- 8 ounces (224 g) large marshmallows
- 8 ounces (224 g) brownie bites
- 2 pounds (908 g) strawberries
- 1 pound cake, cut into 1-inch (2.5-cm)
- pieces
- 12 ounces (336 g) blackberries
- 8 ounces (224 g) pretzel bites
- 8 ounces (224 g) pink and white shortbread
- cookies
- 15 ounces (420 g) cheesecake wedges, cut
- into small slices
Instructions
- To make the chocolate fondue, warm the Nutella in the microwave oven. Heat the heavy cream in a separate bowl at high power for 45 seconds, or until very hot. Slowly whisk the cream into the bowl of Nutella, until very smooth. Allow to sit and thicken up.
- Divide the fondue between 2 medium bowls. Sprinkle one bowl with the chocolate chips. Mix 1/4 cup (60 g) peanut butter into the other bowl, then swirl the remaining 1/4 cup (60 g) on top and sprinkle with the peanuts. Place the 2 bowls on the board.
- Around the inside edge of the board, make wedges in a circular pattern, starting with the macarons. Then add the raspberries, small waffles, marshmallows, brownie bites, strawberries, pound cake bites, blackberries, pretzel bites, cookies, and cheesecake slices.