Let me begin by saying that I’m not someone who dives head first into every wellness trend that comes up on the radar. I take a hard pass on every new cult beauty treatment, my meditation game is pretty weak, and when it comes to reading, I opt for fiction over self-help books 100% of the time. So, if I’m advocating something wellness-y, it’s because I mean it.
Like so many women I know, I’ve had tummy issues for as long as I can remember. When my husband Eric recommended I try bone broth to help with some of my digestive inflammation, I thought, I’ll try anything! The fact that it helped was a welcome surprise, and the fact that it was delicious made it something I could really maintain.
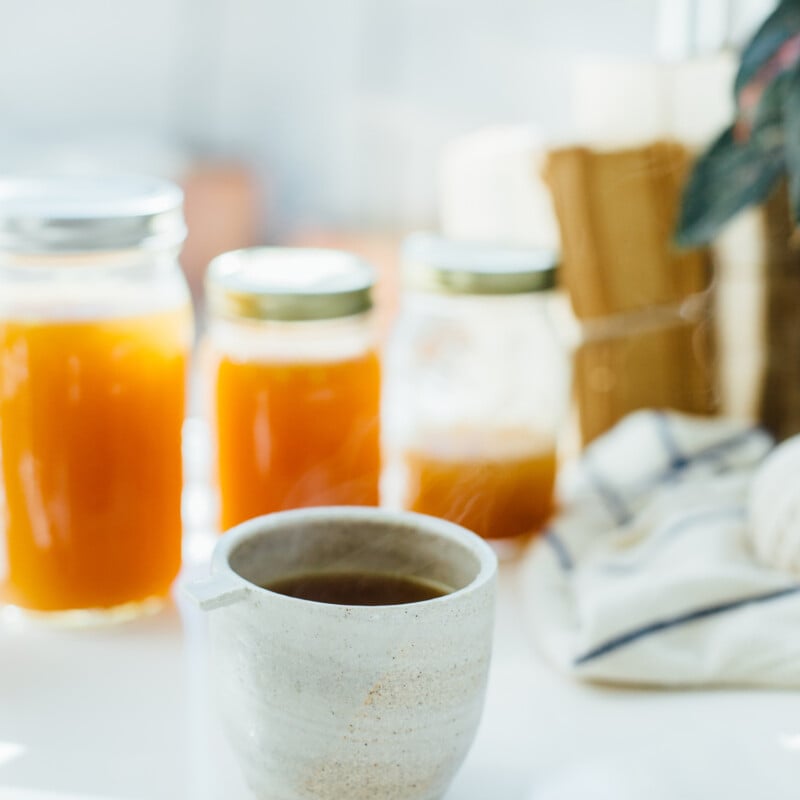
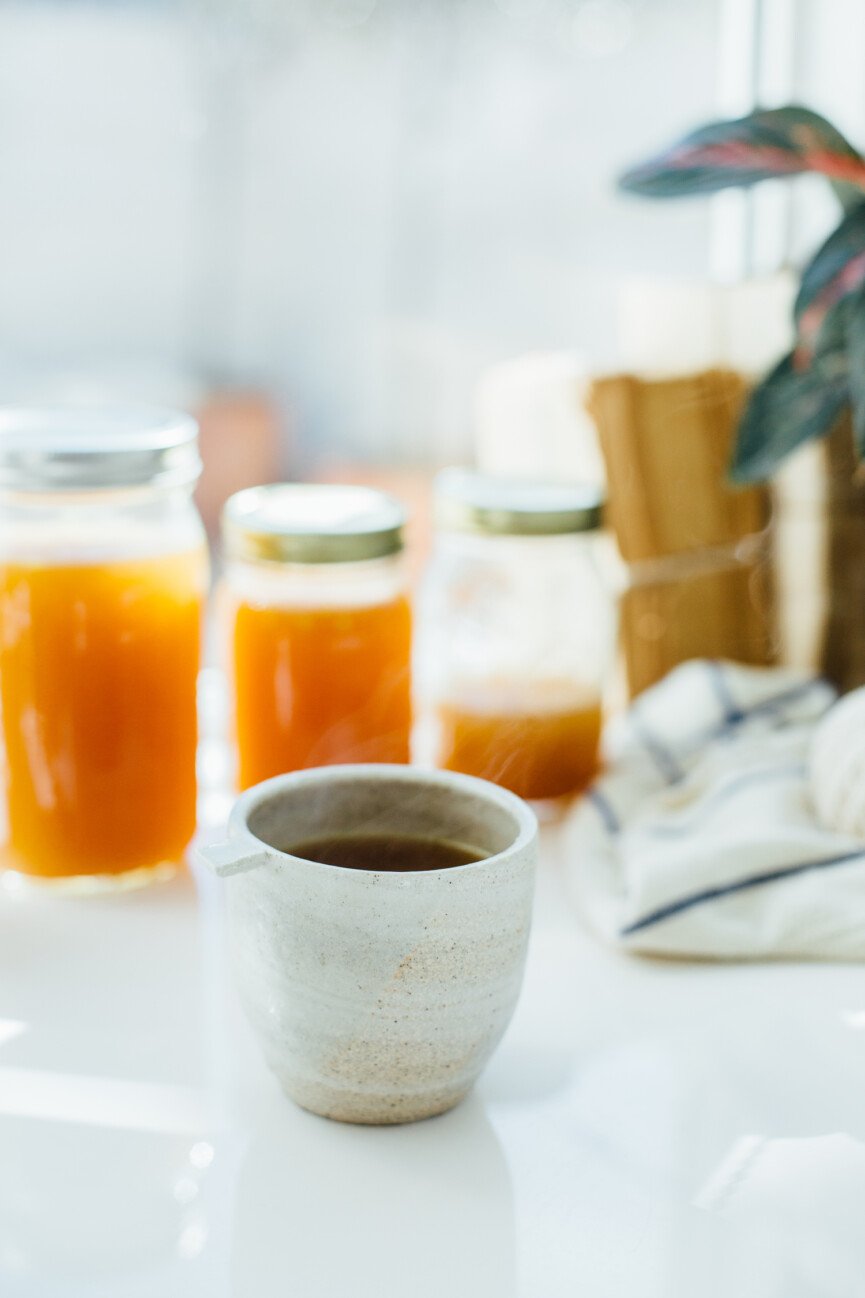
We make a batch of this stuff just about every weekend, and I drink a mug-full first thing in the morning, every morning, to help remedy that pesky leaky gut.
There’s been a lot of debate over whether or not drinking bone broth is actually beneficial, and while I won’t feign breaking down the scientific arguments on both sides, I will say this: I experience a very noticeable improvement in my stomach irritability when I drink bone broth regularly, and that’s about the only proof I need. Do you suffer from tummy probs too? Give bone broth a try!
The bones.
Choosing the right bones for your broth is a big factor in making a batch that’s truly nutrient rich and good for you. There’s a lot to be said on the matter, so I’ll reference this article for an in depth guide to choosing your bones.
Here’s what we do:
1. Save the bones from any meat that I cook throughout the week. Often this is a carcass or two from a whole chicken that was previously roasted, tossed into a freezer bag.
2. Hit up the butcher or farmer’s market for additional bones, usually being: marrow bones, beef knuckles, oxtail and/or chicken backs.
Note that these bones are the biggest expense in the whole broth-making process. Try to shake off any initial sticker shock when seeing how much they cost — making your own batch is still way more cost effective than buying it!
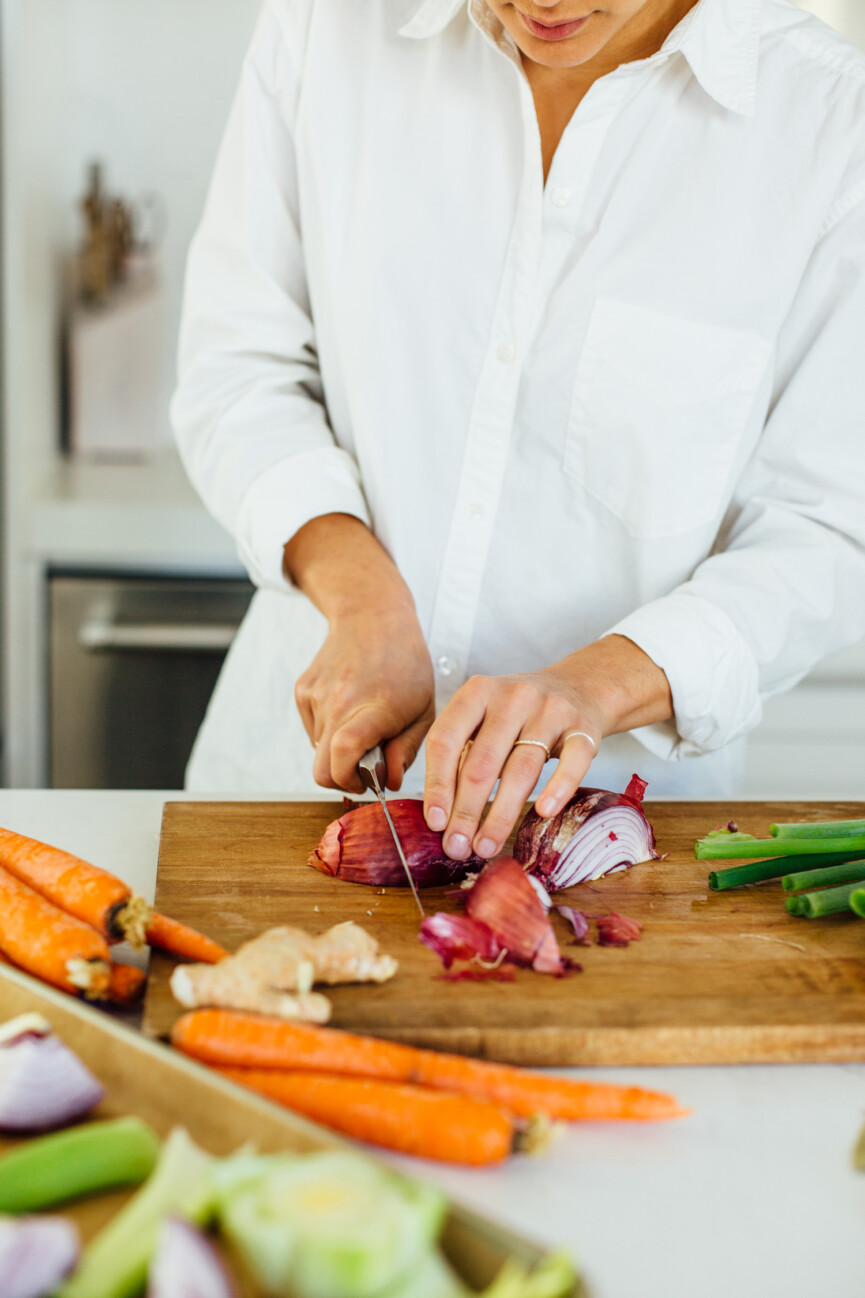
The veggies.
In French cooking, mirepoix is the classic trio of carrots, celery and onion that’s used to create a flavorful base for many dishes. We use them in our recipe for that very reason. One or two lbs of carrots, a whole stalk of celery, and one or two onions are my go-to. Chop them all up so that they roast nice and evenly.
The flavorful extras.
As I mentioned doing with my meat bones above, I keep veggie scraps from throughout the week frozen in a baggie as well. Green onion, kale stalks, fresh herbs, lemon, carrot peels and onion scraps are commonly appearing leftover ingredients in our kitchen, and so instead of tossing them into the trash, they go into the freezer. Kinda like composting!
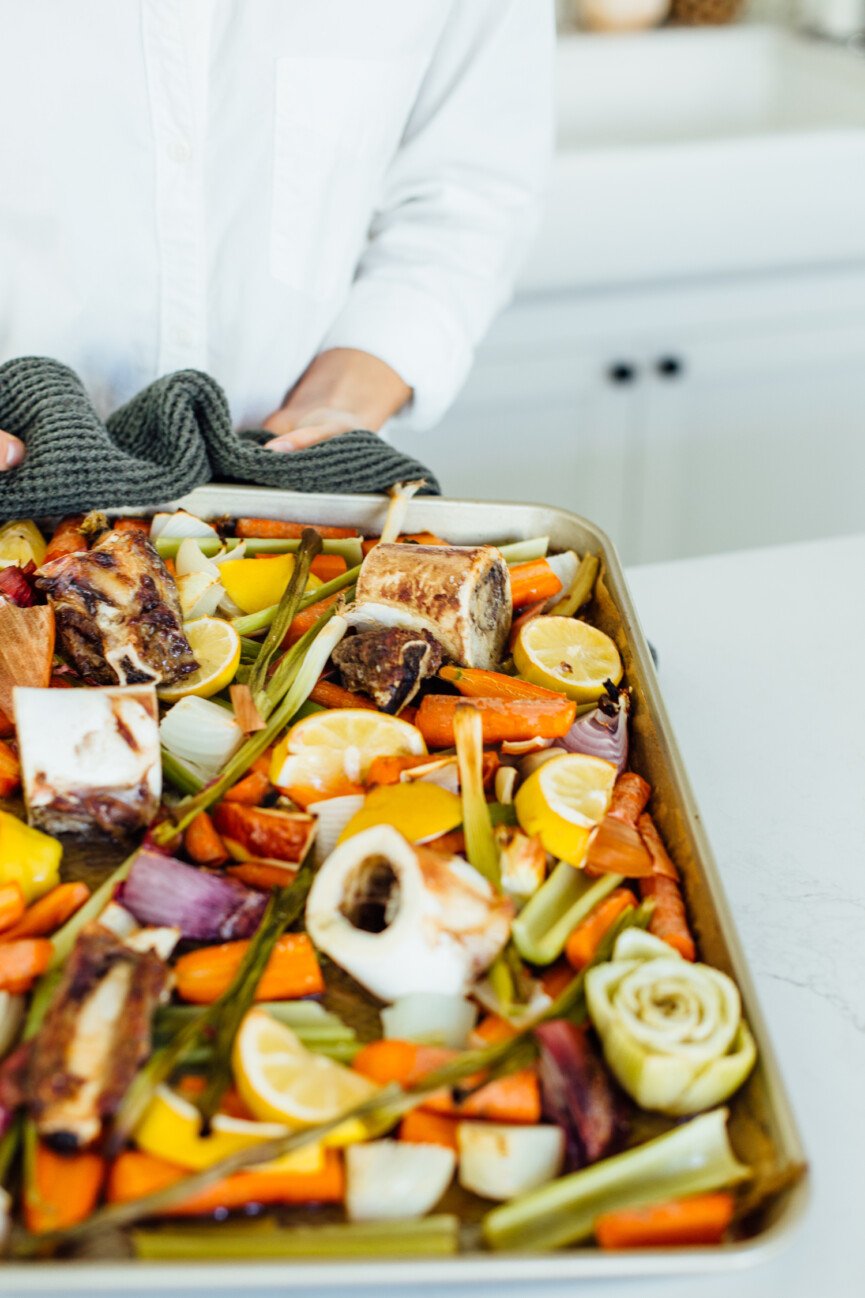
Lay it out.
Arrange the veggies, the scraps and the bones evenly in a single layer on a parchment-lined baking sheet. We usually have so much good stuff that it ends up filling two baking sheets.
Roasting.
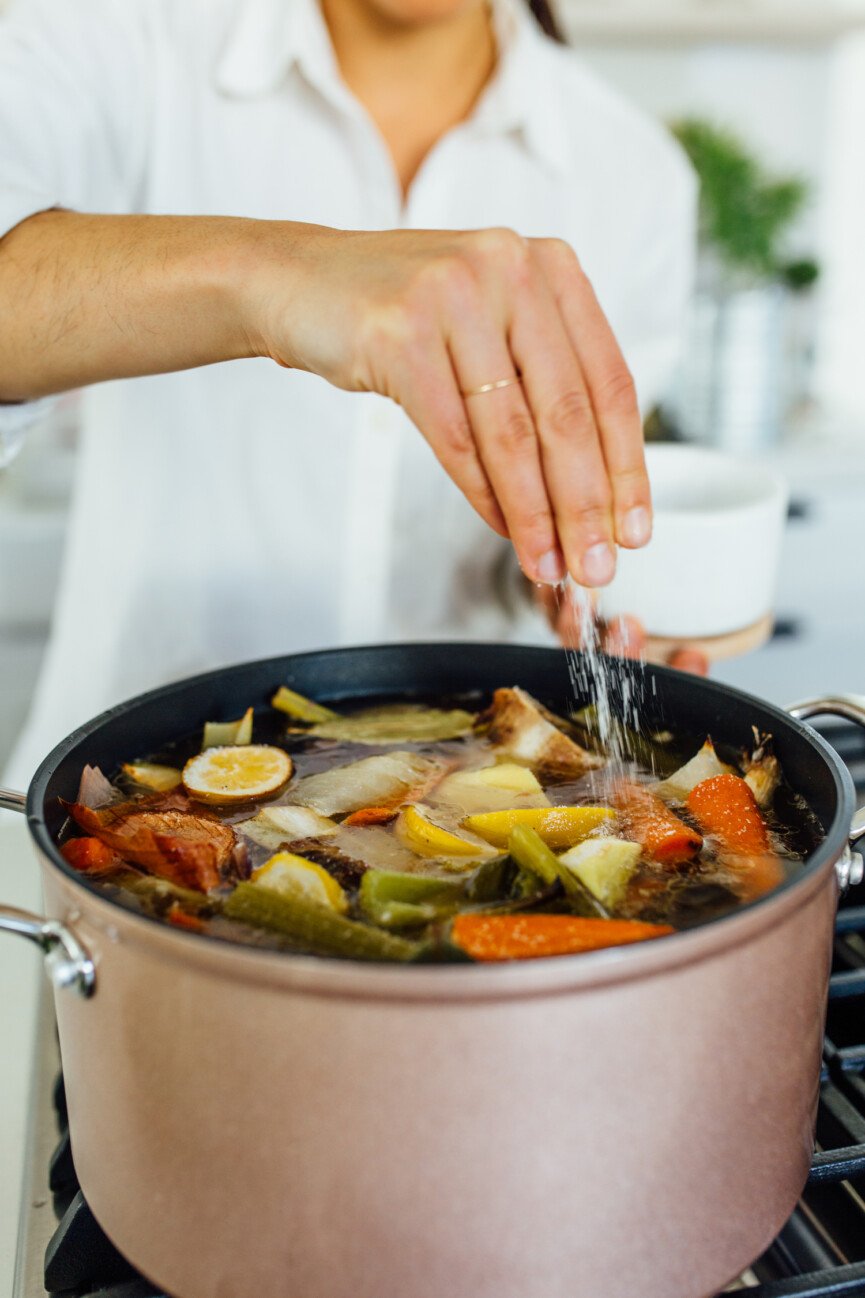
Roast it all at 450 degrees for about 30 minutes, or until it looks like everything is beautifully browned. Roasting everything brings out all those yummy flavors and juices. Once the veggies and bones are roasted, scoop them all into a large stock pot and fill with filtered water until covered. I’ve heard of some people actually throwing the parchment paper into the pot too since it’s soaked in all those oils and juices, so if you’re feeling adventurous, go for it! Just make sure the parchment paper is unbleached.
For added flavor, we like to throw in peeled fresh ginger, a few bay leaves, and a generous amount of salt and pepper.
Low and Slow.
Uncovered, bring it all to a boil. Then, reduce the heat to low, and once it’s simmering, cover the pot with a lid. Let this simmer for 8 to 12 hours.
Stovetops (and even individual burners on the same stovetop!) are all different, so be sure to check on your broth periodically. If the simmer is looking more like a boil, you might come back to a broth that’s reduced too much and left you with almost no liquid! A subtle simmer is the goal.
Time to strain.
I’ll admit, this part is messy. And if you’re working with a big batch, it definitely helps to have a second set of hands spotting you.
Strain your broth through a mesh sieve until you’re left with just the liquid. We do this by pouring out of the stock pot, through the sieve, into another large pot or bowl. Then once that cools a bit, we transfer to individual mason jars and put it all in the refrigerator.
This amount yields enough broth for both my husband and I to drink one cup each morning for a week. I’ve read different things about the shelf life of broth, but we go by the one week rule.
You’ll notice that after about 12 hours of sitting the fridge, your broth will begin to separate, with a hard layer of fat forming at the top. When it comes time to drink it, just remove that and toss it in the trash, or better yet, save it to cook with. Just be kind to your pipes and don’t throw it down the drain! Then, portion out your serving of broth, and heat it up on the stove or in the microwave. Enjoy!


This was so helpful and explained wonderfully!! I can’t wait to start making this recipe!! Thank you