Check out the full How I Gather with Sweet Laurel Bakery.
From Laurel, “We’re texture snobs at Sweet Laurel. From the beginning, when Claire and Laurel would recipe test, delicious recipes wouldn’t make the cut if they didn’t taste or feel like the real thing. Cakes needed to be dense and rich when called for, or light and fluffy if needed. Cookies needed to be crisp or chewy, not crumbly or tough. And cinnamon rolls need to be airy, gooey, sweet, and just a touch tart from the risen dough. Getting that risen dough texture without flour and sugar can be tough, but in this recipe we couldn’t be happier with the result. You can use this yeasted bread dough base to make sweet loaves or muffins, but we think it’s perfect when balanced with the sweet cinnamon date filling and the barely tart coconut cream cheese glaze.”
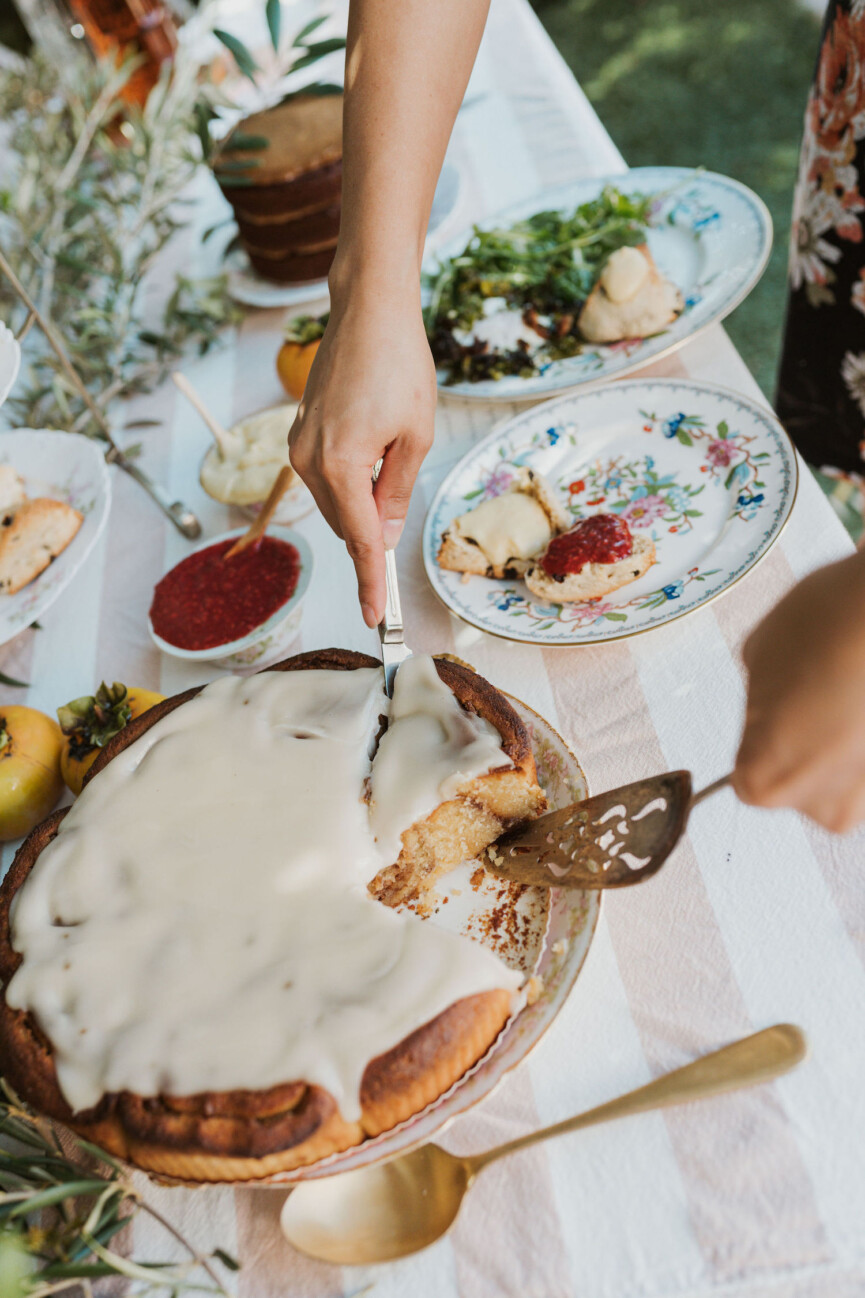
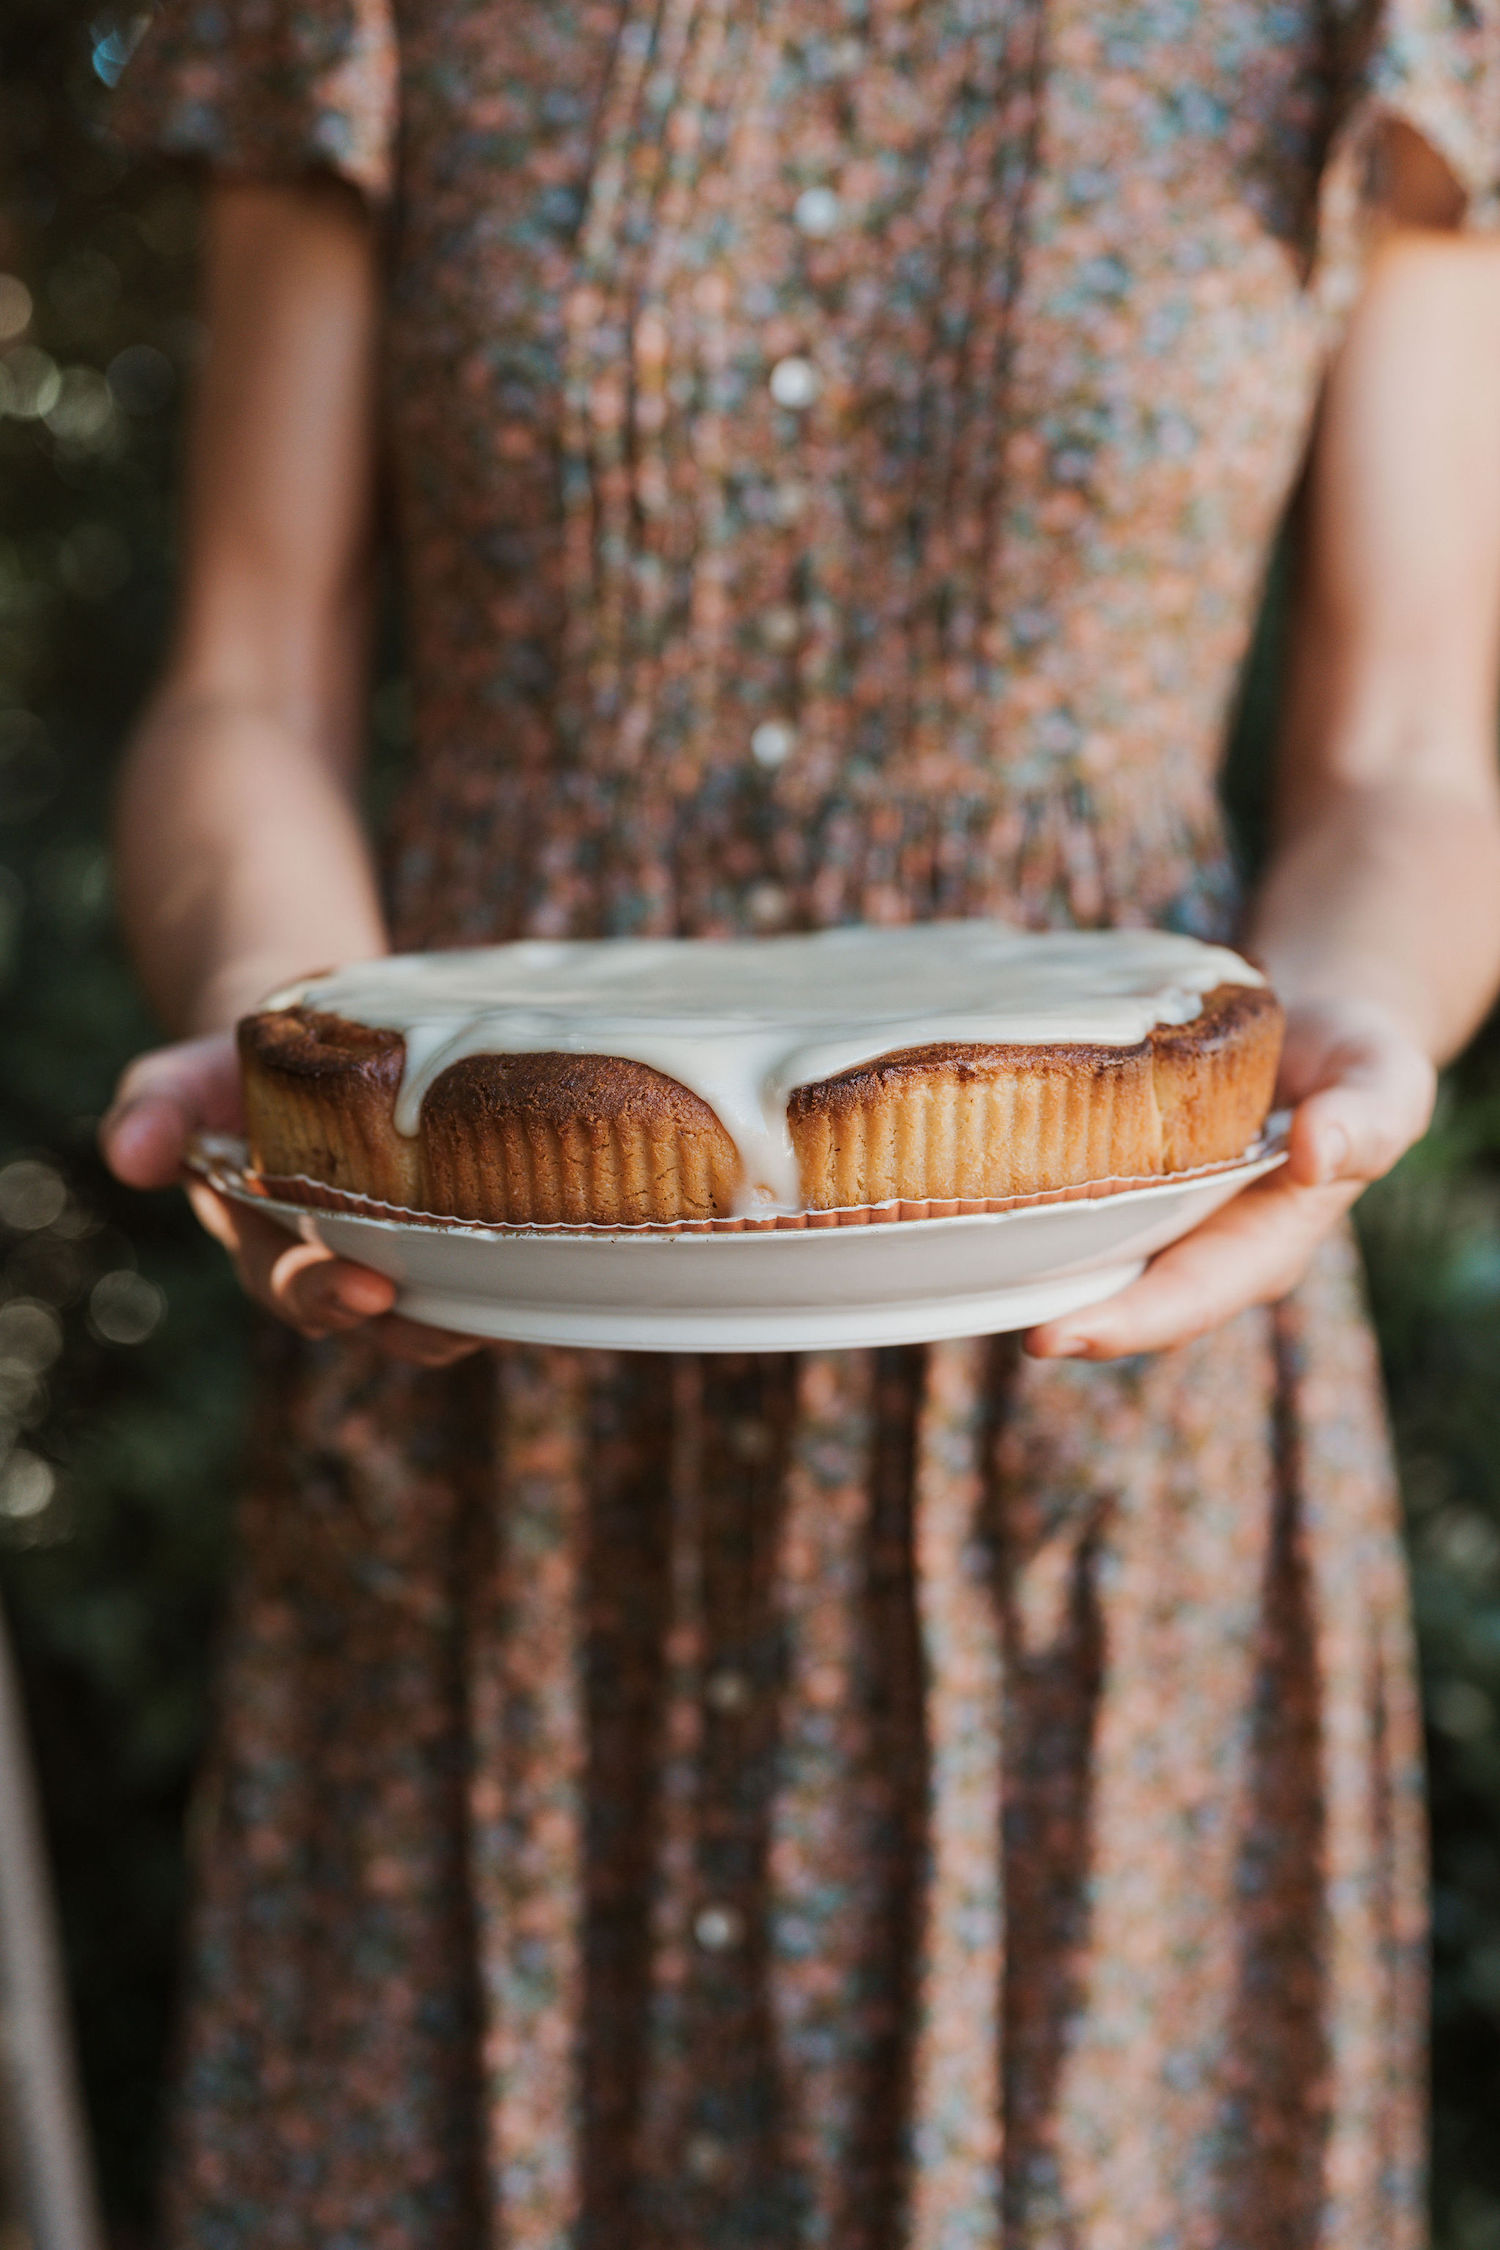
Sweet Laurel Cinnamon Rolls
Description
Warm, fluffy, and totally satisfying cinnamon rolls get a grown-up upgrade in this recipe from Sweet Laurel Bakery. Gluten-free, dairy-free baking never tasted so good!
Ingredients
for the rolls:
- 2 teaspoons active dry yeast
- 1 tablespoon maple syrup, for activating the yeast
- 3/4 cup warm water
- 5 1/2 cups almond flour
- 1 cups arrowroot powder
- 2 teaspoons Himalayan salt
- 1/2 cup coconut oil, melted and cooled
- 1/4 cup maple syrup
- 3 large eggs
for the filling
- 1 cup date paste
- 1/3 cup maple syrup
- 1 tablespoon cinnamon
- 1 tablespoon vanilla extract
Instructions
- In a small bowl, combine the yeast with the 1 tablespoon of maple syrup and warm water to activate the yeast. Allow it to sit in a warm area until the yeast mixture is foaming and bubbly, about 5-10 minutes.
- Combine the flour, arrowroot powder, and salt in the bowl of a stand mixer fitted with a paddle attachment, or in a large bowl with a rubber spatula on hand.
- In a separate bowl, whisk together the coconut oil, maple syrup, eggs, and the yeast mixture.
- With the stand mixer on low speed, slowly pour the egg mixture into the flour mixture. Increase the speed to medium to fully incorporate the egg mixture into the flour mixture. Continue to mix the dough for another 5 minutes on medium speed. The dough should be smooth and soft, and a bit sticky/wet.
- Cover the bowl tightly with plastic wrap and place in a warm area (we put it in our oven when it’s off). Let the dough rise until it has noticeably risen by about 50%, for one to two hours.
- Unwrap the bowl, punch down the dough with a greased hand, and cover again with plastic wrap. Refrigerate for at least 2 hours or until chilled through. This is a great place to press the pause button if you want to save these rolls to make ahead of time. Hold in the fridge for up to 2 days at this point (any longer and they may get a touch too sour from the yeast), or freeze for up to 2 weeks.
- Remove the dough from the refrigerator. Roll out a large piece of parchment paper and grease well with coconut oil. Press the dough onto the parchment paper, cover with another piece of parchment, and roll to about 1/3 inch thick. Remove the top parchment paper and spoon on the date filling, gently smoothing it evenly, but leaving the outside 1/4 inch clean. Don’t press too hard, as the dough will be quite soft.
- To make the filling, combine the ingredients in a food processor and pulse until smooth and thin enough to spread. If you need it thinner, just add a little more maple syrup, pulsing again.
- Next, create the roll. Lift the long edge of the parchment, and gently fold over the dough, covering the first inch of the date filling. Then, using the parchment to help you, continue rolling the dough over itself until you’ve created a parchment covered log. Place the log in the fridge for about an hour, to set and make it easier to slice.
- Grease a skillet. Take out the log and gently unwrap it. The dough will want to stick to the parchment, so use a butter knife to separate it from the parchment. With a greased knife, slice the log into 1 1/2 thick slices, so you end up with between 15 and 17 rolls. Place the rolls in the skillet, filling it up. Let the rolls rest while you preheat the oven to 350 F.
- Bake the rolls in the preheated oven for 20-30 minutes, until the tops are golden brown and the rolls are firm to the touch when pressed. If you do the toothpick test, make sure to poke the toothpick just in the roll portion, not the date filling. The toothpick can come out gooey because of the filling, so you won’t get an accurate read on the rolls’ doneness.
- Take out of the oven and cover with your favorite cream cheese glaze.* Serve warm. If making for later, don’t glaze them, cover and keep them in the fridge for up to 3 days, and reheat the rolls just before serving.
Notes
*For dairy-free cinnamon rolls, use the coconut cream cheese glaze recipe from the Sweet Laurel cookbook.
Note: This is one of our longer recipes because the time waiting for the dough to rise, but don’t be intimidated! You can press the pause button and make these delicious rolls ahead of time, and putting it together is pretty simple. The filling and the glaze can be prepped ahead of time as well.
Note: If you’ve made risen dough before, you’ll expect to see dough double and triple in size as it proofs – not so here! Expect to see things puff up a bit, about 50% at a time, rather than very dramatically. This is due to the heaviness of the almond flour and the low level of maple syrup, which the yeast uses to convert into CO2.
Note: Yeast is a live bacteria, so heat can kill it. Make sure any ingredients you combine with it are under 120°F, and that when you have the dough rise, that it’s in a warm, but not hot location, for the same reason.




Hey there! These have me so excited. Where is the recipe for the coconut cream cheese glaze?? The ingredients have a heading for egg wash? I don’t see that in the directions. Thanks!
Hey Rachel! We’ve updated the recipe—thanks for pointing this out. For fully dairy-free cinnamon rolls, you can use the vegan cream cheese glaze from the Sweet Laurel cookbook. Alternatively, you can use the recipe here. Enjoy!