

Confession: for many years, I didn’t know what falafel actually was. I only say this because I’d like to open up a space of vulnerability (this is serious you guys, haha) where some of you, too, can admit that you don’t know what falafel is. ‘Cause I think there’s a lot of us out there, especially if you don’t live in a city with a thriving Middle Eastern food scene.
But when it comes to falafel, when you know, you know. Since trying them for the first time a couple years ago, I immediately understood what the fuss was all about, and now if I spot them on a restaurant menu, I know what I’m ordering.
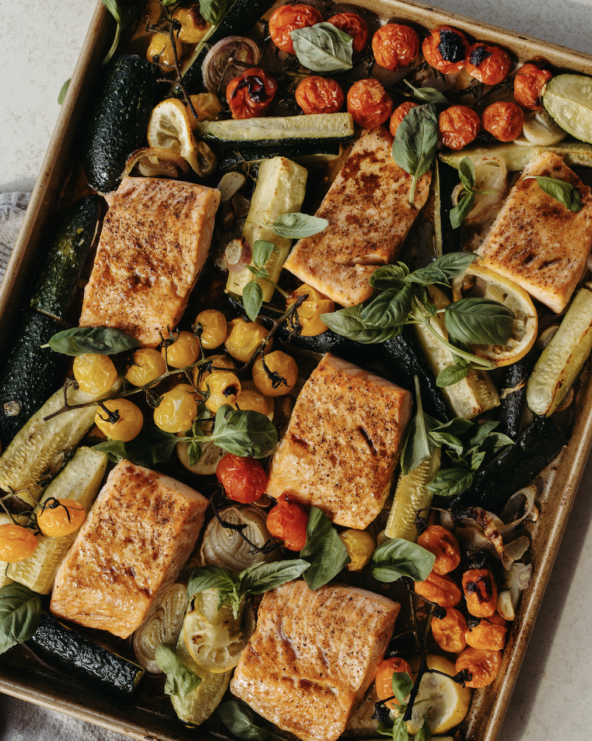
For my Valentine’s date night at home menu, I took my inspiration from my favorite new Mediterranean spot in town and these falafel played a starring role. Hop over to that post to grab the recipe for the Love Hummus and cauliflower tabbouleh I served with it, but for now, let’s talk falafel.


Okay, basics first: Falafel is a (usually) fried ball or patty made from ground chickpeas or fava beans spiked with herbs and spices. The fritters originated in Egypt, but are now beloved all over the globe, especially by vegetarians who crave these satisfying veg bites that are even better tucked into a pita with tahini and veggies.
I’ve been a little intimidated to make falafel at home, mainly because I don’t love the smell and greasiness that comes from frying things in my kitchen. But when I stumbled across this baked version with near-perfect reviews, I had to try it. I experimented with my own mix of chickpeas, herbs, and onions, and the results were so good (and the process so simple) that these have now become part of our weeknight rotation.


Before you attempt these, a few things to know:
– You’ve got to use dried chickpeas (not canned.) But don’t worry, you’re not even going to cook them first! Just soak them in water for at least 4 hours and up to overnight.
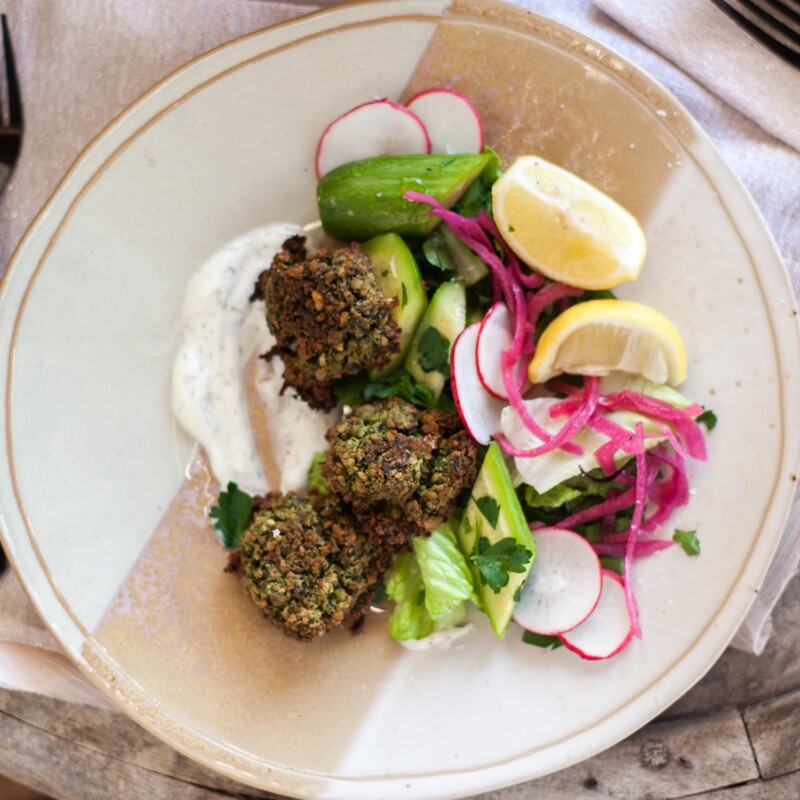
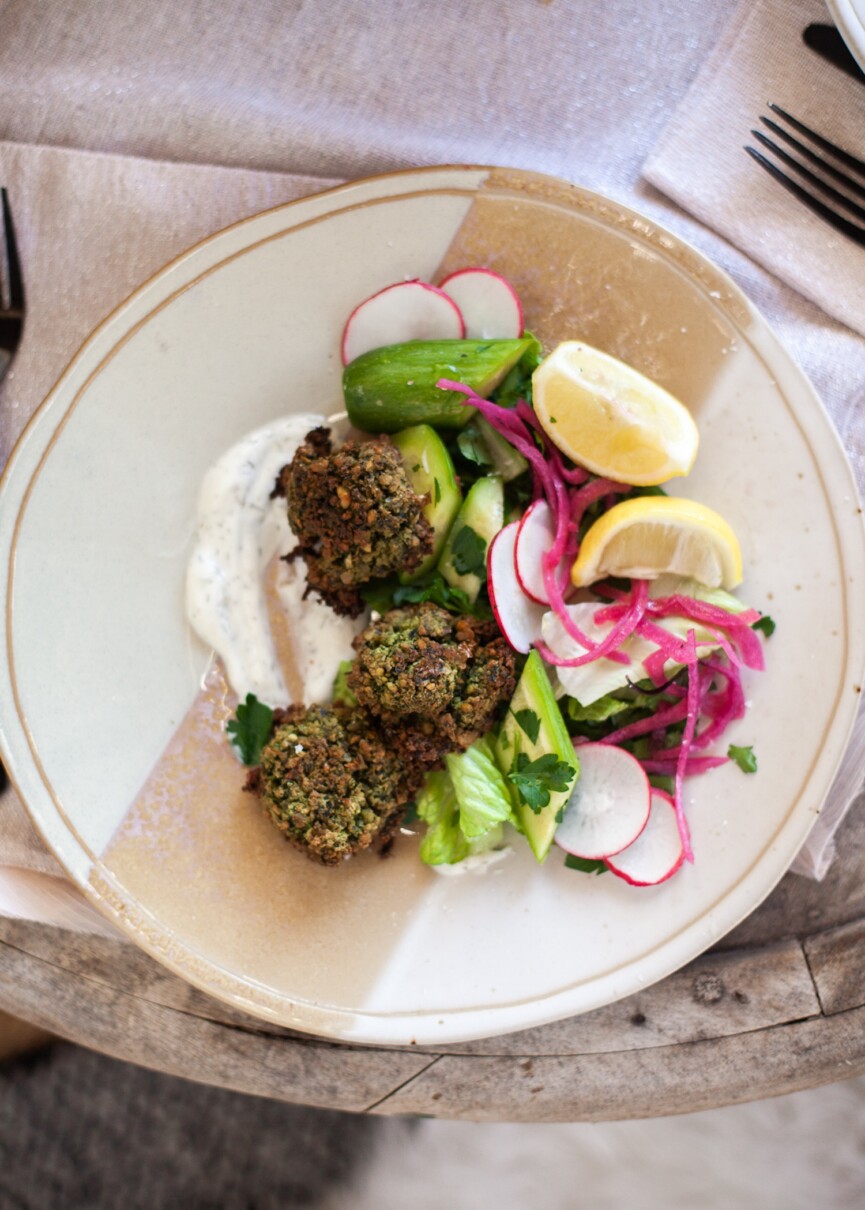
– Baking these yields a super crispy-on-the-outside, fluffy-on-the-inside falafel — and it’s way healthier than the typical fried version.
– Since I’ve been doing a lot of plant-based meals, I especially love that these are gluten-free, vegan, and full of protein and fiber.
– When I make these, I always double the batch and freeze extras – just thaw and rewarm in a 400-degree oven when you want to eat.
– You can stuff this all into a pita (with hummus – yum!) or just eat it on top of the salad below for a lighter option.
Okay that’s it! If you’re not already on the falafel train, it is TIME, so scroll on and let me know if you give these a try.
Herby Green Chickpea Falafel - Baked, Not Fried
Serves 4
These Herby Green Chickpea Falafel are Baked, Not Fried
Categories
Ingredients
for the falafel
- 1 cup dried chickpeas
- 2 cups mixed fresh herbs (I used cilantro, mint, and dill)
- 1 bunch sliced scallions
- 3 cloves minced garlic
- 1 teaspoon cumin
- 1 teaspoon coriander
- 2 teaspoons kosher salt
- extra-virgin olive oil
for serving
- 1 cup chopped romaine
- 1 cup chopped cucumbers
- 4 radishes, thinly sliced
- pickled red onions
- lemon wedges
- tzatziki (I used store-bought)
Instructions
- Place the chickpeas in a large mason jar or bowl and cover with cold water, adding enough to allow the chickpeas to at least triple in volume. Cover and let stand at room temperature for up to 4 hours or overnight. When ready to cook, drain, rinse, and dry.
- Add all the falafel ingredients to a blender or food processor. Pulse until the chickpeas are minced (but not puréed), stopping to scrape down the sides a few times. When you press the mixture into a ball with your fingers, it should just barely stick together -- if it doesn't, pulse a few more times.
- Transfer the blender to the fridge for 15 minutes (or more). Meanwhile, preheat oven to 375, and line a baking sheet with parchment. Cover the parchment with a thin layer olive oil.
- Remove the falafel mixture from the fridge, and use your hands to scoop out a couple tablespoons and form each falafel into a 2-inch ball. It will be kind of crumbly, and that's okay - as you can tell by mine, perfection is not the goal.
- Place the falafel on your oil and parchment-lined baking sheet about 2 inches apart, then bake for 15 minutes. Flip each falafel, and bake for another 10 - 15 minutes until each falafel is golden and crispy on the outside.
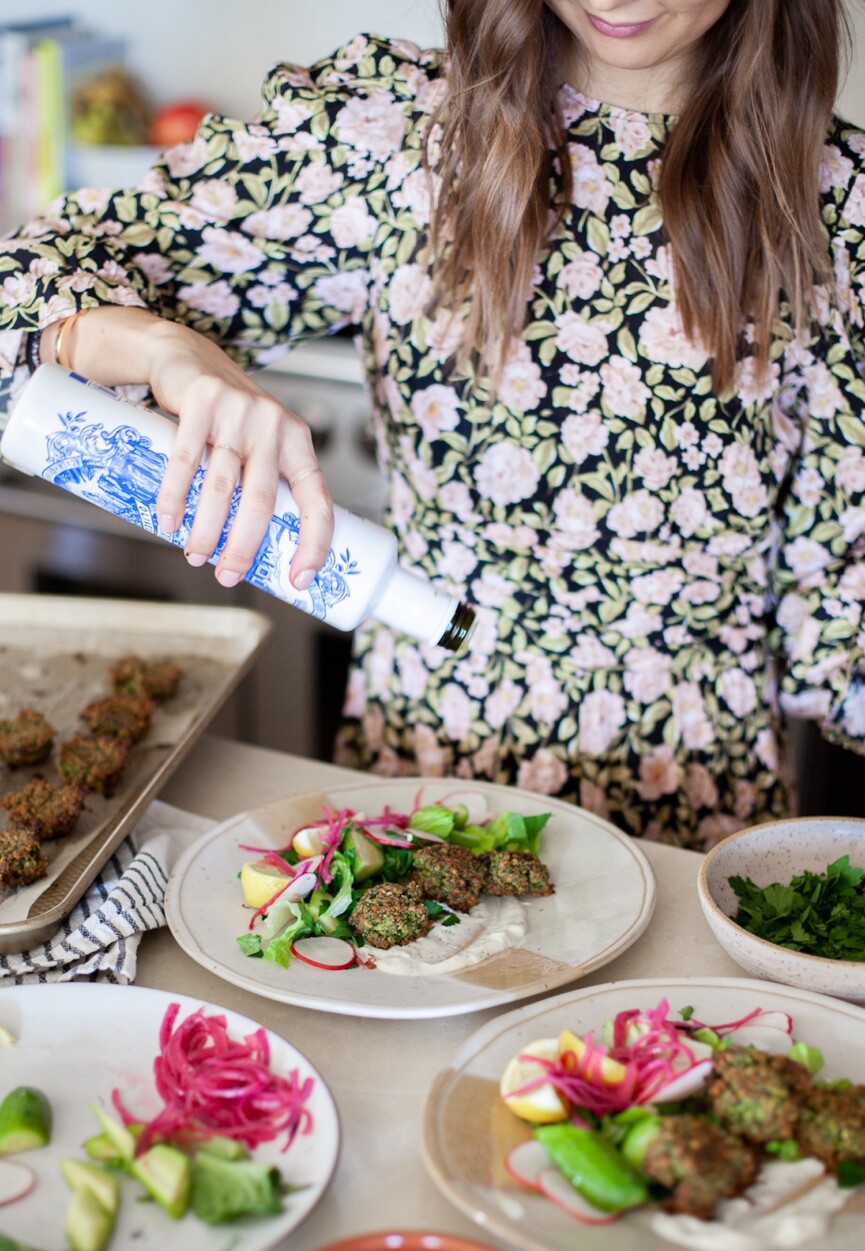
- While the falafel are baking, combine the romaine, cucumbers, radishes, and red onions in a mixing bowl. Drizzle with olive oil and a few squeezes of lemon juice, sprinkle with salt, and combine.
- On each plate, place a scoop of tzatziki, a scoop of salad, and top with a few falafel. Eat!
*the falafel will keep well in the fridge for about 3 days, and for a couple months in the freezer. When ready to eat, thaw and then reheat in a 350-degree oven.
Can you ise canned chick peas in a pinch?
Unfortunately, this is the one place where only dried will cut it! Canned chickpeas will make the entire mixture too “wet” and not hold together.
I’m wondering where the fresh herbs come in. I assume you just add it to the falafel before baking? Looks yummy, I’m making it right now. Haha.
Whoops. I clearly missed the part about adding all ingredients.
Hi! Does the olive oil go in the falafel mixture in the food processor? Or only on the parchment sheet? Thanks!