I was an art minor in college, which meant I had to paint, draw, and craft as part of my studies (I know, so rough.) No matter what else was going on, I had to carve out space in my week to create in order to complete my assignments. These art sessions, with just me and my materials, became the highlights of my week. Fast forward to adult life, and I’ve found that it can feel like a juggle to make space for regular creativity. However, there are huge benefits to tapping into that right brain and flexing your creative muscle – even if you don’t consider yourself a creative person (love this article about that very topic).
I’ve always found that creating with my hands is one of the best ways for me to feel present and refreshed, and watercoloring is one of my favorite creative outlets to play with. It’s meditative, calming and really so simple to pick up.
The textures, layering, soft colors, movement of the brush, and the swirl of paint through the water work together to create a relaxing and tactile experience.
Whether you need a new way to decompress or want to create a piece of art to finish out a room in your home, I usually go into it with the perspective that I’m just going to play and experience the colors and the movements rather than, “I have to create a masterpiece.” It’s so much more fun when you take the pressure off and just explore! And you never know, you might just want to frame it when you’re done.
You really only need a few things to start watercoloring, and there’s no limit to where you can take it. Make yourself some tea, turn on a chill playlist, put your phone on airplane mode (seriously do it!) and get painting!
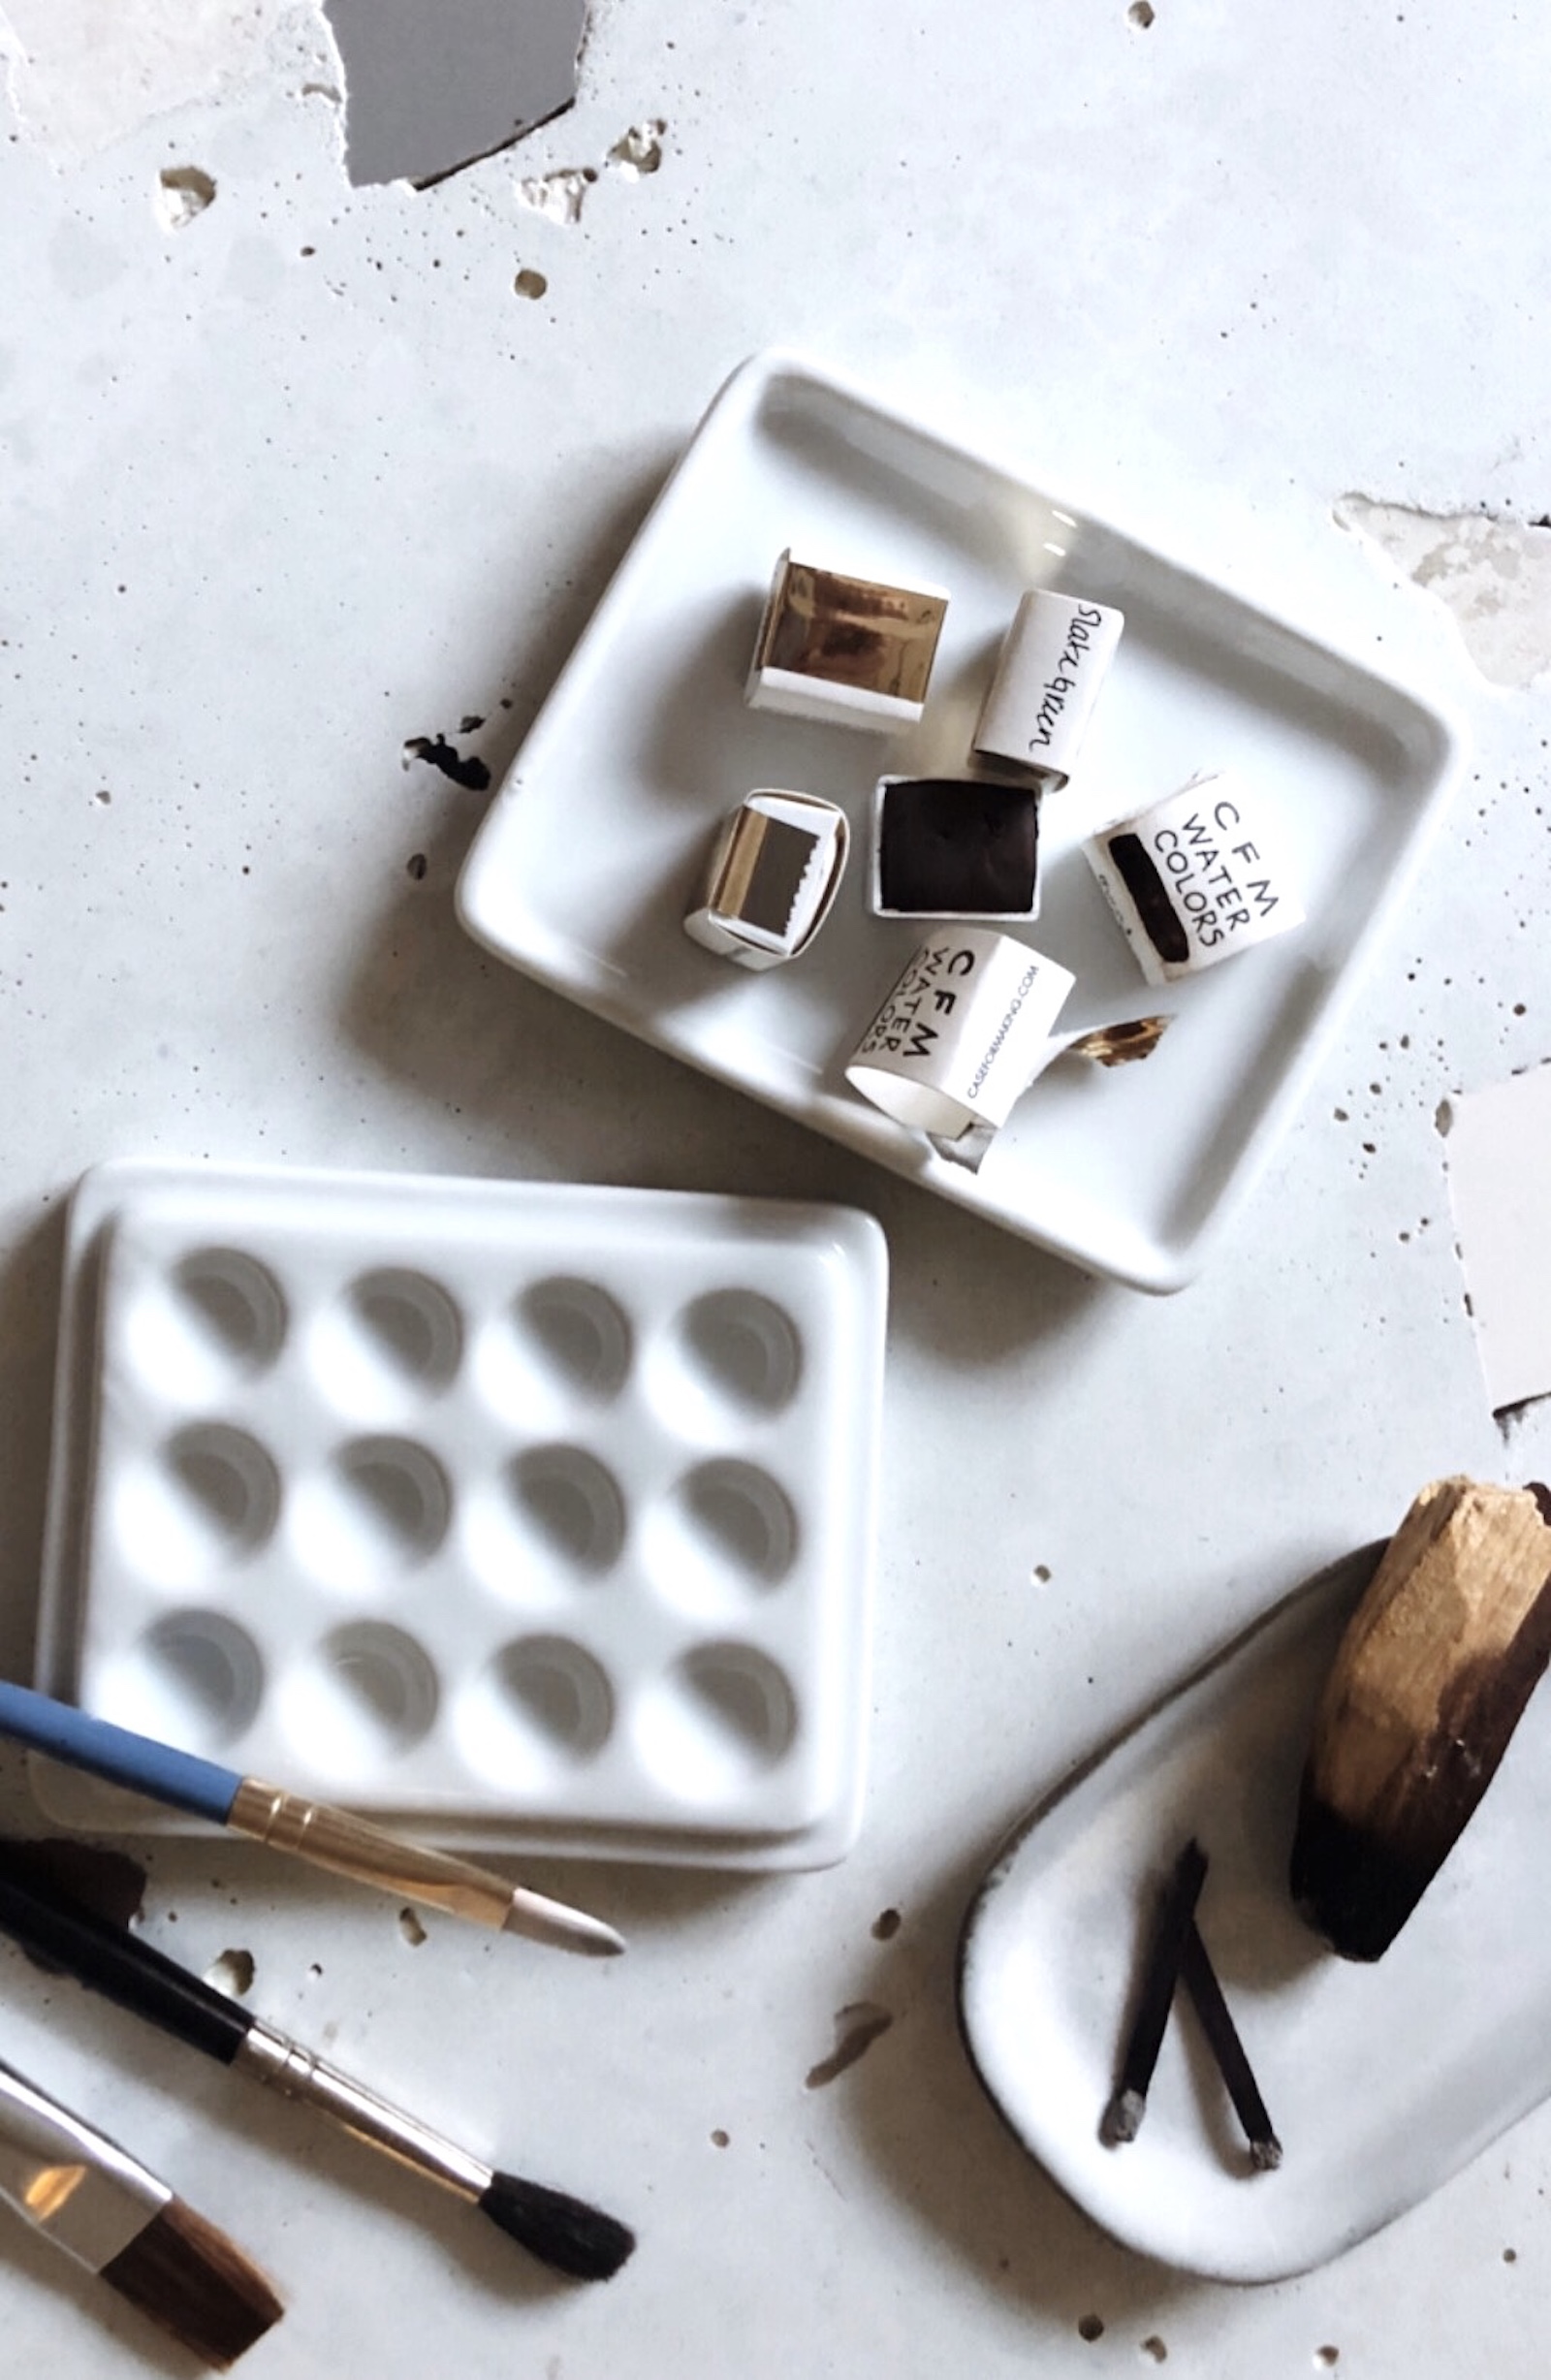 image: hannahzahner
The SUPPLIES you’ll need:
Watercolor Paints:
Watercolor paints usually come in tubes or pans. I love the Case For Making watercolors – they’re hand-mixed, super pigmented, have the best colors and come from a sweet small biz. When picking colors to start with, I just like picking colors that make me happy!! See below for a few more fave options.
Cup + Palette:
Use any mug, cup, or bowl for water and a plate or flat surface for a palette. I tend to prefer ceramic or glass as they can be easily wiped clean. I love finding dishes at thrift stores I can repurpose or using old chipped plates, bowls and cups. This shop has beautiful handmade palettes if you want to splurge!
Pro tip: use one cup of water for your dirty brushes and one for painting and mixing colors. This will keep your colors crisp and clean!
Paper:
You generally want your paper to be thick so it can withstand the water without piling, tearing or curling. Look for paper that is a weight of 140lb/300g or higher. Watercolor paper comes in two varieties – cold pressed, which has a nice texture to it, and hot pressed, which is a little bit smoother. You can use any size, but if you’re just playing, small is nice as a large blank white paper can feel overwhelming or intimidating. Remember this doesn’t have to be a masterpiece and you can toss when you’re done!
Brushes:
You really just need a couple – a small and a large and you’re set! Sizes 2, 6, and 8 are great. I like to keep a pencil close by for lightly sketching out my drawings before adding paint.
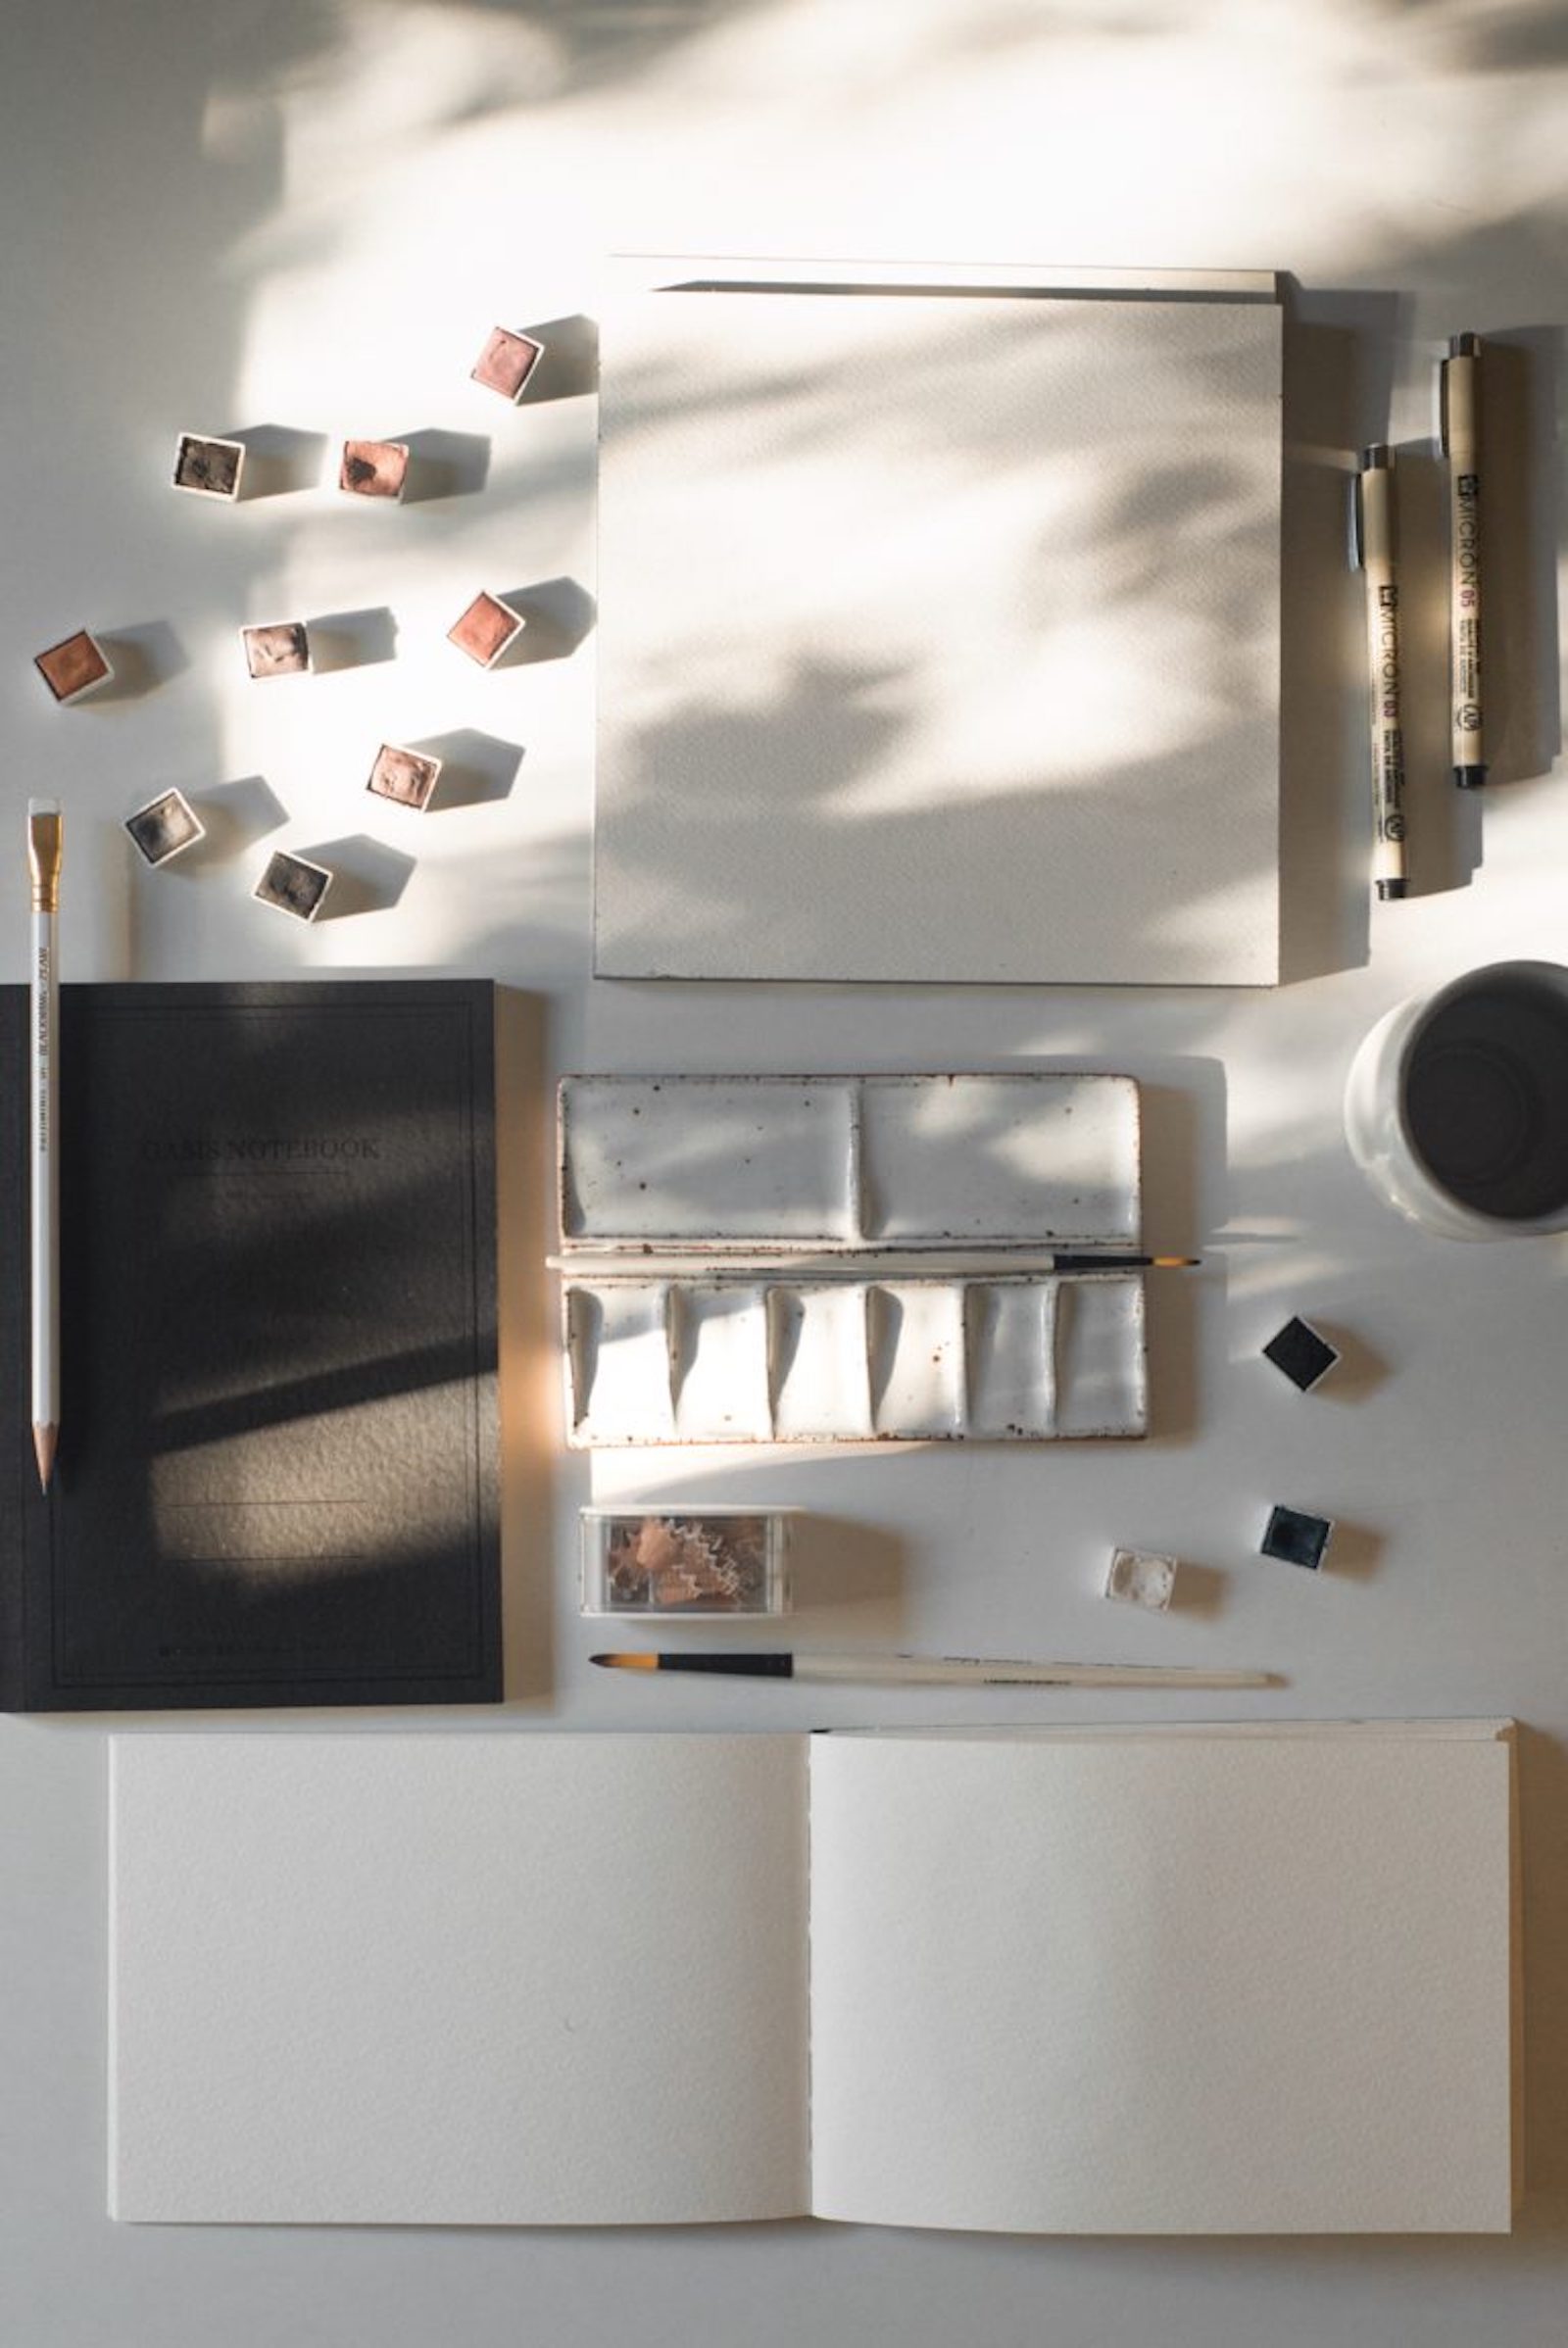
image: theslowerhome
PROCESS AND TECHNIQUES
Some starting tips:
- The more water and the wetter your brush, the less opaque your color.
- You can always add water and take it away too! Just press a dry cloth or paper towel to the wet paint to remove.
- Try spreading a thin wash of water over the page first before adding pigment for a diffused organic look.
- Watercolor paints tend to swirl and mix easily – make sure the first layer is dry before adding the next if you dont want it to mix.
- If your goodies are set out or gathered in a pretty basket I promise you’ll be more likely to go for it. Have your crafting space tidy and inviting so it doesn’t feel overwhelming to start!
- Looking for a virtual art class? This article is chock full of resources for that!
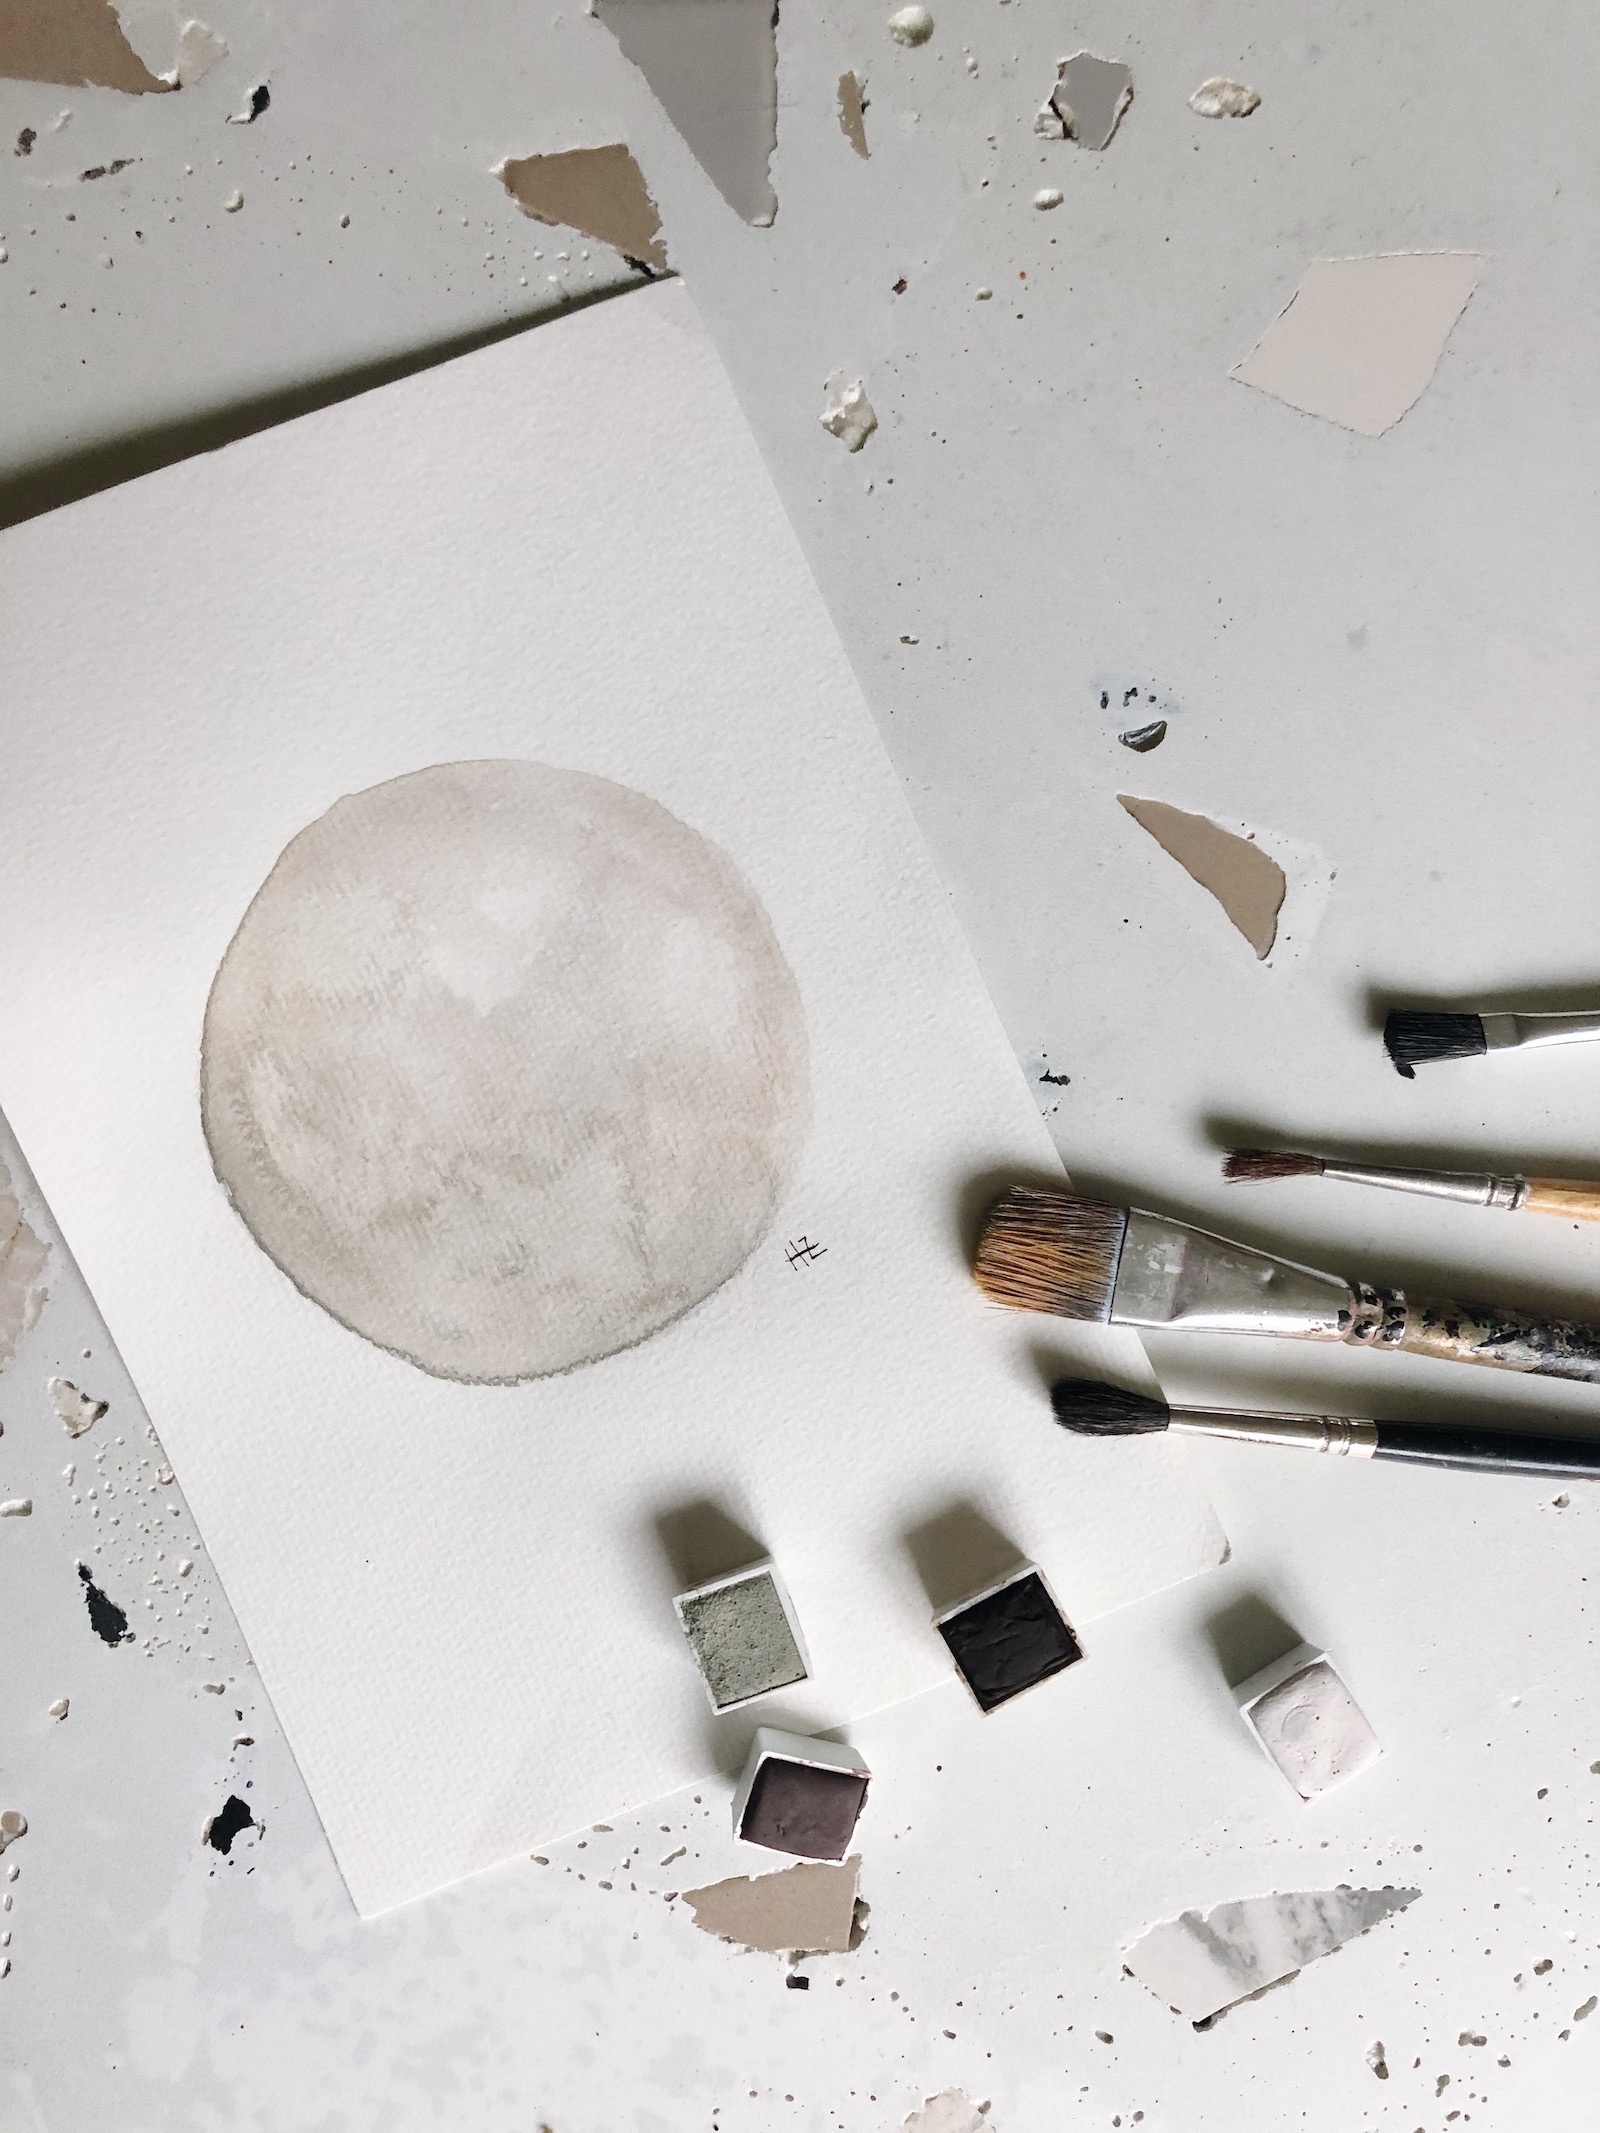 image: hannahzahner
A Few Watercolor Techniques to Try:
- The three basics:
- Dry on Dry – Just like it sounds, dry paint on dry paper.
- Wet on Dry – Can be done one of two ways. Either by doing your basic brush dipped in water, then paint, then applied to dry paper or it’s created by painting a wash of color on paper. After it has dried, apply paint on top of it. Because watercolor is translucent, you will most likely see the bottom layer behind that stroke.
- Wet on Wet – this showcases the best quality of watercolor paint—its ability to create beautiful ethereal washes. Simply wet part of the paper with your brush, then dip your brush into another color and lightly dot it on the wet area and watch as the pigment feathers.
- Graded wash – A graded wash shows a transition from light to dark. Start by painting the darkest most pigmented part and slowly layer overlapping and lighting the pigment with each layer.
- Salt – When applied to wet watercolor paper, salt will soak up some of the color and create a sandy-looking effect on the page. Once the painting is completely dry, scrape the salt from the page.
SCROLL ON FOR SOME INSPO / ART ACCOUNTS TO CHECK OUT:
https://www.instagram.com/p/CAdRqXaFpe9/
https://www.instagram.com/p/B_XopdZD-9E/
https://www.instagram.com/p/CAYQ3GcncCD/
https://www.instagram.com/p/BTnHzI3lzUo/
https://www.instagram.com/p/B3AXnzsADQo/
https://www.instagram.com/p/BjAaD1DnKLE/
https://www.instagram.com/p/CCRBtCLnb-9/
https://www.instagram.com/p/B_fmooKHNYq/
https://www.instagram.com/p/B24Dh2lCWZy/
https://www.instagram.com/p/B-zcnFahVcd/?utm_source=ig_embed
https://www.instagram.com/p/B9mfSFBpWbP/