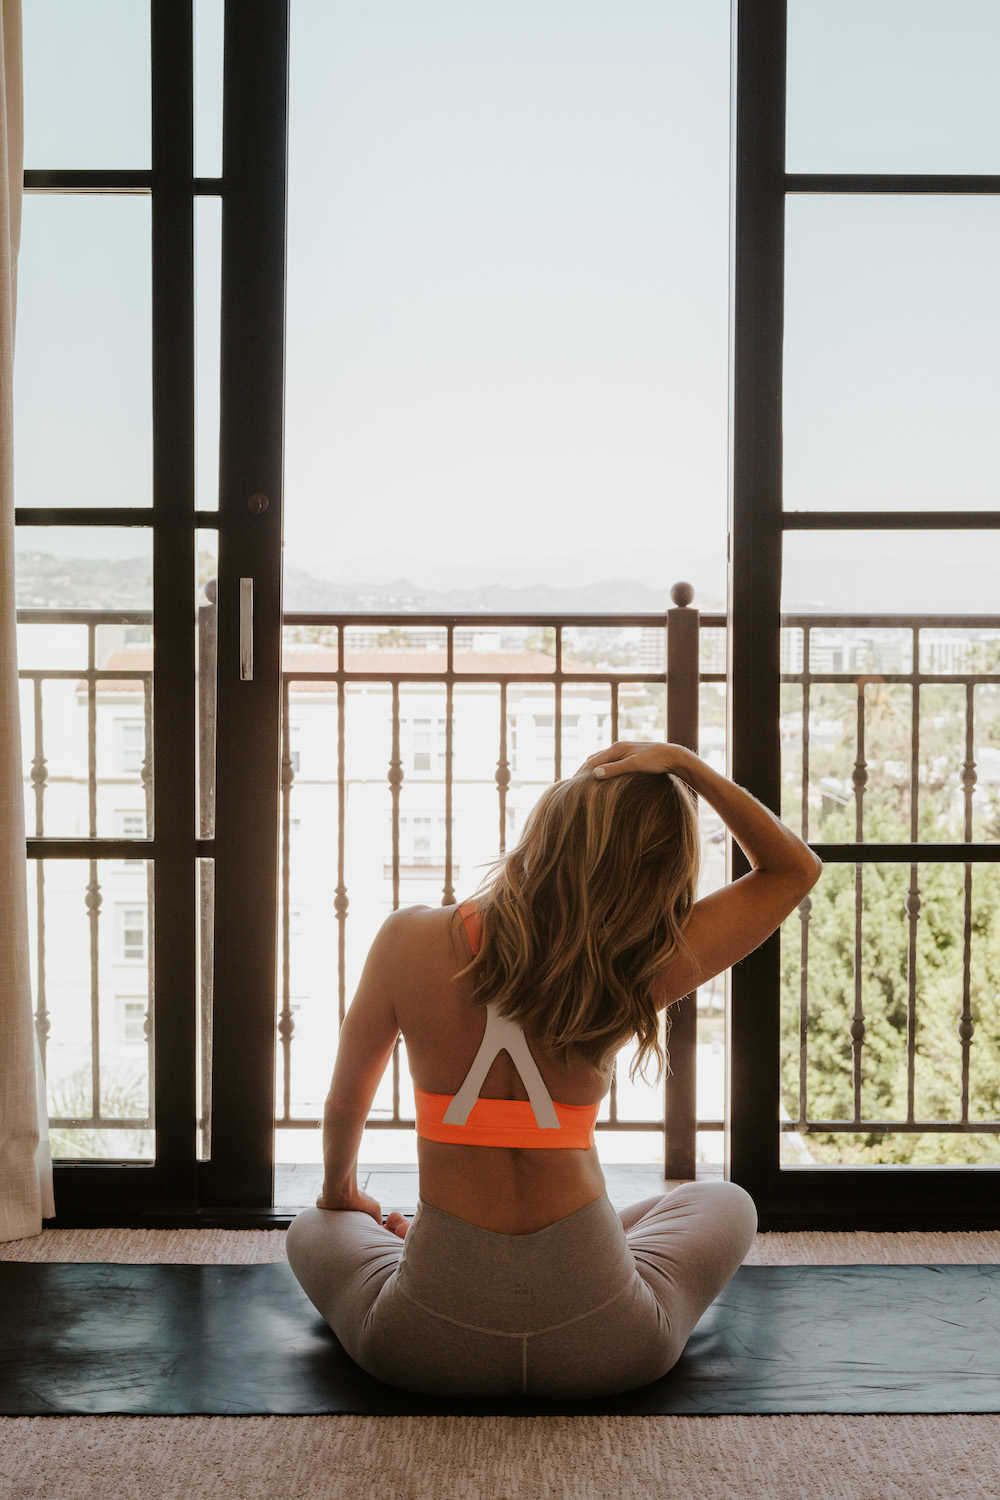
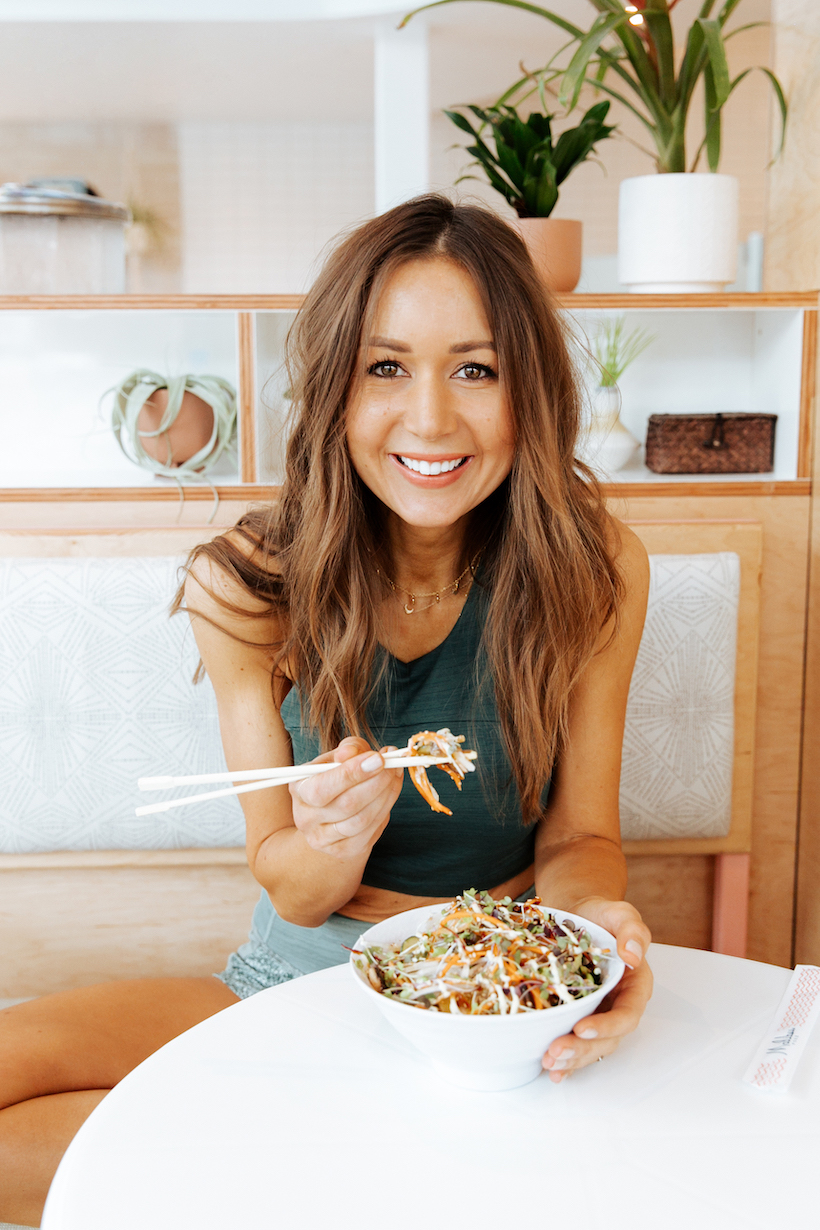
Hands down, one of the most frequently-asked questions I get from you guys on social media is: What tools, apps, and filters do I use for editing my photos? Since I shoot almost exclusively on my iPhone, editing apps have become MVP’s in my arsenal of work tools, and since I’m usually editing in a hurry without a lot of time to overthink things, I tend to go back to the same filters and adjustments time and again for the light, vibrant look we like to post on the site and on our social feeds. Scroll on for a few of my go-to strategies for editing photos in a flash, and I also asked our social media manager, Hannah, to share which tools she relies on most when she’s editing photos for our channels. She’s a total pro, and I’m definitely going to steal a few of her ideas for myself.
Work with what you’ve got.
I’ve noticed that most people ignore the built-in editing tools on their phone and instead go straight for the apps, but I like to make adjustments using my iPhone settings first and then see what else (if anything) needs to be done. Usually I start any photo editing process by cropping and straightening, then I’ll try the “auto enhance” button to see if I like the effect it applies to my photo. Once I save changes, I’ll often move to another editing app for more photo corrections or adding a filter (the built-in iPhone filters are too intense for my taste.)
Beware the FaceTune.
I remember the first time I downloaded the FaceTune app that I’d heard “everyone” was using on their selfies. At first, I was like “Wow. This is amazing and I don’t know how I lived without it.” The app instantly erases imperfections and can even make your eyes look bigger and your nose look smaller. After a few times using it however, I started feeling that even when I used it in really subtle ways, I didn’t really look like… me. My selfies looked like I’d gotten a little too much botox, rendering my face kind of emotionless.
Don’t get me wrong, FaceTune is a pretty awesome app when used correctly, and I do use it for certain things. The “teeth whitening” tool is great for quickly whitening anything in a photo, and there are times when a selfie that’s been taken in harsh light can benefit from just a little softening (couldn’t we all?) But the moral of this story is that, when it comes to any selfie “perfecting” app, be cautious and use a light hand. Your friends and followers want to see YOU, not a high-gloss smoothed-out interpretation of the real thing.
Tell A Color Story.
Since I don’t possess the color correction skills of a pro photographer, I love an app that’s already done the hard work for me. I first downloaded A Color Story a few years ago when it launched, and what I love most about it is there are a few presets that I can consistently rely on to lighten, brighten, and apply just the right warm or cool cast to a photo. My favorite filter presets are “Everyday,” which lightens and gives just enough contrast without overdoing it; “Summer Day,” which gives an even sunny cast; and “Cassidy,” which evens and warms the tones throughout an image. Play with different filters, find your favorites, and stick to a handful of the same ones to give your feed a cohesive feel.

And a few tips from Hannah…
Make those filters work for you – but not too hard…
It’s easy to go overboard with filtering (just scroll wayyy down on most people’s feeds to remember the OG Instagram filtering craze). And while sometimes images don’t need much more than a simple tweak of brightness, filters are a great way to add some dimension to your images. VSCO is my personal fave for editing on my phone, it’s super user friendly + offers lots of control. When editing a photo I usually first add a filter before editing anything else. The filters use a sliding scale that goes up to 12.0 so you can control intensity. I always use a light hand with these and almost never go above 7.0, usually I go up to about 3-5. It depends on the image and what it needs, but my go-to filters for the Camille Styles feed are “KK2,” which adds warmth and enhances golden tones; “HB1 or HB2,” to neutralize warm tones and add contrast, “A6,” clean and minimalistic, this filter has balanced tones and increases contrast; “M5,” subtly fades and warms; “C1,” for pop of color.
 photo by molly culver
Tweak the basics like a pro.
Next, in VSCO, adjust white balance, the most important step! I usually like my whites to be true whites (as little blue, yellow, green, purple etc. cast to them as possible). Use the temp tool + highlight color & shadow color tool to adjust the color cast of your image. I usually bounce my eyes around the image, making sure all the tones feel true and the whites are actually white. Add the finishing touches by adjusting brightness, contrast, cropping and straightening as needed. Like Camille said, sometimes the easiest to use tools are already there for ya! I almost always do last minute edits in Instagram before posting – usually brightness, straighten and tweak color further if needed before posting!
Make your Instagram stories shine.
Instagram has some super fun features build in for you (hello puppy dog filter)! For those videos that need a little tweaking or color correction, we do it right in Instagram. Our general go-to is Paris or Oslo for slight brightening, smoothing and contrast, or Jaipur or Cairo for more intense brightening. If you want to do more involved editing, check out these video apps: Splice (more heavy duty editing – edit coloring, clips together and add music), Slow Fast (make videos slow-mo, stop motion or fast forwarded) and GifVid (make gifs into videos for posting).
Here’s a quick video of the photo editing process I explained above using VSCO!
https://youtu.be/49lE6maIozw