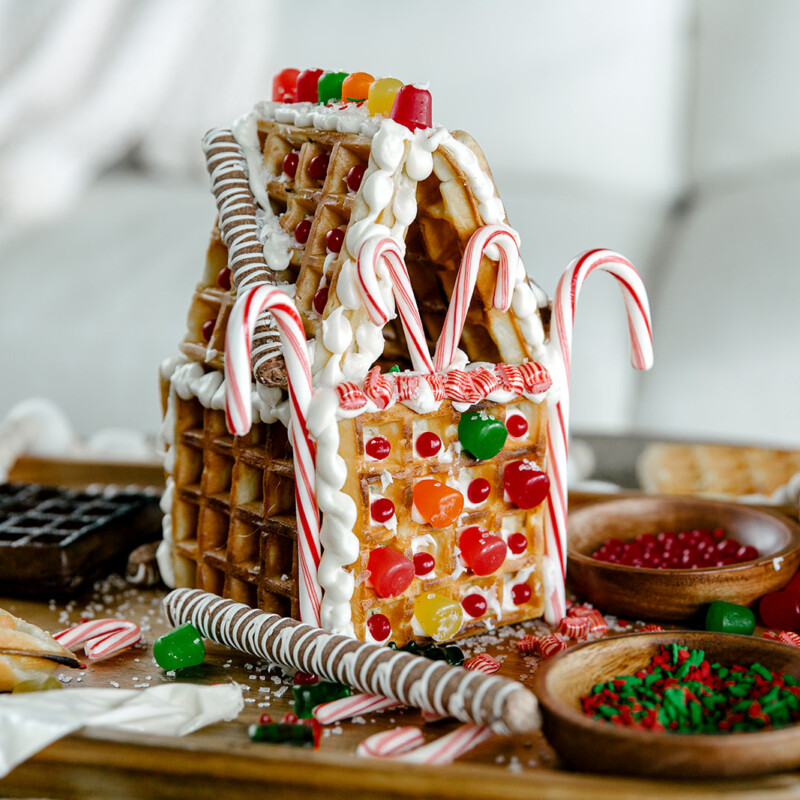
It’s the most wonderful time of the year, and while it’s still 70 degrees here in Texas, I’m full speed ahead in the Christmas spirit. As I get older, I’m constantly looking for ways to capture that holiday excitement that I felt as a kid. This manifests as decorating every room of the house, blasting Christmas music in the kitchen, and allll of the holiday baking. Just this week, I made chocolate peppermint mousse, peppermint popcorn bark, and apple cinnamon muffins. Next up? A big batch of Belgian waffles so I can invite my friends over for a holiday brunch where we’ll make a DIY Waffle Gingerbread House.
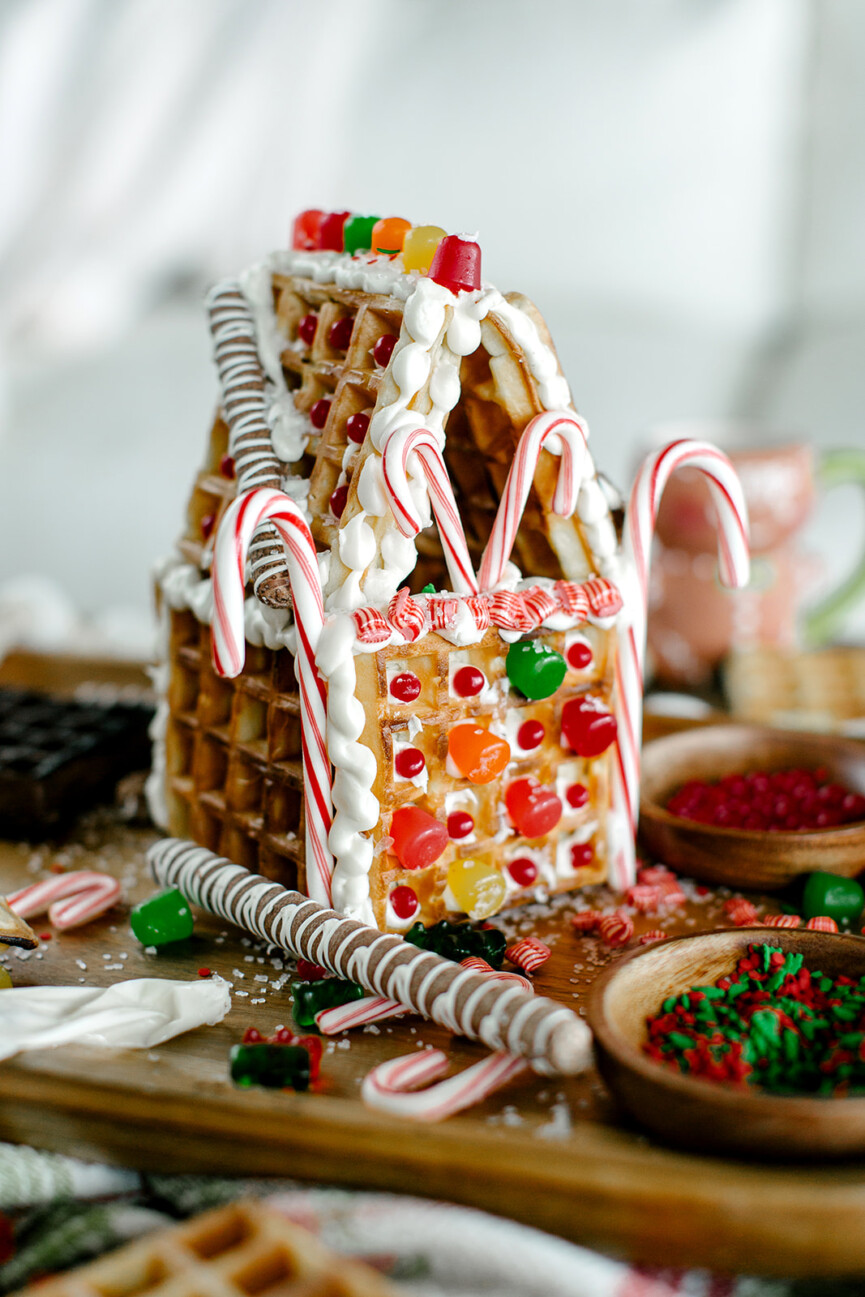
We initially made these waffle houses for our holiday shoot with Target, and I have to say, this twist on classic gingerbread houses might be my new favorite tradition. I grew up decorating gingerbread houses with my grandparents every year and while it was always so fun, finding and assembling the house itself was always a pain. Enter: The DIY Waffle Gingerbread House. Swap the gingerbread for waffles, keep the icing and candies, and you have a headache-free holiday activity. Plus, let’s face it, no one really eats the gingerbread itself, so might as well use something you could actually eat. Waffle Gingerbread Houses are the perfect addition to any holiday brunch because they double as the meal and an activity. Kids can go wild with their imaginations, and so can the adults because you’re never too old to decorate a gingerbread house. And lucky for you, we tapped our DIY expert, Chanel Dror Tarlo to share her tips for making the perfect house this season. So, warm up some hot chocolate, put on your Christmas PJs, and get decorating!
6 Tips for Creating Your Own DIY Waffle Gingerbread House
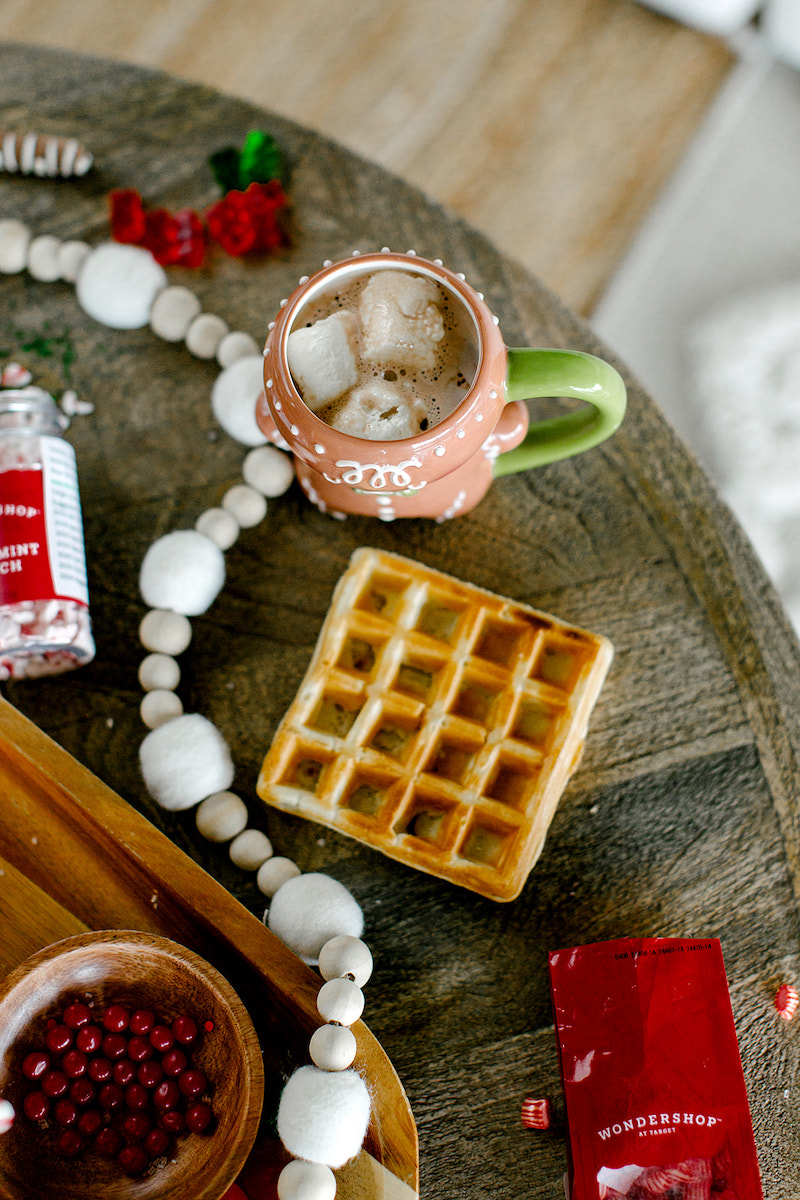
1. Do as the Belgians do.
Belgian waffles are famous for their fluffy texture and square shape, making them structurally perfect for building a gingerbread house. We used Good & Gather frozen waffles from Target, which come in both Original and Double Chocolate, making the crafter’s job just a little bit easier, and a whole lot tastier.
Of course, you can also make waffles from scratch if you want to add in any of your own toppings.
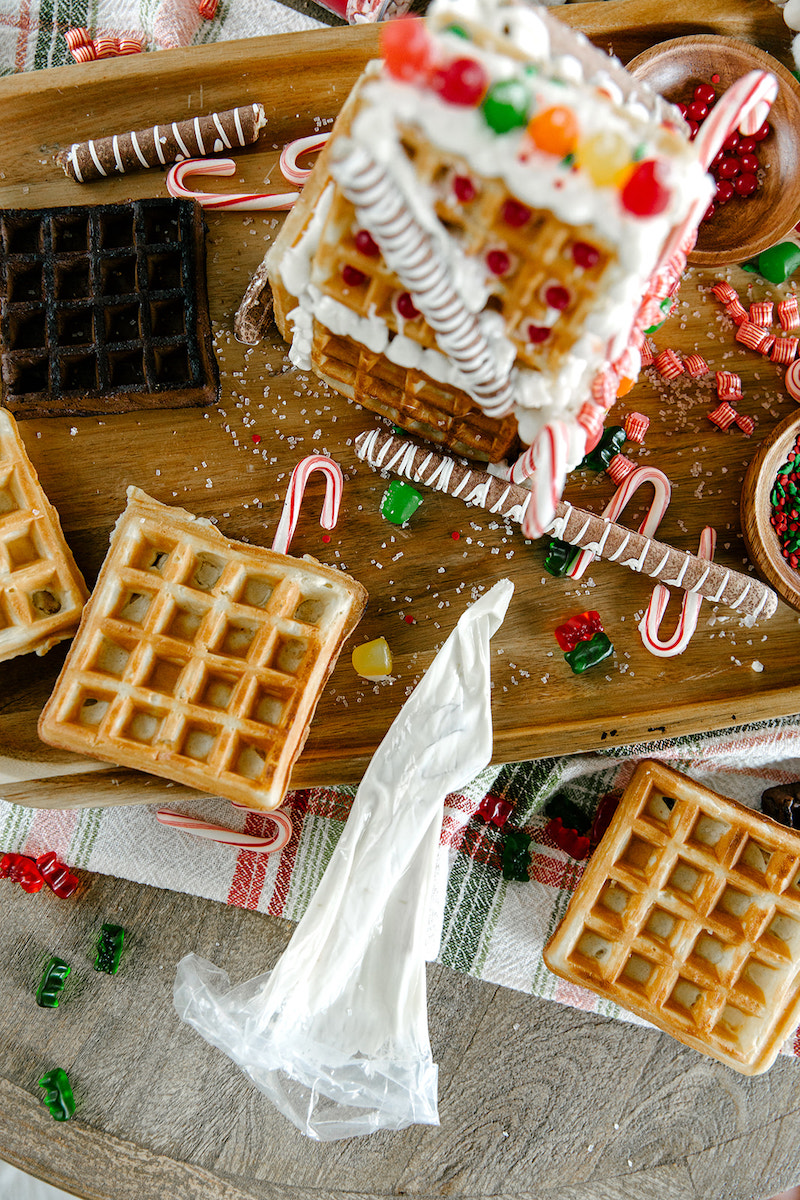
2. The best things come to those who wait.
As excited as you are to start building your DIY waffle gingerbread house straight out of the toaster, let the waffles cool completely first. Cooled waffles are not only easier to handle, but the icing will also stick better since it won’t melt.
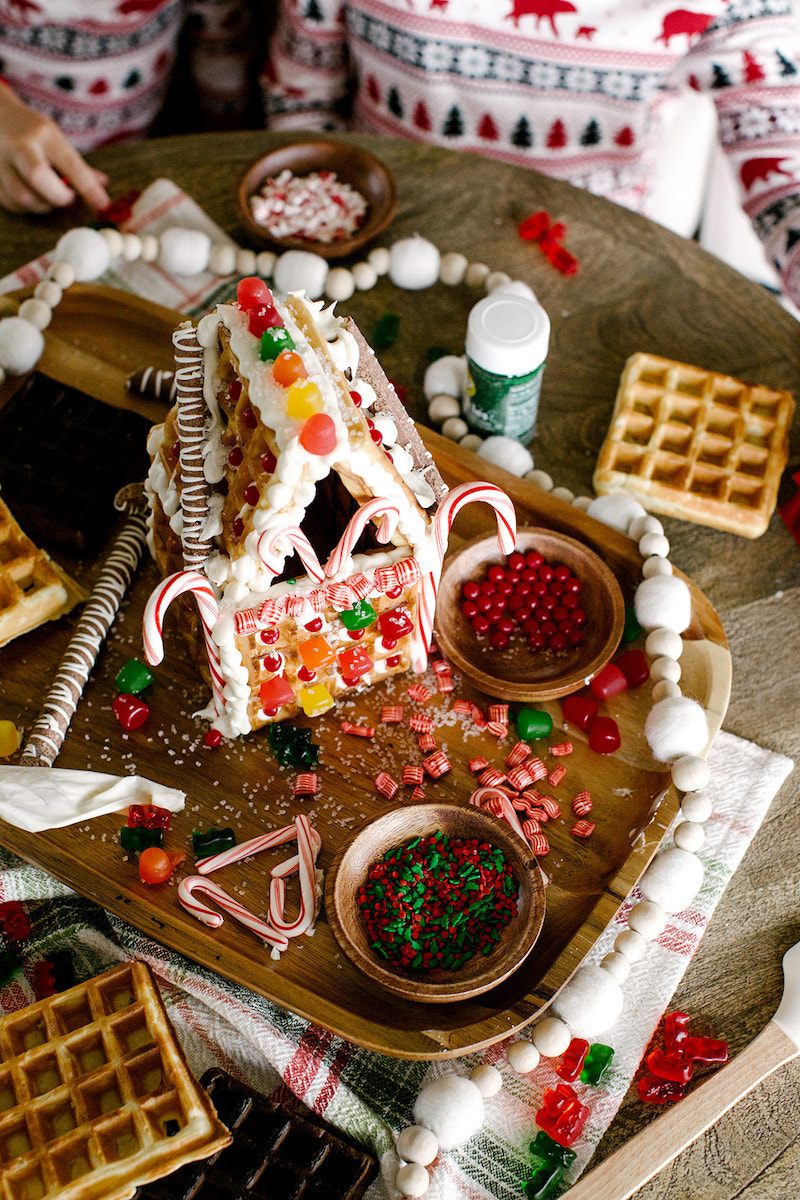
3. The door is always open.
If you’re planning on giving your waffle house any windows or a front door, cut these out before assembling. It’s much easier to cut waffles while they are flat than when they are vertical and attached to each other. Don’t forget to save parts you cut out (unless you eat them first!). You can use these pieces to create a chimney or other decorative aspects.
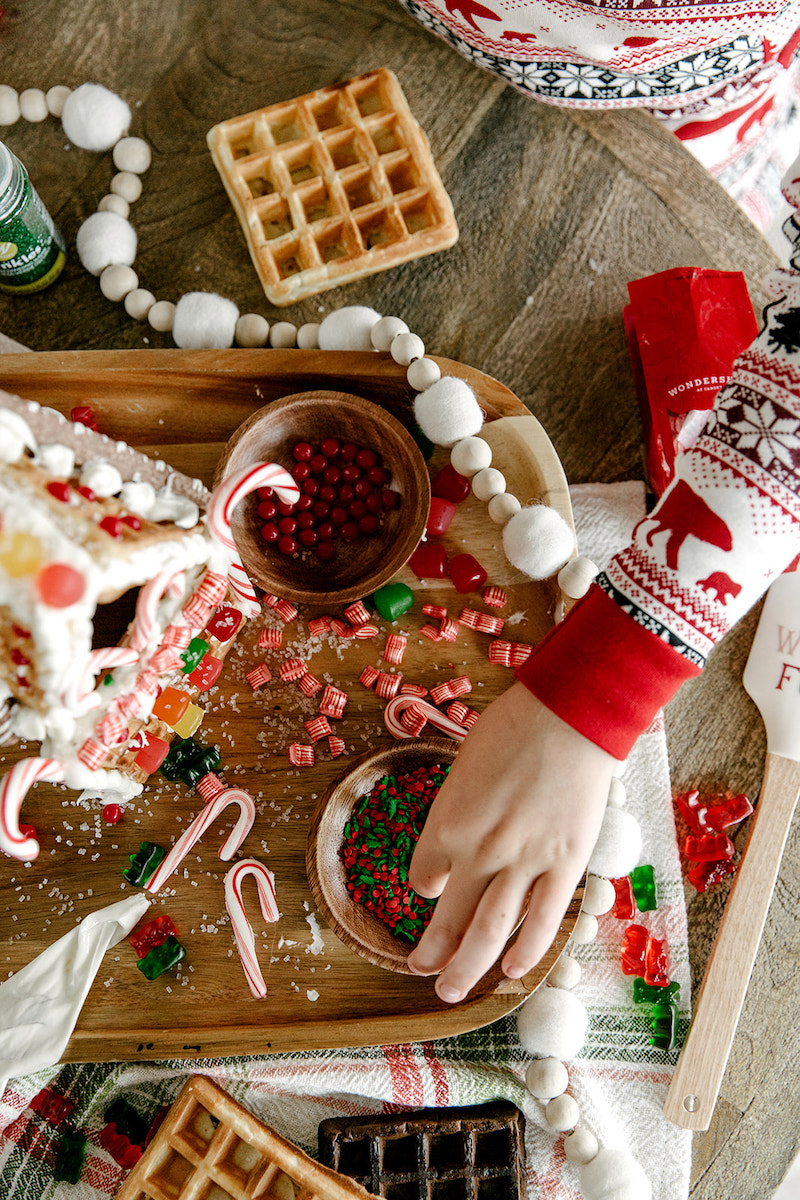
4. Timing is everything.
If you plan on eating your waffle creation right away, fresh fruit works as delicious décor. Use raspberries as festive light bulbs, or bananas to create trees. If you want to display your waffle gingerbread house all season, opt for traditional gingerbread candies that will withstand the test of time.
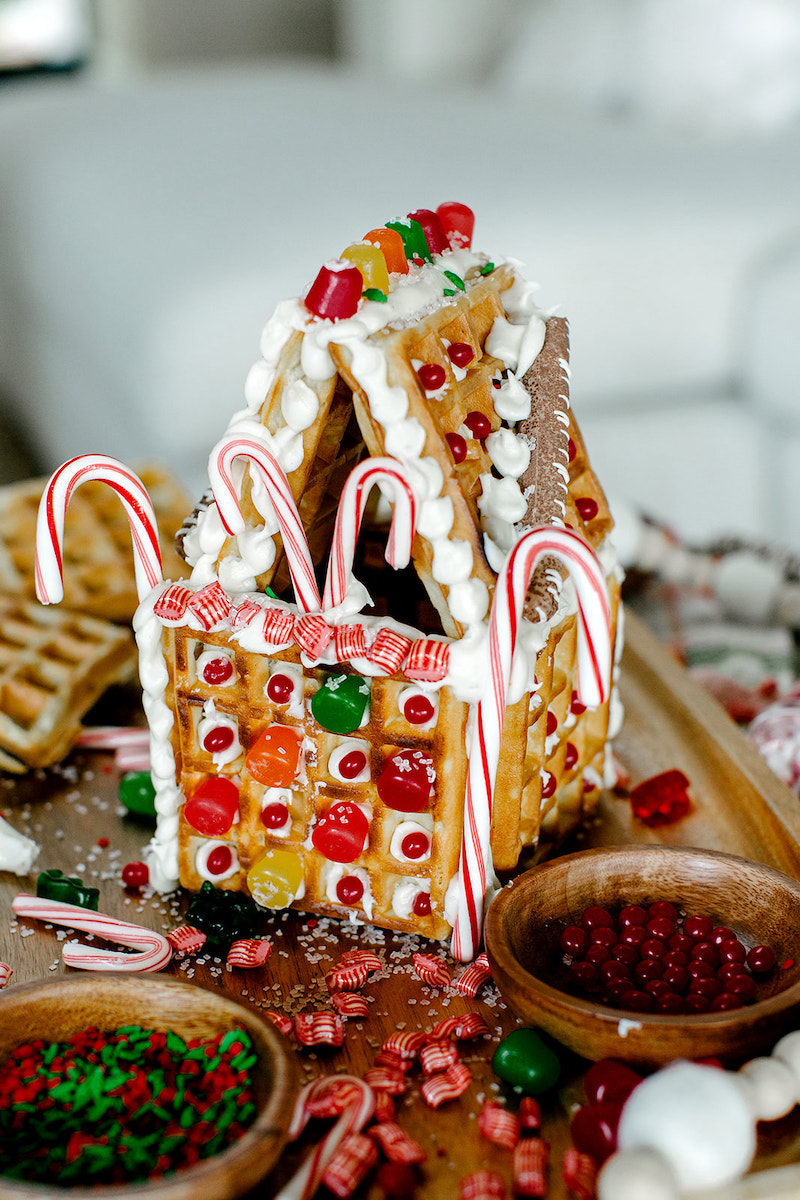
5. The only rule is, there are no rules.
Whether a minimalist or a maximalist, this is one activity that’s foolproof for DIYers of all ages. From a sparse smattering of toppings to a “more is more” approach, you’ll be surprised at how much anything goes!
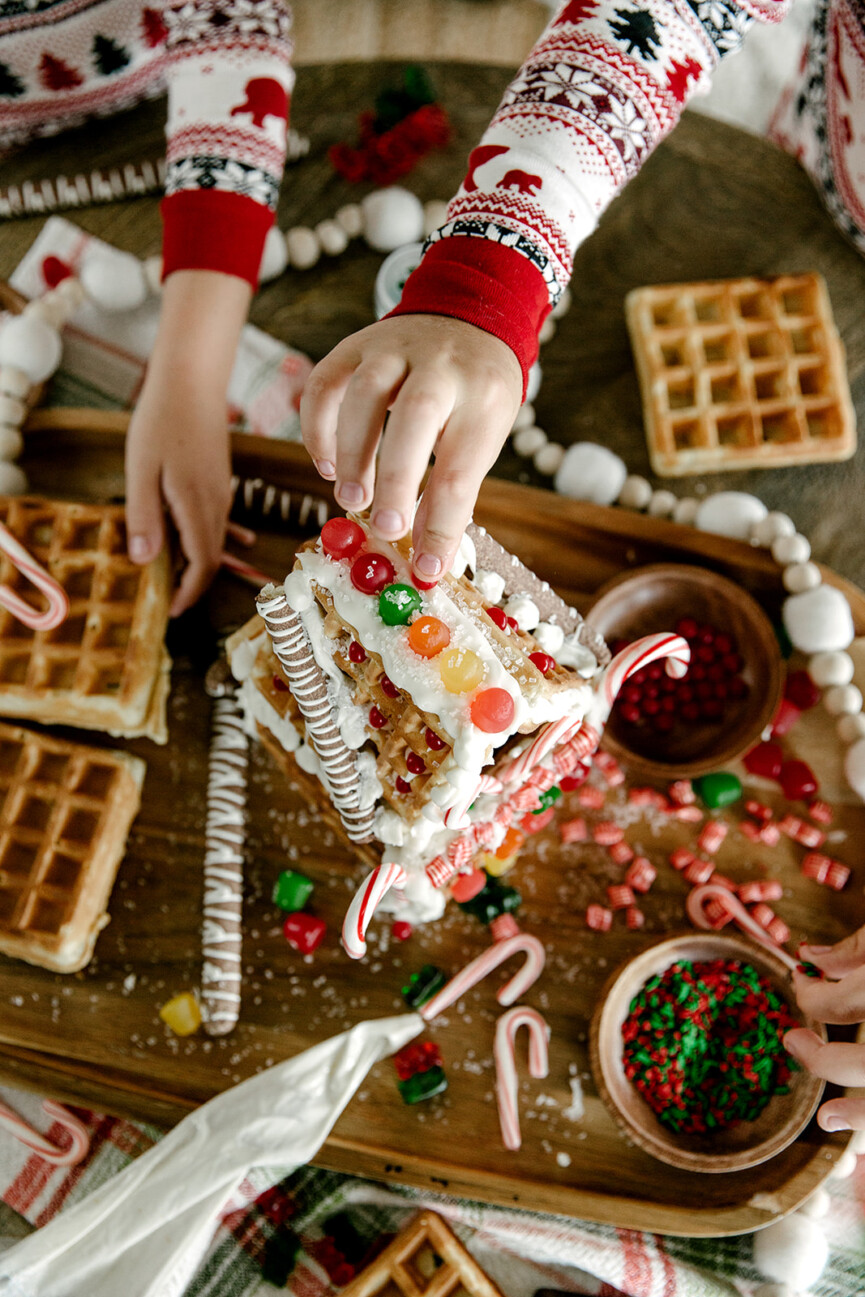
6. Let it snow.
Once the candy and chocolate toppings are all set, a final dusting of powdered sugar will take your holiday creation to full “White Christmas” status.


