With candy season in full swing, my sweet tooth is living its best life. From cookies to pastries to endless ice cream experiments, I’ve been embracing every indulgence. But lately, my new obsession is puffed quinoa chocolate bark—a treat that’s as satisfying as it is simple to make.
It’s a little more wholesome and nutrient-rich than your average dessert, but still completely addictive. Picture a chewy, caramel-like base that’s just the right amount of sweet, topped with smooth chocolate and your choice of crunchy, flavorful toppings. The possibilities are endless, but I’ve narrowed it down to two irresistible versions: a bright, nutty tahini pistachio bark and a salted peanut butter chocolate bark that could give any PB cup a run for its money.

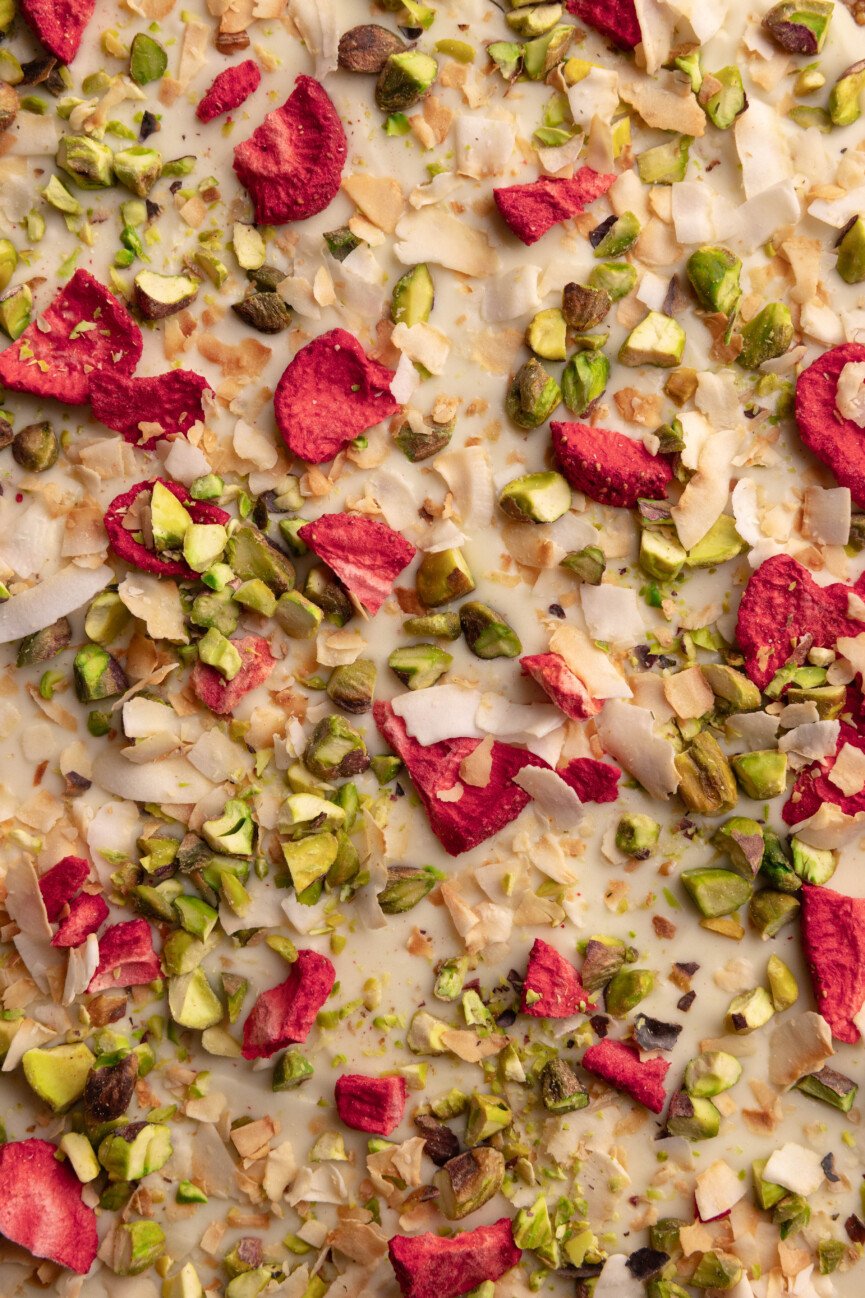
Ingredients for Puffed Quinoa Chocolate Bark
The ingredient list for this bark is refreshingly short, and the toppings are entirely up to you. Use what you have on hand, follow your cravings, and lean into the flavors you love most.
Puffed Quinoa. Look for puffed quinoa (not raw quinoa) online or at your local health food store. The texture is light and crispy—think Rice Krispies, but slightly nuttier. It’s the key to that satisfying crunch, and any leftovers are delicious sprinkled over yogurt or salads.
Maple Syrup. Use the good stuff. It gives the bark a subtle, caramel-like sweetness.
Nut Butter. Peanut butter for the chocolate version, tahini for the white chocolate. But truly, any nut or seed butter works here—choose your favorite.
Salt. A generous pinch brings out all the flavors.
Coconut Oil. Just a tablespoon helps the mixture come together smoothly.
Toppings. This is where creativity comes in—chopped nuts, dried fruit, flaky sea salt, or anything that feels a little extra.

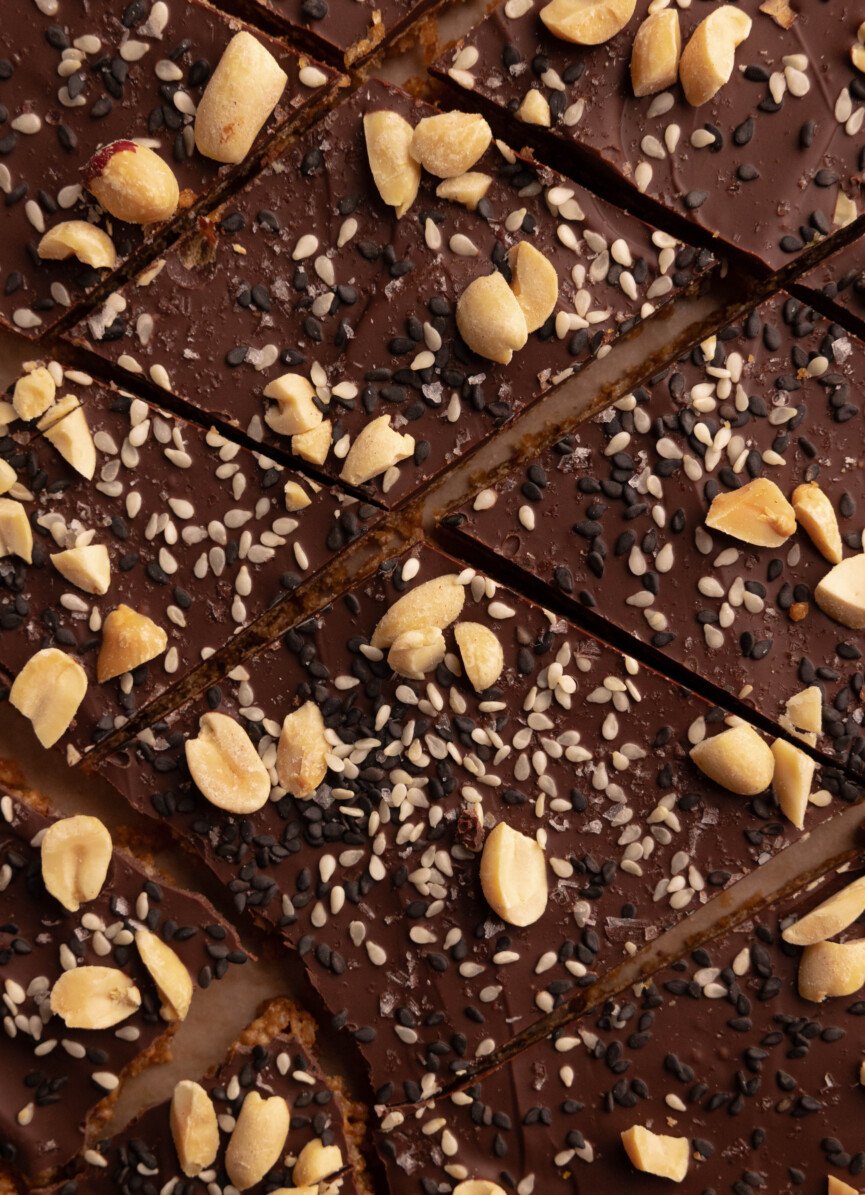
How to Prepare the Puffed Quinoa Base
The base of this bark is the real star—it’s so good, you could easily enjoy it on its own. Sweet, chewy, and perfectly crisp around the edges, it’s the kind of simple recipe you’ll make on repeat.
It couldn’t be easier to bring together. In a bowl, whisk the maple syrup, nut butter, salt, and coconut oil until smooth. Add the puffed quinoa and stir until everything is evenly coated. Spread the mixture into an even layer on a lined baking sheet, then bake for about 15 minutes. As it bakes, the edges turn crisp while the center stays chewy—a textural dream. If you prefer a crunchier base, bake it a few minutes longer (just keep an eye on it to prevent burning).
Let the base cool completely before adding the chocolate. I like to let it set at room temperature, then pop it into the fridge or freezer until firm and ready to top. Once cooled, you’ll have that perfect balance of caramelized chew and light crunch. The best of both worlds.

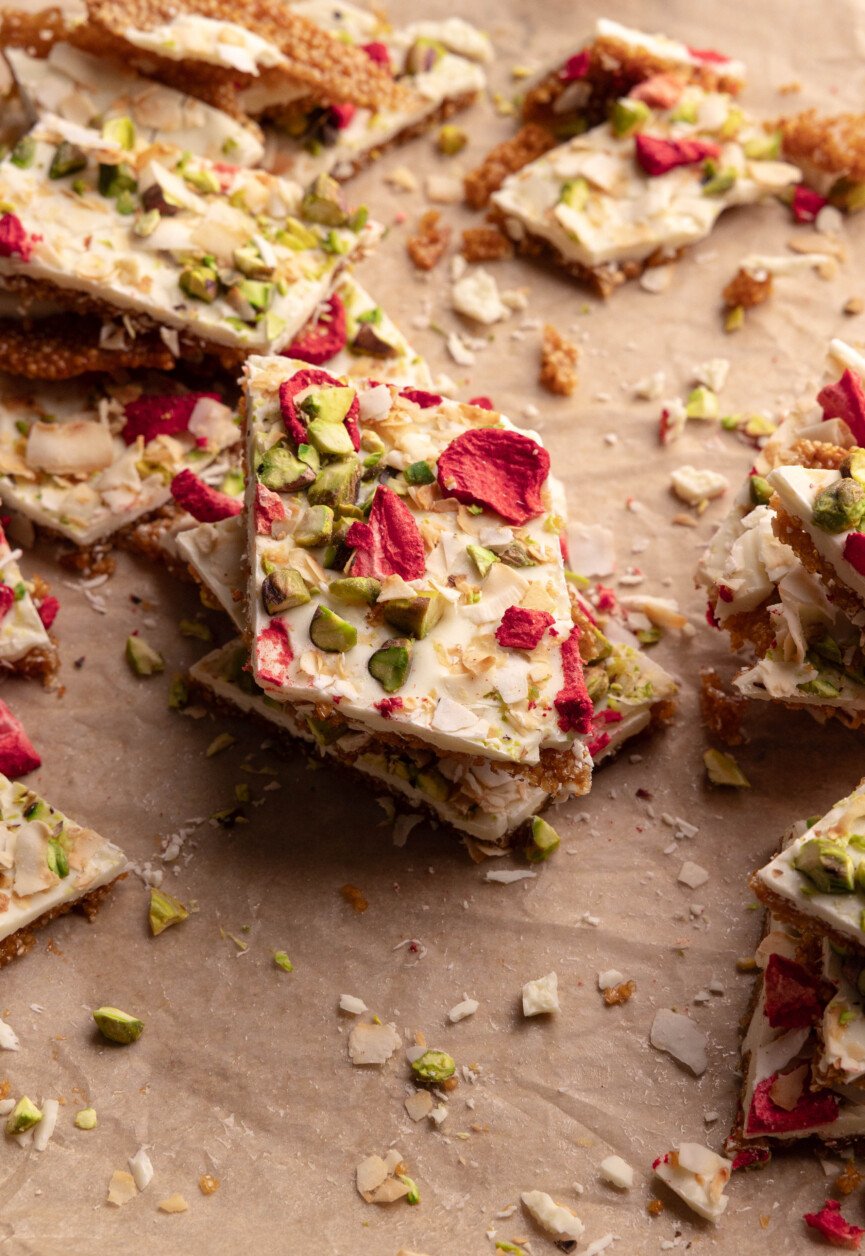
Options for Topping Your Puffed Quinoa Chocolate Bark
I made two versions of this bark—one dark and deeply chocolatey, the other light and bright—but truly, the beauty of this recipe is its flexibility. Once your base is baked and cooled, the toppings are entirely up to you.
Salted Peanut Butter Puffed Quinoa Bark
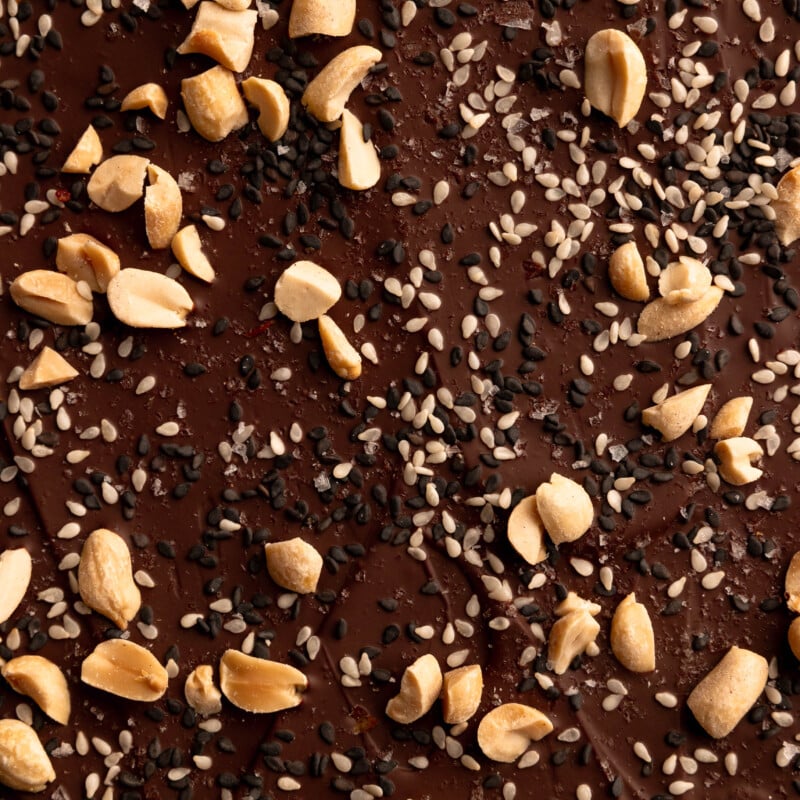
This one leans into the classic chocolate–peanut butter pairing we all know and love. It’s a little bit Butterfinger, a little bit peanut butter cup—rich, nutty, and just the right amount of salty-sweet. A sprinkle of flaky salt brings everything into balance, while a touch of sesame adds an unexpected, sophisticated note. If you’re feeling indulgent, swirl a spoonful of drippy peanut butter into the melted chocolate before spreading it on top.
Pistachio Tahini Puffed Quinoa Bark
For those who prefer something lighter, this white chocolate version is equally addictive. The base is made with tahini, which gives it a subtle savory depth, and it’s finished with toasted coconut, pistachios, and freeze-dried strawberries for a pop of color and brightness. Swap in raspberries or even chewy dried cranberries if that’s what you have on hand—there’s no wrong way to make it your own.

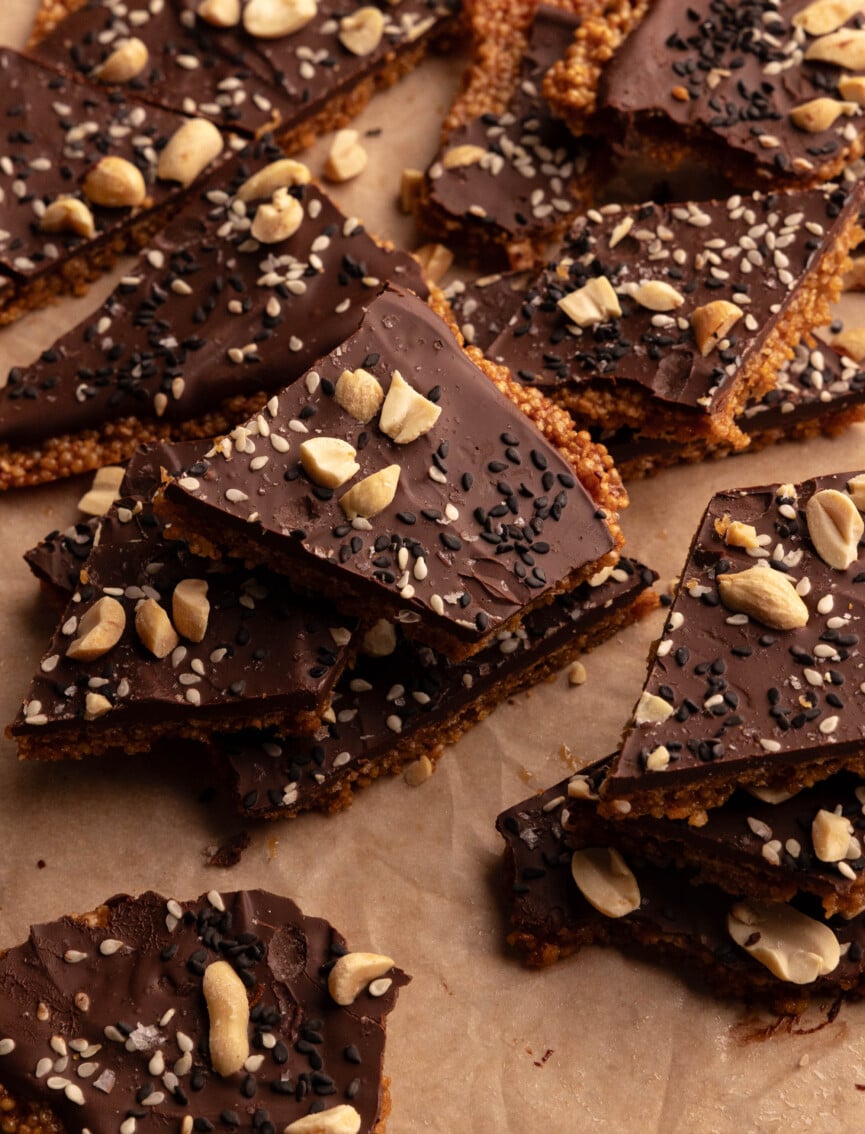
How to Store Leftovers (If You Have Any)
This puffed quinoa chocolate bark keeps best in the fridge or freezer, especially if you’re planning to enjoy it over several days. The base and chocolate will soften slightly at room temperature, so store it in an airtight container and keep it chilled for that perfect, satisfying crunch.
Can’t wait to see what flavor combinations you dream up—happy snacking!
Print
Puffed Quinoa Chocolate Bark
- Total Time: 30 minutes
- Yield: 8 1x
Description
An easy and delicious chocolate bark recipe with a crunchy quinoa base.
Ingredients
For the Peanut Butter Chocolate Bark:
- 1/2 cup maple syrup
- 2 tablespoons peanut butter
- 1 tablespoon coconut oil
- 1 1/2 cup puffed quinoa
- 1/2 teaspoon salt
- 2 cups mix of dark and milk chocolate
- Toppings of choice: chopped roasted peanuts, sesame seeds, flaky salt
For the White Chocolate Pistachio Bark:
- 1/2 cup maple syrup
- 2 tablespoons tahini
- 1 tablespoon coconut oil
- 1 1/2 cup puffed quinoa
- 1/2 teaspoon salt
- 2 cups white chocolate
- Toppings of choice: pistachios, freeze-dried strawberries, toasted coconut flakes
Instructions
- Preheat the oven to 350 degrees F and line a large sheet tray with parchment paper.
- Prepare the quinoa base. In a bowl, combine the maple syrup, nut butter, coconut oil, and salt. Whisk until smooth. Add the puffed quinoa and stir to combine. Add the mixture to the sheet tray and spread into a layer about 1/2 inch thick. Don’t spread too thin, as the base will spread a bit in the oven.
- Place the sheet tray into the oven and bake for about 15 – 20 minutes, until the quinoa is deep golden brown. Remove from oven and let cool completely at room temperature until the base is completely set. Set in the fridge or freezer until ready to top.
- Prepare the toppings. Melt chocolate in 15-second increments in the microwave, stirring in between. Spread a layer to the desired thickness over the quinoa base, then add your toppings. Set back in the fridge until the chocolate has set.
- Chop the bark into pieces and enjoy!
- Prep Time: 15
- Cook Time: 15
Keywords: puffed quinoa, chocolate, bark



Just made these, with a few changes. Did a tahini/dark chocolate (85%) version (other ingredients were the same). After I poured the melted chocolate on the base, I added pepitas and dried unsweetened cherries on one side and pomegranate arils on the other. Then in the fridge for a few hours. Very crunchy base, probably slightly thicker because I used a 9.5×13 pan instead of a larger sheet (I thought it would be way too thin on a regular baking sheet). But loved the taste of both sides (and I love dark chocolate so I didn’t find it too bitter). Will try a regular baking sheet next time. Left it in for 15mn, on convection mode.
★★★★★