

At the end of June, I sat down to write a list of ways to make the most of what was left of summer. It ranged from road trips to night swimming to getting in 10,000 steps a day. Here’s a list of what I actually did: sleep, read, cook, and eat. Life gave me lemons this summer in the form of a hit-and-run accident resulting in knee surgery. All of those bucket list items were quickly replaced with crutches and physical therapy, but I was determined to turn my sour circumstances into something good. Baking has always been its own form of therapy for me, so I decided to turn my lemons into this gluten-free lemon bar recipe.

If you’ve ever been on crutches, you know how helpless they make you feel. I spent the month of June living completely independent in Los Angeles, only to come home in July needing help to shower, shave my legs, and even make myself a glass of water. As “bitter” as all of that was to swallow it is moments like these that force you to slow down and be thankful for what you have. I’ve never been so grateful to have sisters to help me go to the bathroom. It’s never been so nice to have a one-story house to crutch my way around. I’ve never felt luckier to have a dad that’s like a built-in recovery coach.
But most importantly, I’ve never been so thankful for my mom. I truly believe that she should be considered a certified nurse after these few weeks of helping me with anything and everything.
From waking me up every four hours to take more pain meds to ordering paint-by-numbers and puzzles to keep me entertained—she’s been my main squeeze.

When July 4th rolled around—to distract me from the fact that I was supposed to be in Balboa celebrating with a friend—my mom, sister, and I went to work in the kitchen… Dare I say we “squeezed” the day? My grandparents were joining us for dinner and we wanted to make the perfect summery dessert. We have a plethora of lemons growing on our lemon trees right now, so we decided to put them to good use and upgrade from fresh-squeezed lemonade to homemade lemon bars. None of us had ever made lemon bars before, so it took some experimenting (including starting from scratch halfway through), but I had never tasted such a light and fresh dessert.
That first batch lasted us all of two days and the second that they ran out, we made more. And when those ran out, we made more again, tweaking the recipe each time. I’ll forever cherish those moments of hopping around the kitchen on one leg, spilling powdered sugar on my all-black leg brace, and learning from my mom—one of the best cooks I know. After lots of trial and error, I can officially say that this 10-Step, Gluten-Free Lemon Bar Recipe is perfected and ready to share.
The Crust
We love the flavor of graham cracker crusts but wanted the recipe to be gluten-free, so we started experimenting with store-bought GF graham crackers as the base. Pamela’s Gluten-Free Graham Style Crackers were the unanimous favorite, but any graham cracker (or gluten-free variety) will do. Note that tapioca starch and tapioca flour are the same things, so either works for this recipe. We wanted to keep the ingredients as simple and natural as possible, so we used maple syrup as a sweetener. With one of the batches we were out of maple syrup, so we used honey with about a tablespoon of brown sugar and a half teaspoon of vanilla as a substitute. The crust also only has three tablespoons of butter and a pinch of salt. No lemon bar crust is complete without the zest of a full lemon to give it that fresh flavor.
Tip: When pressing the crust into the parchment-lined pan, use another piece of parchment paper to smooth it down. This keeps the crust from sticking all over your hands and making a mess. You also get a smoother finish with this technique.
The Filling
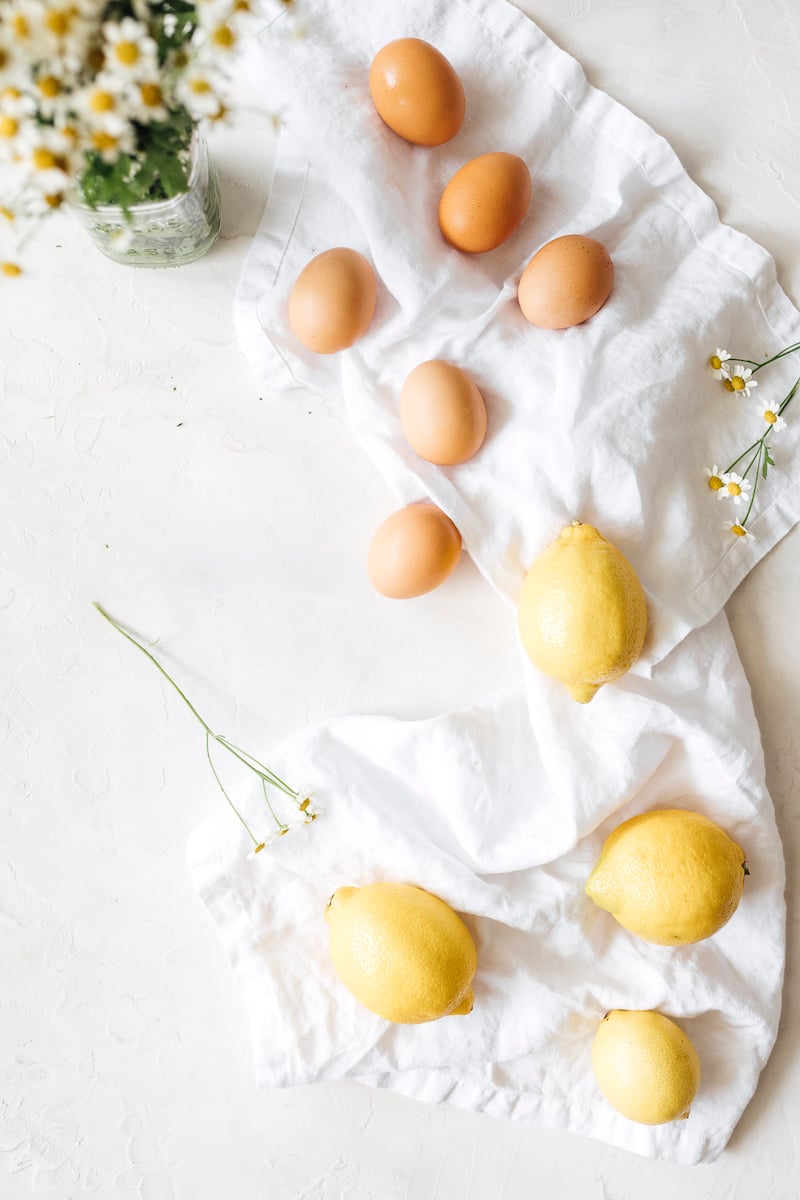
Traditional lemon bars are egg-based, so don’t be alarmed by the six eggs in the filling. They keep the dessert light and fluffy, perfect for hot summer nights. The rest of the ingredients are similar to the crust, except added vanilla, lemon juice, and sifted tapioca starch. It calls for ¾ cups of lemon juice, which we found to be the juice of about four large lemons if you are squeezing them yourself. Both the crust and the filling use the zest of a lemon, so squeeze those two plus two more.
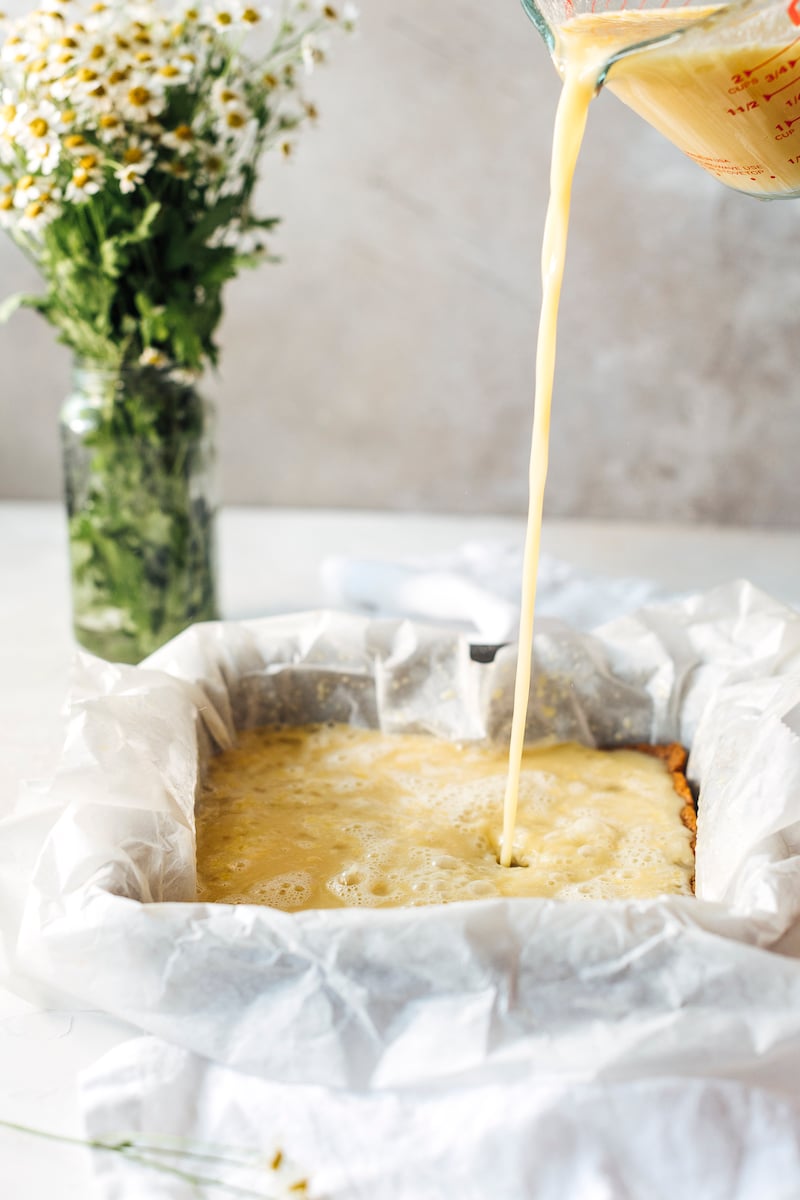
When pouring the finished filling over the baked and cooled crust, pour slowly. If the crust is not cooled enough, it can start to float to the top of the filling. Of course, if this happens it will still taste just as good, it just won’t have the traditional shape!
Sugarcoat your mistakes.
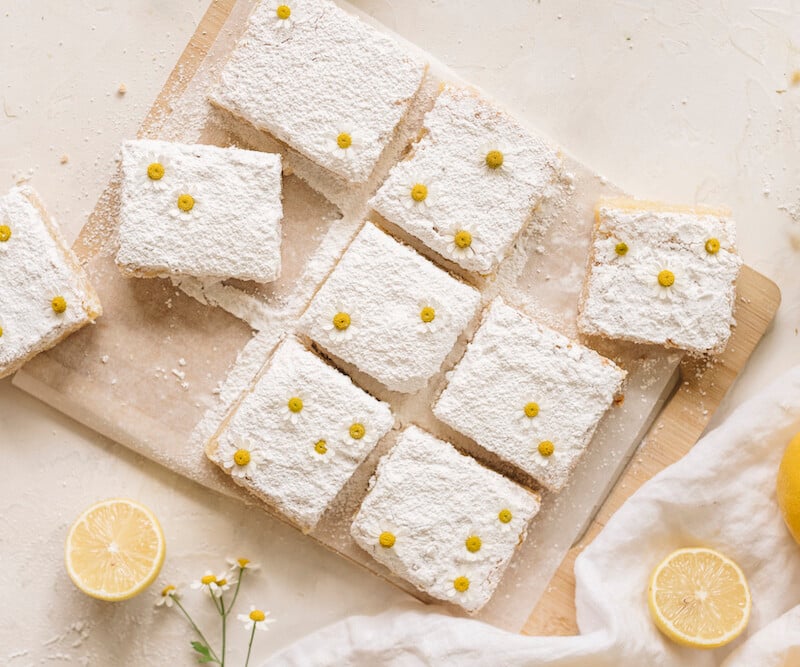
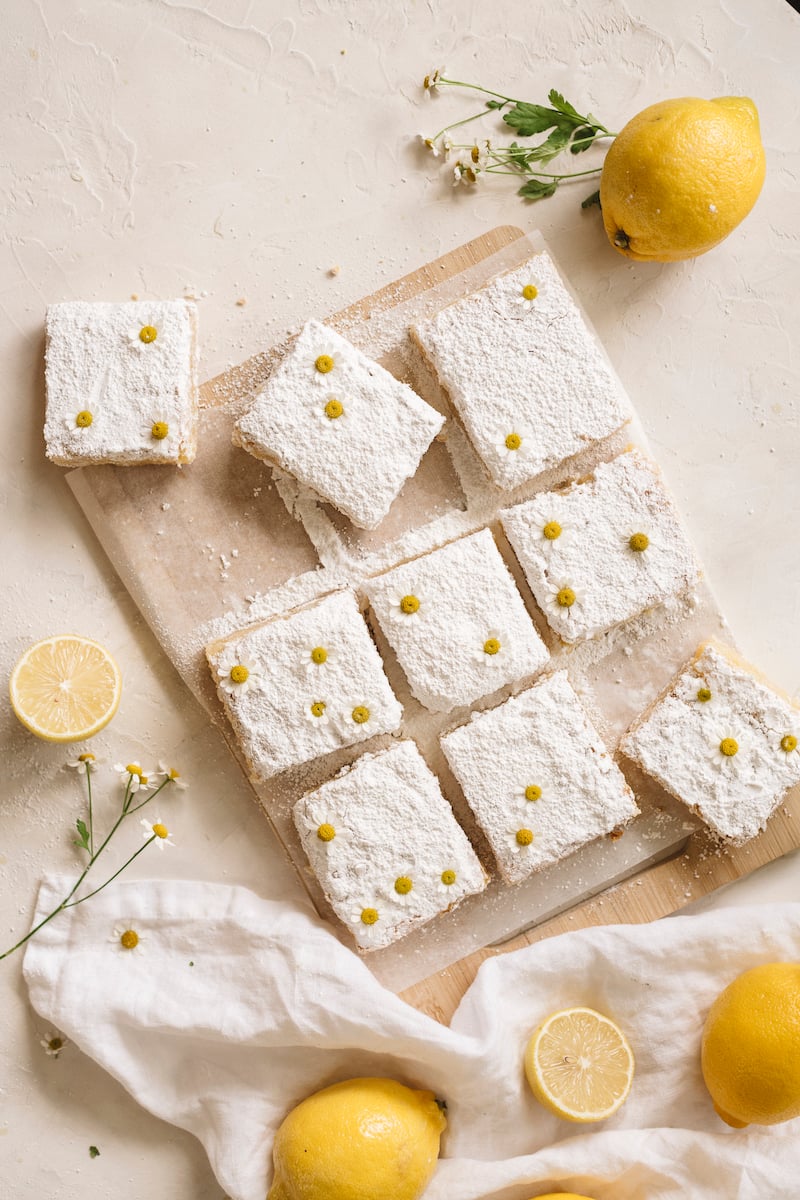
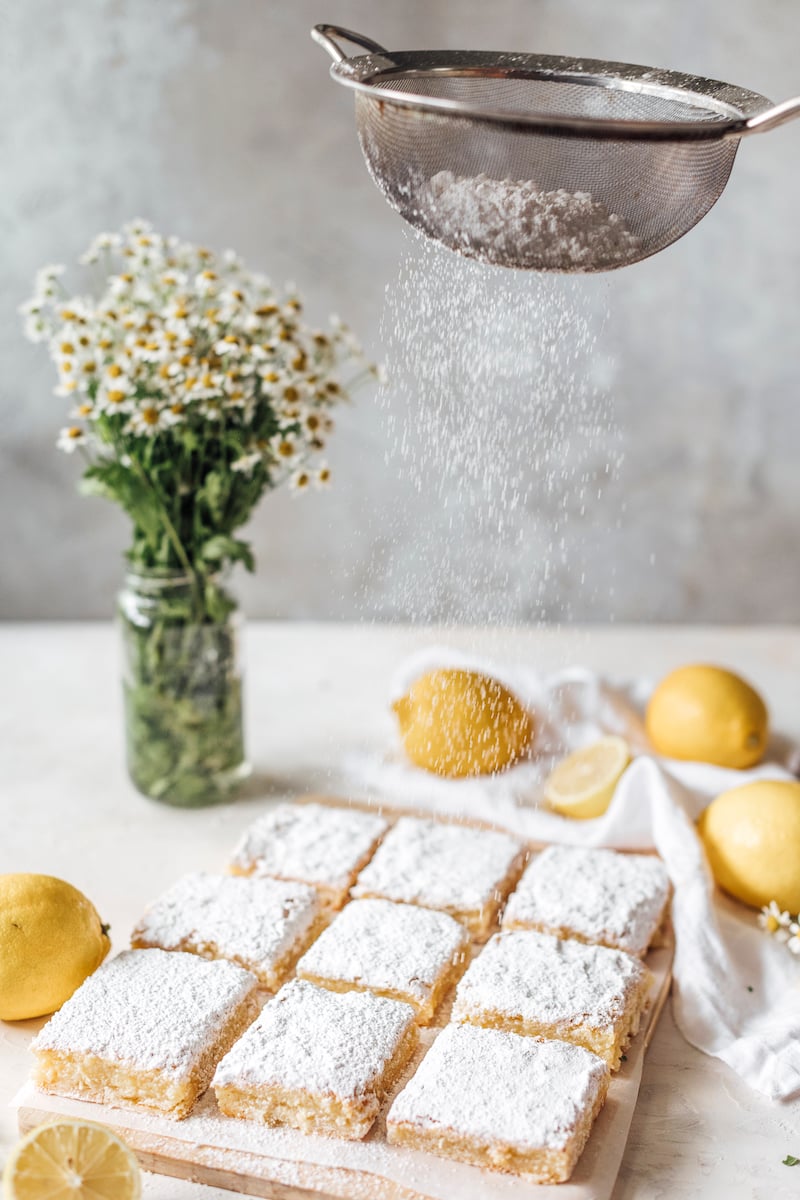
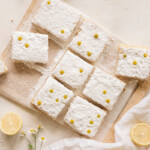
Garnish with powdered sugar after cooling and just before serving. The powdered sugar covers any air bubbles or crust mishaps you may have, too. Due to the egg content in this lemon bar recipe, it’s super normal for air bubbles to rise to the top during baking. No need to try to pop them, they don’t change the taste. Feel free to add some edible flowers for a festive summer garnish, as well.
Save this recipe for the next time life gives you lemons.
Gluten-Free Lemon Bars
Description
These simple Gluten-Free Lemon Bars are the ultimate summer dessert. Light, fresh, and easy.
Ingredients
For the crust:
- 1 box gluten-free honey Graham’s (7.5 oz) (we used Pamela’s Honey Graham’s Gluten-Free Graham Style Crackers)
- 1 tablespoon tapioca starch
- 1/4 cup maple syrup (can also sub honey)
- 3 tablespoons cold butter
- Zest of 1 lemon
- 1/4 teaspoon sea salt
For the filling:
- 3/4 cup fresh squeezed lemon juice (about 4 lemons- use the 2 you zest!)
- 6 large eggs
- Zest of 1 lemon
- 1/2 cup maple syrup
- 1 1/2 teaspoons vanilla extract
- 1 tablespoon tapioca starch, sifted
For serving:
- Powdered sugar
Instructions
- Preheat oven to 350 degrees
- Add all crust ingredients to a food processor- process until a ball forms
- Press dough evenly into an 8×8 pan that’s lined with parchment paper- press the dough up a bit on the sides to form a slight crust. Pro tip: Use another sheet of parchment paper to press down!
- Bake at 350 for 20 minutes or just until golden brown
- Make the filling while the crust is baking
- Add all ingredients into a bowl and whisk until combined
- Once the crust is done baking, turn the oven down to 325 degrees. Let the crust cool for 8-10 minutes on the counter then slowly pour the lemon filling over the crust, making sure the crust doesn’t float up.
- Bake for 20-25 minutes or until the filling is set and not runny.
- Let cool completely and then place in fridge for an hour or two until chilled
- Lift the lemon bars out of the pan using the parchment paper, dust with powdered sugar and cut into squares to serve.
- Store in refrigerator.
Gluten-Free Lemon Bars
Serves 9 bars
These simple Gluten-Free Lemon Bars are the ultimate summer dessert. Light, fresh, and easy.
Prep
15 minutes
Cook
40 minutes
Categories
Ingredients
For the crust:
- 1 box gluten free honey Graham’s (7.5 oz)
- - we used Pamela’s Honey Graham’s Gluten-Free Graham Style Crackers
- 1 tablespoon tapioca starch
- 1/4 cup maple syrup (can also sub honey)
- 3 tablespoons cold butter
- Zest of 1 lemon
- 1/4 teaspoon sea salt
For the filling:
- 3/4 cup fresh squeezed lemon juice (about 4 lemons- use the 2 you zest!)
- 6 large eggs
- Zest of 1 lemon
- 1/2 cup maple syrup
- 1 1/2 teaspoons vanilla extract
- 1 tablespoon tapioca starch, sifted
For serving:
- Powdered sugar
Instructions
- Preheat oven to 350 degrees
- Add all crust ingredients to a food processor- process until a ball forms
- Press dough evenly into an 8x8 pan that’s lined with parchment paper- press the dough up a bit on the sides to form a slight crust. Pro tip: Use another sheet of parchment paper to press down!
- Bake at 350 for 20 minutes or just until golden brown
- Make the filling while the crust is baking
- Add all ingredients into a bowl and whisk until combined
- Once the crust is done baking, turn the oven down to 325 degrees. Let the crust cool for 8-10 minutes on the counter then slowly pour the lemon filling over the crust, making sure the crust doesn’t float up.
- Bake for 20-25 minutes or until the filling is set and not runny.
- Let cool completely and then place in fridge for an hour or two until chilled
- Lift the lemon bars out of the pan using the parchment paper, dust with powdered sugar and cut into squares to serve.
Store in refrigerator.


Hi there, thanks for this recipe. What would you say is the troubleshooting approach for several cracks in the filling after baking?
★★★★★